Week 8 - Challenge 6 - Core & Cavity Design
AIM:
- To Create the Core and cavity blocks for the switch bezel .
TOOLING AXIS:
- The direction in which the mould open and closes is called the tooling axis direction.
- Here, using project intersection along yz plane is created and the two inclined lines were drawn inside the positioned sketch.
- Then bisecting lines with the two inclined lines were drawn.
- Now the same procedure is done along the xz plane but on one side we don’t have inclined lines so the centre point is used to extrude a line along the z-direction and gave a measurement of 6.5 degrees
- With these two lines from sketches 1 and 2, the bisecting line is crated and published as Tooling Axis.
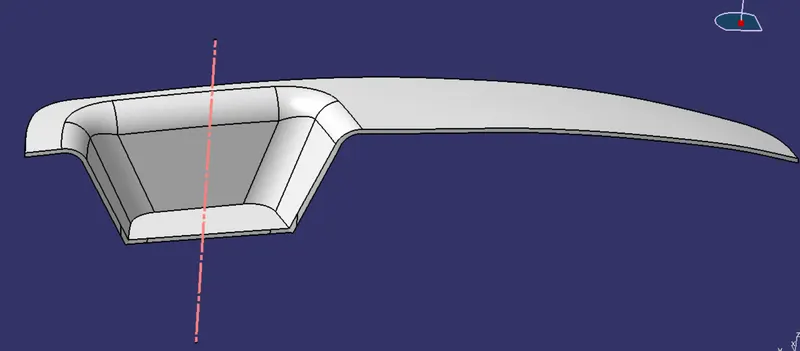
DRAFT ANALSIS:
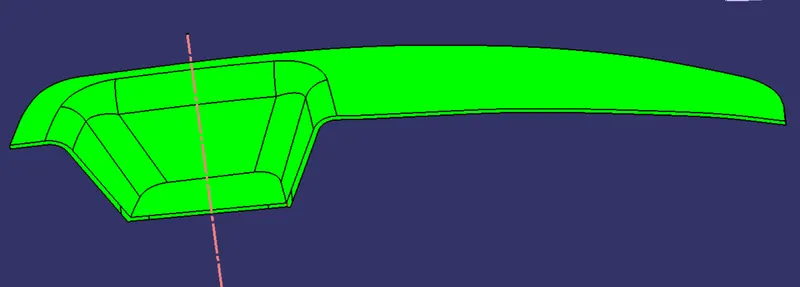
- The Draft Analysis command enables you to detect if the part you drafted will be easily removed. This type of analysis is performed based on color ranges identifying zones on the analyzed element where the deviation from the draft direction at any point, corresponds to specified values.
- The colour scale on the bottom visualizes, whether the draft angle meets the requirements or not (3 deg) by indicating the colours Green, Blue and Red. We need to align and fix the compass to the tooling axis then the draft angle analysis will be checked out.
PARTING SURFACE:
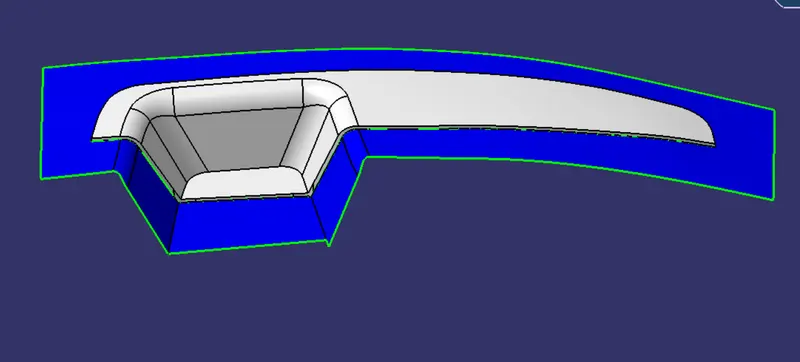
- Generally injection mould has two major components the core and cavity ,where during moulding these components are pressed tightly from a sealed hollow to avoid the melt flow leakage and maintain certain holding pressure, the pressed surface called as parting surface, usually parting surface is the biggest projection outline surface of the part.
PARTING LINE:
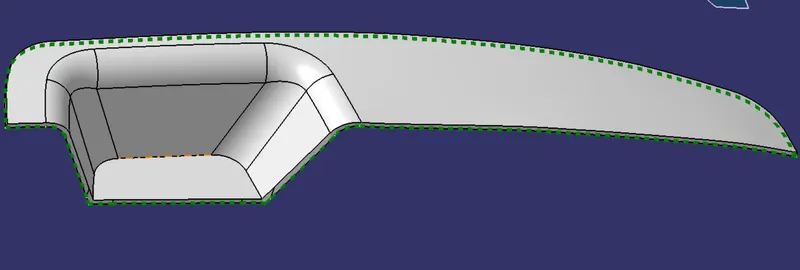
- The parting line is where the two halves of the mold meet around the parameter of the part. All parting lines need to seal properly when the mold is clamped in a molding machine.
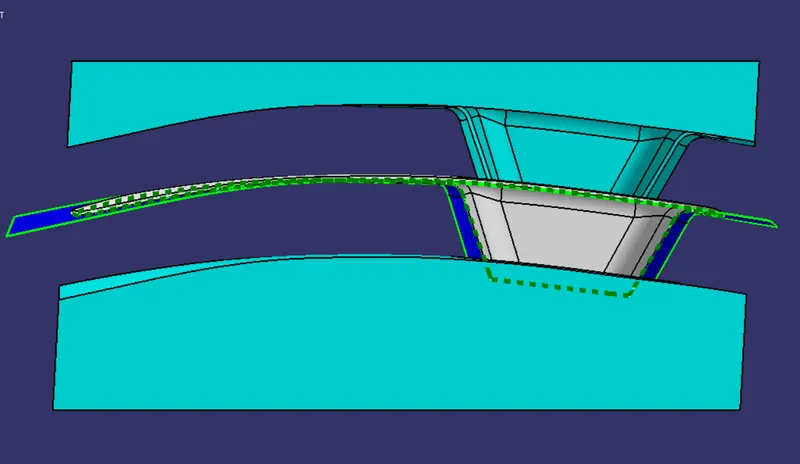
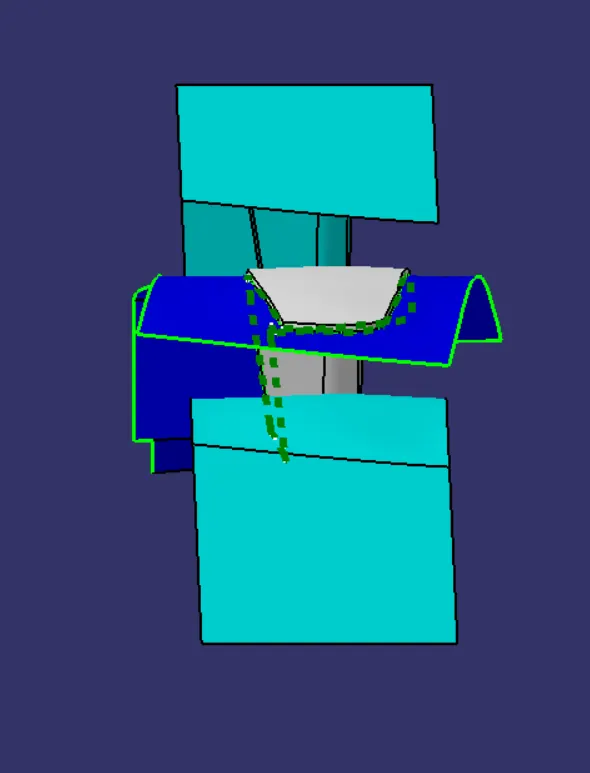
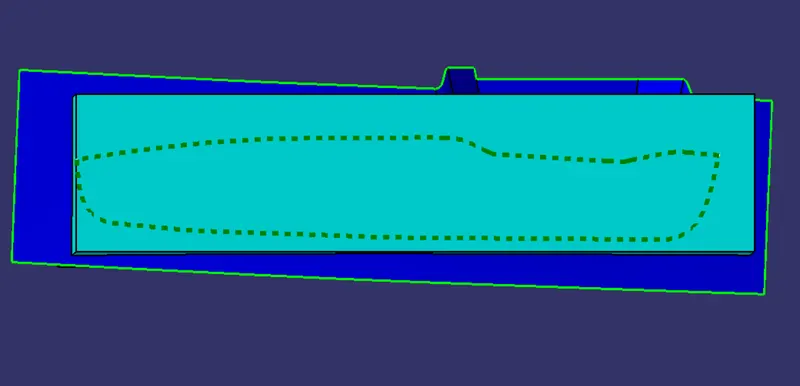
- The above green doted green line is parting line.
Core & Cavity:
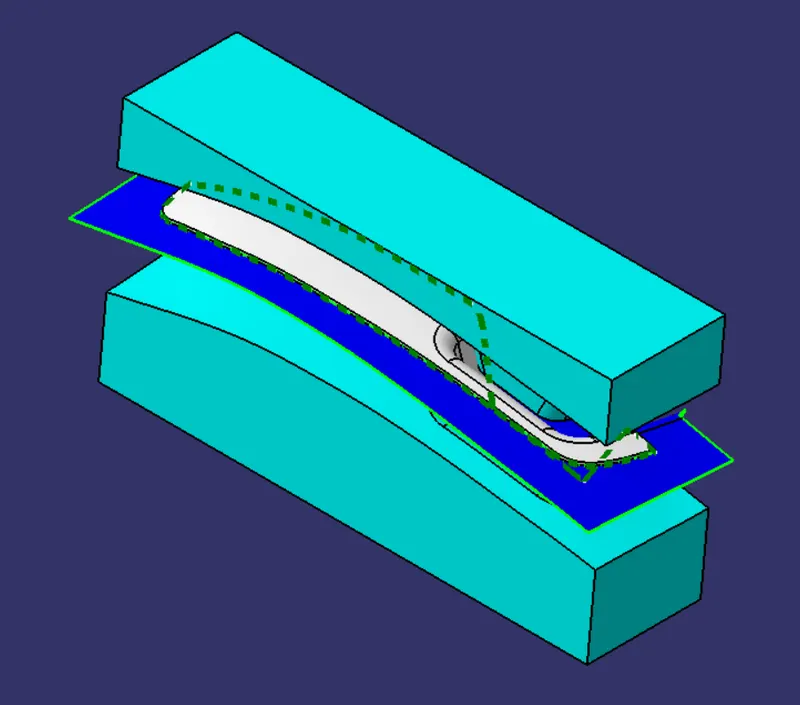
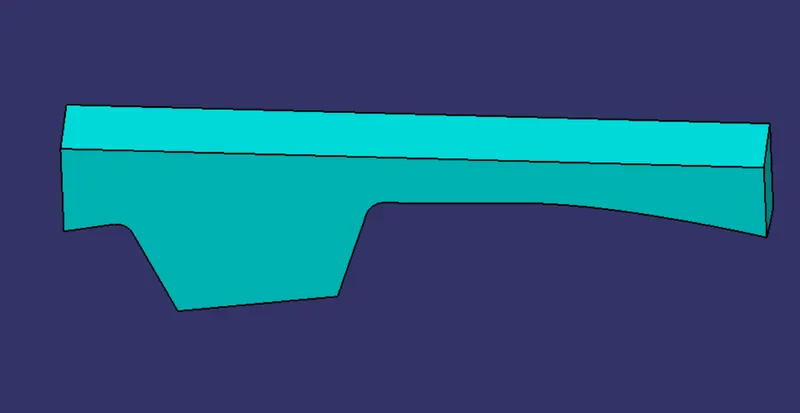
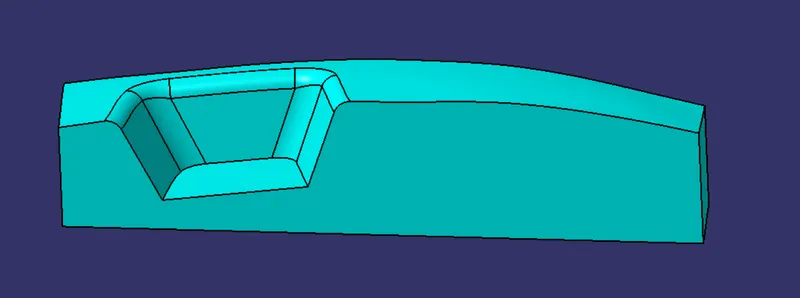
- The Mould Core & Cavity are the shaped sections in either half of the mould tool which give the plastic product its final shape.
- The hot molten material is injected into the core & cavity and then sets hard into shape. The design of the core & cavity is essential in the correct formation of the product. The sequence of events during the injection mould of a plastic part is called the injection molding cycle.
- The cycle begins when the mould closes, followed by the injection of the polymer into the mould cavity.
- A core is usually made of the best quality sand and is placed into the desired position in the mould cavity. Core prints are added to both sides of the pattern to create impressions that allow the core to be supported and held at both ends.
Core Block:
Cavity Block:
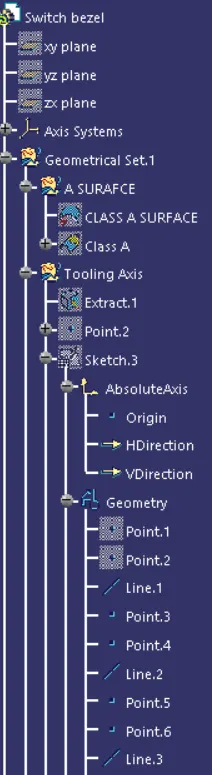
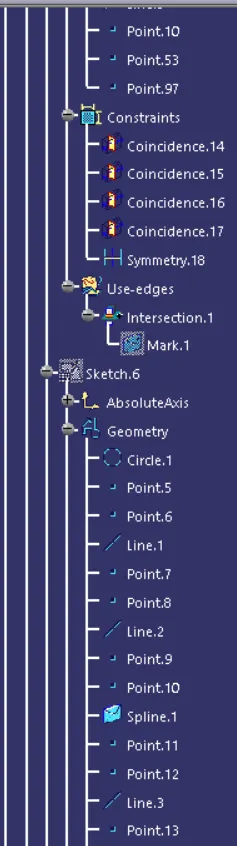
Tree Structure of Geometry:
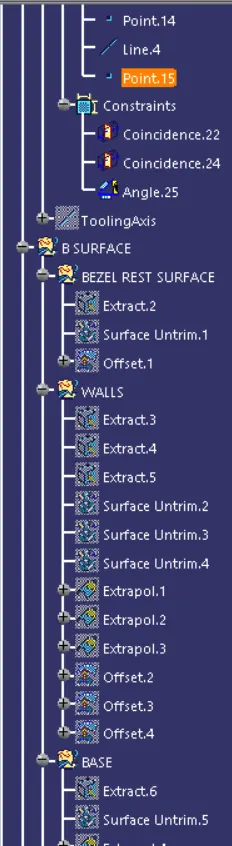
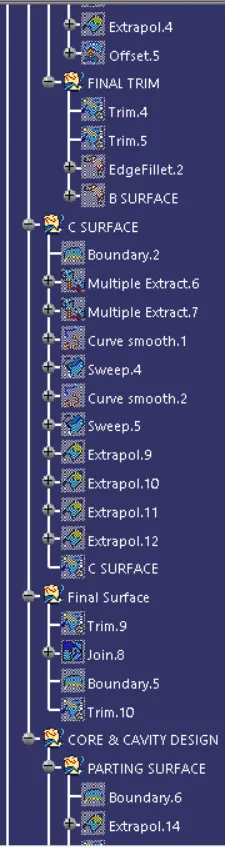
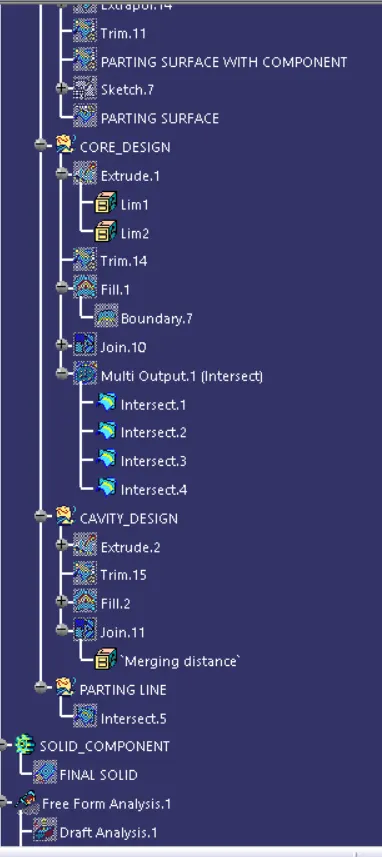
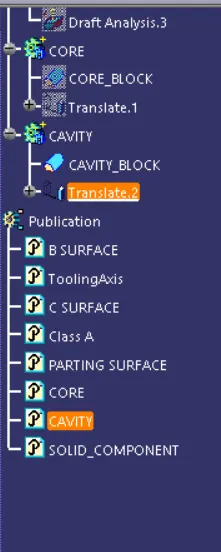
core and cavity blocks in various orientations: