Week 8 - Challenge 6 - Core & Cavity Design
SWITCH BEZEL CORE AND CAVITY DESIGN
AIM: Draft analysis of switch bezel component and creating core cavity blocks of Switch bezel
Creation of tooling axis:
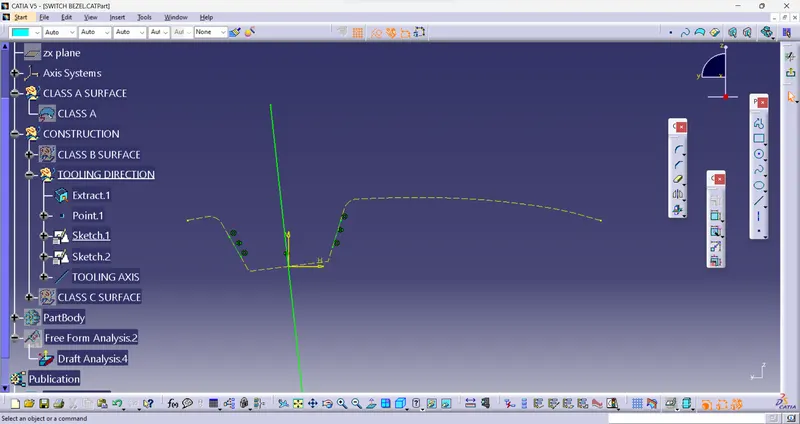
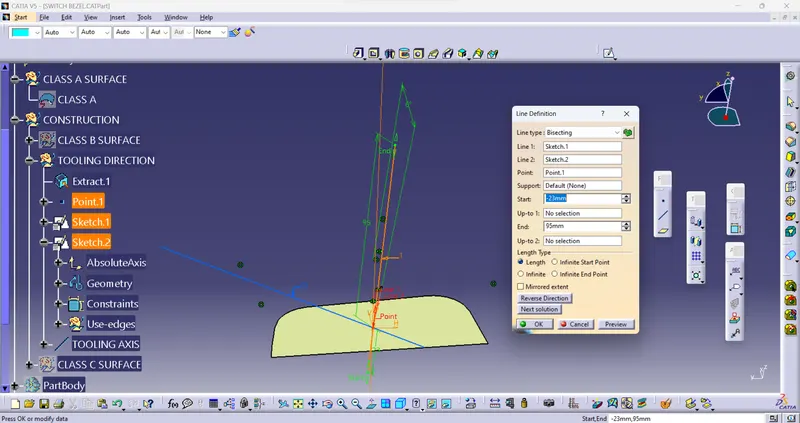
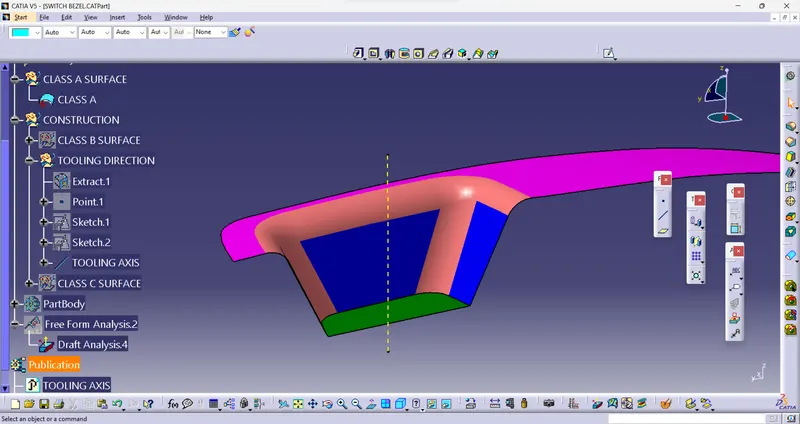
Check visually which is the possible Tooling axis. On a base surface it is possible for the creation of Tooling axis.
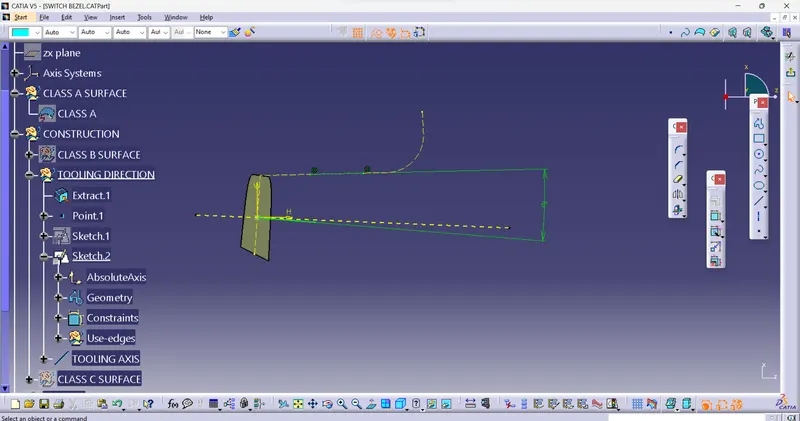
Creating a Tooling axis on base. extract the base component create a point on the surface and create a
axis system on it creates a line on point on YZ plane using sketcher workbench. Create draft line on
ZX plane with drafting angle of 6 degree. Now create a bisecting line using those lines. Hence the bisecting line is a Tooling axis.
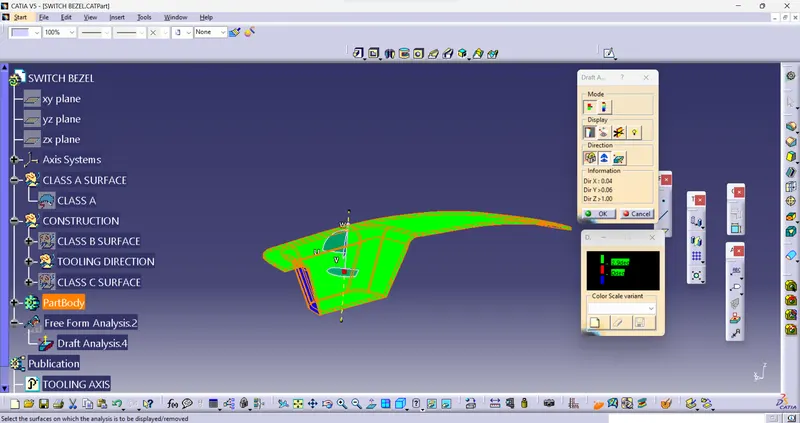
After completion of creating plastic component of switch bezel. We required to design core cavity blocks of Switch bezel along Tooling axis
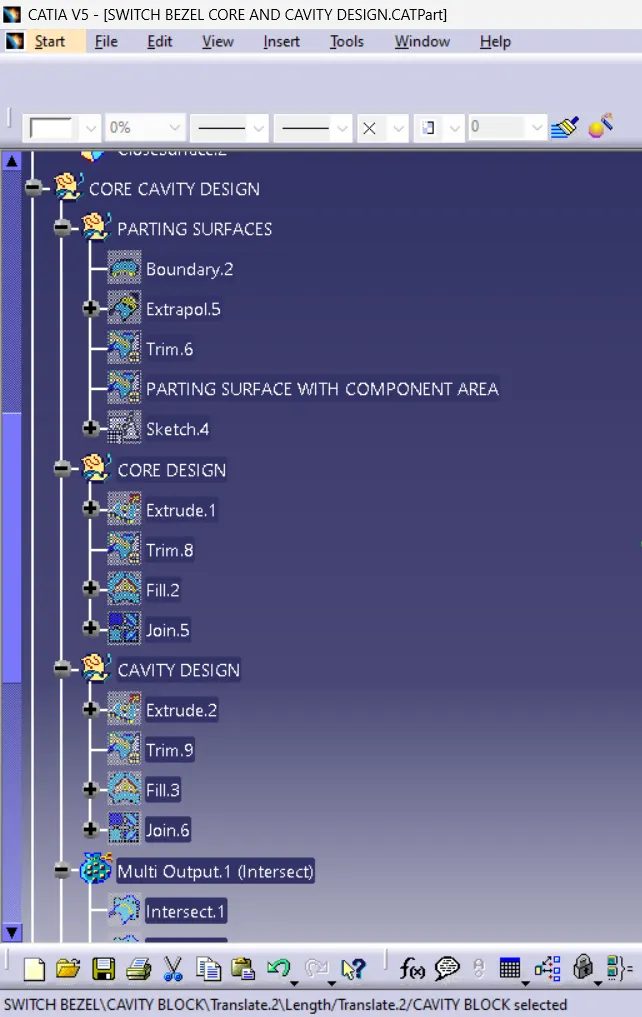
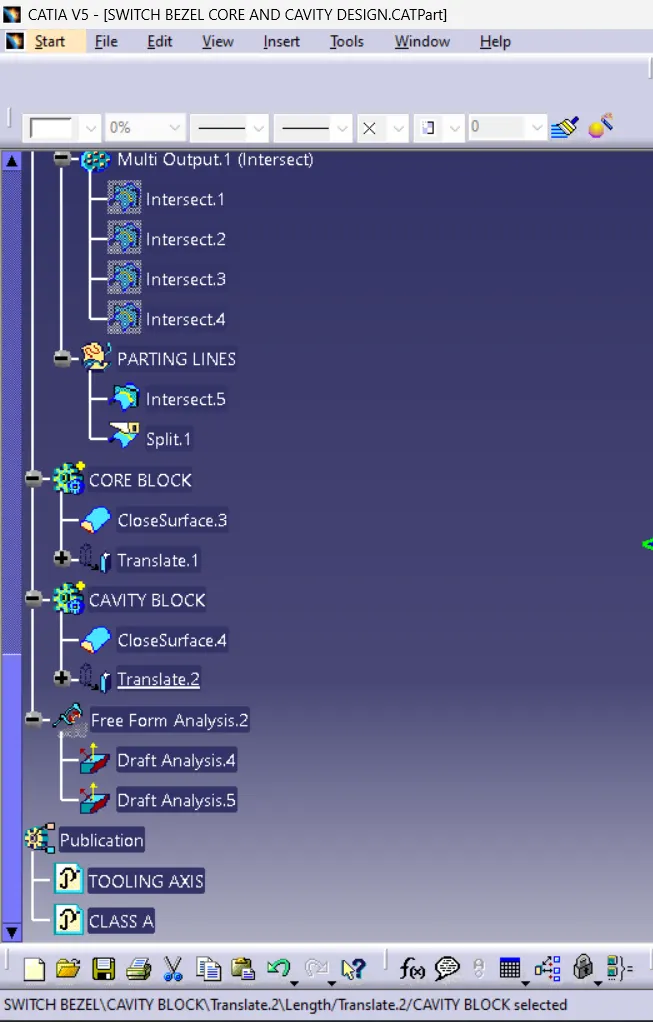
Parting surface: designing of parting surface affects the product quality, easy to construct and operate the injection mold, mold design is the key factors to success. Follow the instructions and principles to design a parting surface. For switch bezel, take class B surface create a boundary extrapolate it for 20mm. Trim it with class B surface to get a required parting surface For parting line, intersect class C final component and class B surface, split it with parting surface. Thicken the intersected line for clear visualization.
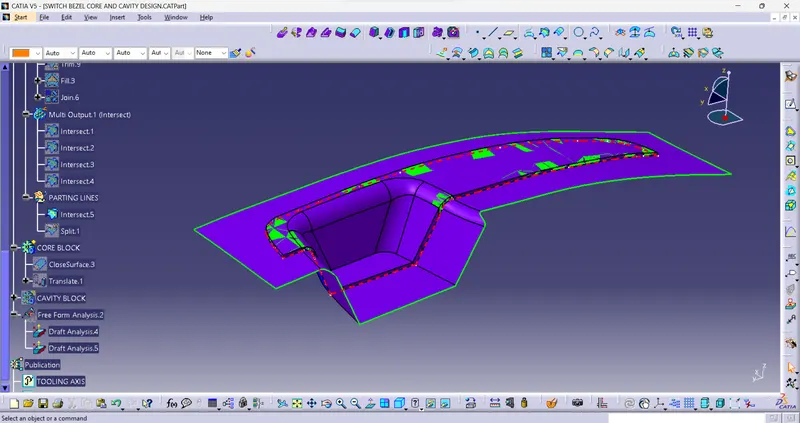
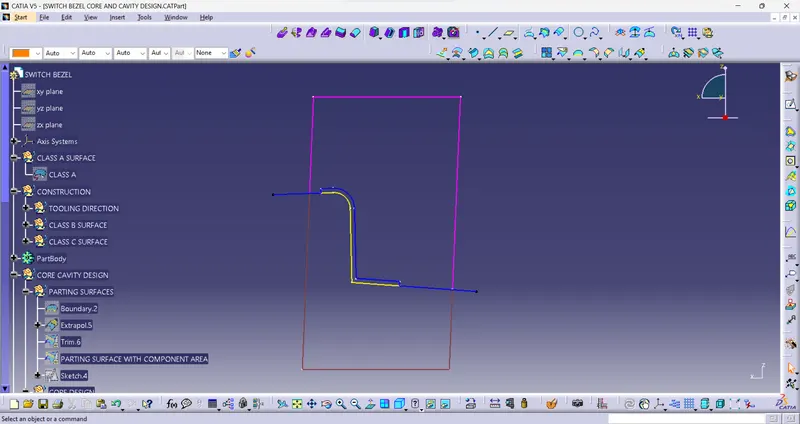
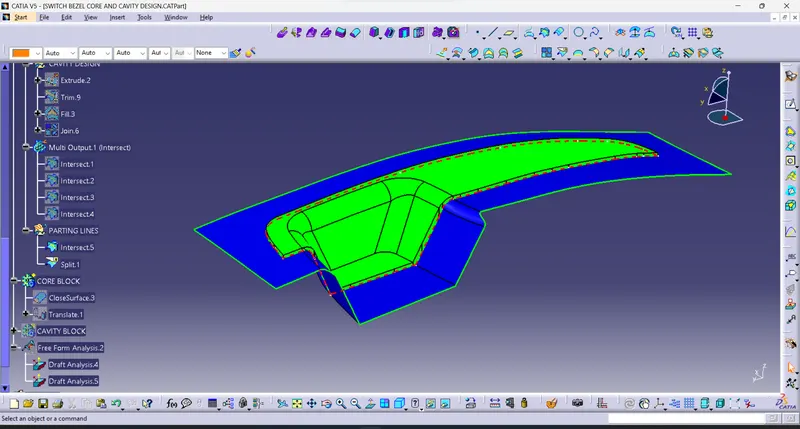
For core design, create a rectangle in sketcher workbench extrude it on both sides. Trim it with parting surface to get a core block. Close the surface in part design for solid part.
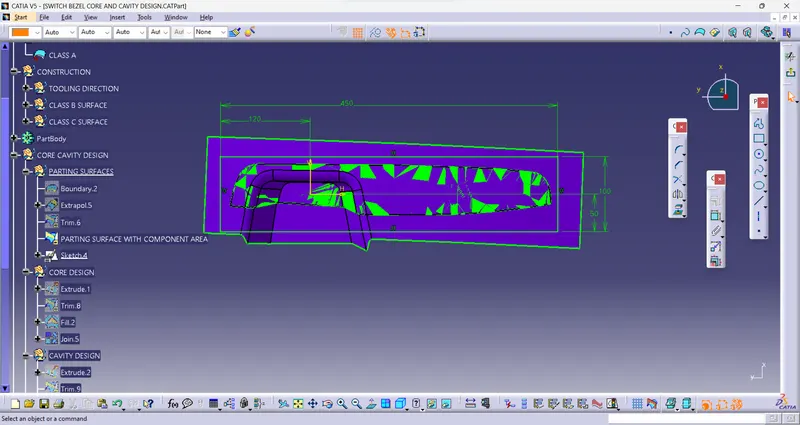
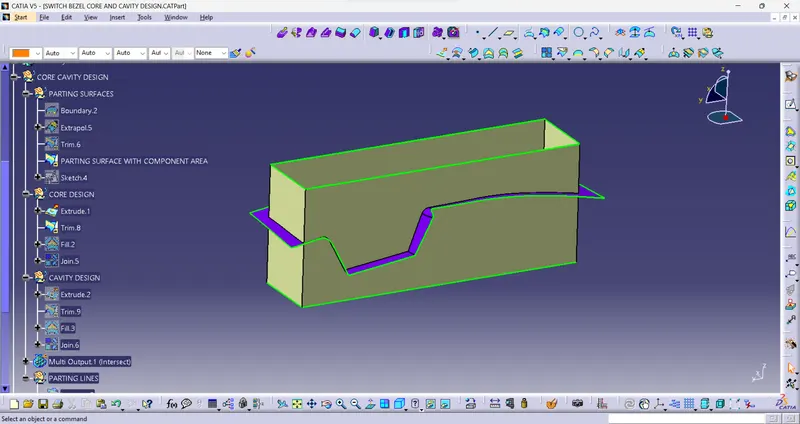
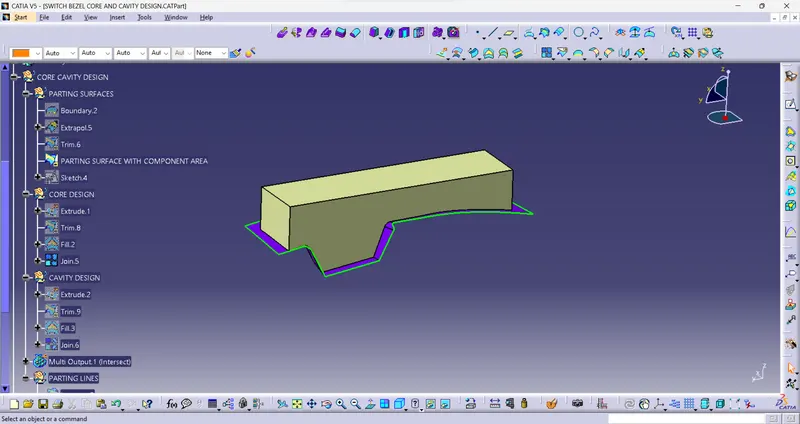
For cavity design, create a rectangle in sketcher workbench extrude in both sides. Trim it with class B surface to cavity block. Close the surface in part design for solid part.
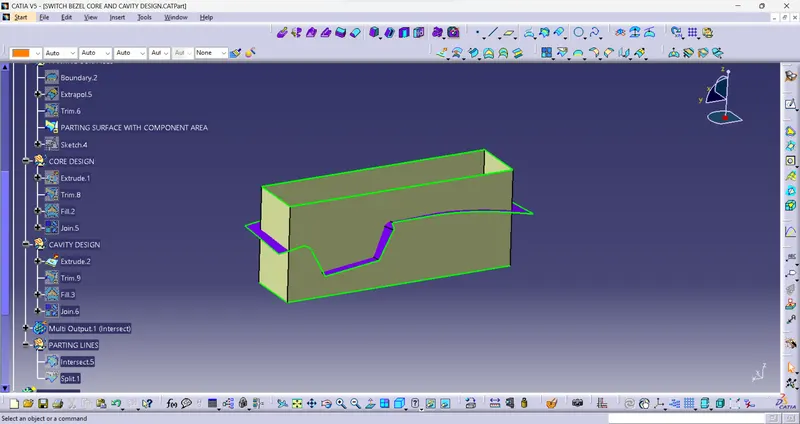
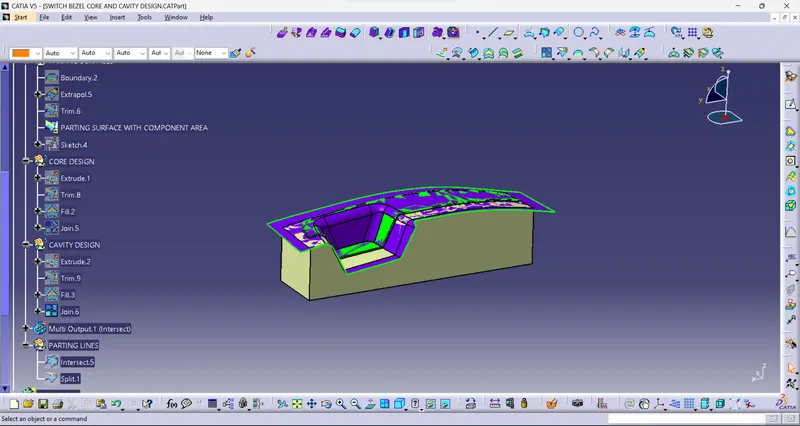
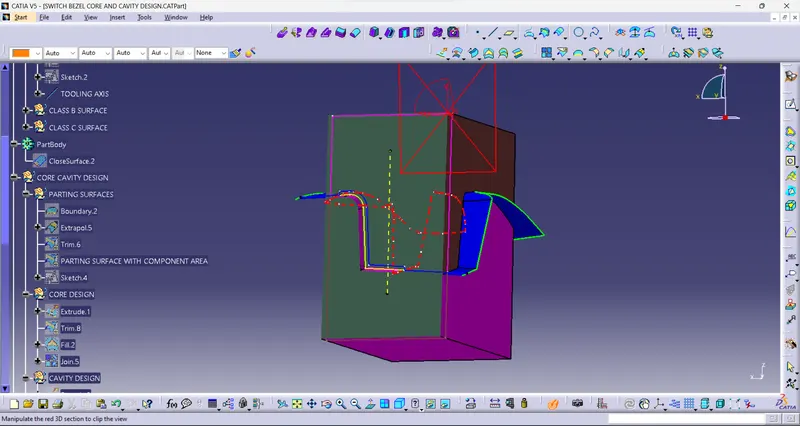
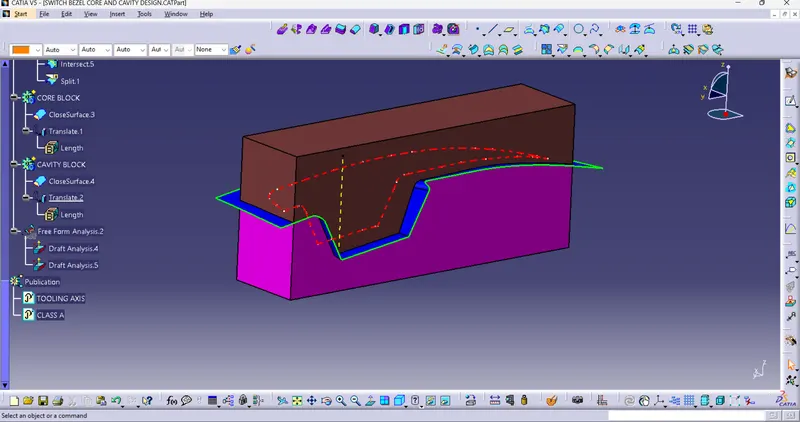
Translate both the block in opposite direction for 50mm.
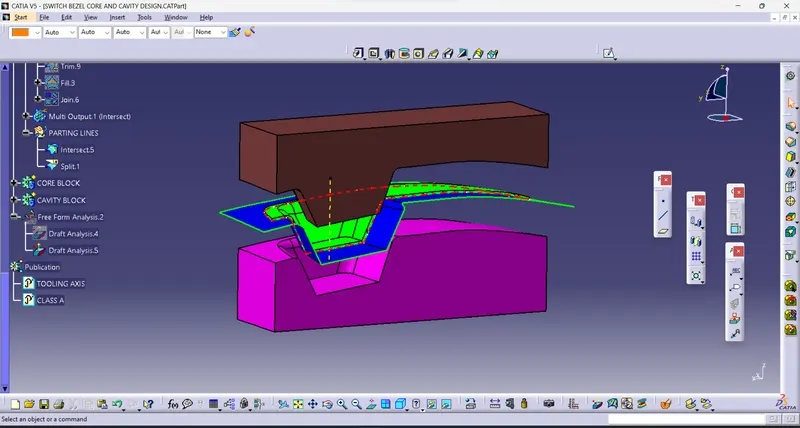
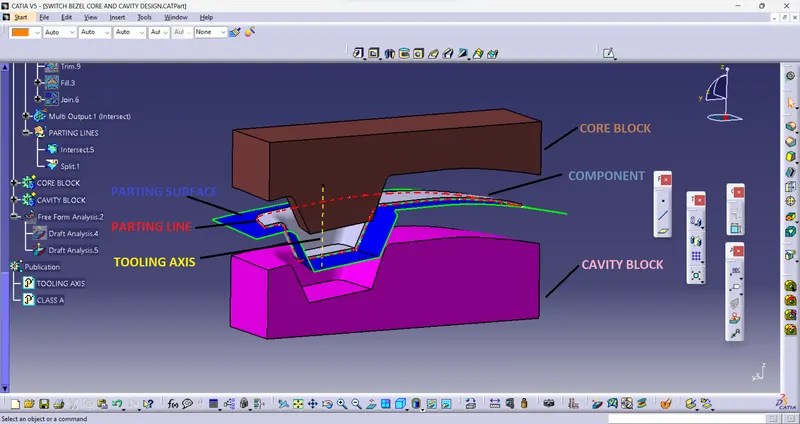
TREE STRCTURE