Week 8 - Challenge 6 - Core & Cavity Design
SWITCH BEZEL
AIM:
To be able to create a switch bezel from the given A-class surface by considering a thickness of 2.5 mm and also creating Core and Cavity blocks for it.
PROCEDURE:
A class surface :
Check open boundaries are in the Switch Bezel give Class A Surface.
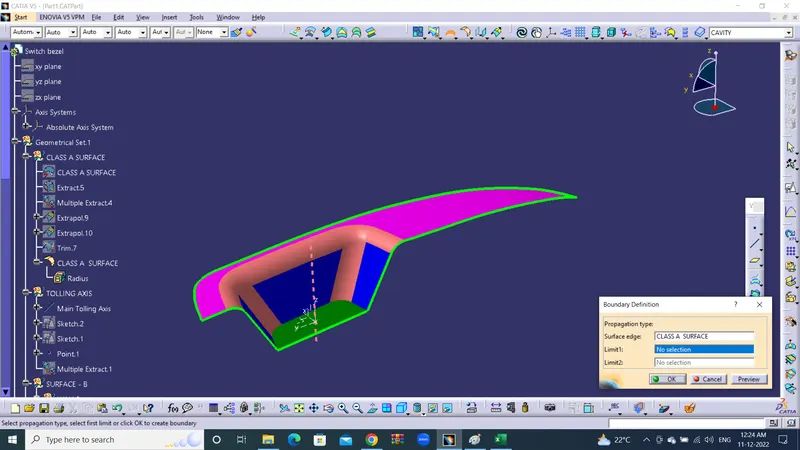
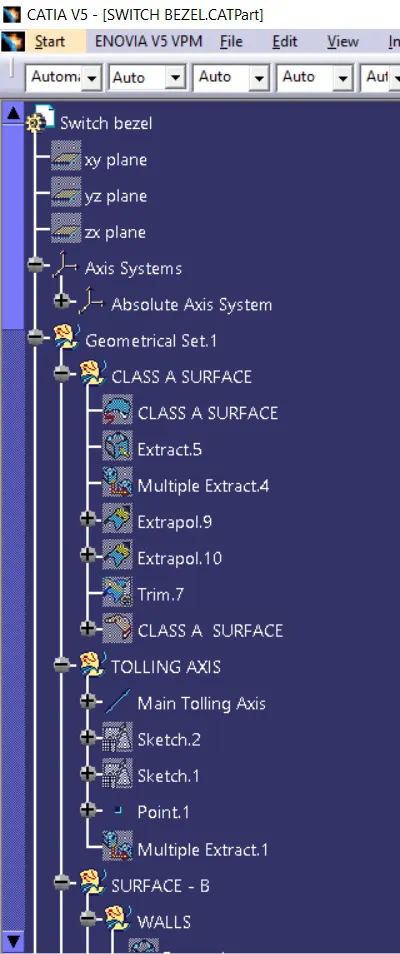
TOOLING AXIS
To create the tooling axis, we need the proper orientation or view that gives the correct features and draft available in the component.
So here the component view from the Z direction gives the proper view for the tool to see the features present in the geometry.
To create the tooling axis from the Z direction we need the tooling axis from the other X direction since it gives the draft available at the slanted part.
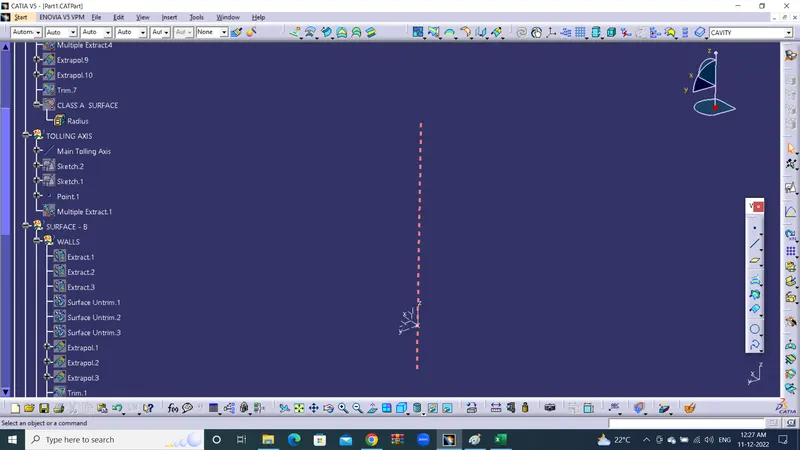
The tooling axis created from the X direction by following steps
The base surface is extracted.
Then the center point is created using the point > on the surface at 0
At the point created the axis system is created
After that switching the view of the model to the X direction and creating the tooling axis.
Using the intersect in ZY plane to get the boundary lines.
Then the lines are created along the slant surfaces.
Then these two lines are bisected to get the tooling axis for the X or the final
Next, switching in the Y direction and intersecting the switch bezel part in ZX direction to get the intersecting lines.
Using the axis center point, a line is drawn in sketch mode and it is constrained at the angle of 4 degrees. (this angle value is an arbitrary value and can be changed to get the final tooling axis that provides a positive draft )
At last, both the lines are bisected to get the final tooling axis.
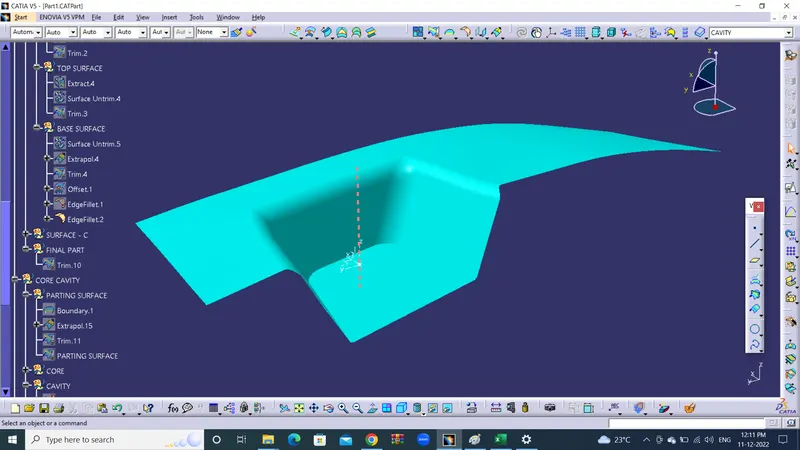
B class surface:
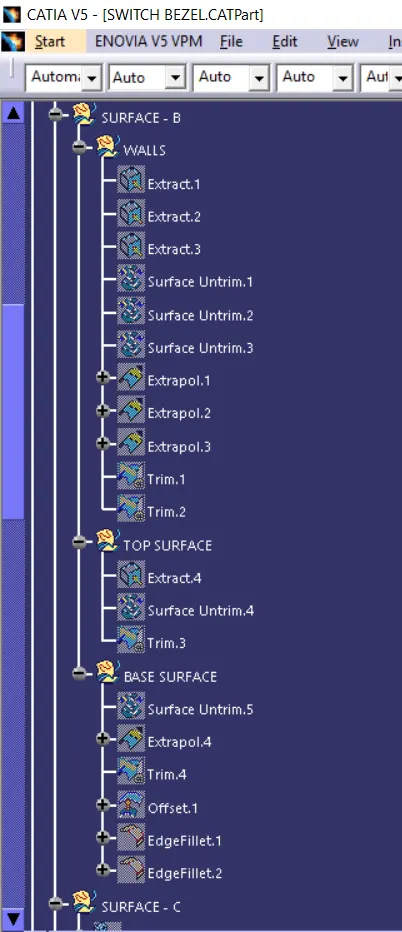
To be create B-surface Feature offset the CLASS A SURFACE.
1. Extract the walls and Base top Top referance of the given SWITCH BEZEL CLASS A SURFACE.
2. Offset the Extract surfaces with direction of Z dimension of 2.50mm.
3. Extrapolate the Base and Top Referance surface.
4. Trim the Base Suraface with walls.
5. Tim the the TOP Surface with Base and Walls trim surface.
6. Use the edge fillet feature to connect the all walls referance of Class A Surface Fillet Radius.
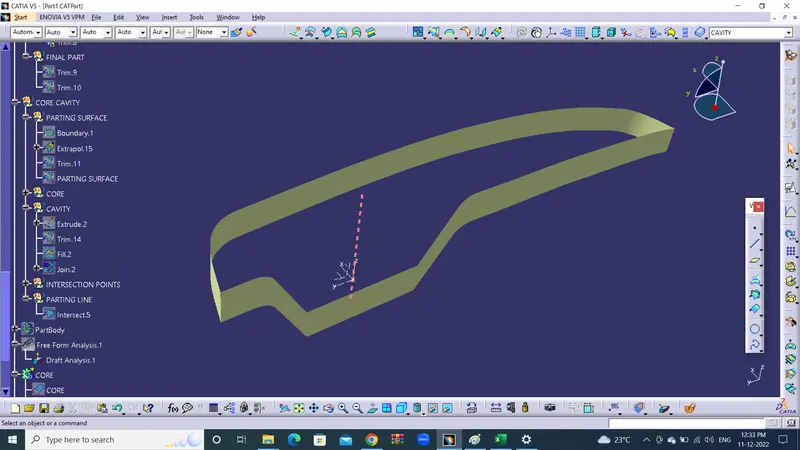
C class surface :
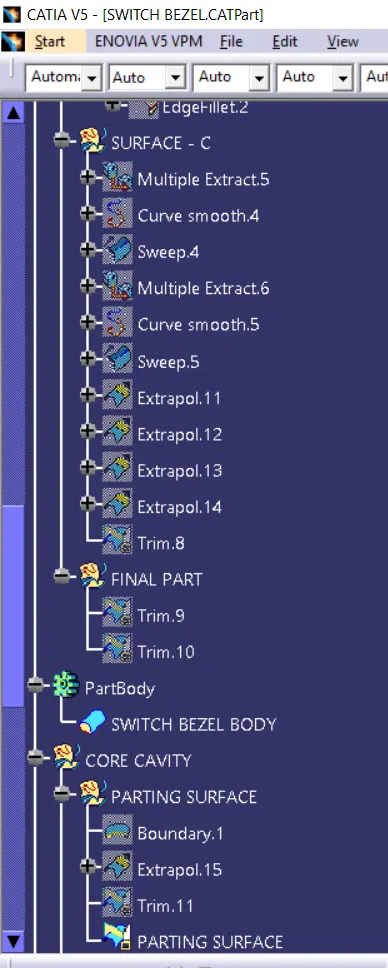
Class C Surface has swept along the boundary CLASS A surface with respect to the tooling axis direction with a draft angle of 3 degrees.
Final switch bezel component :
1. Trim the CLASS A SURFACE With C-Surface and finlally Trim the B-surface With C&A Surface.
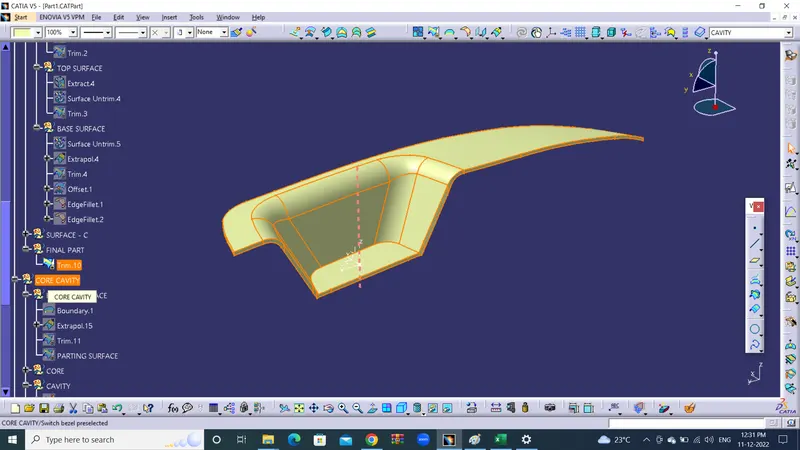
Note: Check the all Boundary conditions are closed are not.
PART BODY:
Afeter Create closing surface open Part design in Catia create solid body using Closed Surface feature.
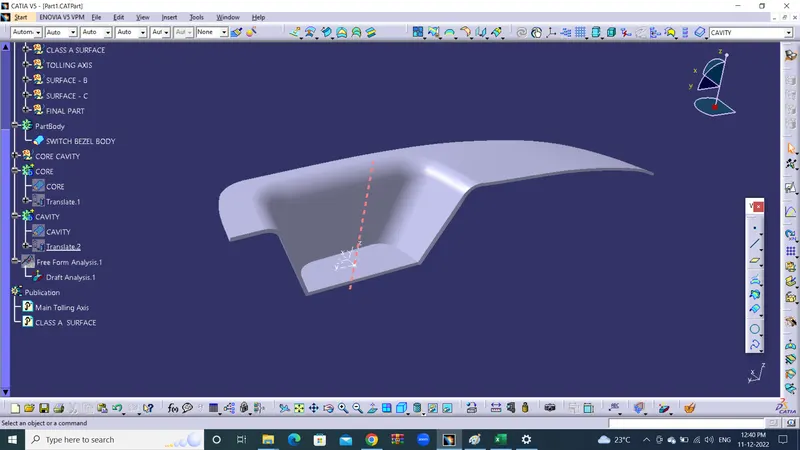
Draft analysis :
To Perform DRAFT Angel analysis with Tolling axis and ensure the All surface is in required dangel of Direction or not check it.
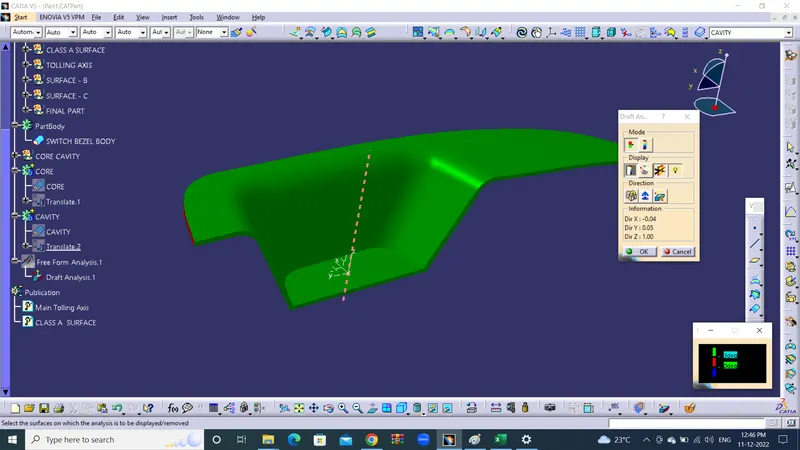
CORE AND CAVITY DESIGN (SWITCH BEZEL)
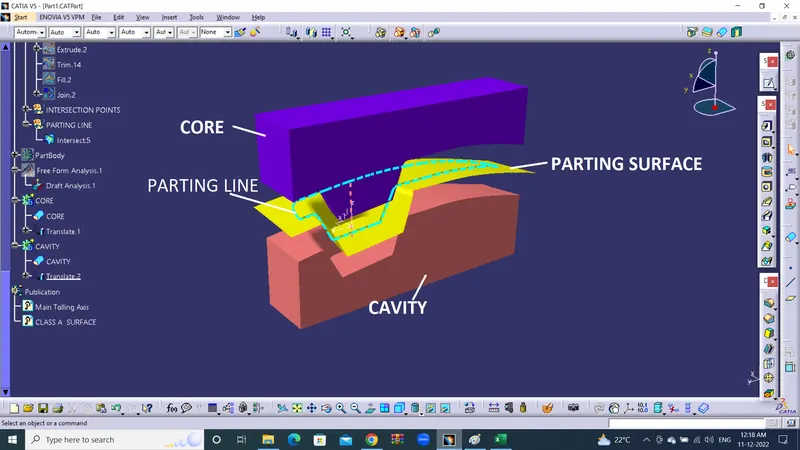
The Mold Core & Cavity are the shaped sections in either half of the mould tool which give the plastic product its final shape.
The hot molten material is injected into the core & cavity and then sets hard into shape. The design of the core & cavity is essential in the correct formation of the product. The sequence of events during the injection mould of a plastic part is called the injection molding cycle.
The cycle begins when the mould closes, followed by the injection of the polymer into the mould cavity.
A core is usually made of the best quality sand and is placed into the desired position in the mould cavity. Core prints are added to both sidesof the pattern to create impressions that allow the core to be supported and held at both ends.
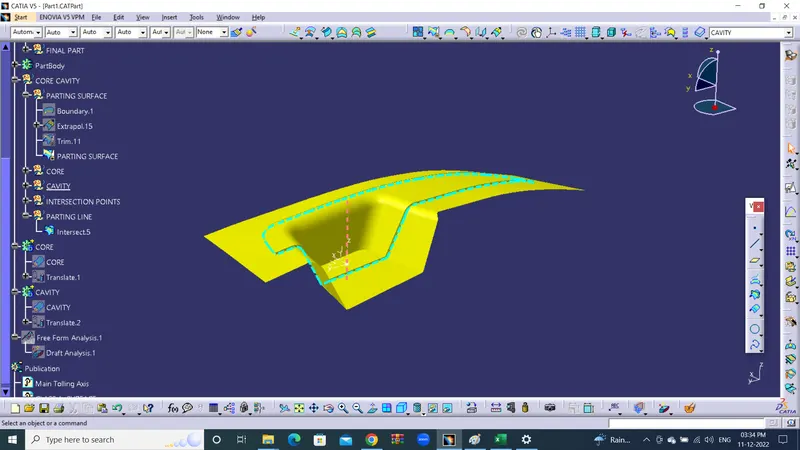
Parting Surface :
A parting surface is a surface that separates the mold block into two parts – the core and the cavity. The parting surface in most of the cases is kept at the B class surface to avoid close and tight contact between the core and cavity.
Consider a model, as shown in the image above. As you can see, the model is a hollow plastic component. To make a mold for this part, you should first select a parting line for the mold.
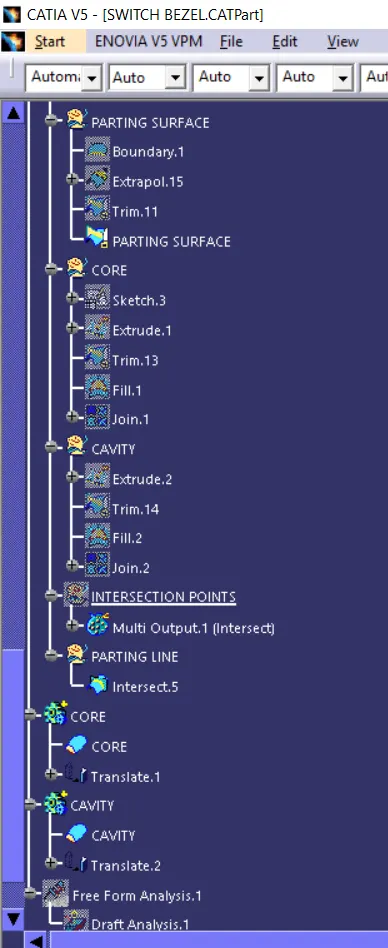
To create Parting surface Trim the from Class A Surface to C-Surface & Later Trim the B-Surface with trimed C&A Surface This Surface is Parting Surface.
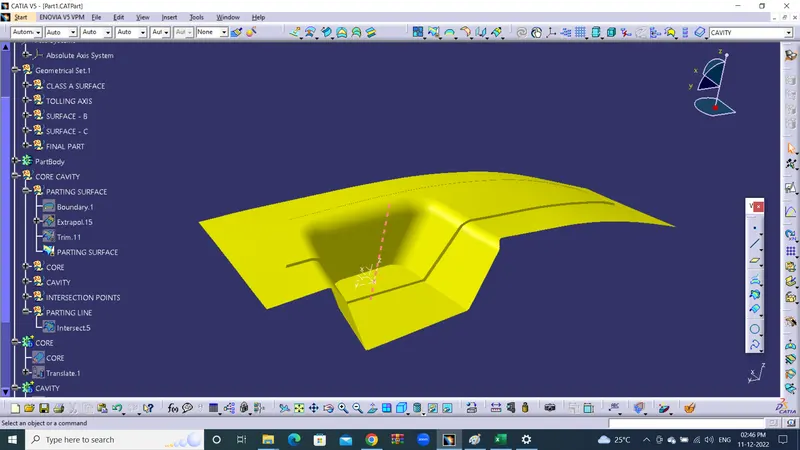
CORE:
Core is the side of the tool where the plastic part is injected from; also known as the bottom half of the tool.
The core design is started with extracting the parting surface that becomes the datum for the core and cavity.The Core is Moveable part in the injection molding. and it connects the ejector pin side core, Lifter.
To design a core First draw rectangular sketch and extrude along with direction Tooling axis direction and trim the Extrude surface from Parting surface .Later Close the surface with Fill command.
Closed Core Surface to be create solid Model by using Closed surface feature in Part Design.
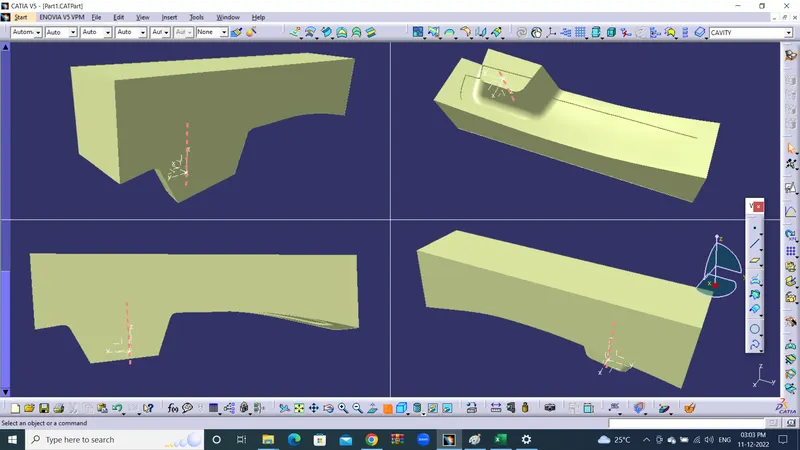
:
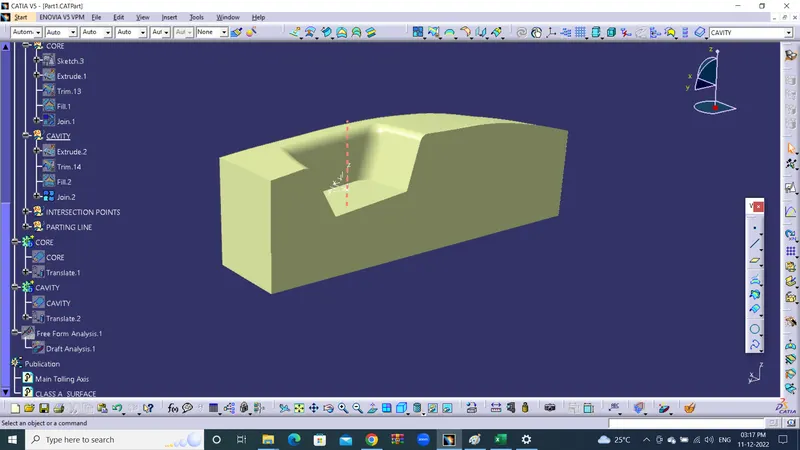
Cavity is the side of the tool where the plastic part is injected from; also known as the top half of the tool.
The Cavity design is started with extracting the parting surface that becomes the datum for the core and cavity.The Cavity is fixed part in the injection molding. and connects the Nozzel of Injection molding machine . The molten plastic flow from cavity nozzle to cavity pattern.
The cavity is the part where the injector and filling of the molten plastic happens. The cavity block is prepared by first extruding the outer boundary along the tooling direction.
To design cavity part extrudre the rectangular sketch along witg directional tooling axis. and trim with Burface.
This outer surface is trimmed with the B class surface and then it is filled and thickened.
Parting line
A parting line is an inevitable part of injection molded products. It is the line of separation between where two halves of a mold meet. It manifests itself on injection molded parts as a line that runs the entire perimeter of the part. In most parts, it is just a line that runs straight down the middle.
To create parting line where trimed A&C Surface and B-susrface are intersecting on paring surface.
CORE AND CAVITY
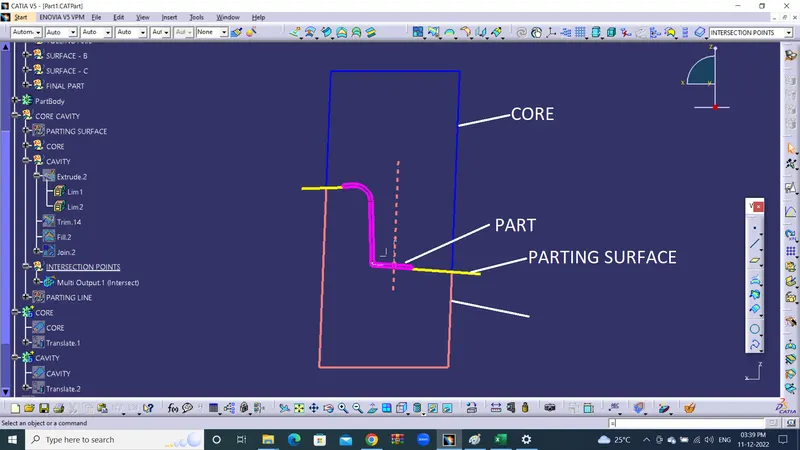
Tree structure :