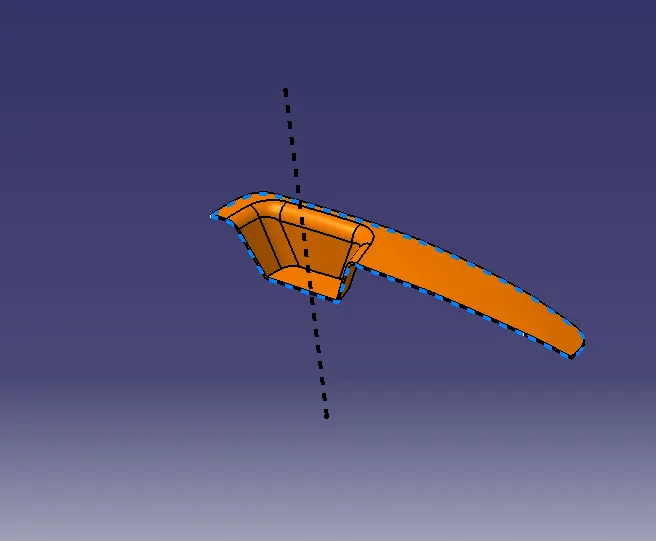
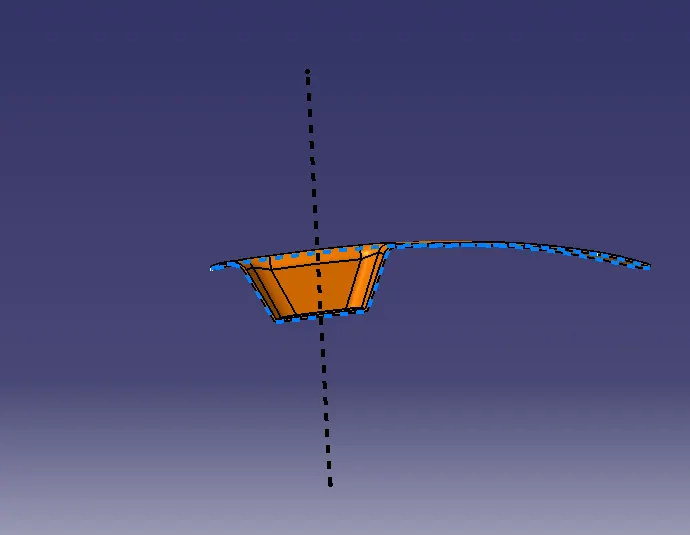
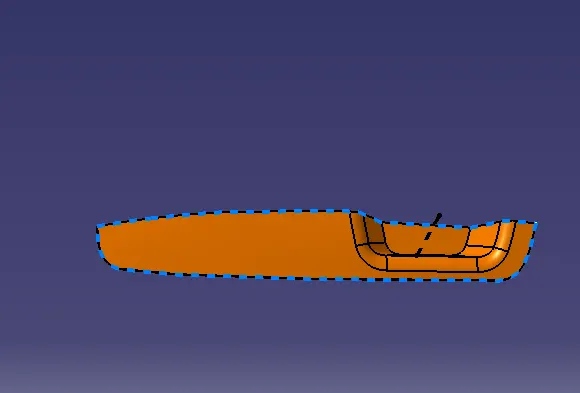
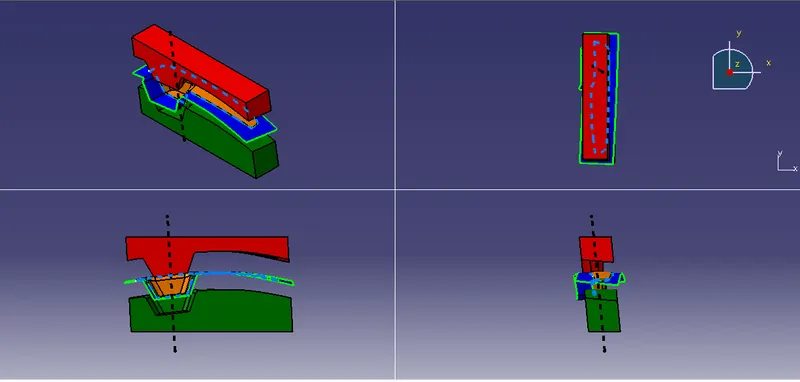
Week 8 - Challenge 6 - Core & Cavity Design
AIM : Create the Core and cavity blocks for the switch bezel designed in the earlier challenge.
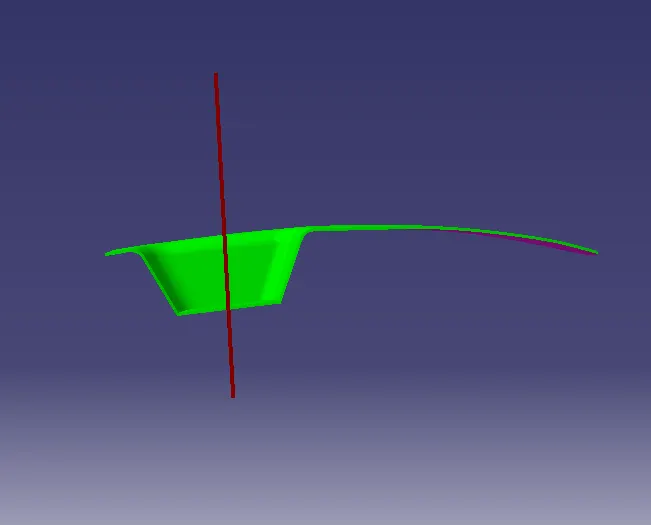
TOOLING AXIS:
IT IS THE AXIS IN WHICH THE DIRECTION CORE AND CAVITY OPEN. THIS IS THE VERY IMPORTANT FOR PRODUCTION OF PLASTIC COMPONENT. MOST OF THE
DEFECT WILL DONE IMPROPER TOOLING AXIS CREATION BY THE PLASTI DESIGNER.
THERE ARE SO MANY METHODS FOR CREATION OF TOOLING AXIS. INTERSECT IS THE ONE OF THE METHOD FOR CREATING THE TOOLING AXIS.
BYSECT METHOD:
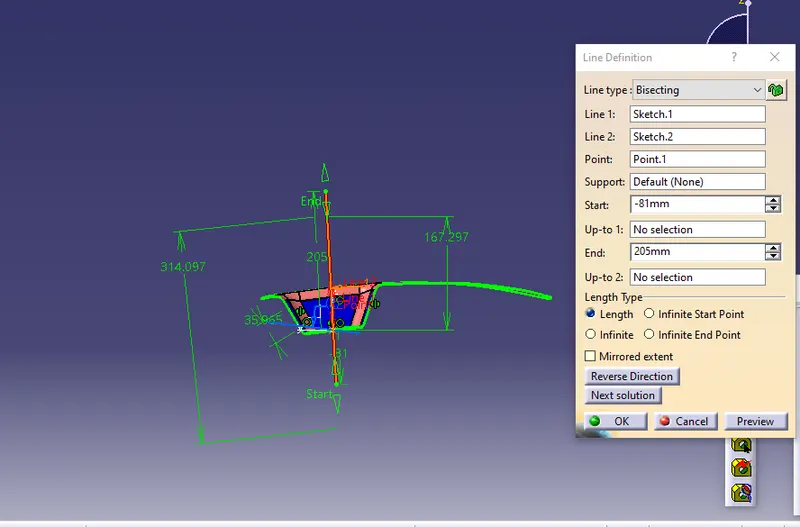
FOR DOING THIS YOU SHOUD FIND OUT THE WHAT IS THE BEST TOOLING DIRECTION. FOE DOING THAT TO ROTATE THE PART AND SEE ALL DIRECTIONS AND
CHOOSE THE WHICH DIRECTION WILL BE COMFORTABLE.
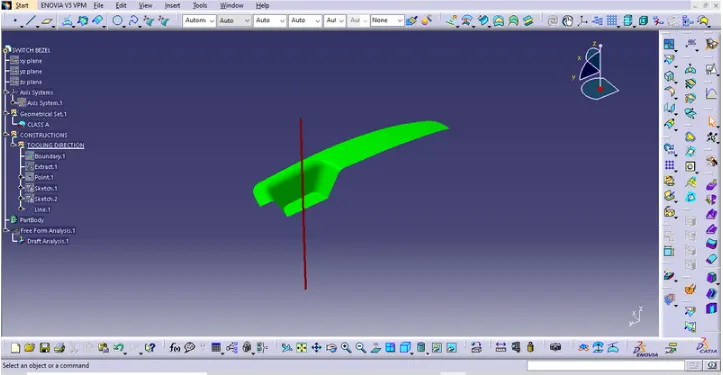
THEN CREATE THE POINT ON THE BASE MOSTLY CREATE THE POINT WHERE THE HOLE OR POCKETS ARE GIVEN. AND AFTER THAT INSERT TOOLING AXIS IN
THAT POINT.THEN FIRST SEE IN X DIRECTION IT ILL CLEAR THE ALL FACES OF PARTS IF NOT CREATE A PLANE AND INTERSECT TO EACH OTHER. THE FALLOWING
WINDOW WILL BE APPEARED.
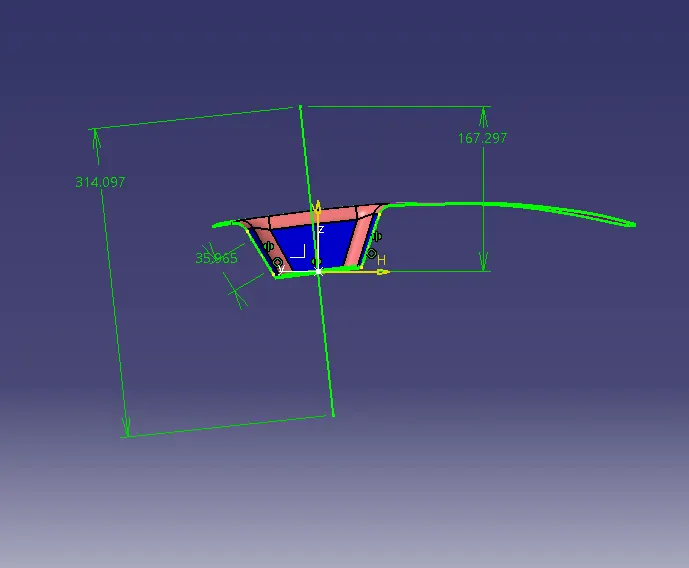
THE CREATE THE MEAN LINE. AND GO TO Y DIRECTION AND DO THE SAME PROCESS WE ARE DONE IN X DIRECTION.
THEN BYSECT THESE ALL LINES TO GET THE MAIN TOOLING AXIS. THIS TOOLING AXIS CAN BE CLEARED ALL FACES OF THE PART.
DRAFT ANALYSIS:
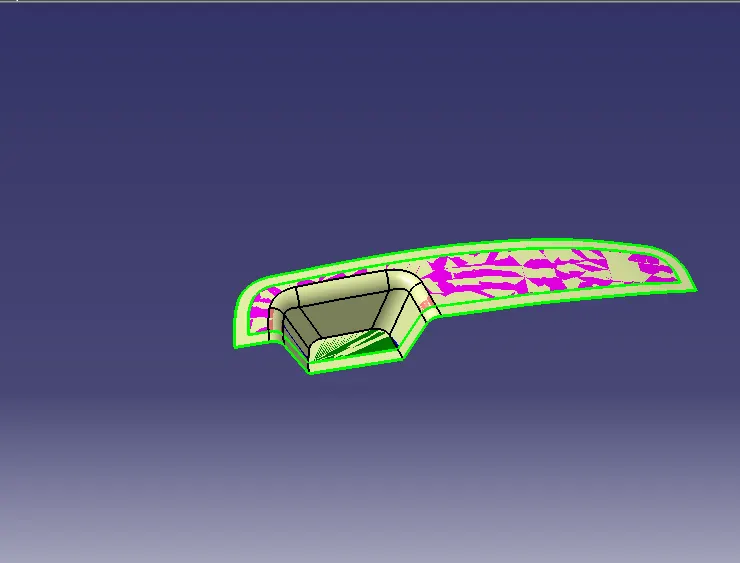
THE PURPOSE OF DRFT ANALYSIS IS TO DETECT THE PARTSHOULD BE EAISILY WITHDRAWL FROM THE CORE AND CAVITY BY USIN OF DIFFRENT COLOUR
RANGES.
THIS ANALYSIS WILL BE DONE BY DRAFT ANALYSIS COMMAND. FOR THIS COMMAND GO TO INSERT< ANALYSIS< FEATURE DRAFT ANALYSIS
THESE ARE THE FALLOWING STEPS TO DO THE DRAFT ANALYSIS ON SWITCH BEZEL.FIRST TO CLICK THE DRAFT ANALYSIS COMMAND THE FALLOWING
WINDOW WILL BE APPEARED.
AND THEN CHANGE INTO MATERIAL MODE
THEN CLICK THE COMPASS AND DRAG ON THE TOOLING AXIS. AND THEN CLICK ON THE PART THEN THE COLOUR WILL CHANGES OF THE PART.AND YOU CAN
CHANGE THE VALUE USING SCALE OPTION.AND ALSO A RUNNINNG PINT COMMAND USED TO FINDOUT THEANGLE OF PART FROM THE TOOLING AXIS.SO YOU
CAN MODIFY THE TOOLING AXIS BY USING COMPASS TO GET PROPER RESULTS.
DRAFT ANALYSIS REPORT FOR SOLID BODY
DRAFT ANALYSIS REPORT FOR CLASS A
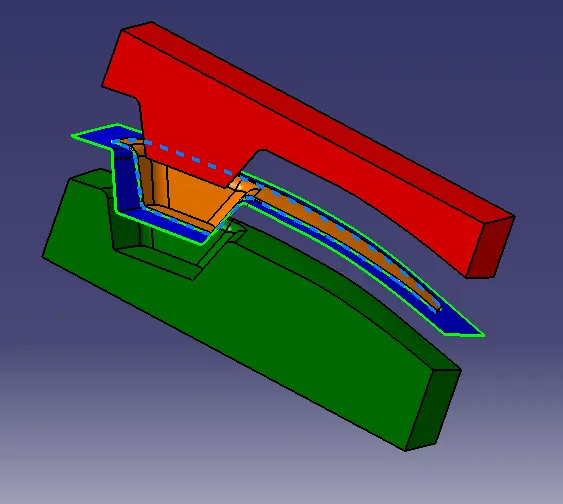
CORE AND CAVITY design for switch bezel:
First of all you have full knowedge about waht is , cavity, parting surface, parting line etc.
core and cavity:
A core is the one part of the mould.and it is respponsible for half of the molded part. actually core is the proje
The core is the part which forms the internal shape of molding. The cavity is the part which forms external shape of molding.Core is the side of the tool where the plastic
part is injected from; also known as the bottom half of the tool. The upper half of the mold is called CORE.A tool with one impression is often called a single impression
(cavity) mould. A mould with two or more cavities of the same parts is usually called a multiple impression (cavity) mould.
The outside of the enclosure will be a cavity in the A-side of the mold and the inside will be a core on the B-side.
Gonna work theparting line and the parting surface.
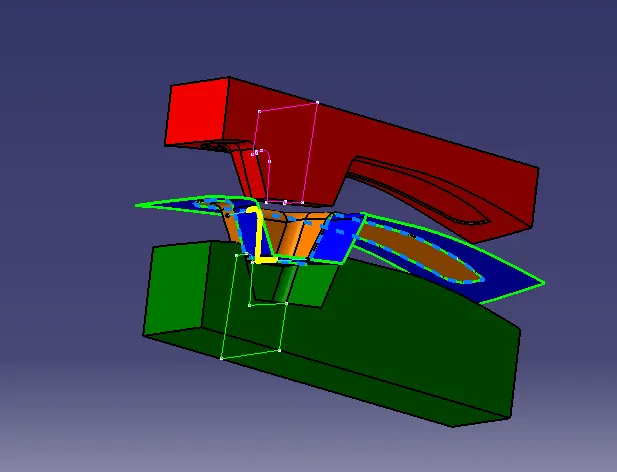
1ST to create a core side in the give switch bezel.
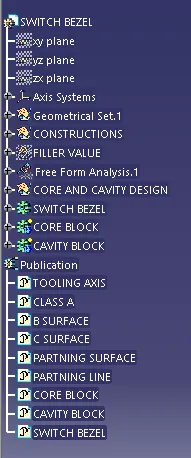
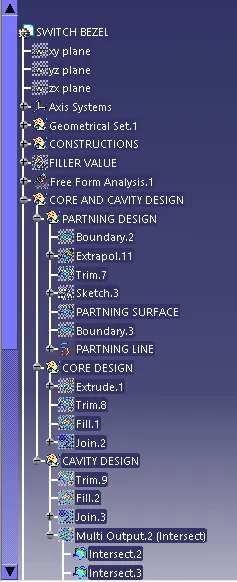
Inser the geometric----name as core cavity design.
In the generative design.
Extract the boundary of class A.
AND extrapolation the boundary.2
And extrapolation the class A.
Length 14mm.
Curvature and tangent
Click ok.
Unhide the class B surface and joinwith the class C.
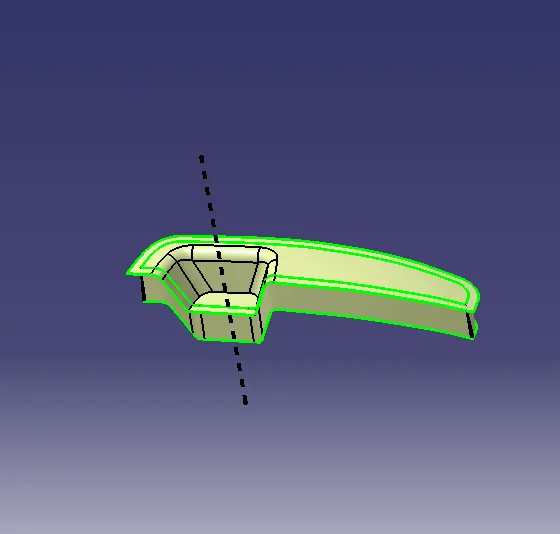
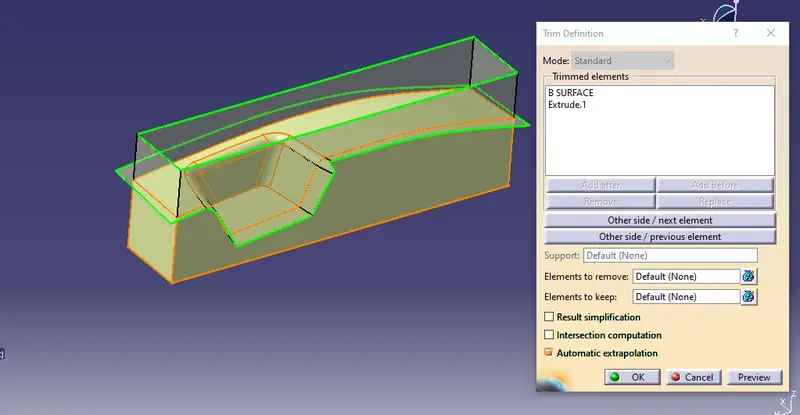
Trim the class A with the C surface.
And trim the class B with trim.7
These are the face which for core and cavity.
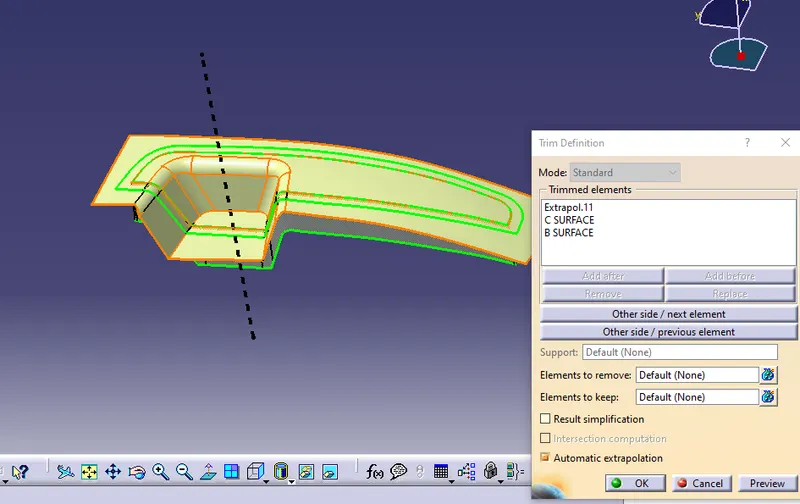
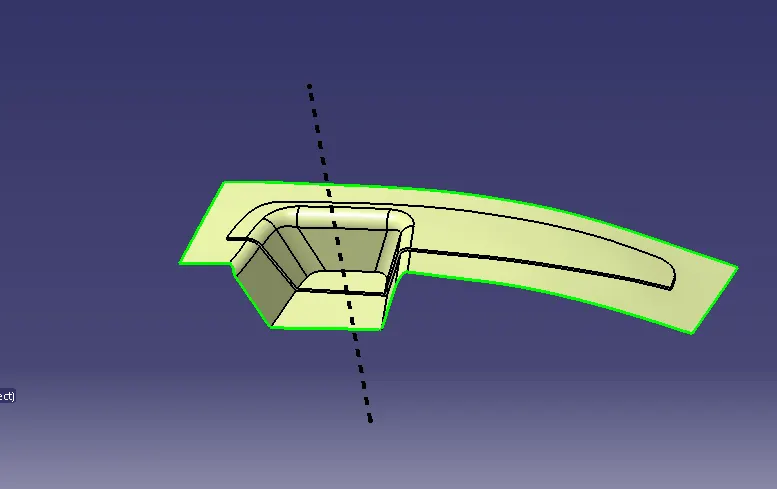
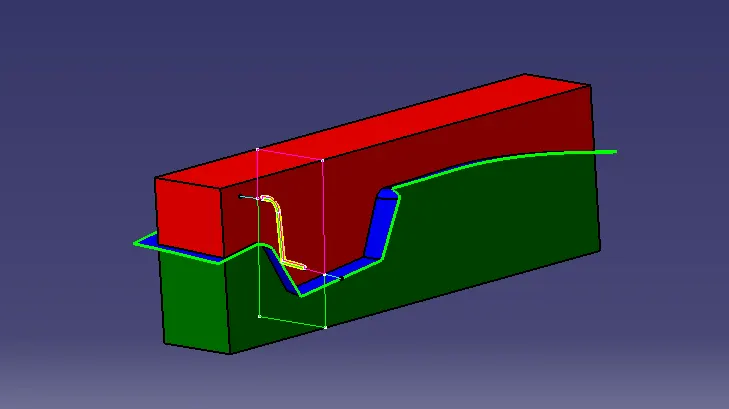
Unhide the axis system. and sketch rectangular.
Ensure it is in the part.
Extrude the sketch .direction: tooling axis.
Ok.
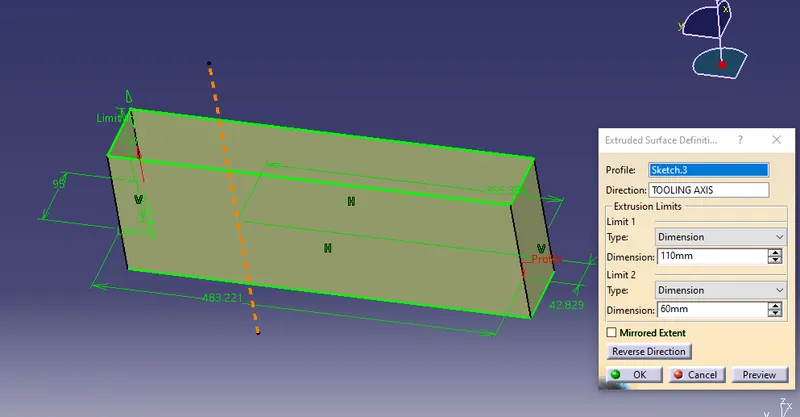
Trim the extrude and parting line.
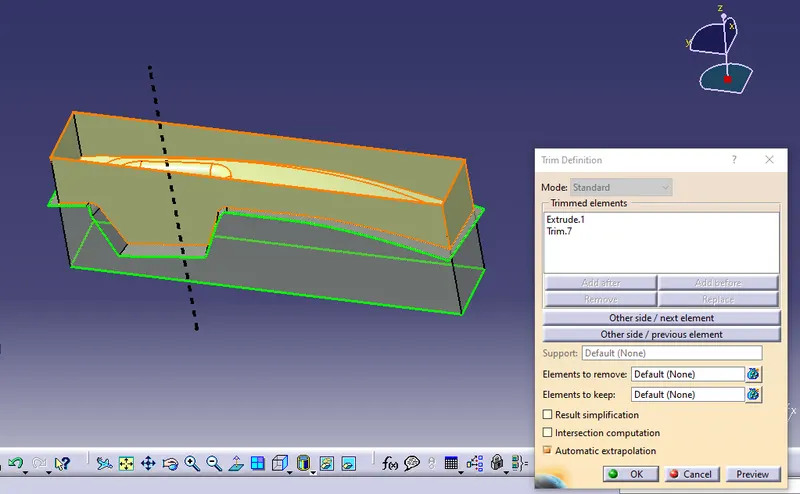
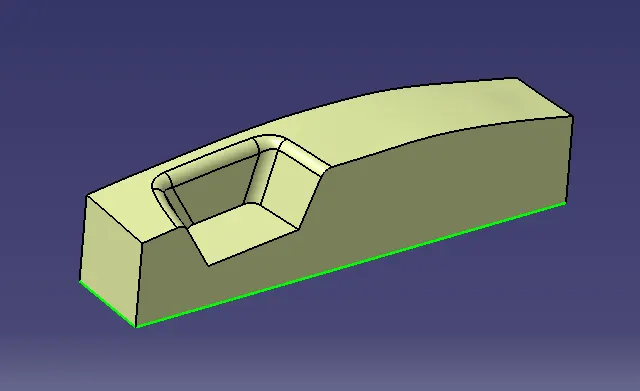
So this is how core gonna loook like.
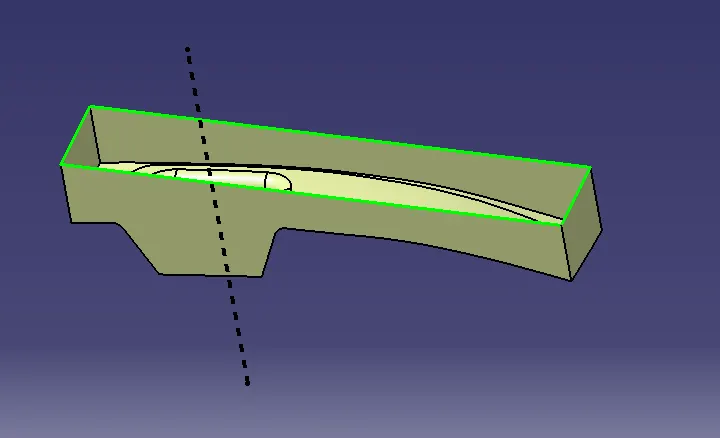
Go to fill----create boundary.and fill the boundry.
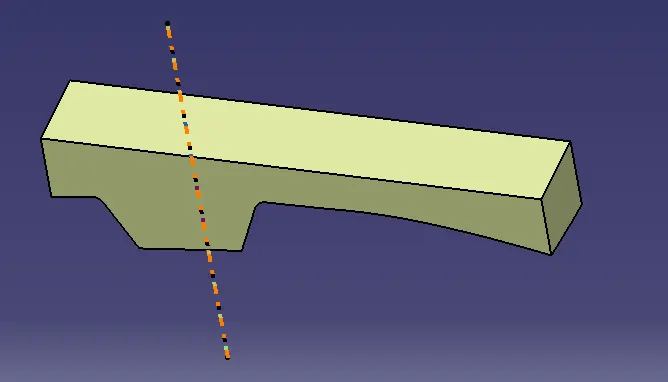
Insert a body and make a solid it.
Click the closed and right click join.
Join the fill and trim.
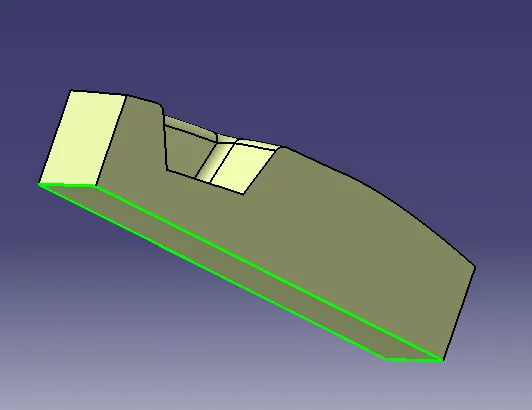
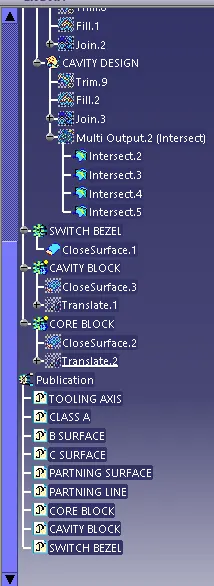
Now this the core closed block.
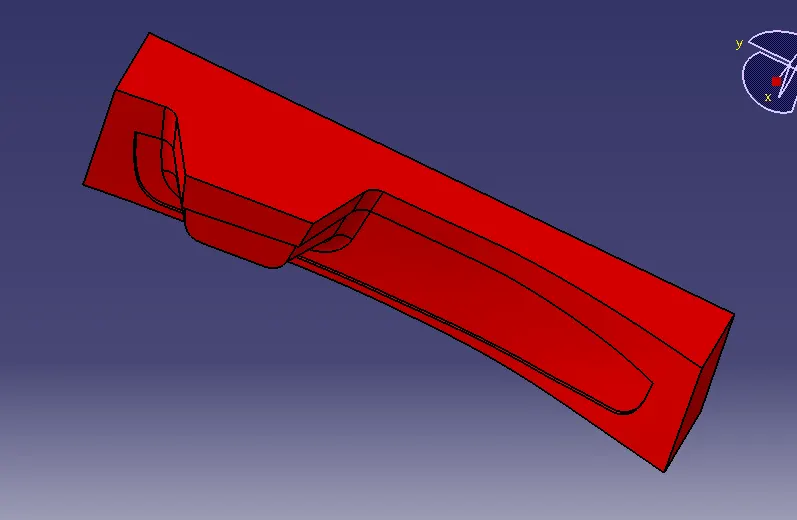
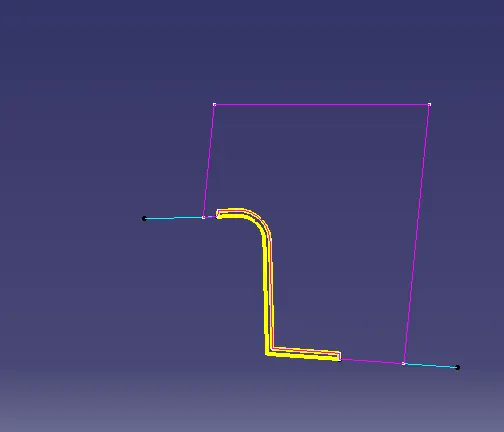
To intersect them
1st element: zx axis plane.
Second : closed surface plus parting line surface plus closed surface 1
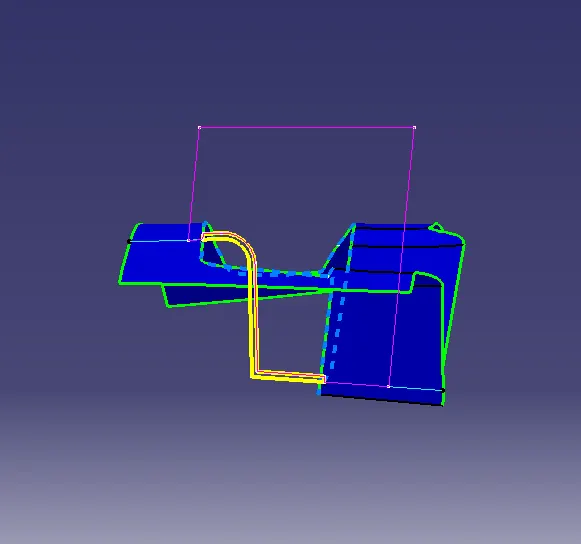
NOW cavty design
Extrude it ----- parting the sketch----tooling direction.
Unhide the B surface trim
And trim it--- extrude and b surface.
Go to fill----create boundary.and fill the boundry.
Insert a body and make a solid it.
Click the closed and right click join.
Join the fill and trim.
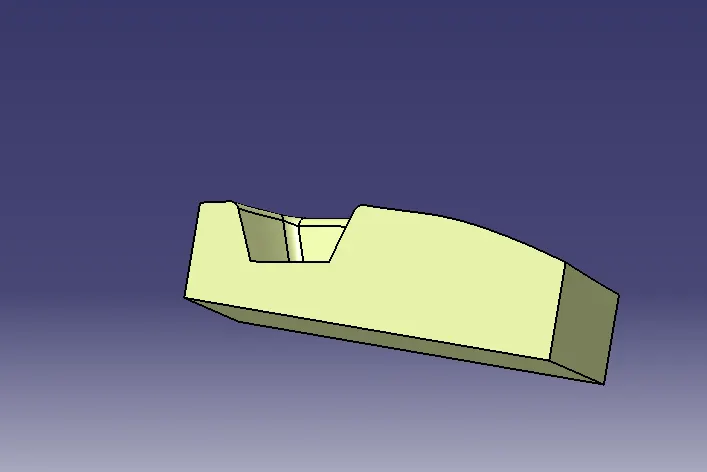
Now this the core closed block.