Week 8 - Challenge 5 - Door Trim Lower
Aim:
To create the class B surface, C surface and tooling axis also publish it as well as close surface the given door trims.
Objectives:
Create the Door Trim Plastic component through the given Class-A surface. To begin with, the tooling axis for the given Class-A Surface should be created meeting the requirements of the draft angle and at the end perform the Draft analysis on the model.
Notes:
Take the Thickness of the component to be 2.5 mm
Explanations:
Class A Surface:
In these challenges we got the catia part file which is having the class A surface we only change their name and colour before that look all body is perfectly close as well as no any impurity in surface after that we create the B surfaces
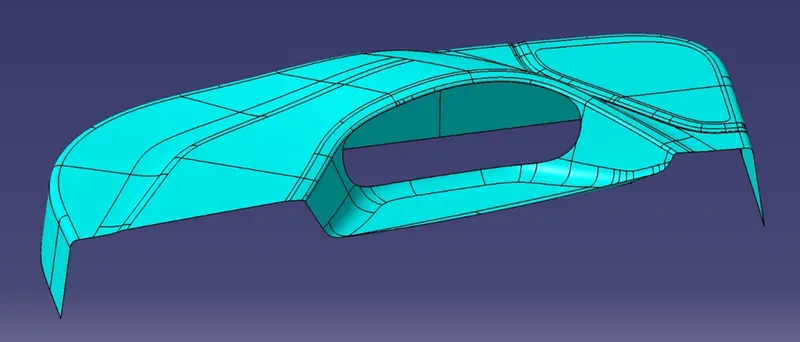
Procedure Certation of Tooling Axis, B surfaces, C surface & Close Surface:
Tooling Axis:
here first we required tooling axis for draft analysis. tooling axis is works as provided to direction for injection moulding as well as direction of draft angle where is check it right or wrong so 1st we extract the surface of class A and then create point on it use this point we create the line by using line command for proper direction which want to the draft analysis and this line knows as the tooling axis.
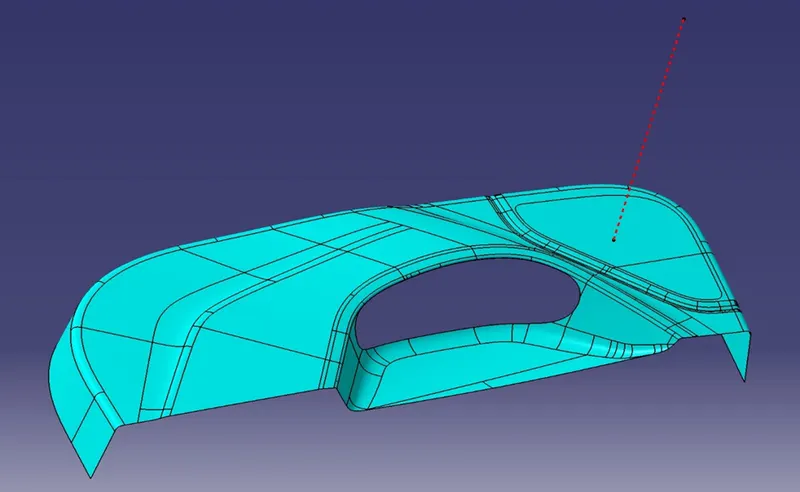
B surface:
here we just offset the Class A surface and get the B surface body here we offset the 2.5 mm value so we get the thickness is 2.5 mm is mention in above so we offset the A surface for 2.5 mm
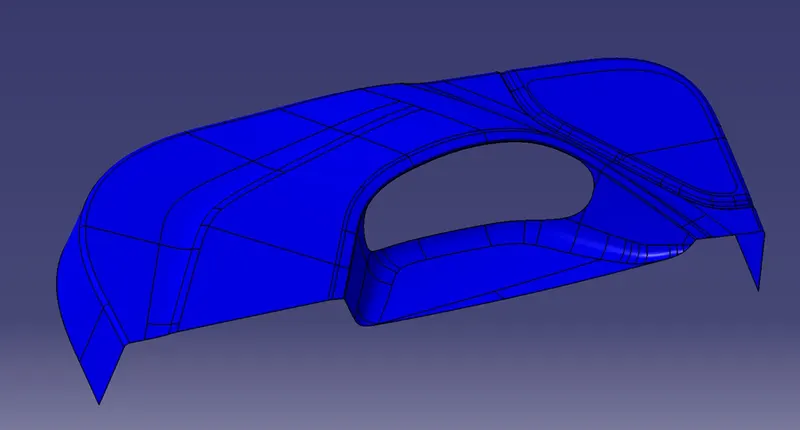
after the offset we get the surface but in that some impurities some portion not offset so we required to solve it so used explore, multiple extract, fill, curve connect, join command and get desire output model no any discontinuity than colour it so we get B surfaces
C surface:
c surface creation by using the sweep command so 1st we create a boundary than disassemble get two curve 1st out-side surfaces than second is in-side surfaces after that we used sweep comment in that go to draft section on choose surface reference option and sweep it similar think done inner curve than we get c surface.
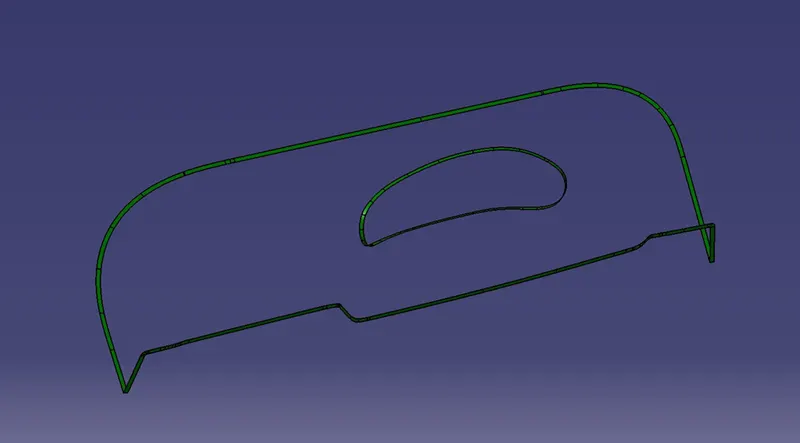
Joining the class, A and class C surface
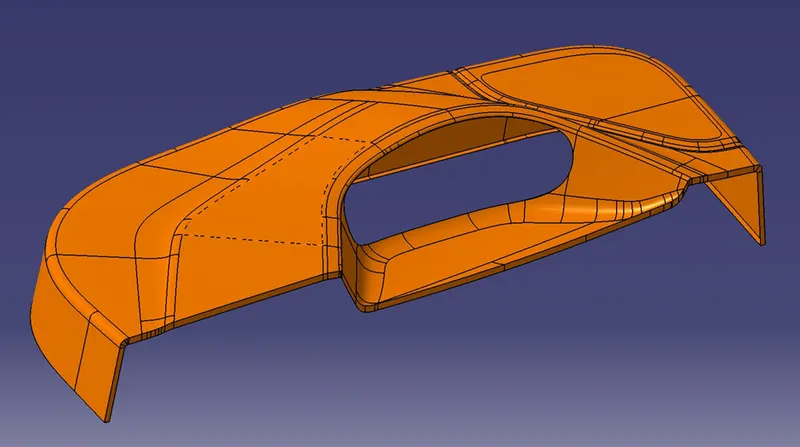
Close Surface:
close surface gets the by trim final surface of c class shown in above image with the b class surface in that we required condition to properly trim it so we used to explore command and explore B surface required dimension same think done both inner and outer curve than trim it gets close surface
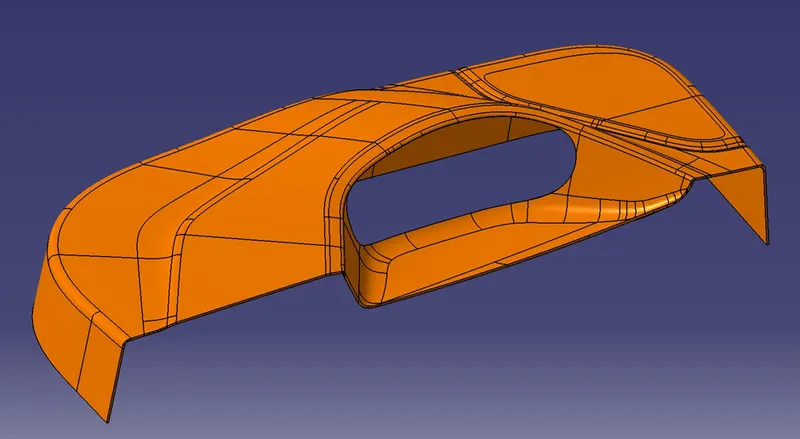
after that we get solid body by using close surface command on part design section
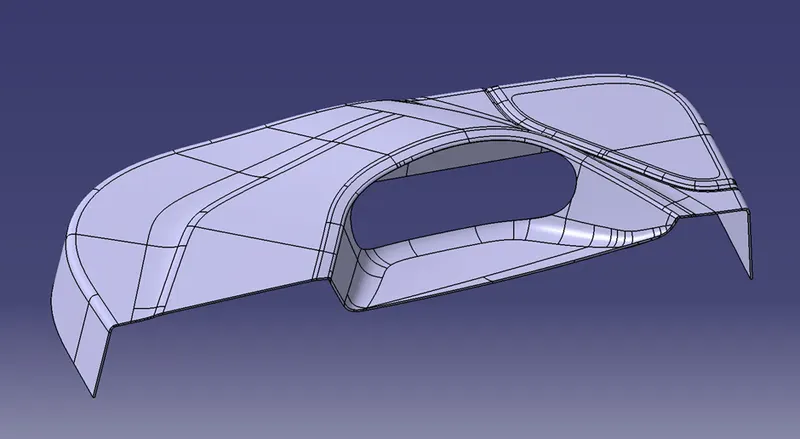
Orthographic views
Front View
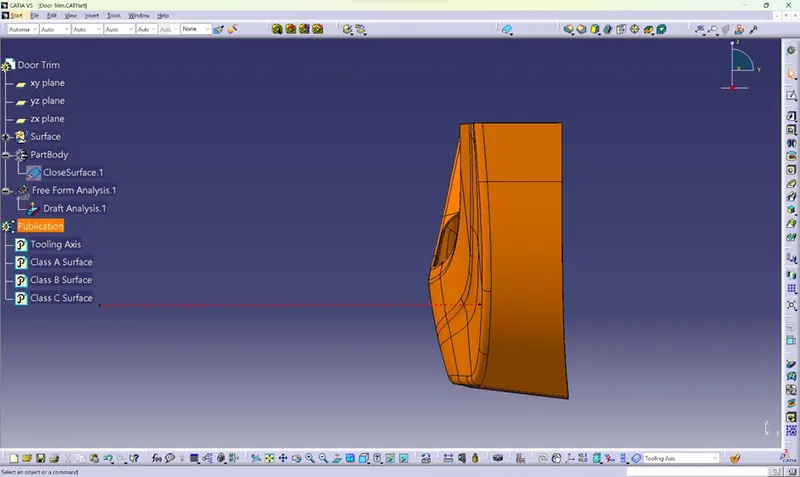
Top View
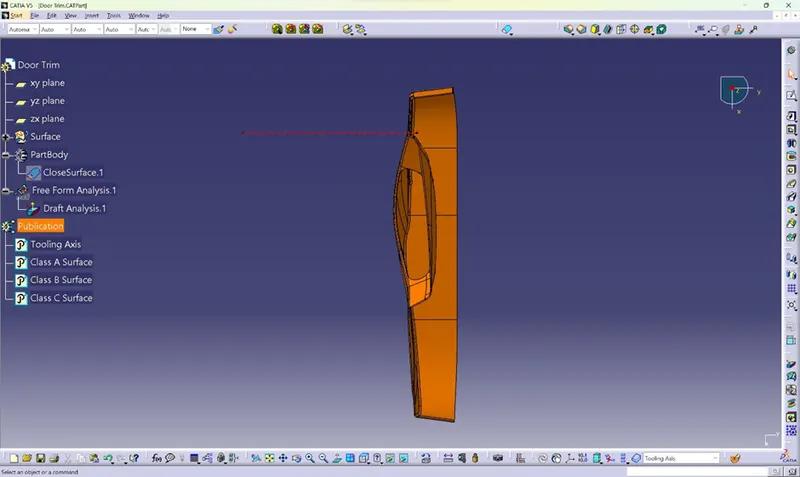
Side View
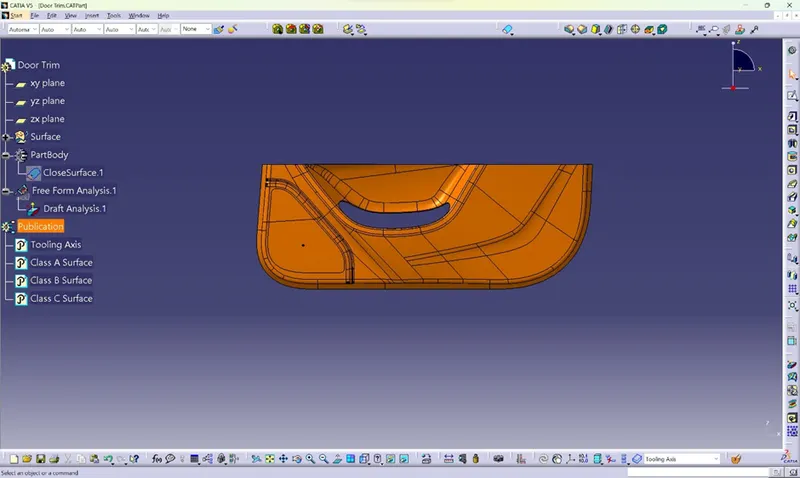
Iso View
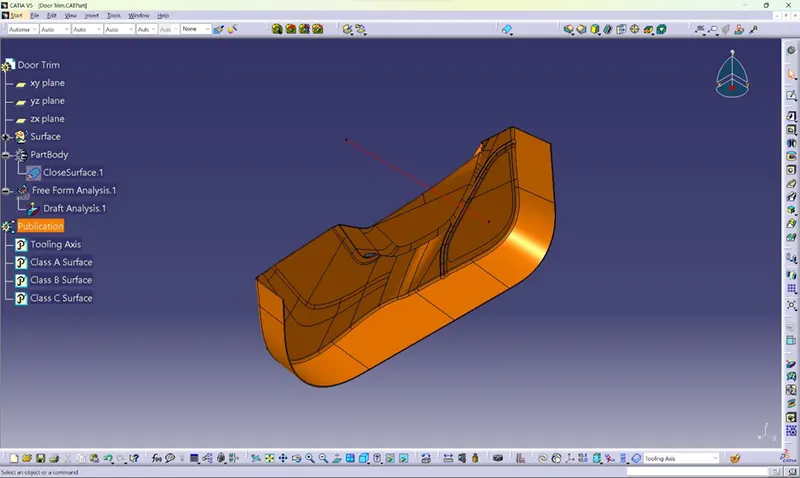
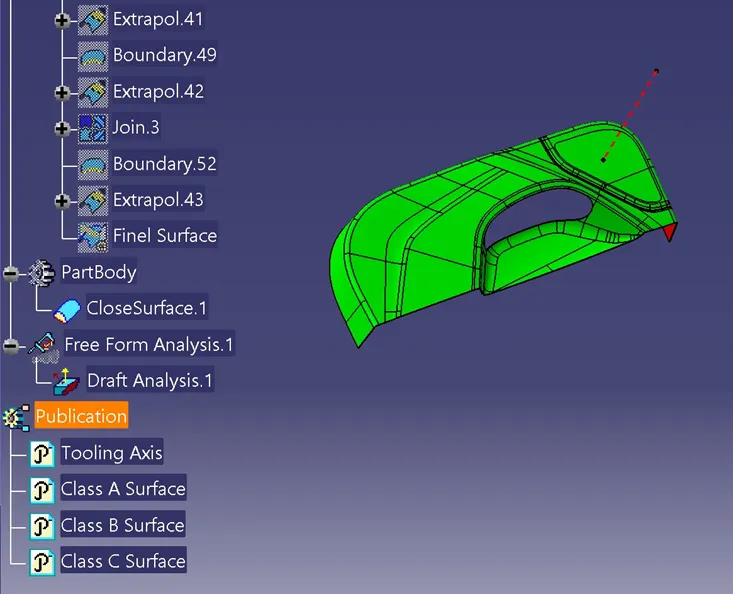
Tree Structure
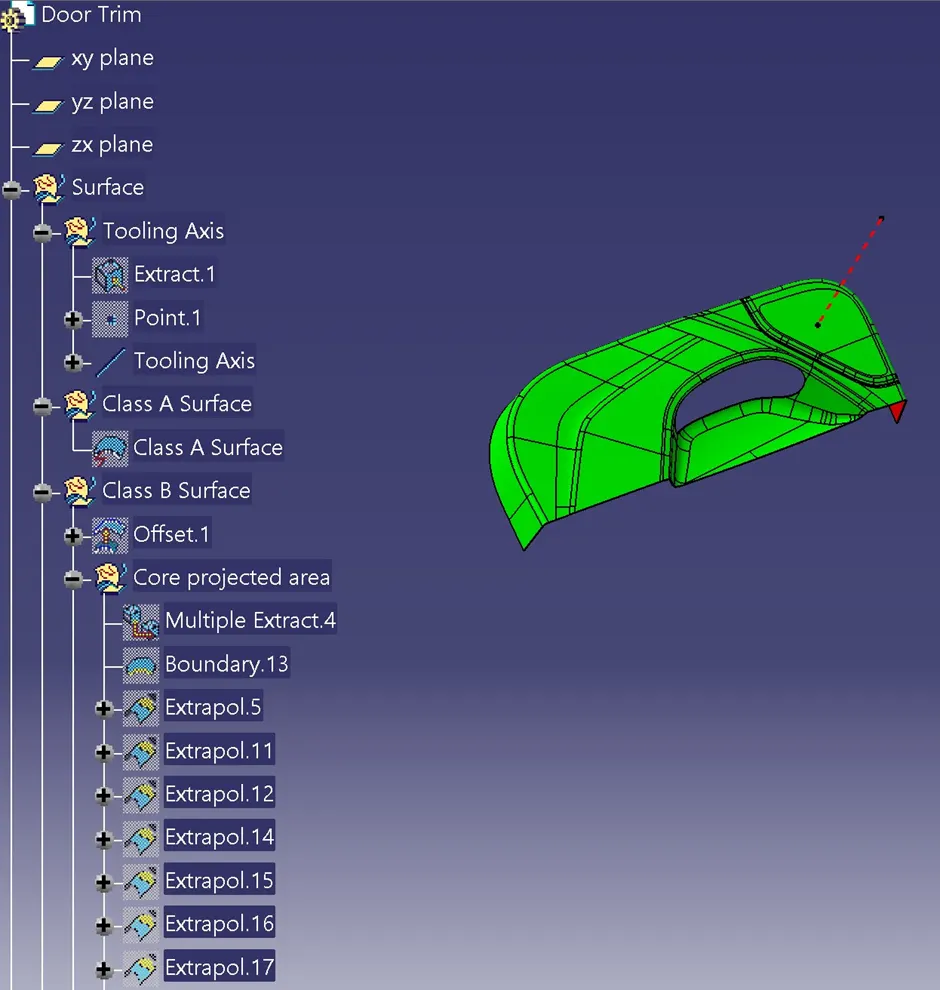
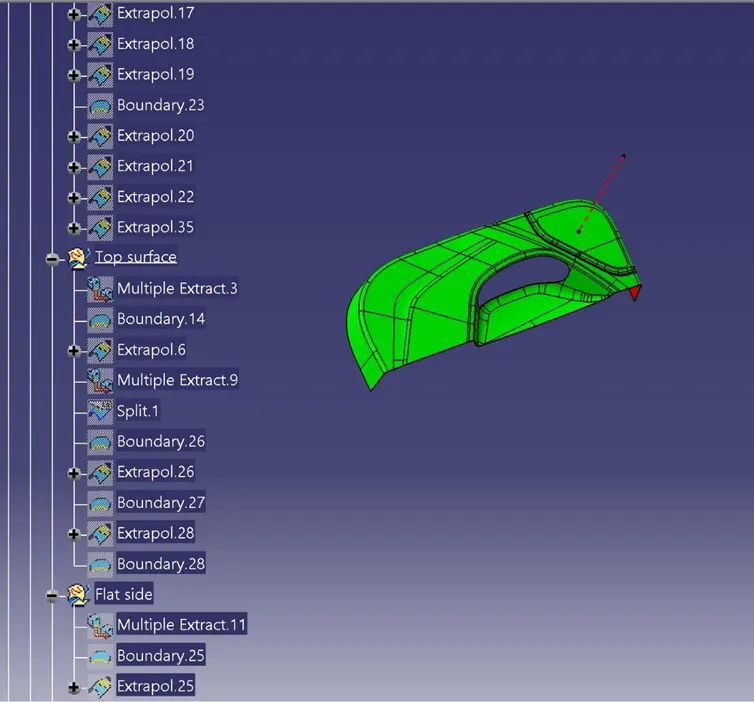
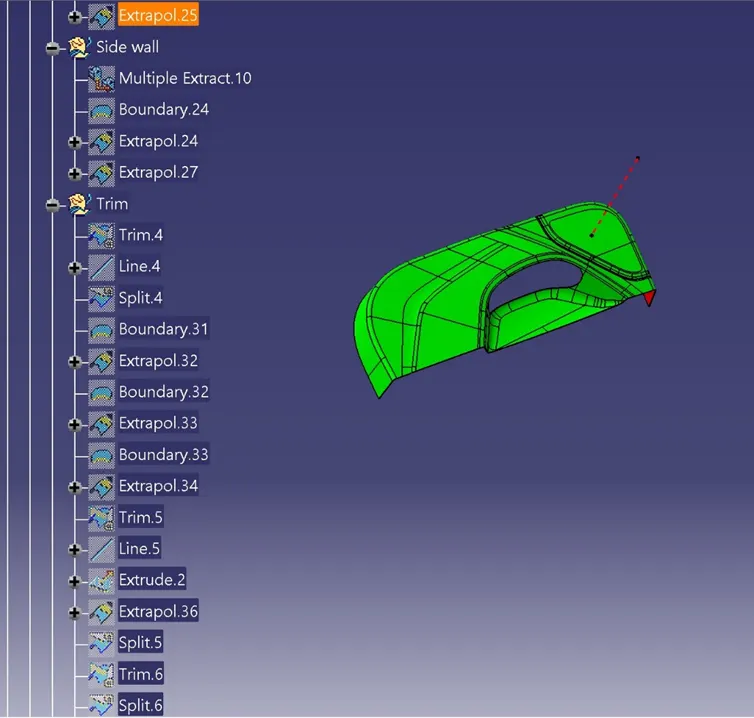
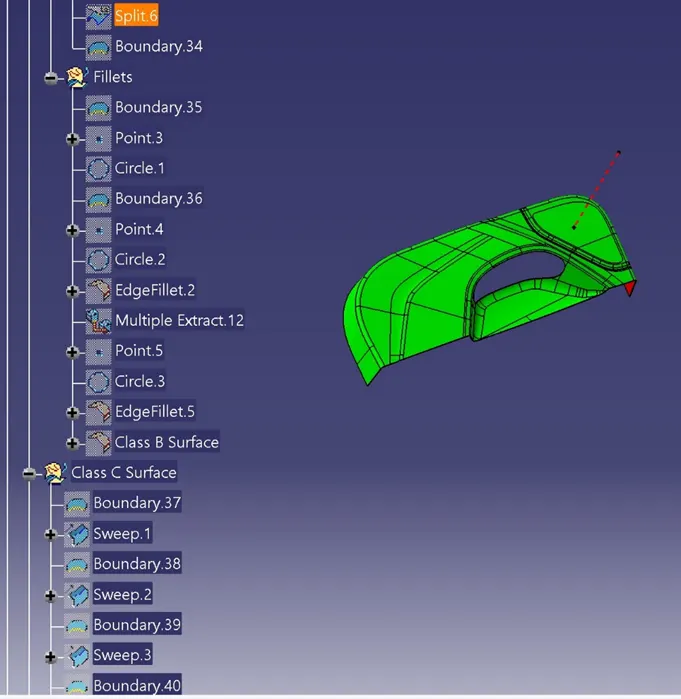
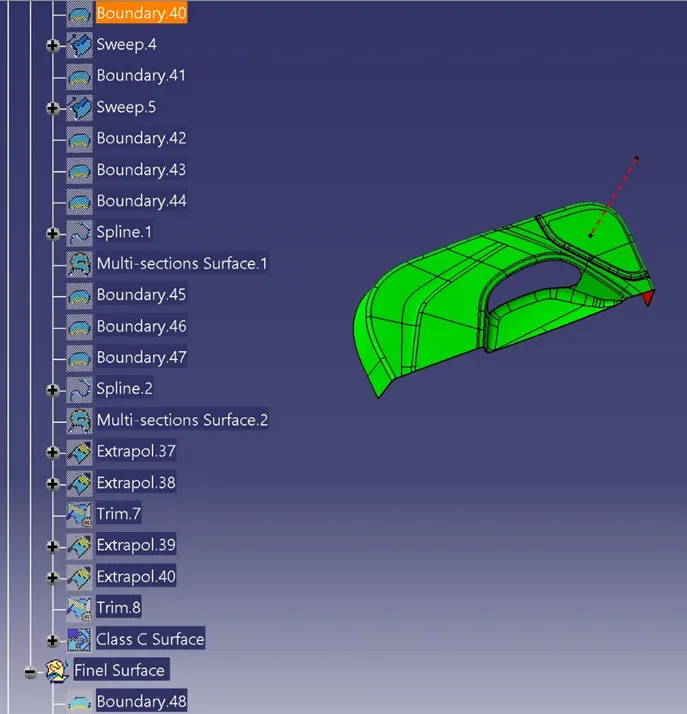
Procedure of Draft Analysis:
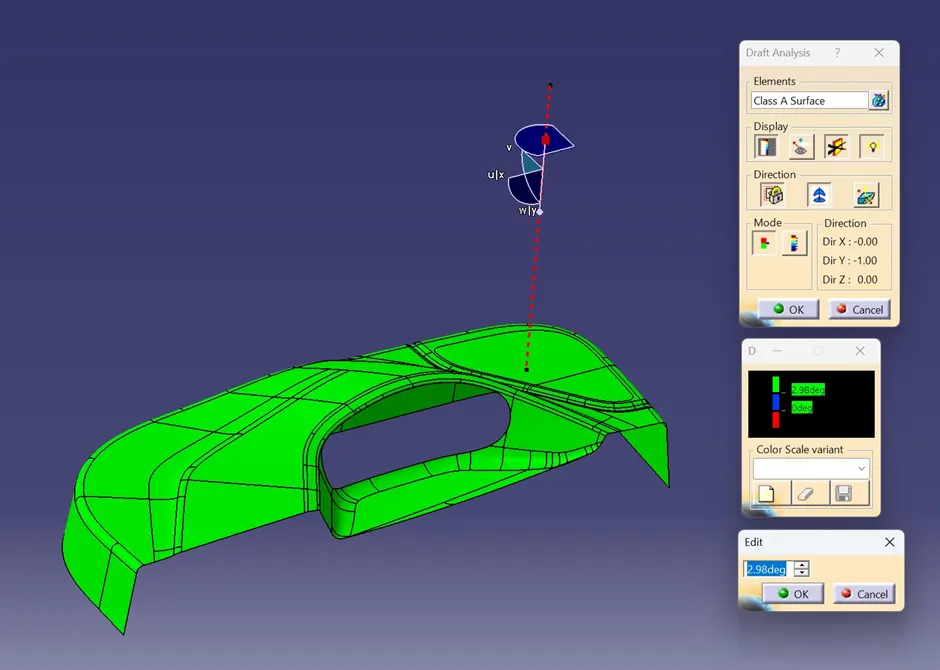
here we go to the draft analysis and 1st we required direction so used tooling axis so we drag the compass and properly mounting on tooling axis than fix it after that go to analysis and get the results.
Class A draft Analysis
Closed Surface draft Analysis
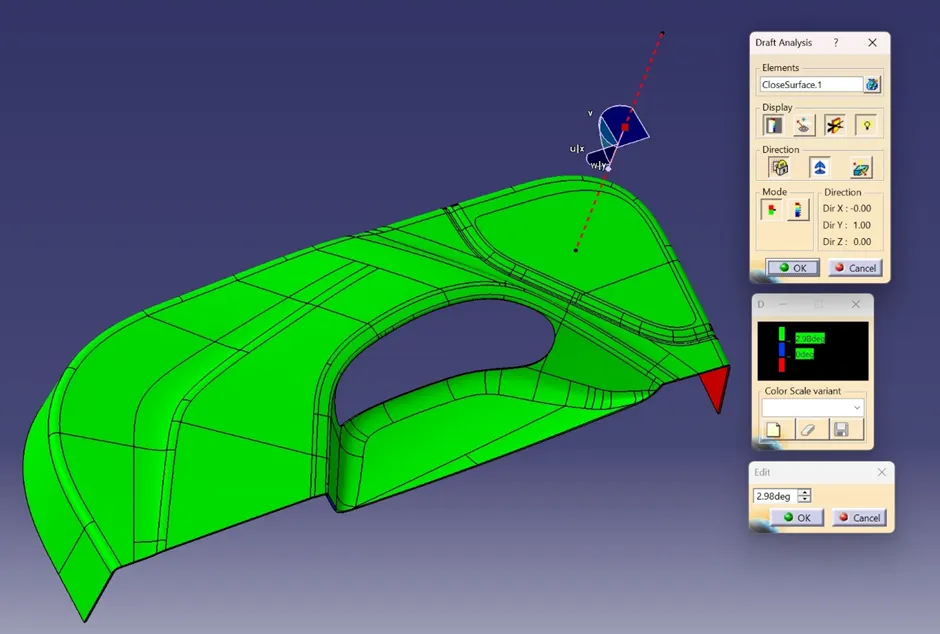
Click the draft analysis option select the compass icon and drag the compass on tooling axis and lock the compass.
Select the closed surface part body set the min 2.98 draft angle and check the part colour if it’s in green colour manufacture is possible.
Notes:
in this challenge attached the catia part file pls refer it