Week 8 - Challenge 5 - Core & Cavity Design
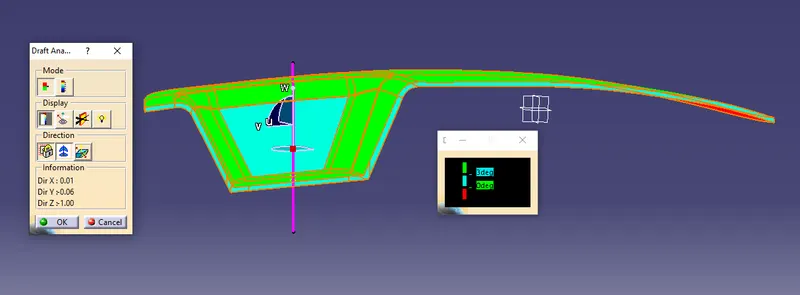
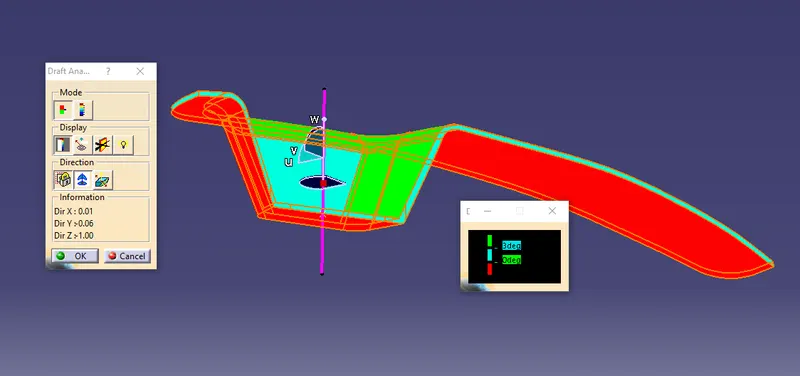
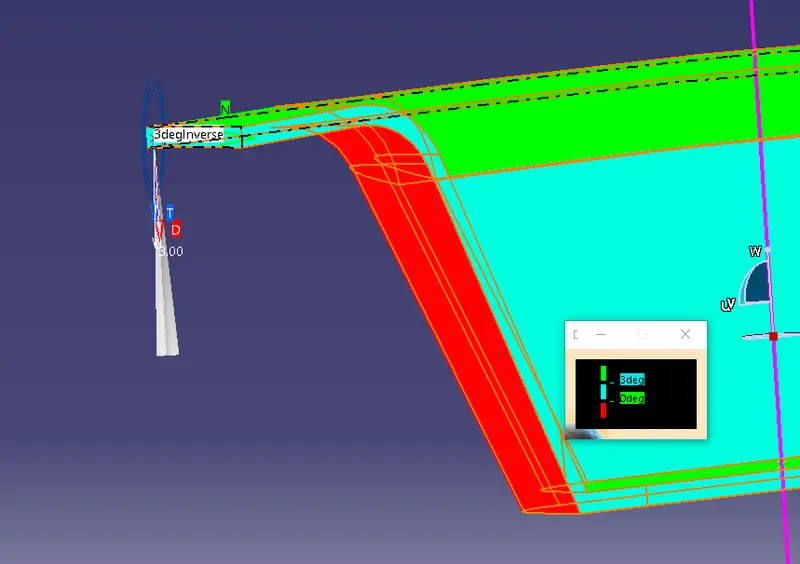
DRAFT ANALYSIS ON SWITCH BEZEL
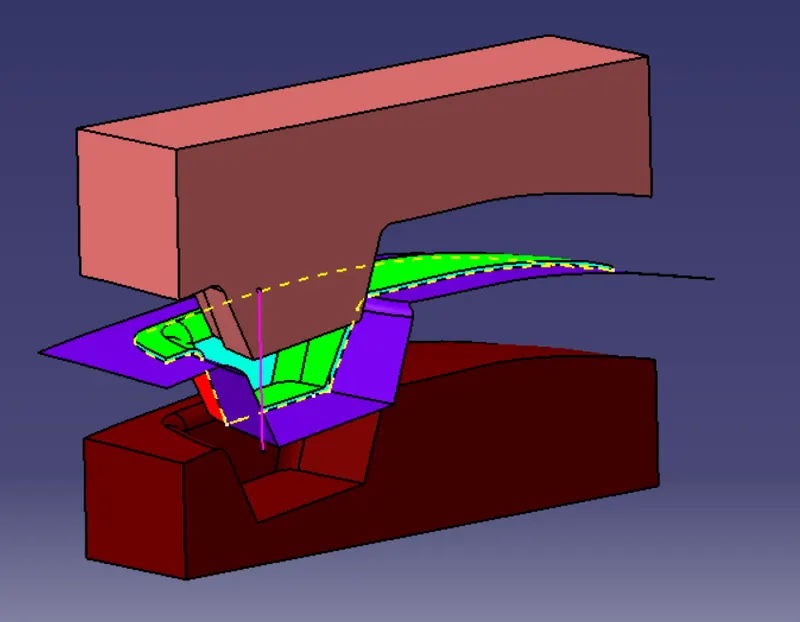
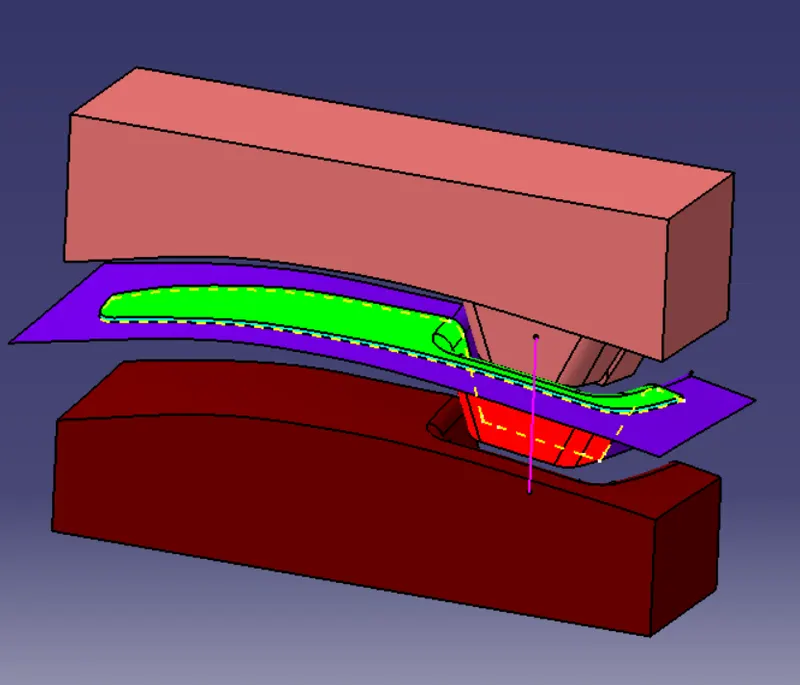
CORE AND CAVITY OF SWITCH BEZEL WITH PARTING SURFACE
- To create the core and cavity of the switch bezel, the first step is to create the parting surface with the switch bezel
- The parting surface is created by exrtapolating the Class A Surface
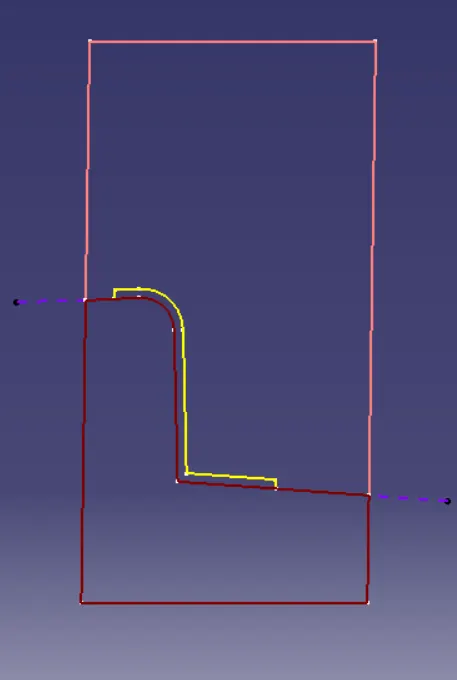
- Then the Class C Surface and Class B Surface are trimmed to get an outline of Class C and B surface to give us the Core inner walls
- The inner walls of the core is then created
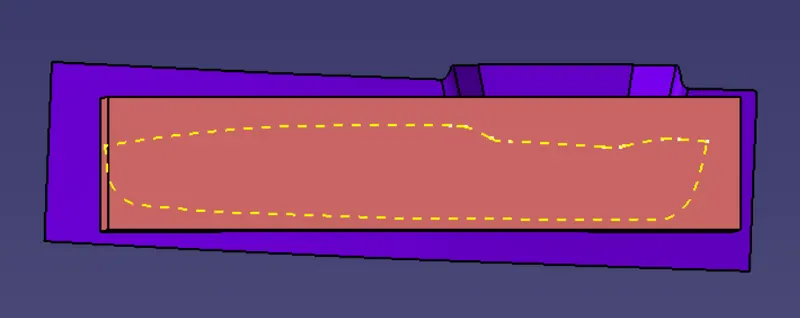
- A position sketch is created on the XY plane and the core box is created with enough gap on all sides of the switch bezel
- The rectanguar box is then extruded and closed as per given requirements
- It is joined and then closed to complete the Core of Switch Bezel
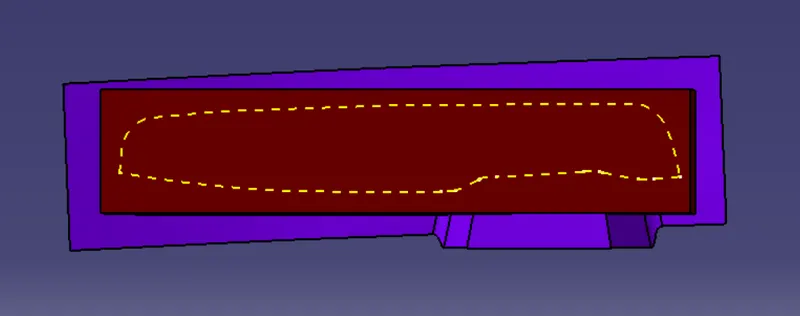
- The same steps are repeated for Cavity, but in this case Class B surface and the rectangullar box is trimmed to get the bottom walls of the switch bezel
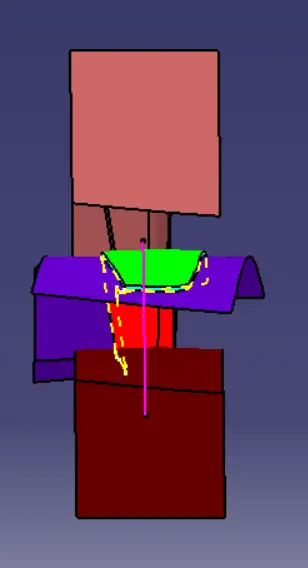
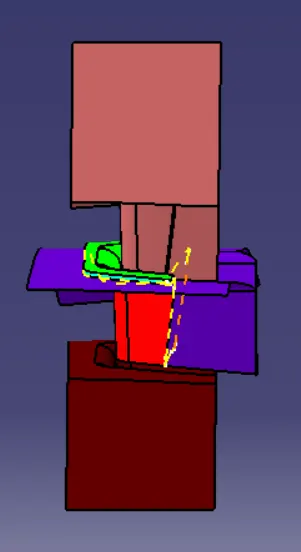
- After creating Cavity, an intersect is created to get an idea of the Core, Cavity, Parting surface and Tooling Axis
- To get an idea of the Core and Cavity from the switch bezel, tranlate option is used to move the Core and Cavity on the Z axis.