Week 8 - Challenge 4 - Coin Holder Design
OBJECTIVE:
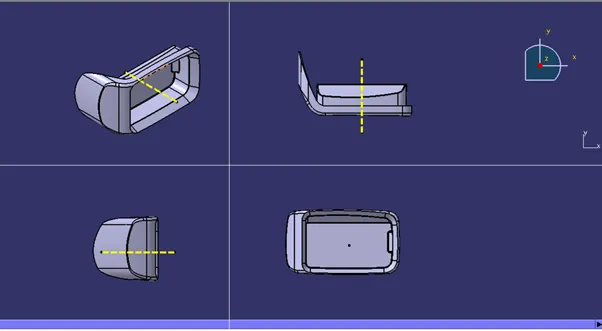
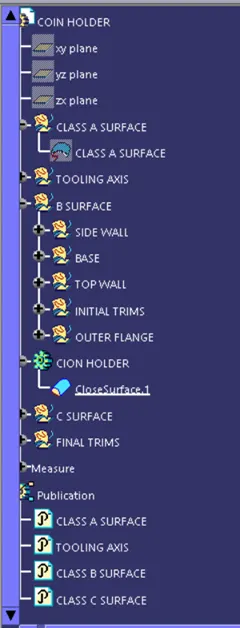
The main of this project is to perform the COIN HOLDER through the given Class-A surface. Beginning with the creation of tooling axis, Class B surface development and then Class C surface and then merging Class A, B, C surfaces to form a plastic component. BY considering the thickness as 2.5mm.
THEORY:
Draft:
A draft angle is a slant that is applied to each side of most features of an injection molded part. In other words, Draft is providing tapers on the product features such as walls ribs posts and bosses that lie parallel to the direction of the release from the mold part ejection.
The nominal draft is 3mm for plastic components and for automotive sheet metal components is 7mm.
Tooling axis:
It is defined as the direction in which the molds opens or core and cavity, with the help of tooling axis created along x and Y axes are used for creating the Main Tooling axis by using the bisecting method.
PROCEDURE:
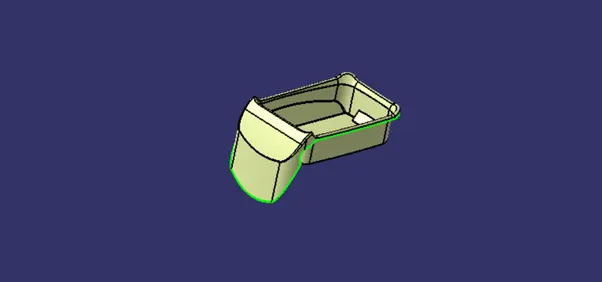
Given class a surface:
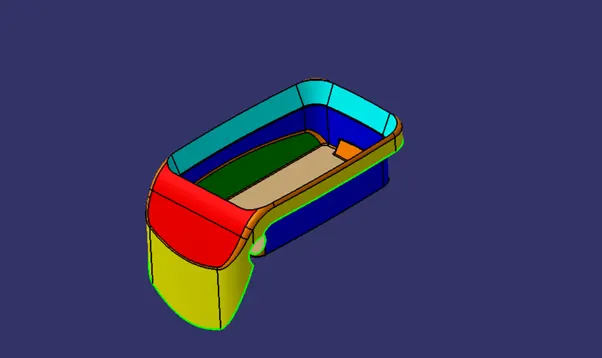
Connectivity of Class A surface:
The first and foremost thing to do is to check for the connectivity of the surfaces this is to ensure that there are no gaps between the surfaces if gaps are present then it should be resolved.
This can be done visually or by creating boundaries, if their gaps are present, they are graphically represented by green lines. If not while performing boundary command it shows an error.
Creating the Tooling Axis:
- Extract the base surface of the given A surface and insert a point using on the surface option.
- Insert an axis system on to that point.
- Intersect the model with the plane perpendicular or to an axis system.
- Extend the lines which are perpendicular to the plane.
- Again, intersect the model with another plane and extend the lines perpendicular to it.
- Create a bisecting line by bisecting option in Line definition.
- Rename it as Tooling Axis.
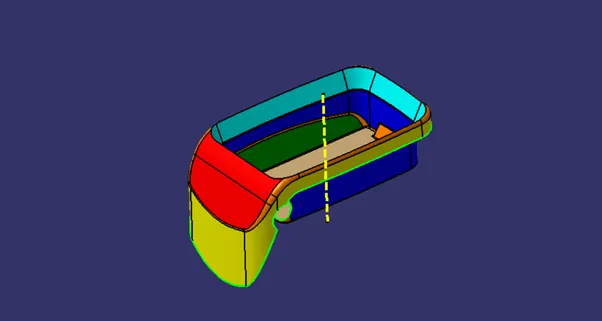
Creation of Class B Surface:
Side Walls:
- Extract the side walls with no propagation in extract option.
- Untrim them.
- Extrapolate the walls with point continuity of distance 20mm.
- Trim the walls to get the required shape.
- Offset those trimmed walls with thickness value.
Top & Bottom Surfaces:
- Extract the surfaces separately and untrim them.
- Extrapolate the surfaces with required distances.
- Offset them with thickness value.
- Trim them for required shape.
- Measure the fillets, calculate it and create fillets.
Creation of Class C Surface:
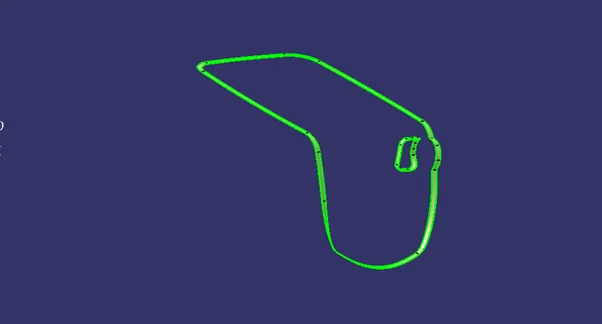
- Get the boundary lines of Class A surface separately.
- Smooth the curves with a smooth option as boundary lines have a lot of vertices.
- Sweep the curves with tooling axis as direction in Sweep option.
- As both lines do not intersect, extrapolate them with a certain distance.
- Trim the surfaces.
Final trims:
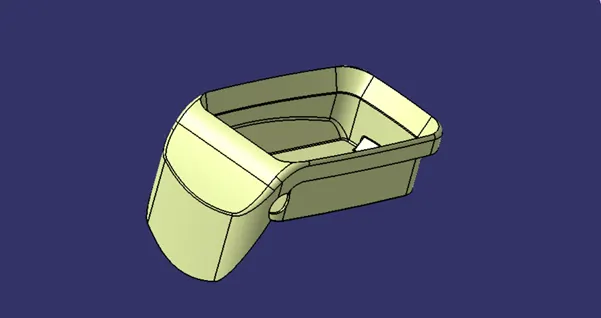
- join Class A and Class C surfaces.
- Trim those joined surfaces with Class B surface.
CREATING A CLOSED SURFACE:
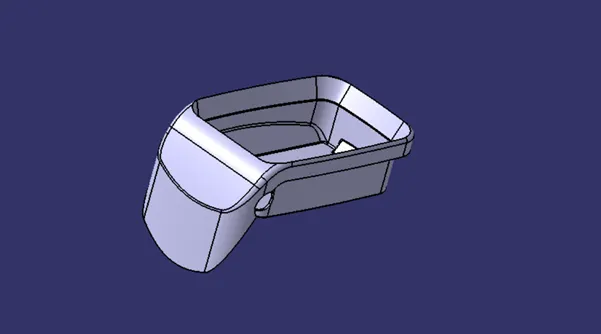
- Go to the part design and insert a body.
- Create a closed surface.
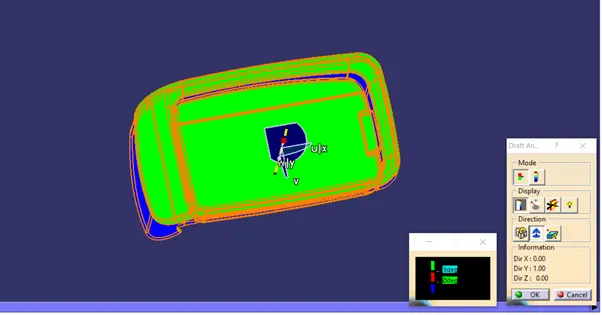
Draft Analysis:
- Go to the Insert menu and select the Analysis option.
- Select Feature Draft Analysis.
- Select the Material option and select the surface.
- Drag the compass and place on tooling axis.
- Make sure that the top surface is in green colour as draft angle should not exceed 3deg.
- Click on Okay after confirm the model.
PUBLICATIONS:
- Tooling axis
- Class A Surface
- Class B Surface
- Class C Surface