Week 8 - Challenge 4 - Bumper
BUMPER TRIM DESIGN
Create the Bumper Plastic component through the given Class-A surface. To begin with, the tooling axis for the given Class-A Surface should be created meeting the requirements of the draft angle and at the end perform the Draft analysis on the model.
Take the Thickness of the component to be 3 mm
Objective:-
To create a body of Bumper from the input given which was the A-surface of a Bumper. The created body should be a closed solid volume which should be feasible for manufacturing and Tooling. The draft angle and draft analysis of the component should be done.
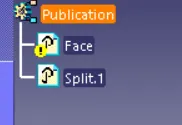
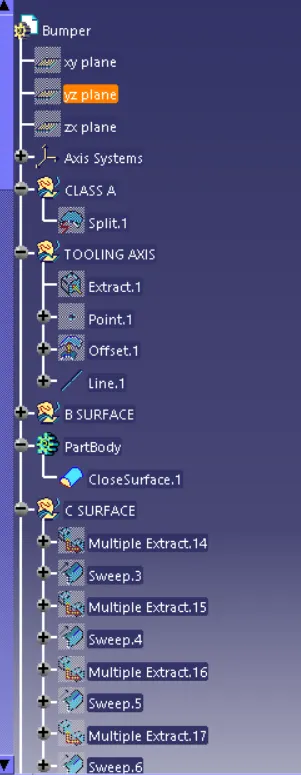
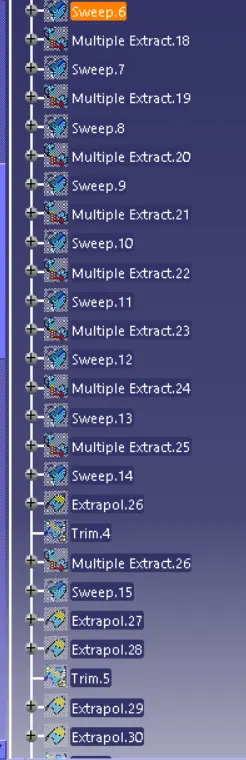
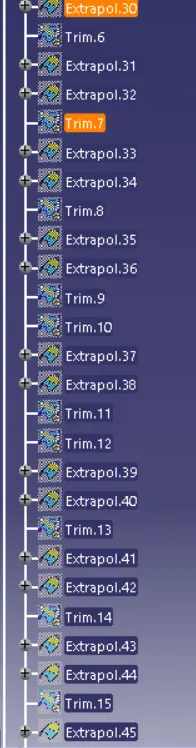
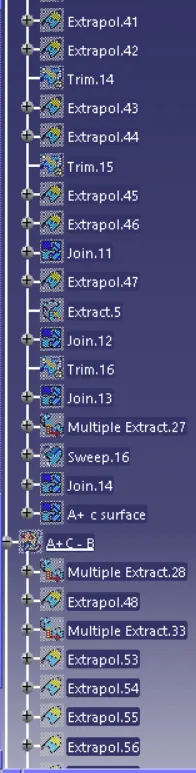
In model, proper tree structure to be maintained and publications of Tooling axis,A,B and C surfaces to be done.
Introduction :-
The input of the product designer is in the form of the A-class surface. The job of the product designer is to create the B and C surfaces keeping all the aspects for the mold.
Class A Surface :-
- Visible surface and aesthetic look.
- Surface with textures.
- Surfaces provided by customer(OEM)
- Class A surface is made from scanned data with different software like alias etc.
- Surfaces which are having CURVATURE CONTINUITY IS CALLED class-A.
Class B surface:-
- Invisible Surfaces.
- Surface mostly don't have textures.
- Surface needs to be created according to the class-A surface
- Surfaces which is having TANGENT CONTINUITY IS CALLED class-B.
Class A Surface :-
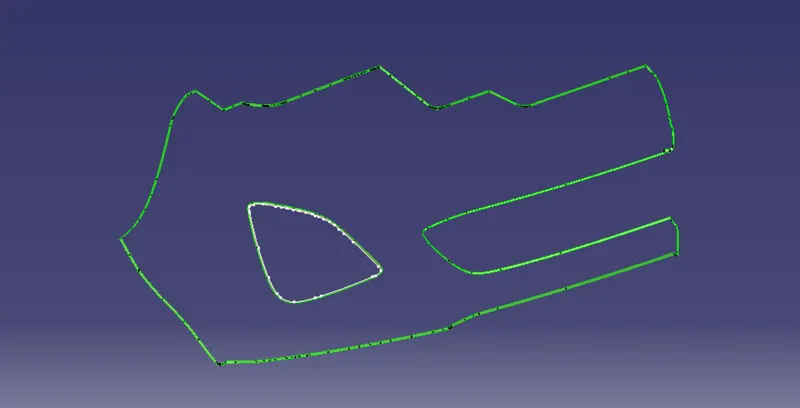
Check the connectivity of the Class A Surface Ensure that there is no gap between the component, using join command. We can visually check it or by clicking boundary command. It has a boundaries outer. Therefore first check completed.
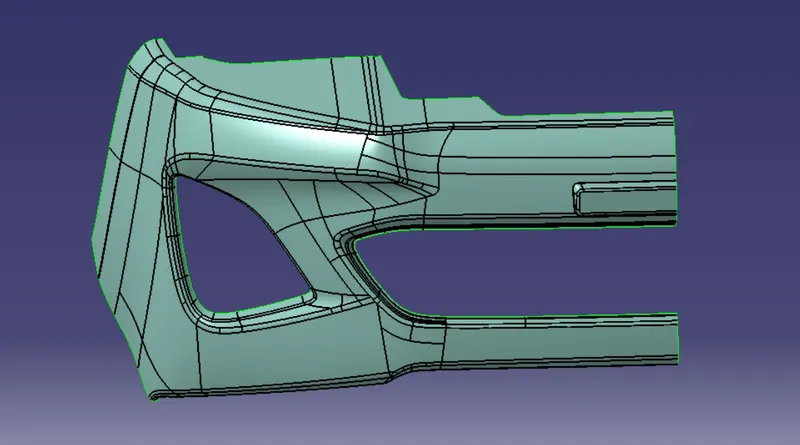
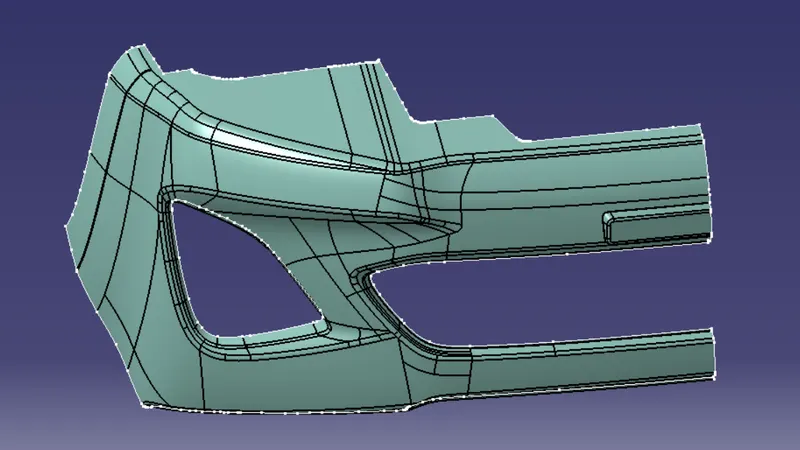
The given A-Surface having No gap as above fig shown. Hence boundary generated at the edges.
Procedure :-
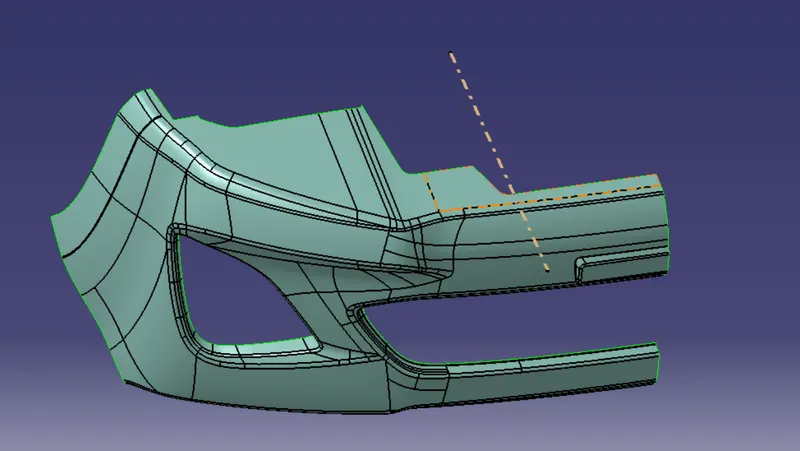
Tooling Direction for Plastic Part : Tooling direction is main consideration for plastic part and mold parts because it defines movement of mold part and possibility of plastic part to come-out from mold part (Core and Cavity).
- In Molding machine arrangement is given to open the mold along a direction which is known as Tooling Direction.
- In other words. The mold is built from two separate halves (Core and Cavity) and tooling direction basically define the direction of mold pulls apart.
- Tooling direction is known as primary direction.
Preparation of Tooling Direction
While creating the tooling direction in given class A surface. Chose the one suitable Base and Side wall and draw the line direction of axis
B SURFACE:-
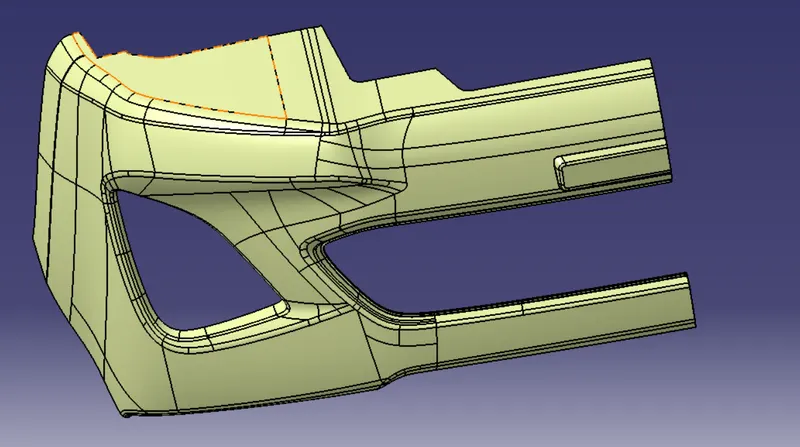
creat offset of 3mm inside of the surface but some surface are couldn't offseting in side then modification joining all sub- elements remove and make to the B surface
C surface :-
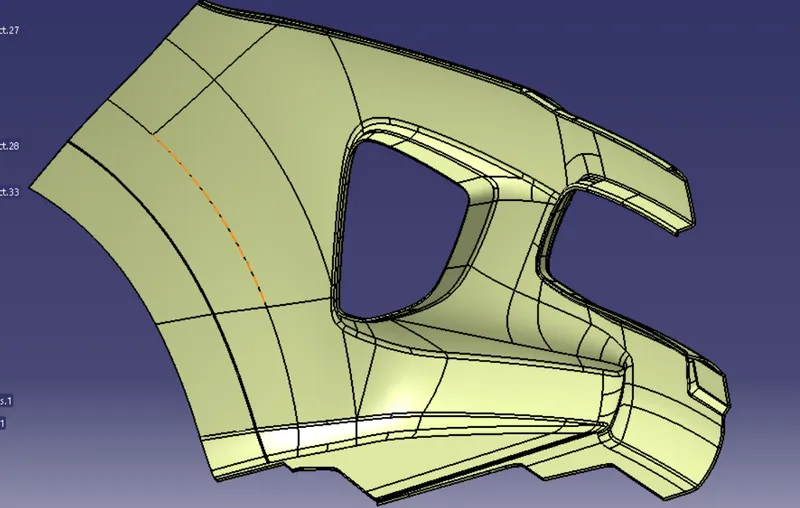
it's c surface joining the A & B lower flange created the C surface
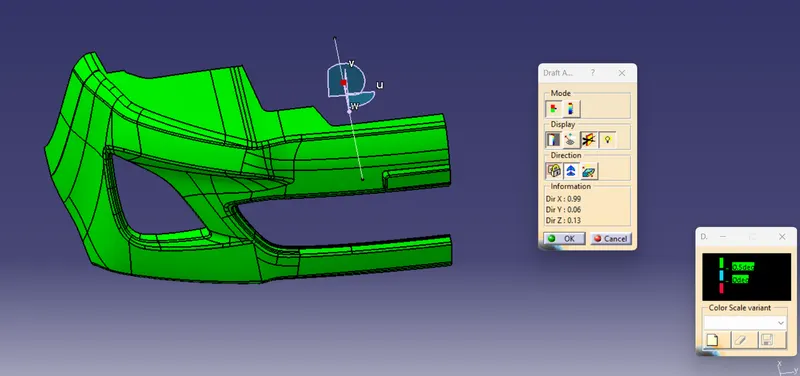
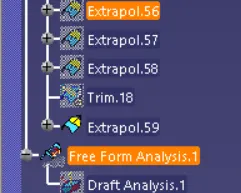
DRAFT ANALYSIS:-
publication:-
Concluation:- minium 0.5 to 3 degree draft angle maintaining due mold of ejection easy and tool life more time and more components making