Week 8 - Challenge 4 - Bumper
AIM
Create the Bumper Plastic component through the given Class-A surface. To begin with, the tooling axis for the given Class-A Surface should be created meeting the requirements of the draft angle and at the end perform the Draft analysis on the model.
Take the Thickness of the component to be 3 mm
DESIGNING OF BUMPER COMPONENT
TOOLING AXIS FOR GIVEN CLASS A SURFACE
First create a tooling axis for the given class A surface .In this direction the mold opens and closes .
Examine the given class a surface and it clear that the given class a surface has projected profiles and holes in X direction.Thus X axis is consider as the main tooling direction.
figure 1 shows main tooling axis
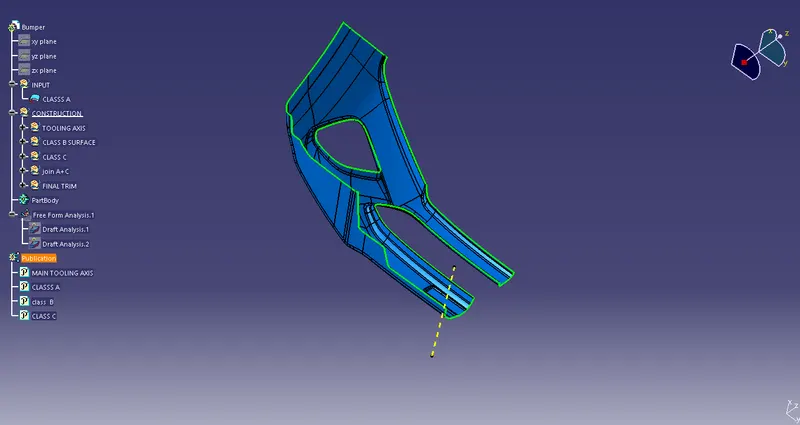
fig.1 .Tooling axis
DRAFT ANALYSIS OF CLASS A SURFACE
Check the draft analysis of the given class A surface using the main tooling axis to ensure the part has minimum draft angle (3 degree) in all faces .
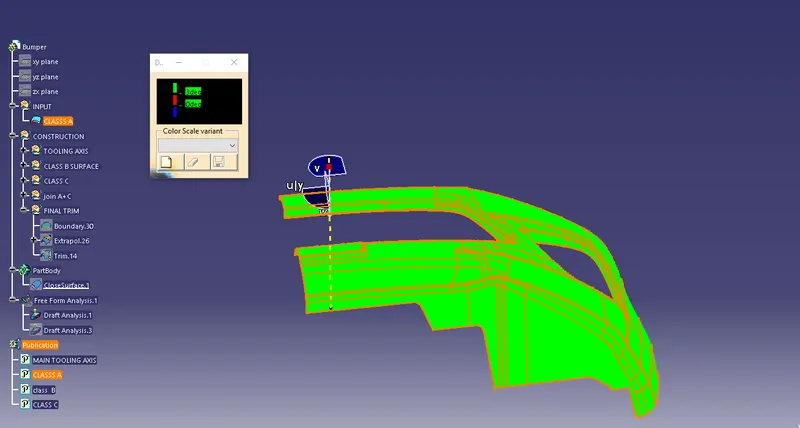
fig.2. draft analysis of class a surface
CLASS B SURFACE
Class B surface created from the class A surface .offset the class A surface required thickness and work on the offsetted surface to create the class B surface.
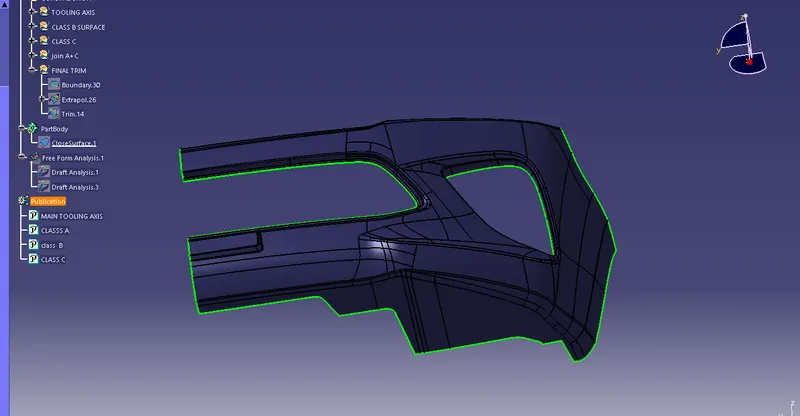
fig.3.class B surface
CLASS C SURFACE
Class C surface connecting the class A and B surfaces.Extracting the boundary of class A surface and using the swept with reference surface to create the class C surface.The angle should be 90 degree with reference surface .Appropriate length provide to create the class C surface.
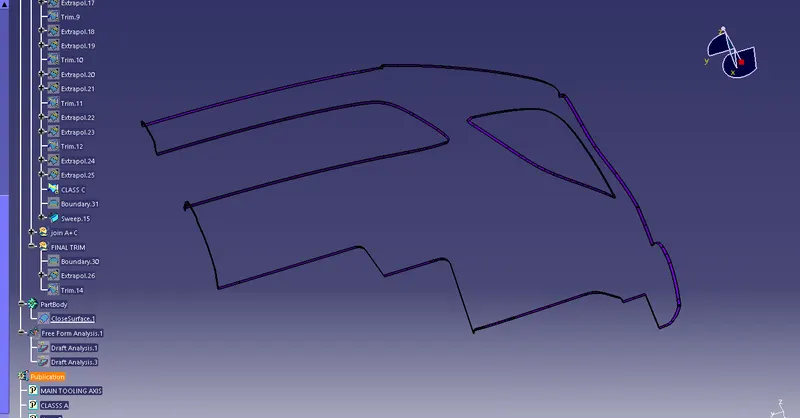
fig.4. Class C surface
- Then join the class A surface with class C surface
- Finally trim with class B to get the closed surface of bumper .
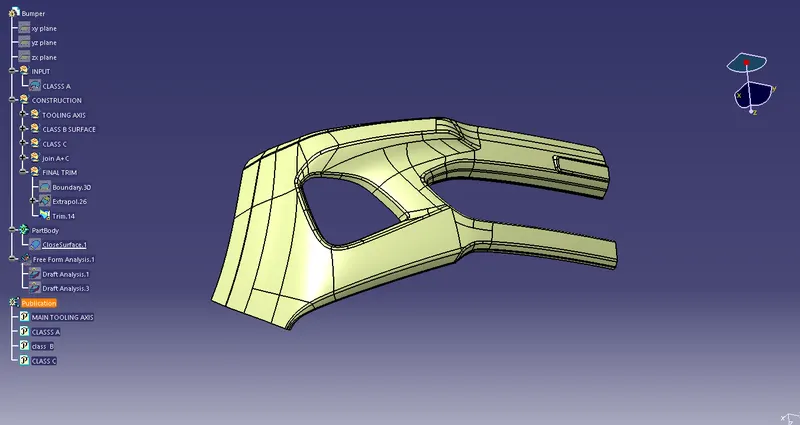
fig.5. closed surface of bumper
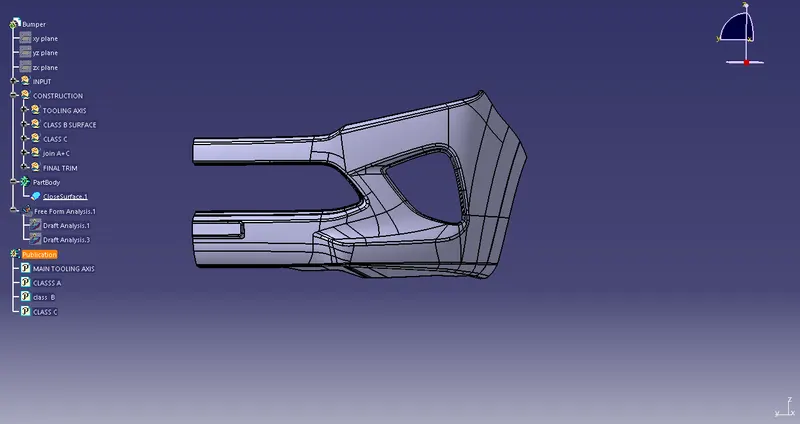
fig 6.soild body of bumper
DRAFT ANALYSIS OF FINAL SOLID BODY
Use the draft analysis to check the final solid product has minimum draft angle.
here all the surface has minimum draft angle 3 degree .(shown in fig 7.)
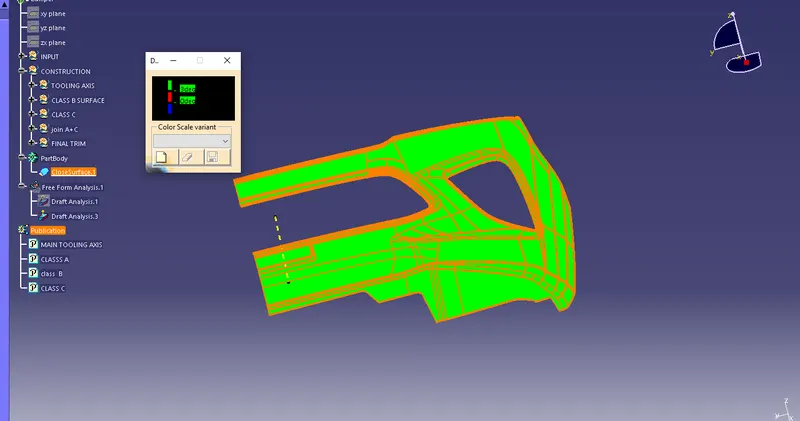
fig.7.draft analysis of solid component
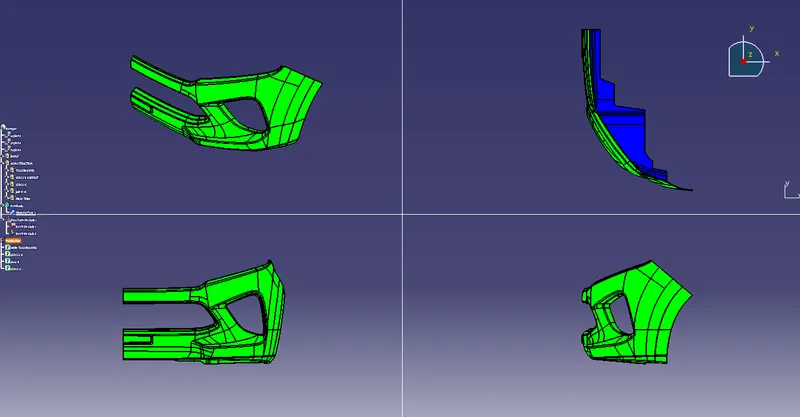
fig 8. different views of draft analysis
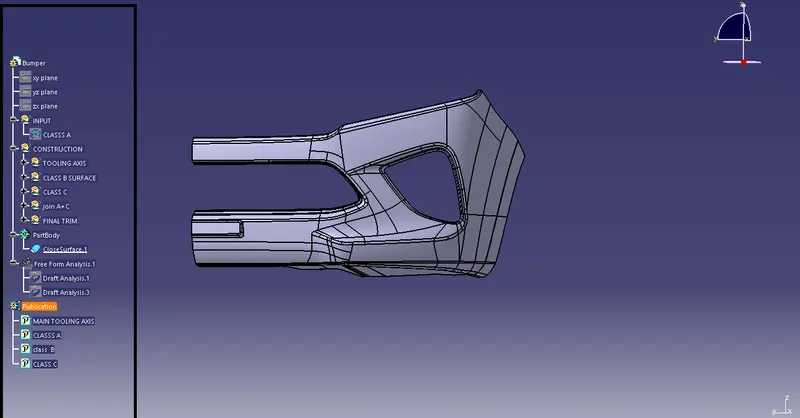
fig .9 . tree structure