Week 8 - Challenge 4 - Bumper
Bumper Report
Aim:
- To create Tooling axis and Conduct Draft analysis for both the Class A and Final Solid part.
Objective:
Bumper
- To create the Final Solid Part by using the given Class A.
- To create the Tooling Axis for the Class A and Final Solid Part.
- To Draft analysis the obtained Final solid part and Class A using the created Tooling Axis.
Introduction
Tooling Axis
- The Tooling Axis is to show in what direction does the core and cavity moves.
- It also created to give a draft angle for the final solid part.
Draft Analysis
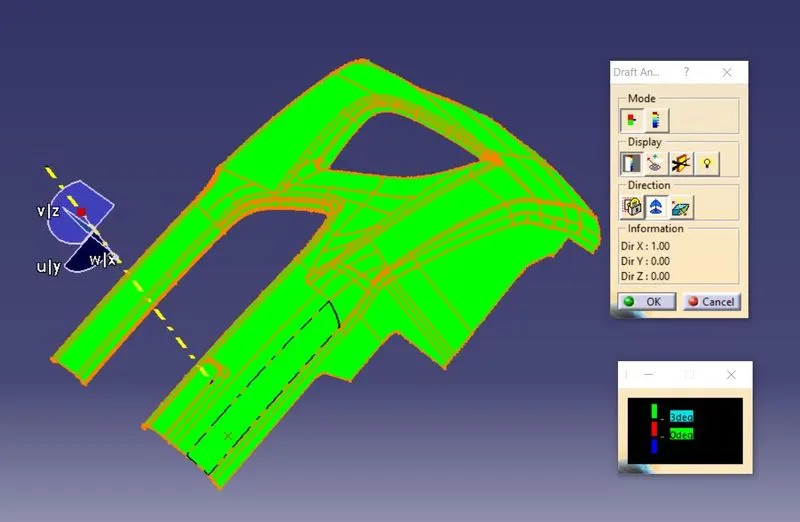
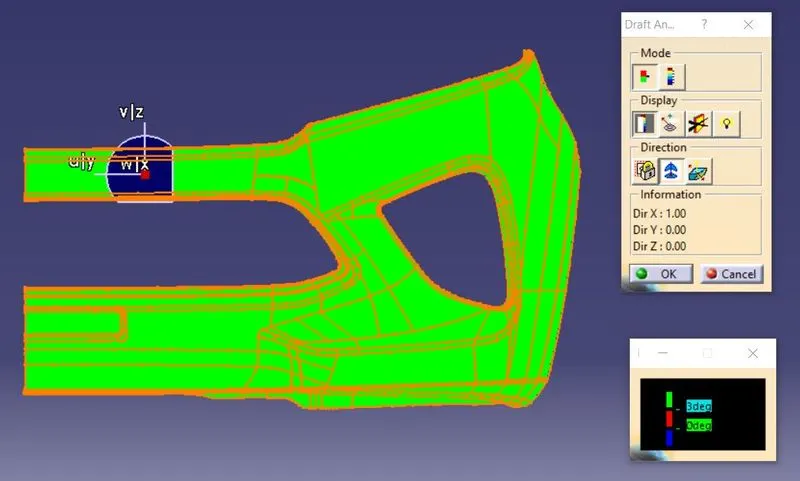
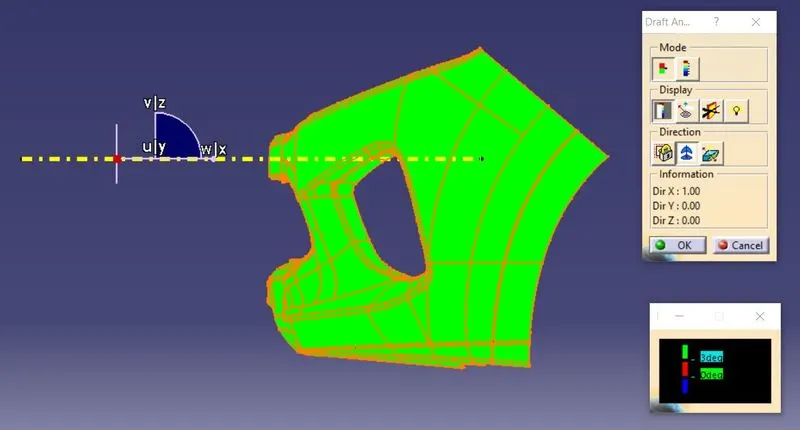
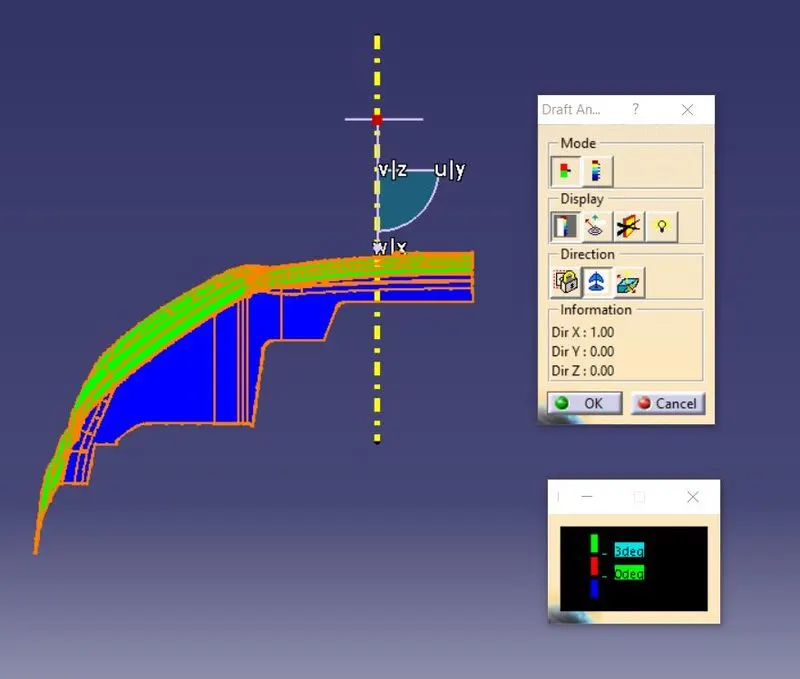
- The draft analysis is done on the basis of the Tooling Axis in order to find whether the final product is done as per the Design rules.
- The Draft angle which is assigned to the Tooling Axis defines the analysis.
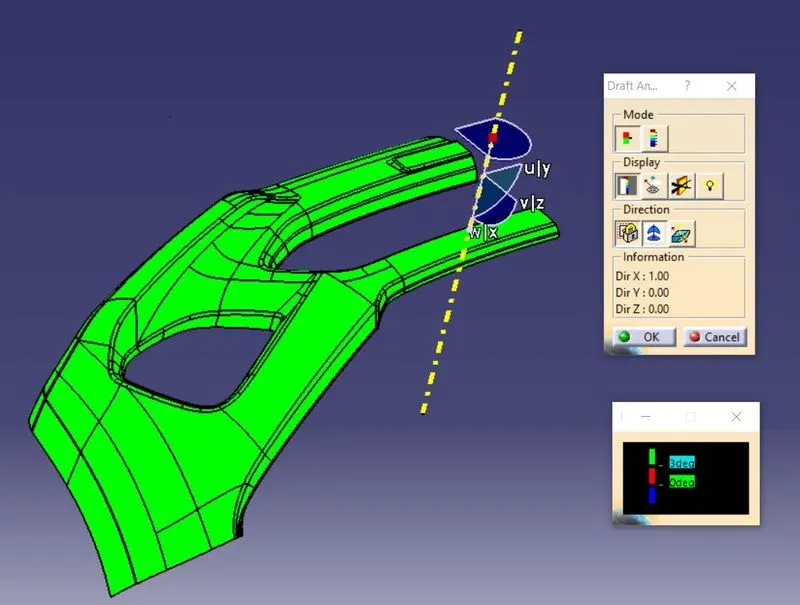
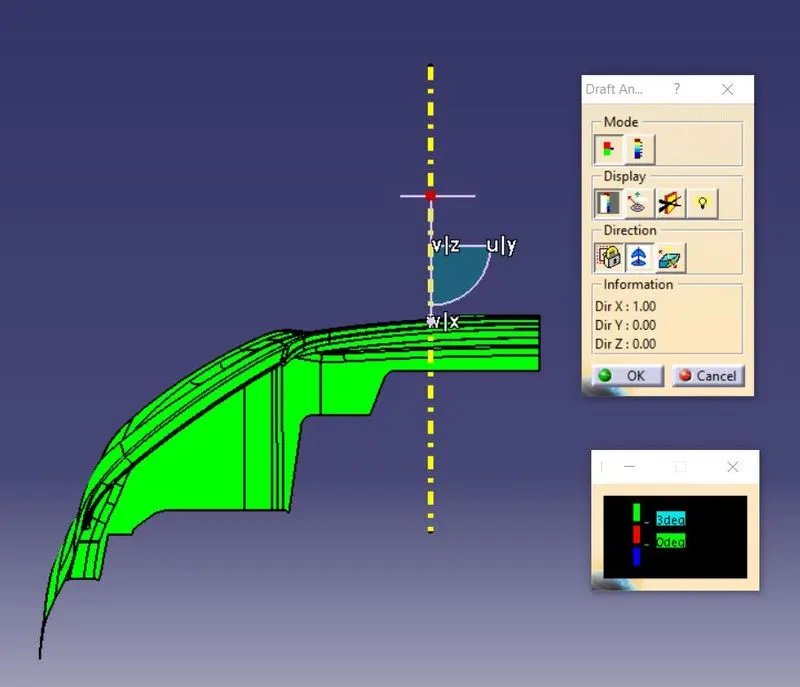
- The Nominal Draft angle for the plastic product is 3 degree.
Class A
- Class A is the aesthetic surface.
- Class A is created on the basis of a concept sketch or by the predefined shape on basis of the design engineer and customer requirement.
- Class A is given to the Product design engineer in order to get the final solid part.
Class B
- Class B is the surface that is created by the product design engineer in order to get the final product from the class A surface.
- Class B is created based on the thickness that the final solid part should be.
- In other words, Class B is an Extended version of Class A with some thickness gap between them.
Class C
- Class C is the surface that is designed by the product design Engineer.
- Class C is created inbewteen Class A and Class B in order to connect them.
Procedure:
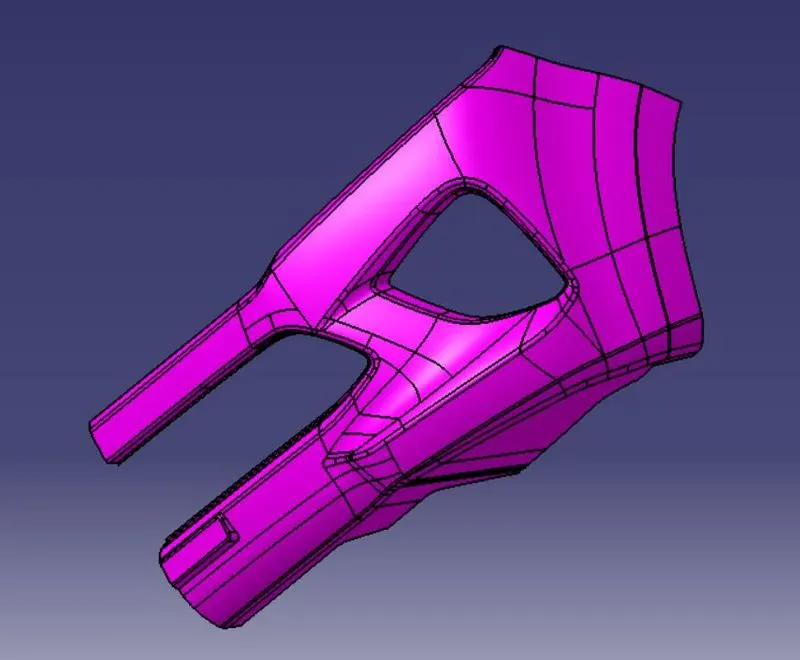
Class A
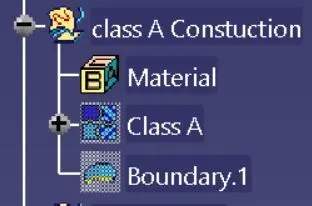
- The class A is taken from the given IGESpart file.
- Then given part are joined together to form class A.
- Created class A is checked with the boundary tool.
Tooling Axis
- The tooling for this can't created by using bisecting method.
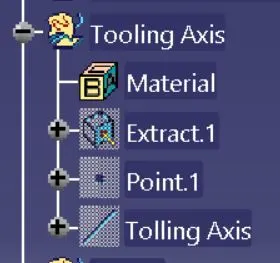
- The tooling is created here by Axis method.
- In this the axis is selected where all the feature in the class A is clearly visible.

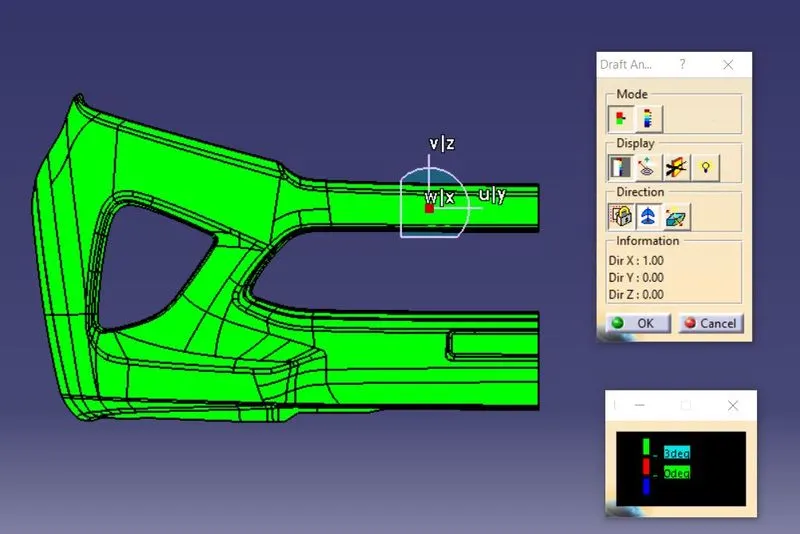
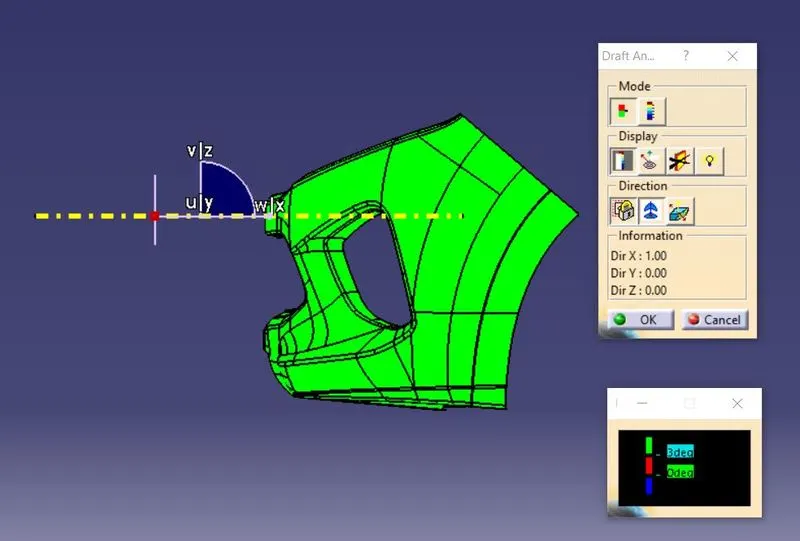
Draft Analysis on Class A
- The draft analysis is done on class A with the help of tooling axis.
Class B
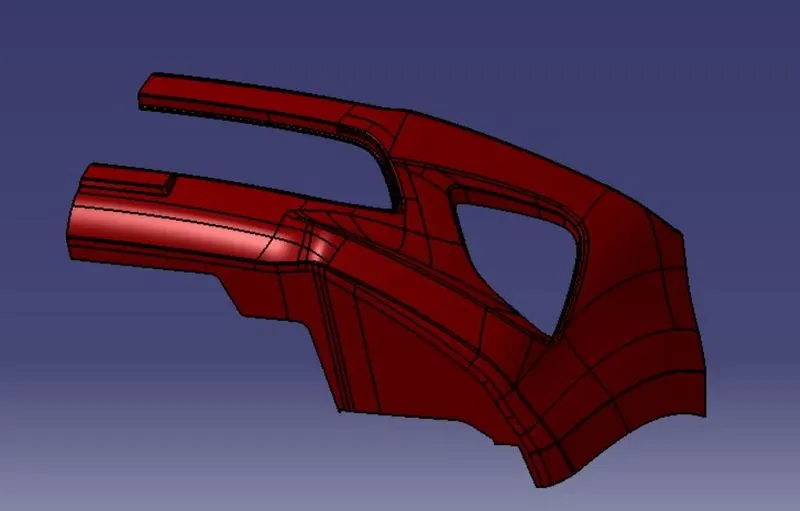
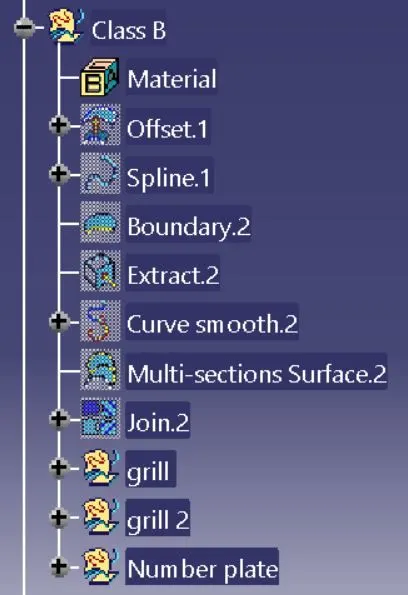
- The class B is created by offsetting the derived Class A to 3mm.
- By offseting the Class A, some of the fillet in class A will not offset.
- Then for that part the fillet is speratly created.
- The fillet is created by creating the edge in that particular area.
- Therefore the edges on that particular area is extrapolated.
- The edge fillet option is used.
- The fillet radius calculated from class A and done some calculation based on its direction of fillet will go while offseting.
- The fillet goes inward the fillet radius of class A, the wall thickness will be subracted.
- The fillet goes outward the fillet radius of class A the wall thickness will be added.
- In some places the face won't be avaible due to offset, So in that area multisection is used.
- Thus the class B is derived.
Class C
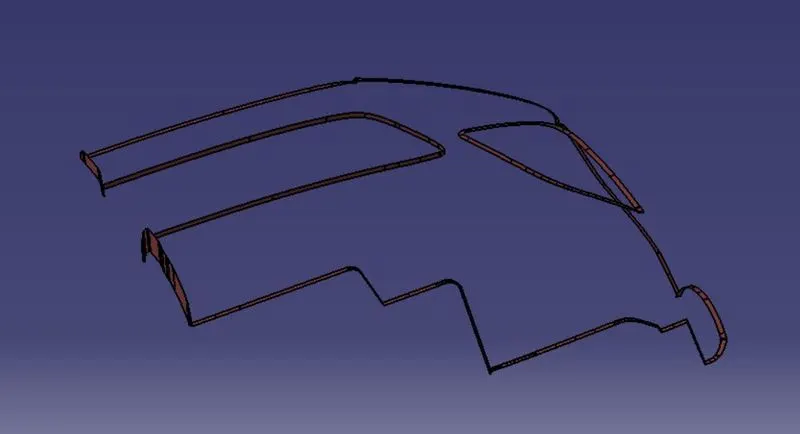
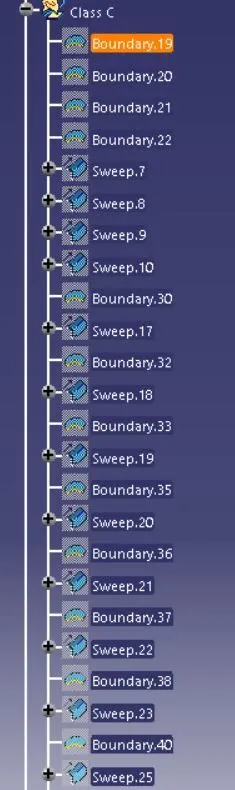
- The class C is created from the class A using the sweep.
- The boundary of class A is taken.
- Then 'with draft direction' is selected in the sweep tool.
- The tooling axis is used for draft direction and boundary as profile.
- The class C can't be created in a single stoke due various angle and shape.
- Therefore the boundary from class A is divided using the limit option init.
- The default draft is 3 degree but in some places draft angle is changed to 90 degree.
- Then for some places 'with reference surface' option is used.
- This option requires the profile, guide and the surface.
- Then in some area multisection is also used.
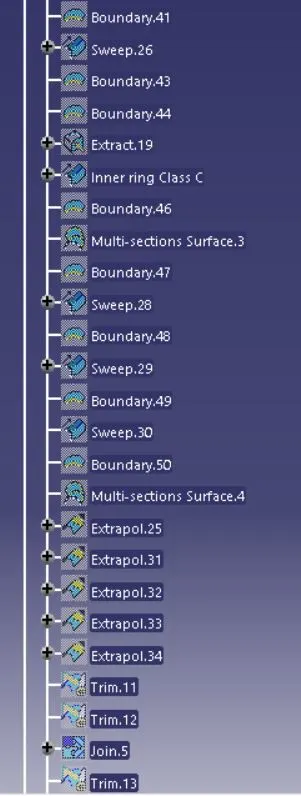
- Then by joining or triming them Class C is created.
- Then for the hole sperate sweep is done and class C is created.
- The Class C is created.
Final operation
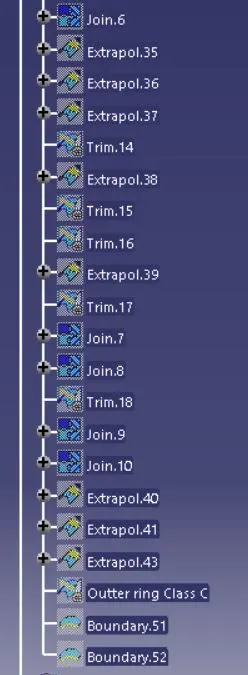
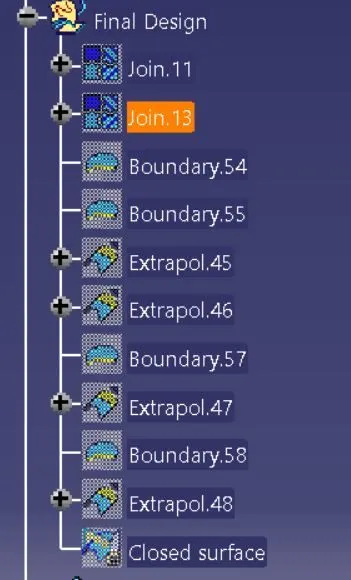
- The Created class C is joined with the class A.
- The joined class A and class C is trimed with class B.
- If class A and class C join can't be trimed with class B then extrapolate the class B to some millimeters.
Solid Body
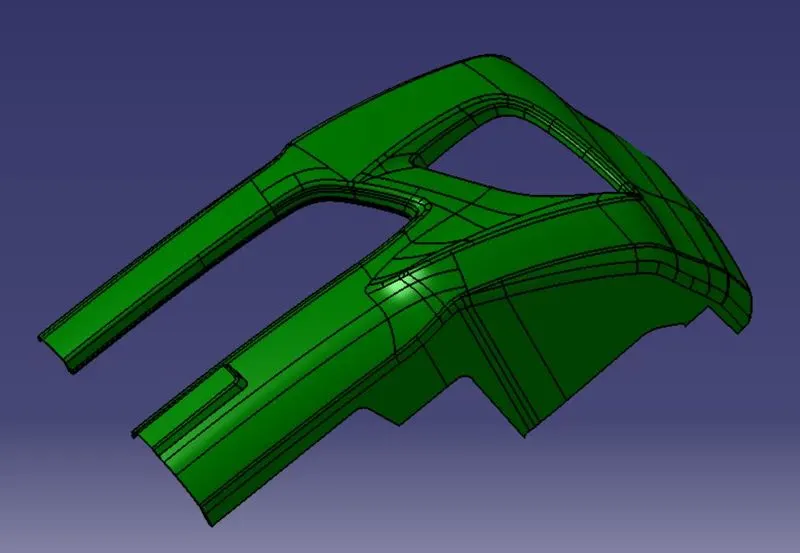
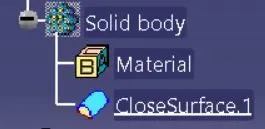
- The solid body created by using closed surface.
- The design which created is switched from 'genrative shape design' to 'part design'.
- Then closed surface tool is used to convert the plastic design model to solid form.
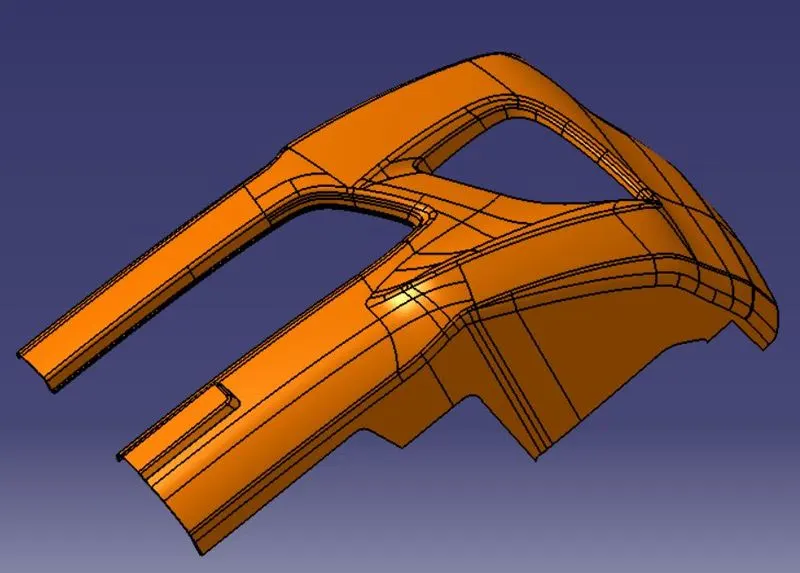
Draft analysis
- The draft analysis on solid body is done.
- The draft analysis show the created solid is done as per design rules.
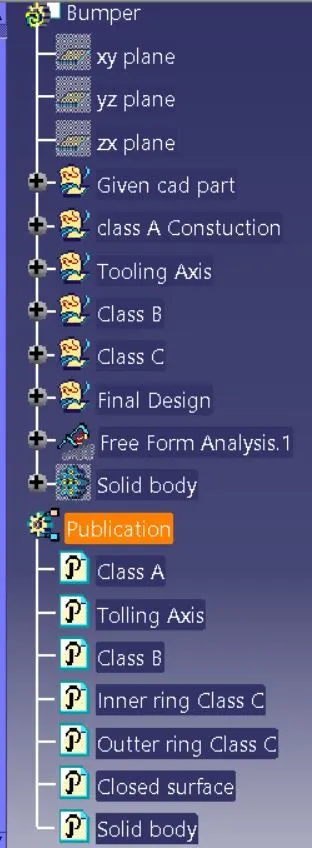
Structural Tree Images

Conclusion
- The Design model stafies all the design rules and the draft analysis.
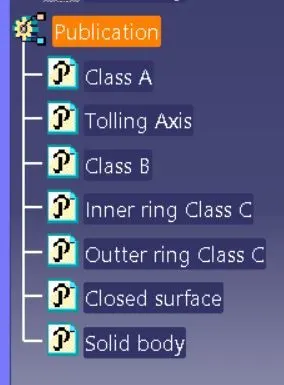
- The publication and the draft analysis images are provided.