Week 8 - Challenge 3 - Switch Bezel Design
TREE STRUCTURE
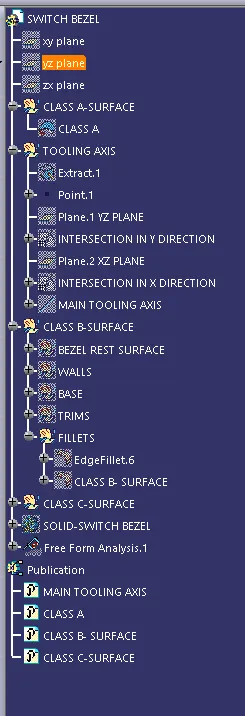
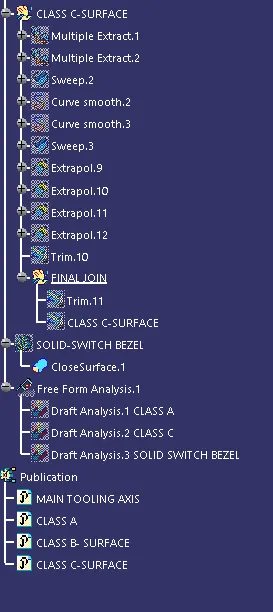
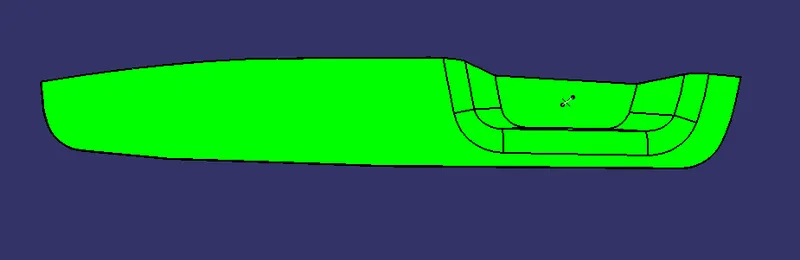
VIEWS OF DRAFT ANALYSIS OF SOLID PART SWITCH BEZEL
FRONT
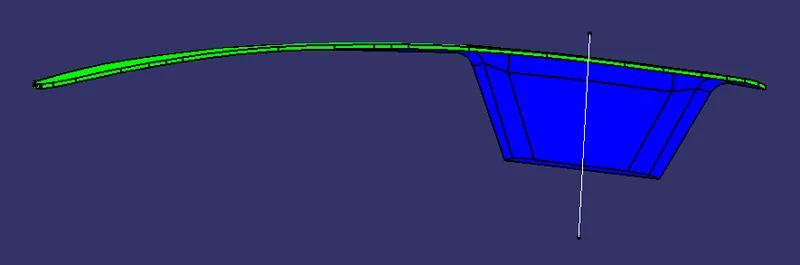
SIDE
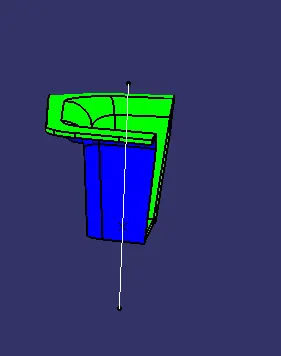
TOP
ISO
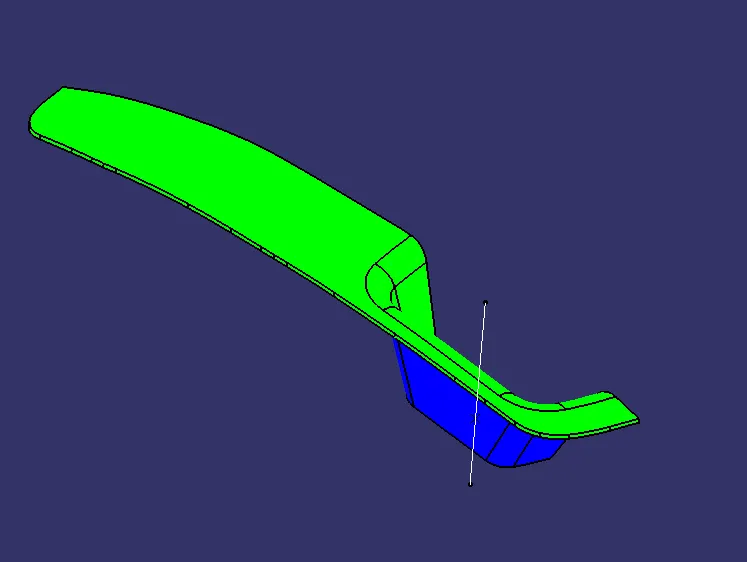
DESIGN AND DRAFT ANALYSIS REPORT OF SWITCH BEZEL USING CATIA V-5
OBJECTIVE: To design the Switch Bezel using Surface Workbench and generate Drafting Analysis Report on the Class A and C using CATIA-V5.
DRAFT: When the molten plastic is completely ejected into the molded cavity and it is allowed to cool it tends to shrink to the core side of the mould and thus there deveolps a friction between the part [final output] and the mould. To overcome this drafting is required. It is required on all parts in the direction of mold movement in order to allow parts to release or eject from the mold properly.
Min draft required on final plastic component is 3 mm.
DRAFTING ANALYSIS:
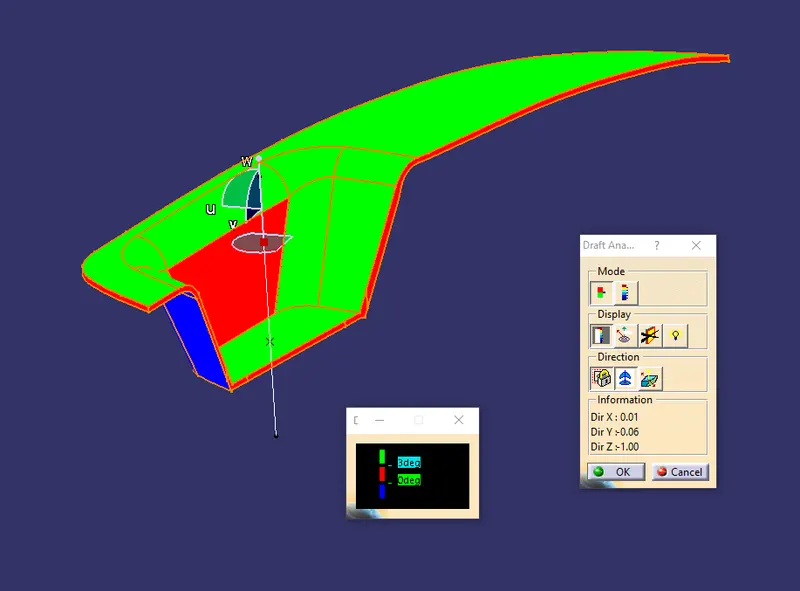
Drafting Analysis is used to generate computational analysis of the component clearing the mould cavity without any damage [by friction] between the final component. It checks whether the Main Tooling Axis is correct or not thereby analysing the draft of the component. It shows whether all faces of the component has the required draft or not using value assigned colour codes [pic 2]. It further helps us to detect corrections in the earlier stage [i.e design] thereby preventing the cost and damage to the component.
Draft Analysis Icon
 [1]
[1]
Model Draft Analysis [2]
 [2]
[2]
FORMULATION OF MAIN TOOLING AXIS USING BI-SECTING METHOD
TOOLING AXIS: It is an Axis which indicates the direction in which the mould/cavity opens. It can also help in designing the component according to the drafting needs of an Industry.
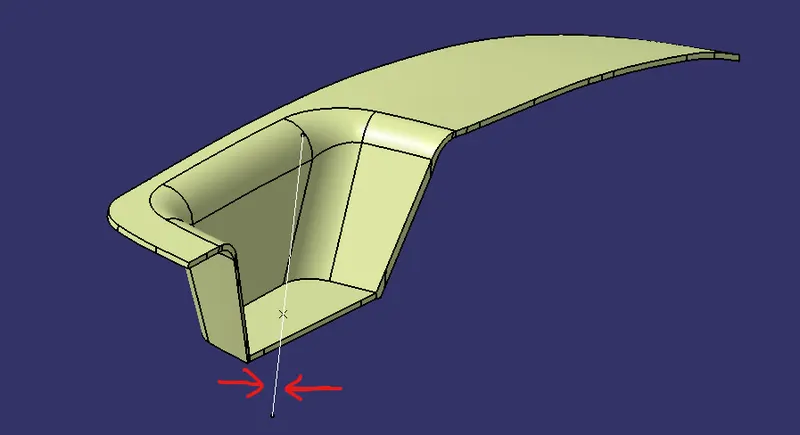 [3]
[3]
BISECTING METHOD:
Bisecting Method is used to generate main tooling axis by bisecting or dividing the two dummy tooling axis generated from intersection of planes.
It can be created in both Sketcher workbench
At first the component is checked for any discontinuity in the line using two techniques. Namely
1. Join Definition
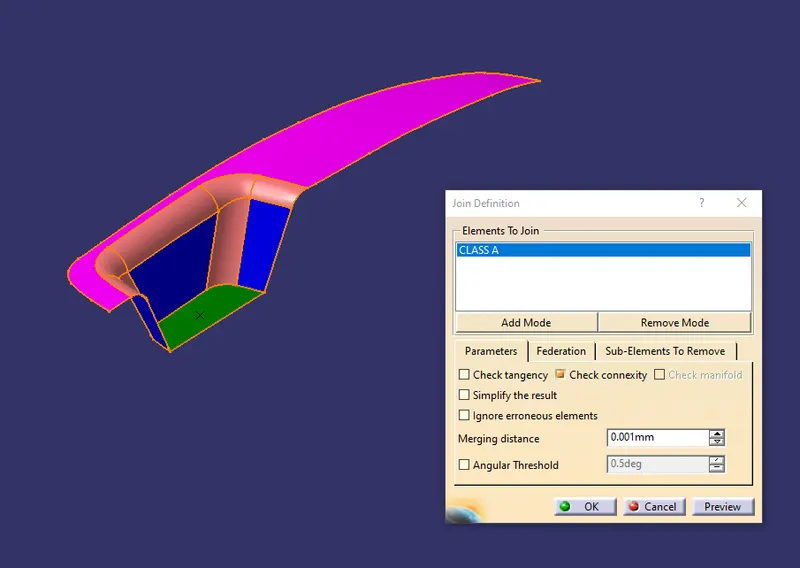 [4]
[4]
2. Boundary Tool
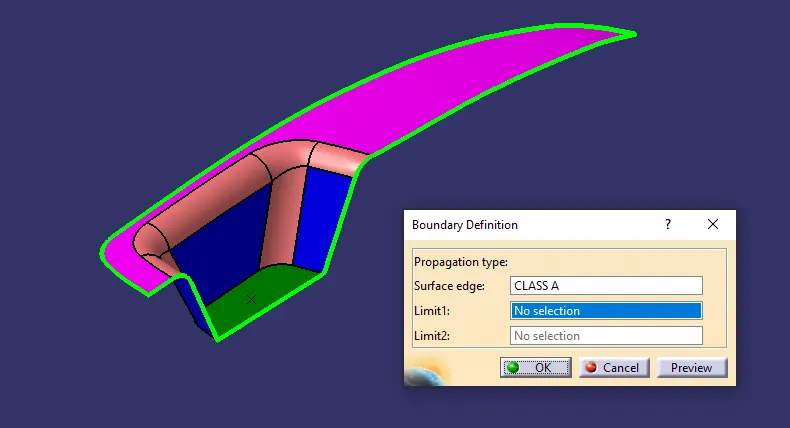 [5]
[5]
The above two images ensures that the component has no discontinuity in its line.
For Switch Bezel we first extract the base and create a point where we want our Main Tooling Axis to be. *[Creation of the point 1 [pic 6] assumes that if tooling axis is placed there it would clear all the components as it meets the required drafting standards of an Industry.] *
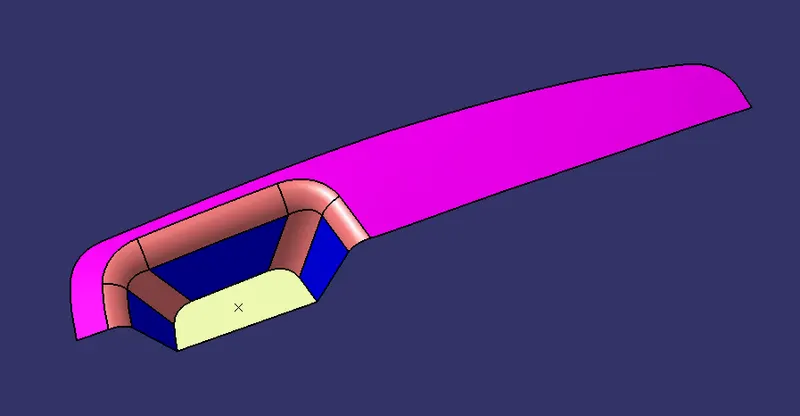 [6]
[6]
Intersection is done using the tool  available in the toolbar menu.
Intersection of the YZ Plane with the Class A surface creates a line and Lines are generated from the intersection [in accordanc with the required drafting face]. These two lines [pic 9] are bisected to generate Dummy Tooling Axis clearing in Y direction using line definition Tool  available in Toolbar menu. [pic 10]
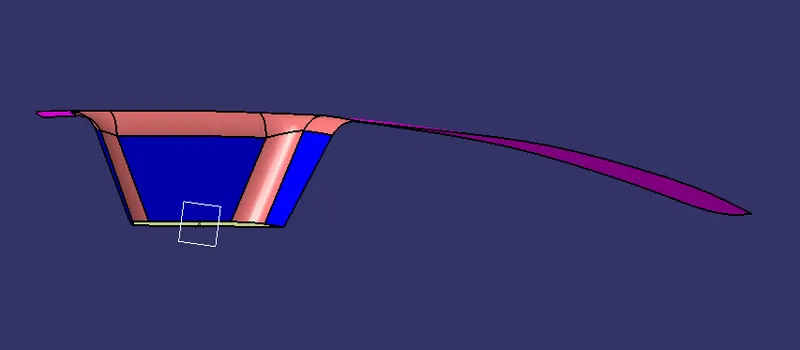 [7]
[7]
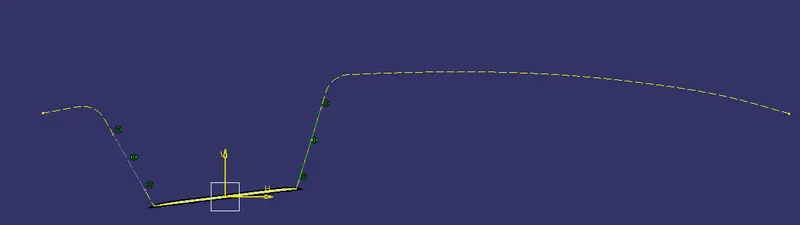 [8]
[8]
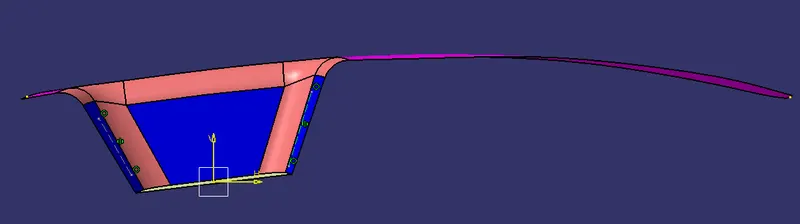 [9]
[9]
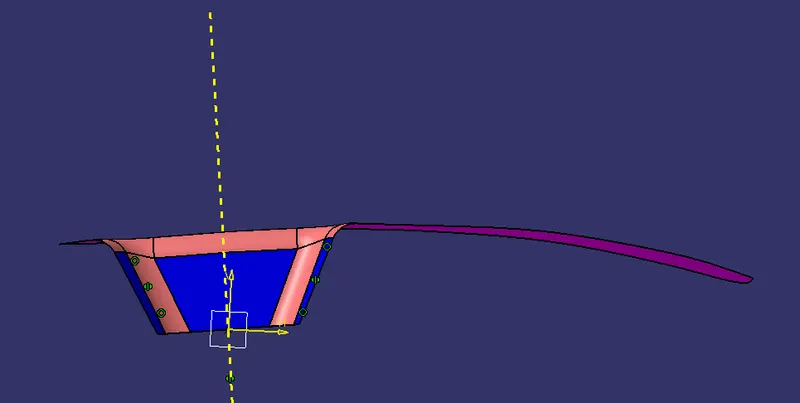 [10]
[10]
Another intersection was taken at XZ Plane similar to the steps taken when making an intersection at YZ Plane.
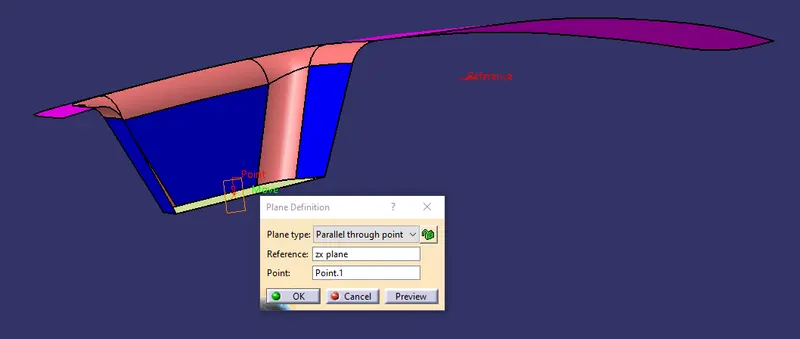 [11]
[11]
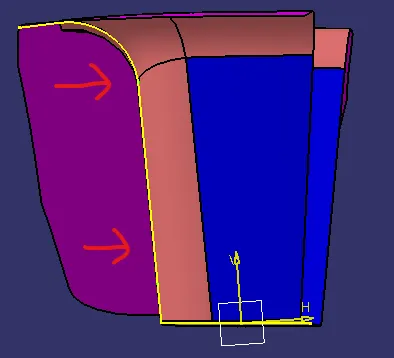 [12]
[12]
Here we does not have a line at the other end to make a bisecting Line so we created a line without any constraint *[like vertical, fixed, perpendicular and so on]*, passing through the point 1 thus creating a Dummy Tooling Axis clearing in X direction.
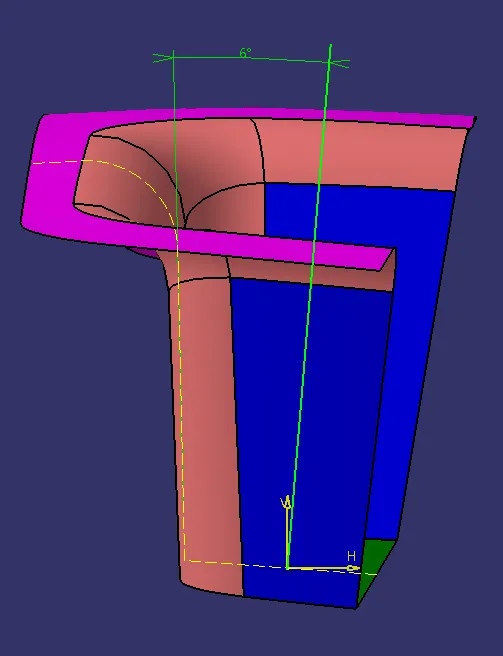 [13]
[13]
*[Wherenever there is any discrepancy or problem arises during Drafting Analysis, this very angle can be manipulated to get the desired angle of the Main Tooling Axis inturn addresssing the drafting issue.]*
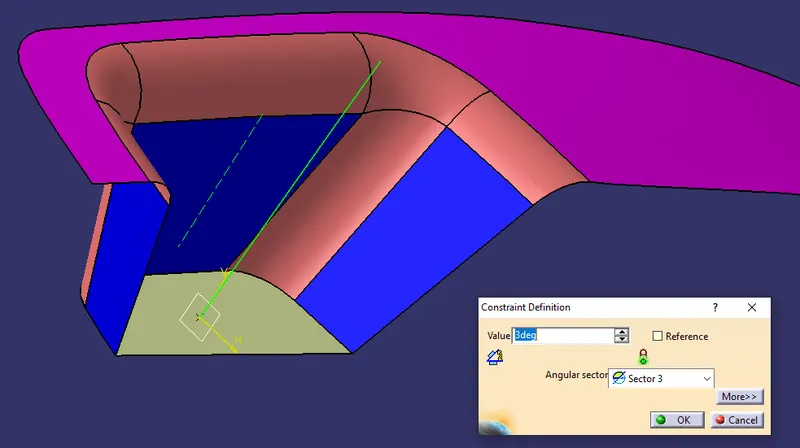 [14]
[14]
The Two dummy Tooling Axis are bisected using Line definition Tool to get the Main Tooling Axis.
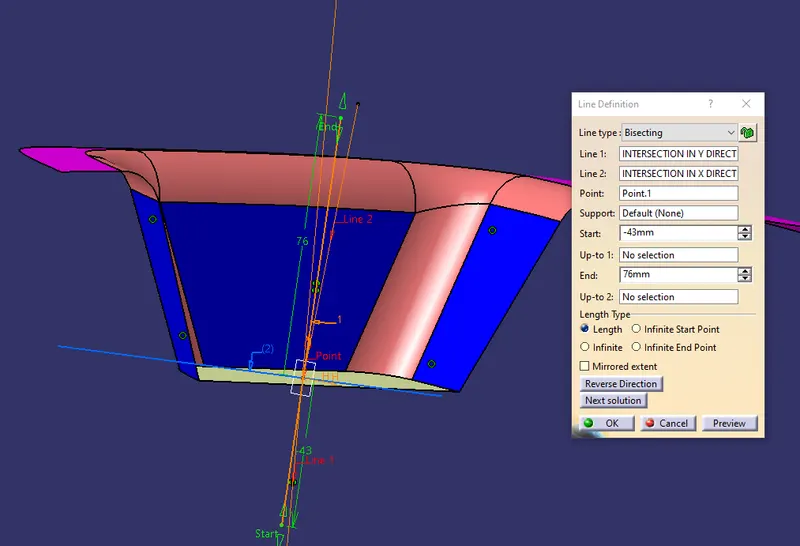 [15]
[15]
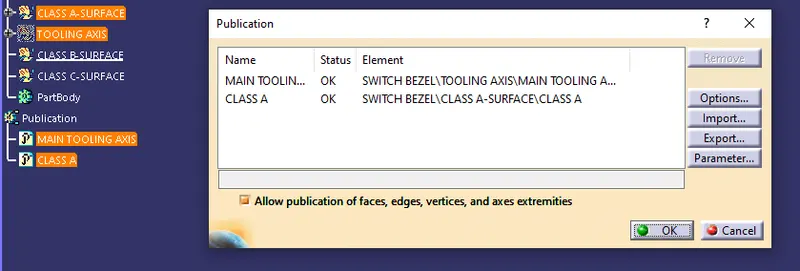
PUBLICATION
 [16]
[16]
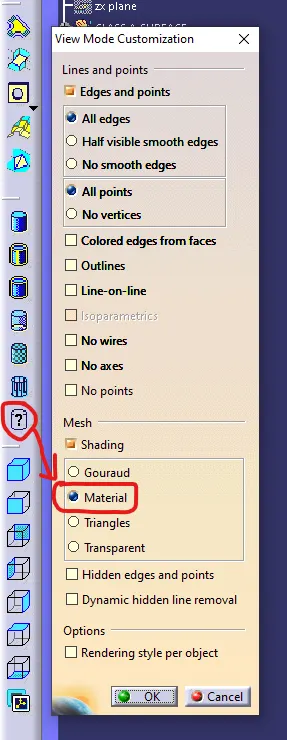
Before Publication make sure in the View Mode Customization dialogue Box, Material box is checked which is available in the Mesh Subsection.
 [17]
[17]
DRAFT ANALYSIS REPORT OF SWITCH BEZEL
At First, Compass Tool  is used to position the co-ordinate plane into the main tooling axis of the component and locked using Lock Tool
  .
.
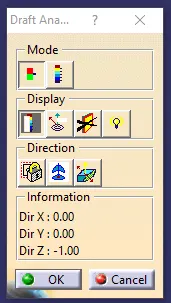
This compass tool is available in the drafting Dialogue Box along with Lock and Analysis under Running point Tool in the dispplay section of the dialogue box.
A Red pointer [pic 17] appears on the component when the cursor is moved over the component under drafting analysis.
 [16]
[16] 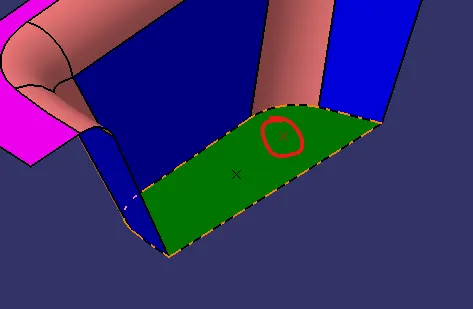 [17]
[17] 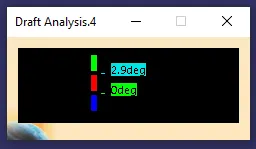 [18]
[18]
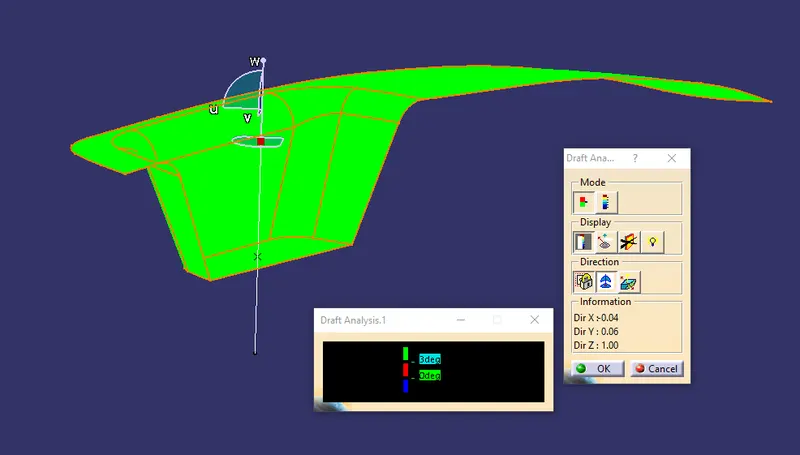
1.DRAFT ANALYSIS OF CLASS-A SURFACE
 [19]
[19]
 [20]
[20]
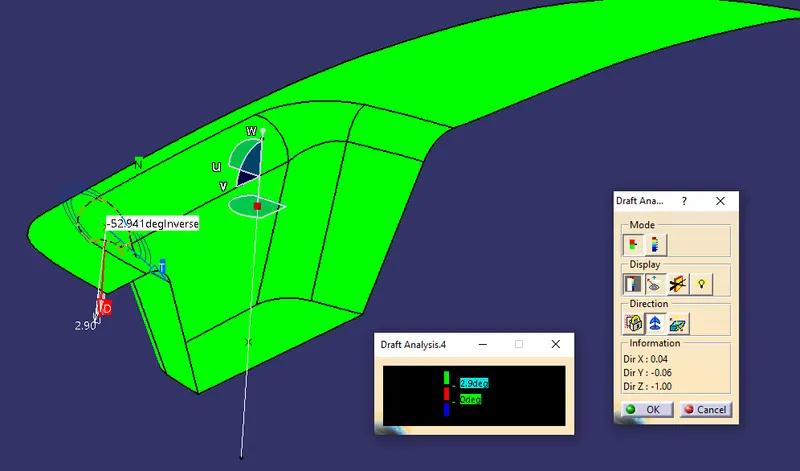
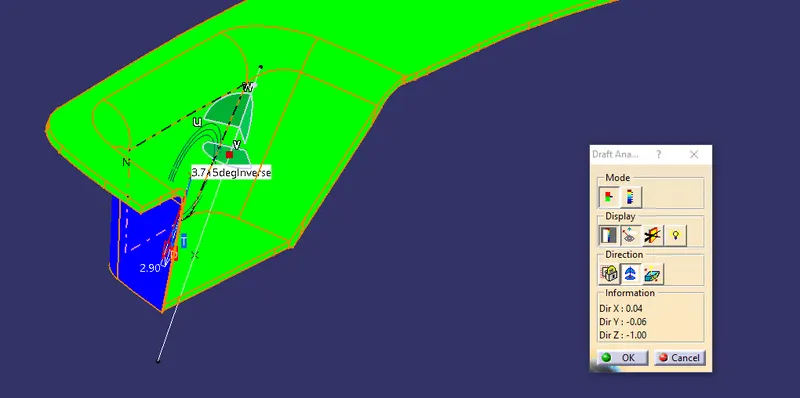
[pic 20] - shows Running point Tool to check the draft on the face.
Observation:
The angle between the Class A-surface and the main tooling axis meets the requirement of Minimum drafting angle. To be specific the angle is > 2.9 [*Excluding the 2.9*]
The above draft analysis shows that the Class A- surface clears the minimum draft requirement of 3mm. Hence that surface can be proceed further to the Class C surface with thickness = 2.5mm
COLOUR CODE IDENTIFICATION
| RED | 0 < A < 2.9 |
| GREEN | 0 < A > 2.9 |
| BLUE | INVERTED |
`
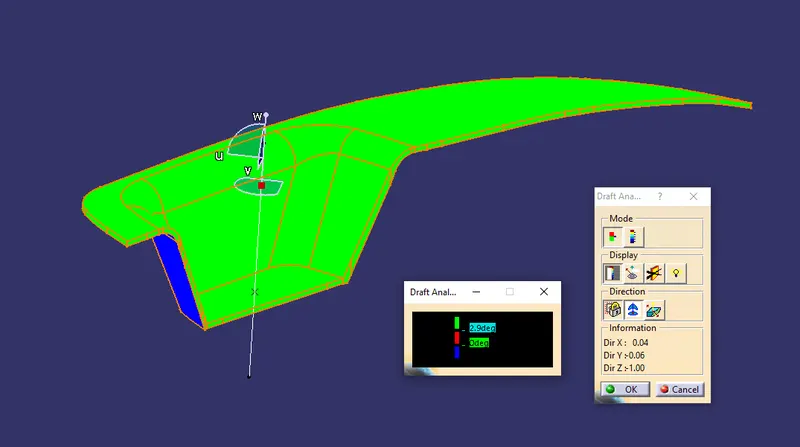
2.DRAFT ANALYSIS OF FINAL PLASTIC COMPONENT
 `[21]
`[21]
 [22]
[22]
[pic 21] - shows Running point Tool to check the draft on the face.
Observation:
The angle between the Class C -surface and the main tooling axis meets the requirement of Minimum drafting angle. To be specific the angle is > 2.9 [*Excluding the 2.9*]
The above draft analysis shows that the Class C -surface clears the minimum draft requirement of 3mm. Hence that surface can be proceed further to generate Solid Part of the Switch Bezel using closed surface Tool 
available in the Part Workbench.
Conclusion:
Since the drafting Analysis report confirms to be positive. The Solid Part of the component can very well be proceed further to the next stage for manufacturing.