Week 8 - Challenge 3 - Switch Bezel Design
Aim: To create a switch bezel by using Class-A, B & Class-C surfaces.
SOLUTION:
CREATING A TOOLING AXIS: For that, We have to create a tooling axis.
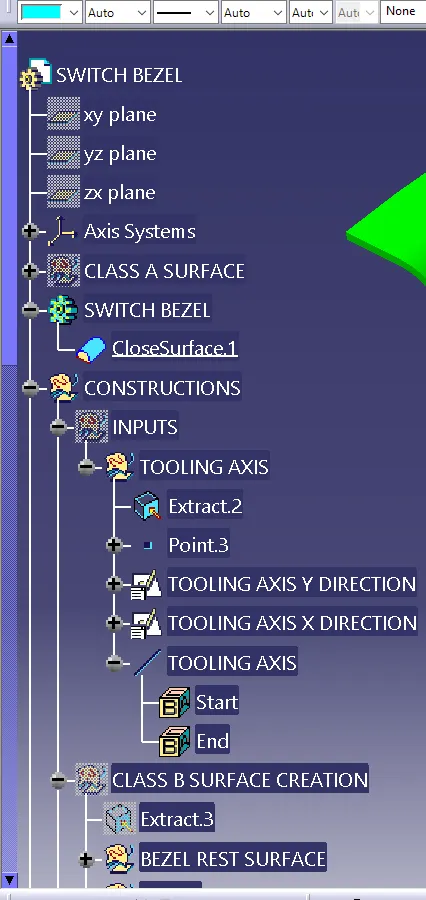
Tooling axis: For creating a tooling axis we check all x,y,z directions. Then we Consider one base surface extrude it. Then we took a center then we bisect the ZX plane first &then intersect the ZY plane to Class A surface by using the bisection method. then We bisect the 2 Resultant lines then we get a tooling axis.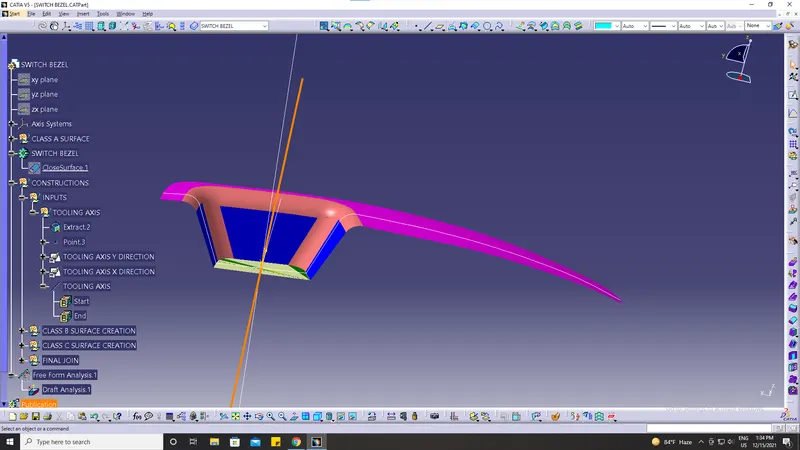
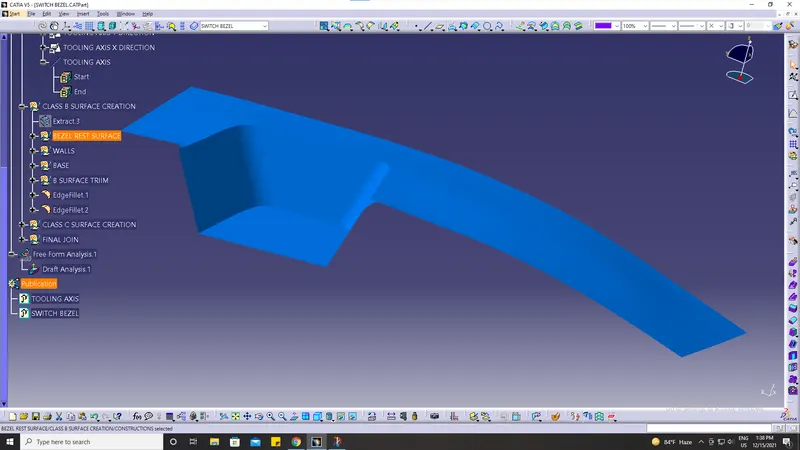
Creation of Class B-Surface:
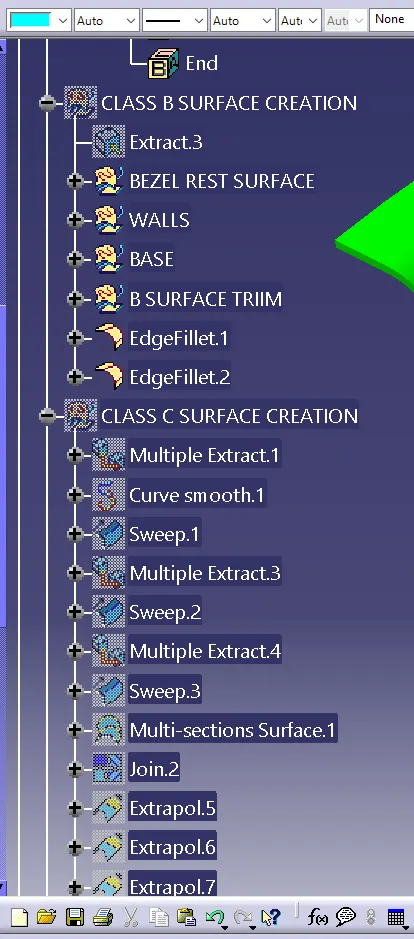
The class B surface is created by extracting each surface of the class A surface and then Untrim them.
After this, an offset of 3 mm is given in the downward direction to generate the class B surface
The surfaces are then extrapolated with a certain distance to create cross-section among the surfaces to perform trim operations
The surface trim operation was used to give the class B surface required shape.
Creation of Class-C surface:
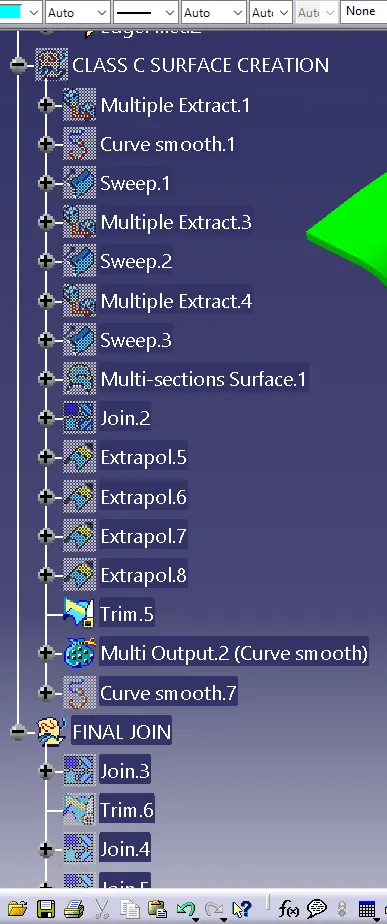
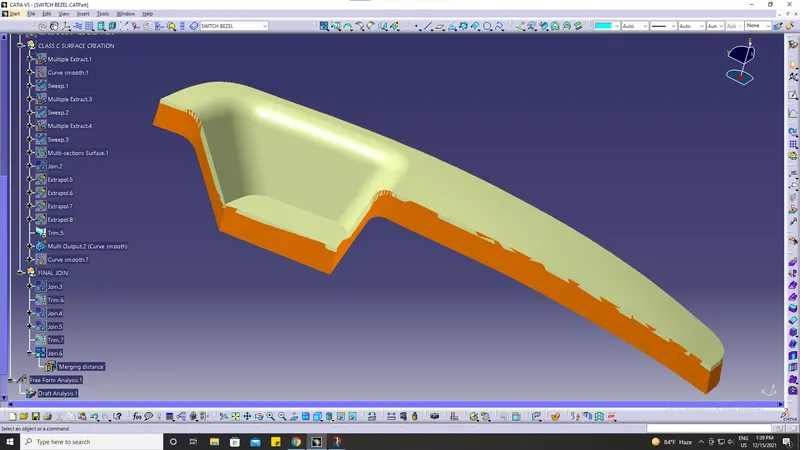
For the creation of class-C surface, first, the boundary of class A surface is extracted using multiple extracts.
After that sweep option is used to create a sweep along the Tooling axis direction.
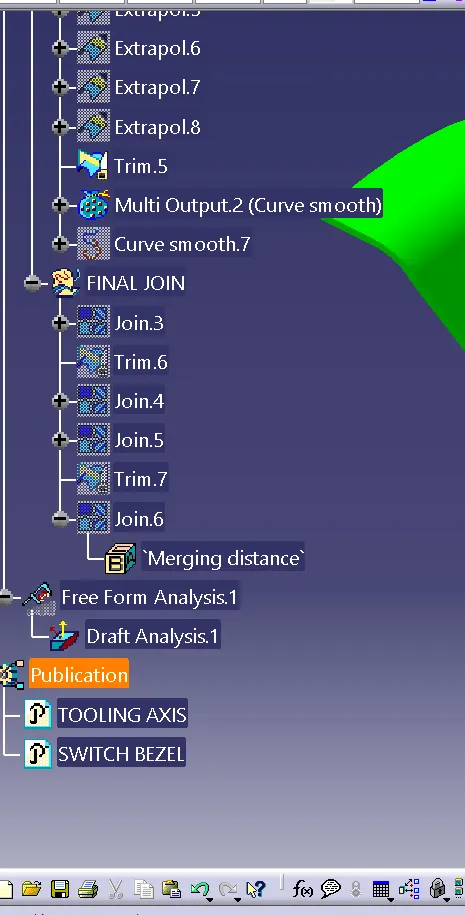
Class B surface & class c Surface are joined together to get the desired shape.
After this Class-B & class C surfaces are trimmed together to give the plastic product a mouldable shape.
MAKING OF SOLID PART MOLD:
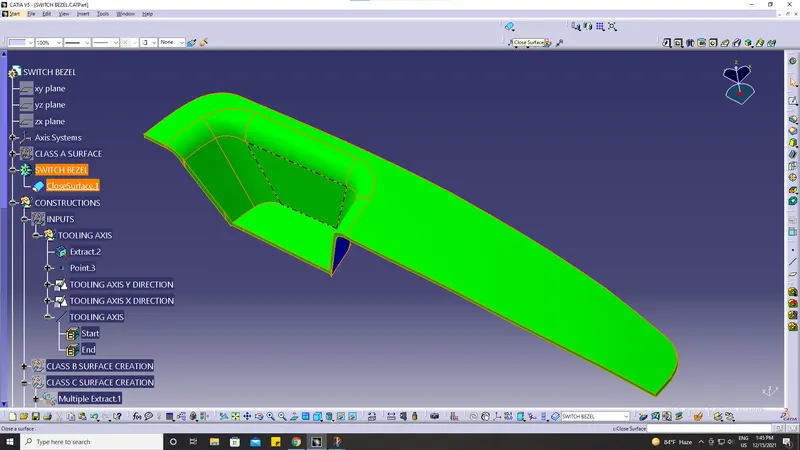
After ensuring that the surfaces formed are completely closed, the close surface feature is used to create the solid mold of the switch bezel.
Change from Generative shape design to part design and define the part design.
Use operation/command close surface to make a solid part.
DRAFT ANALYSIS ON THE FINAL PRODUCT:
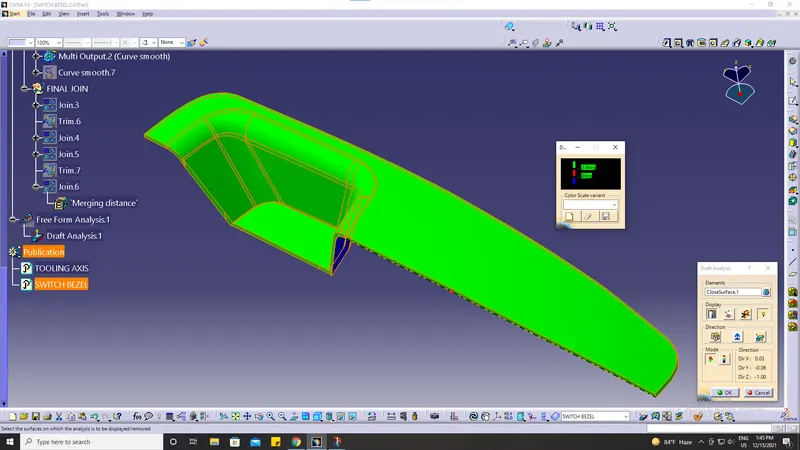
Tree Structure: