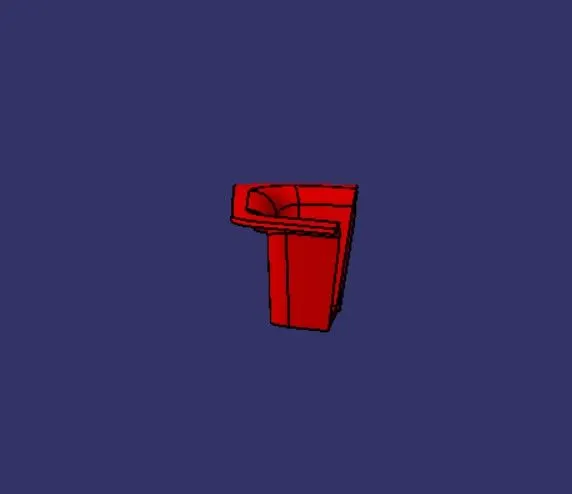
Week 8 - Challenge 3 - Switch Bezel Design
AIM:
TO Create the Switch Bezel Plastic component through the given Class-A surface. To begin with, the tooling axis for the given Class-A Surface should be created meeting the requirements of the draft angle and at the end perform the Draft analysis on the model.
TOOLBAR USED:
EXTRACT
UNTRIM
EXTRAPOL
OFFSET
TRIM
CURVE SMOOTH
EDGE FILLET
BOUNDARY
SWEEP
JOIN
POINT
LINE
EXPLANATION:
1.Join all the CLASS A SURFACE with the join 1 toolbar.
2.create a new geometrical set and name it as (B SURFACE CREATION)
3.extract the base surface
4.create a point and set aa point type as(ON SURFACE) and keep the distance (zero) and the point will be creates in centre of the walls
5.create the axis system in the point.
6.now we have to create a tooling direction
7.create a positioned sketch and reference as YZ plane and type positioned point and reference point 1 and click the reverse H
8.take the intresection in the class A and set it no 3D background.
9.create a first and second line .
10.take the projection in point 1 .
11.now create a bisecting line between two lines.
12.now make the both lines into the construction lines.
13.now we get the tooling axis for Y-DIRECTION.
14.create a positioned sketch and reference as ZX plane and type positioned point and reference point 1 and click the reverse H
15.take the intresection in the class A and set it no 3D background.
16.create a first and second line .
17.take the projection in point 1 .
18.now create a bisecting line between two lines.
19.now make the both lines into the construction lines.
20.now we get the tooling axis for X-DIRECTION.
21.Now bisect the both X and Y direction lines we get the tooling axis.
22.now make the tooling direction and CLASS A SURFACE punblication.
23.extract the top surface and untrim it.
24.now extract the 3 side wall and untrim them.
25.now extrapol the 3 side walls and trim the 3 side waall.
26.create a geomentrical set as base and extrapol it and untrim it.
27.now,we have to offset the eaach wall by the 3mm.
28.create a geomentrical set as B surface trim and trim the offsets.
29.now give the fillets in the edge by the 11mm.
30.create a geomentrical set as C SURFACE.
31.create a boundary of two parts .
32.give the smooth for two boundarys.
33.now sweep tha boundary and extrapol the sweep.
34.trim the extrapol and join 2 it.
35.now trim tha B surface with the join 2.
36.now the class A has the thickness.
CONCLUSION:
successfully we have created the thickness of CLASS A SURFACE.
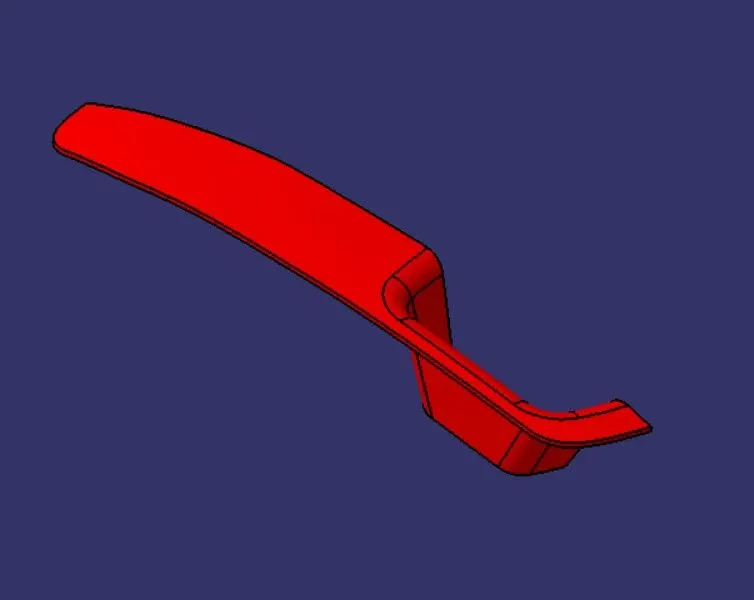
isometric view:
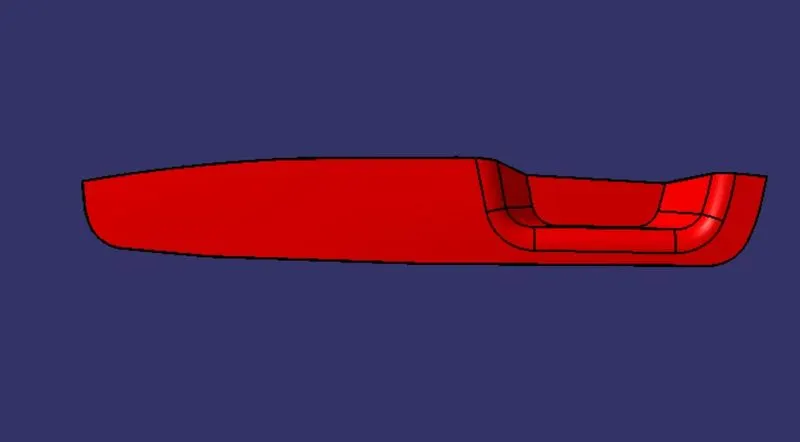
top view:
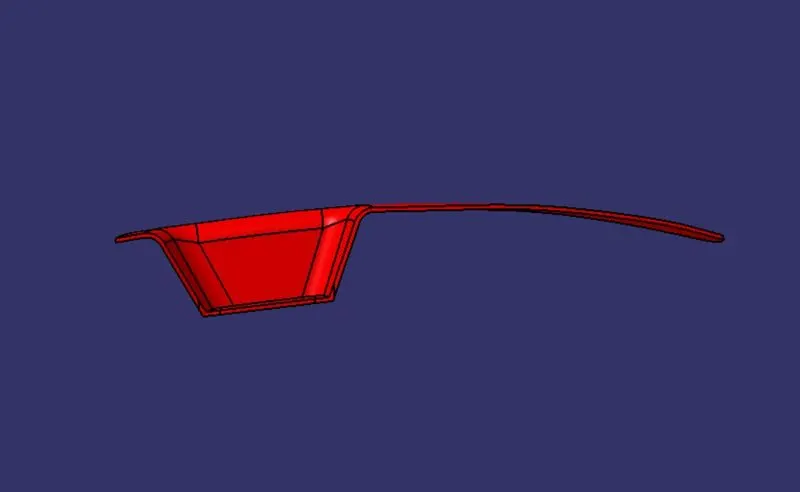
back view:
right side view: