Week 8 - Challenge 1 - Base Bracket Design
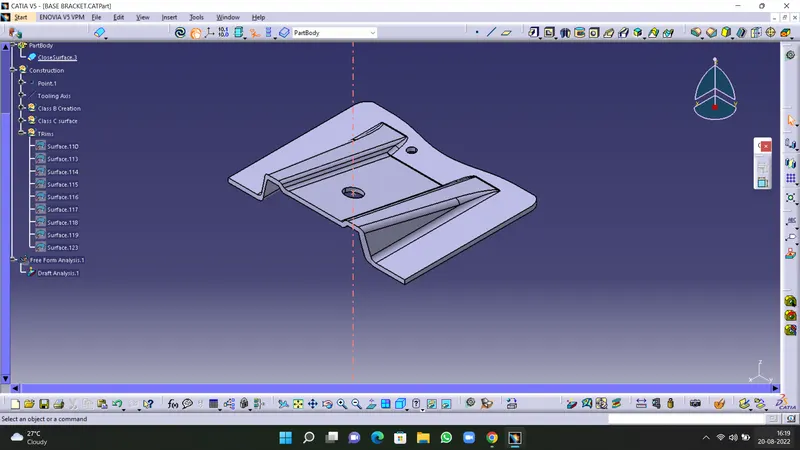
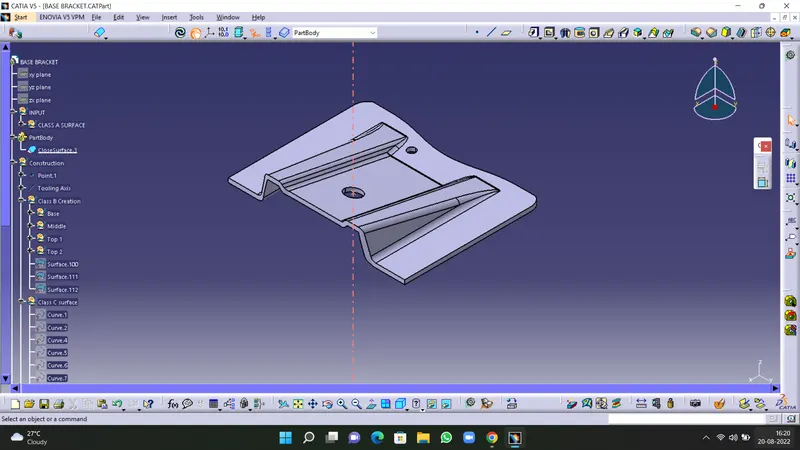
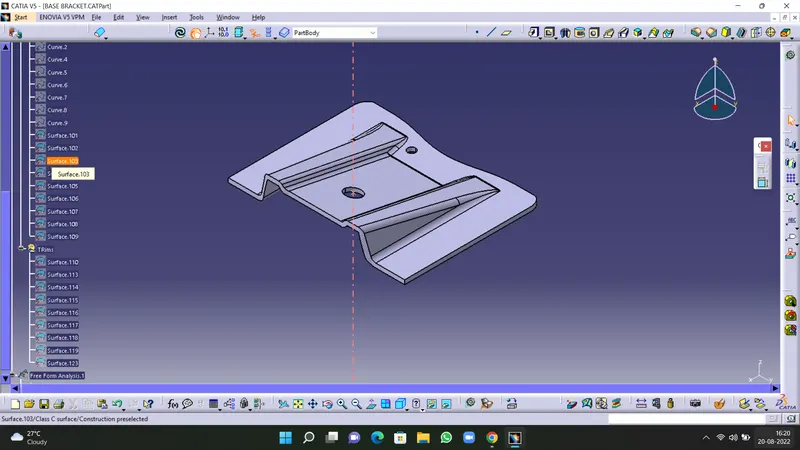
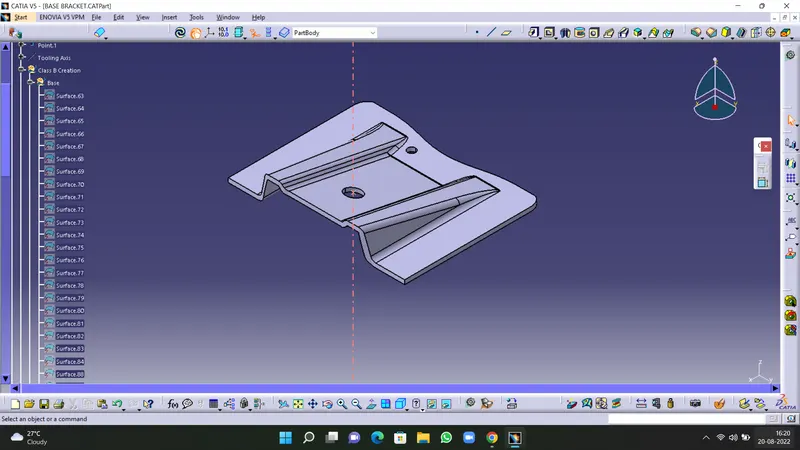
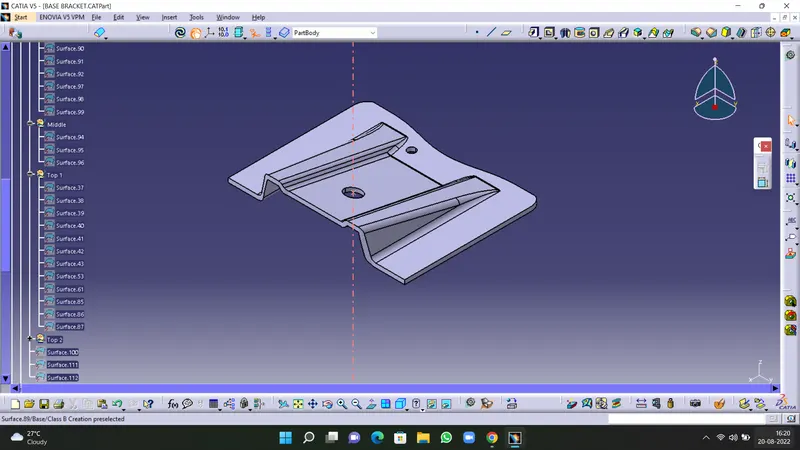
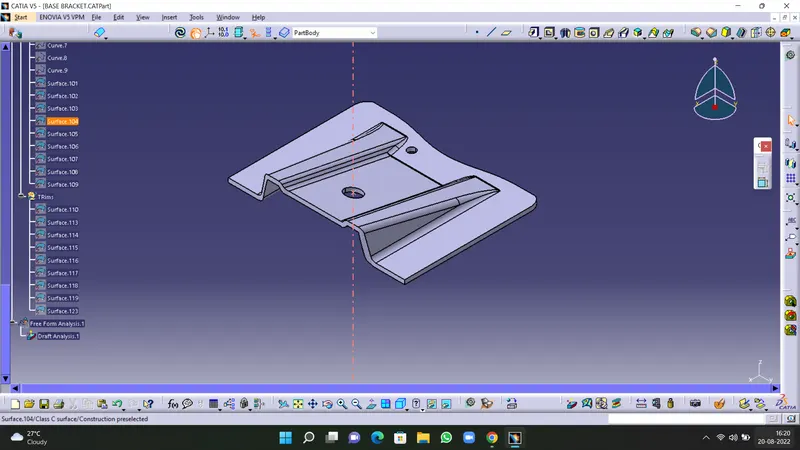
AIM: Create the Base Bracket Plastic component through the given Class-A surface. To begin with, the tooling axis for the given Class A Surface should be created meeting the requirements of the draft angle and at the end perform the Draft analysis on the model.
STEP 1: Check the connectivity of the Class A Surface
Ensure that there is no gap between the component, using join command.
We can visually check it or by clicking boundary command.
It has 3 boundaries one outer and two inner circle boundaries.
Therefore first check completed.


STEP 2: Find the tooling axis of the component. The tooling axis is nothing but the mould opens or cavity opens.
Check visaully which is the best possible tooling axis.
Check all three axis.
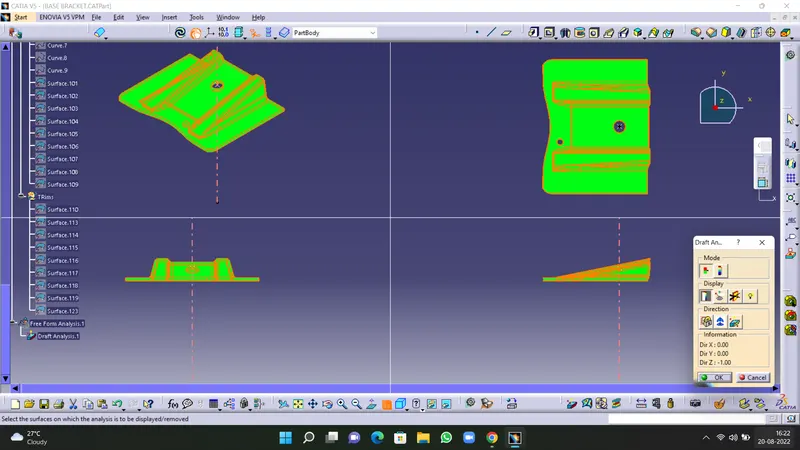
Along x it possible but expensive and y is not possible.
z is the best possible tooling axis.


Creating a Tooling axis along z:

Therefore the main tooling axis is along z axis.
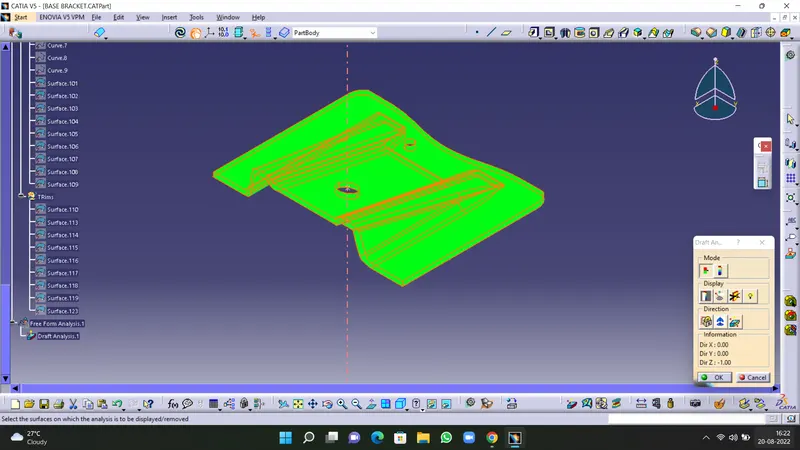
Now perform the Draft analysis using the Featured Draft Analysis tool in the tools.
Then after opening the draft analysis tool box go for the compass and place the compass alinged to tooling axis and click on the lock symbol after alinging and further click on the surface.
Now creating Class B Surface:
Intially extracting the right side rib using extract option from Class A surface.
Then perform Extrapolate inorder to increase the length
Now trim the surfaces to required surfaces
Then Offset the surface inorder to get the required thickness
Similary create the left side rib
Now Similarly get the slanted as well as the flat surface and offset it to desired value
And now trim inorder to get the required surface
Now fillet the surface to required amount