Week 8-3D Tetra Meshing Challenge
Week 8-3D Tetra Meshing
AIM:
To perform 3D meshing for the given component with the mentioned quality criteria.
INTRODUCTION:
3D mesh is of two type’s tetra (tetrahedron) and Hexa (hexahedron). A tetrahedron has 4 vertices, 6 edges, and is bounded by 4 triangular faces. A tetra mesh is easier to do and is generally preferred over Hexa mesh. A hexahedron, a topological cube, has 8 vertices, 12 edges, bounded by 6 quadrilateral faces. A Hexa mesh is more accurate than a tetra mesh. There are specialist engineers who do Hexa mesh.Here we are going to do tetra mesh. First, we will do 2D mesh then convert it into 3D tetra mesh.
CAD MODEL:-
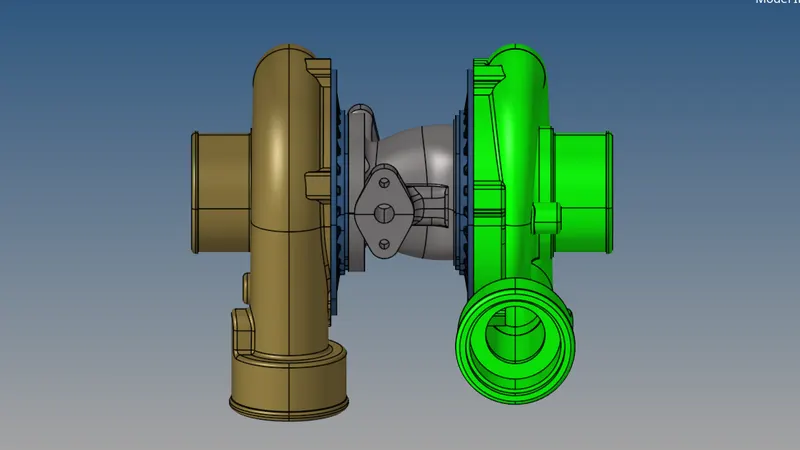
Here we are going to mesh 3 models.
METHODOLOGY:
Methodology to perform 3D meshing for the given component with the mentioned quality criteria.
- IMPORT MODEL
- DELETE SOLIDS
- GEOMETRY CLEANUP
- MESHING
- CONVERTING 2D TO 3D MESHING
- CHECKING TET COLLAPSE
Model 1 & 2 :
PROCEDURE:
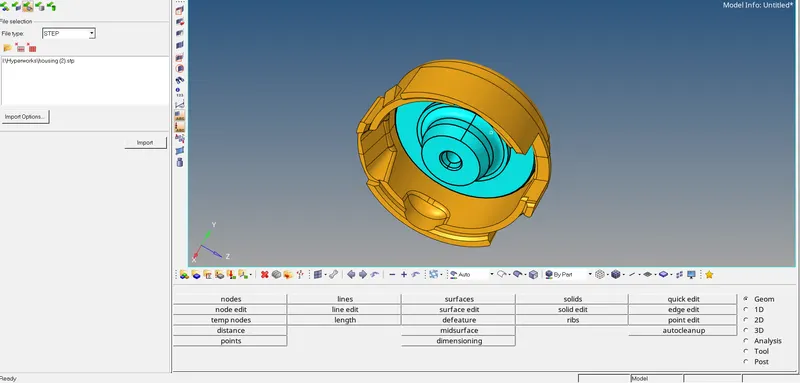
- IMPORT MODEL:
- Import the given model into hypermesh.
- Importing the model may not be possible if the file format is not supported by the hypermesh.
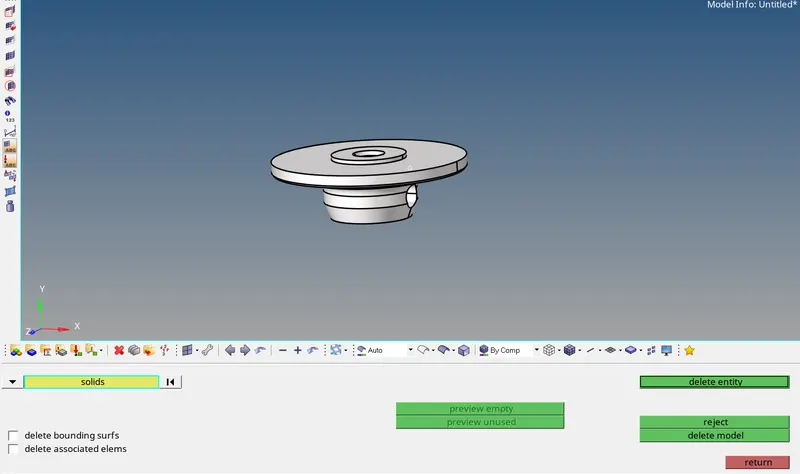
2.DELETING SOLIDS:
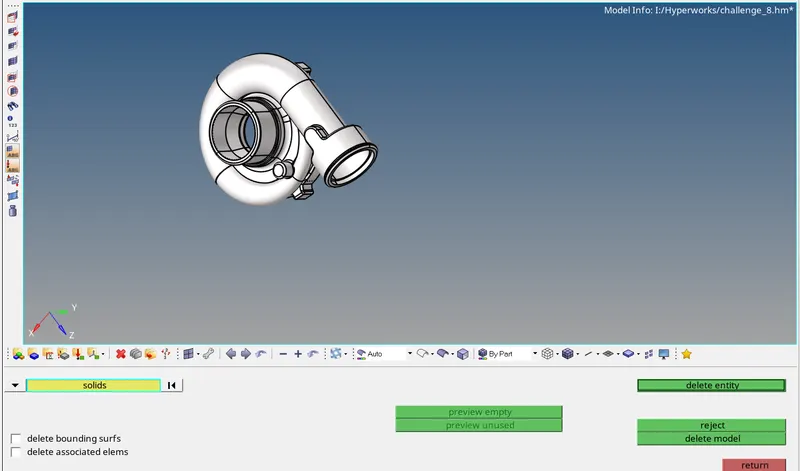
- Before generating a 2D mesh for the components then the solids should be deleted.
- It can be done by using the delete tool and select solids and select to delete all solids from the component.
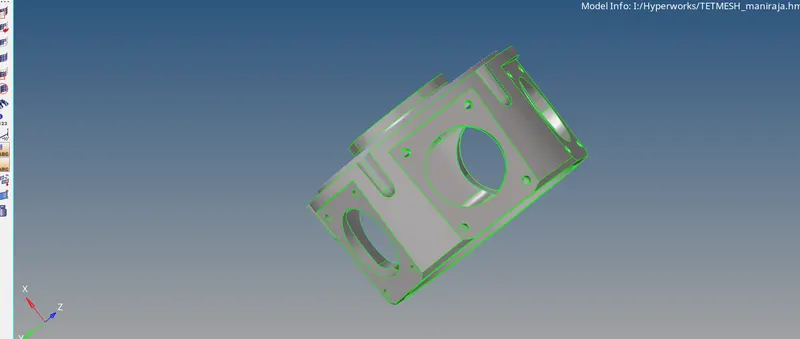
3.GEOMETRY CLEANUP:
- After importing the model the main process is geometry cleanup.
- In some cases if the model is imported to hypermesh due to some graphical issues the geometry changes may occur, So geometric cleanup plays an important role.
- Remove all unnecessary lines from the model.
- Check if any surface is missing or overlapping.
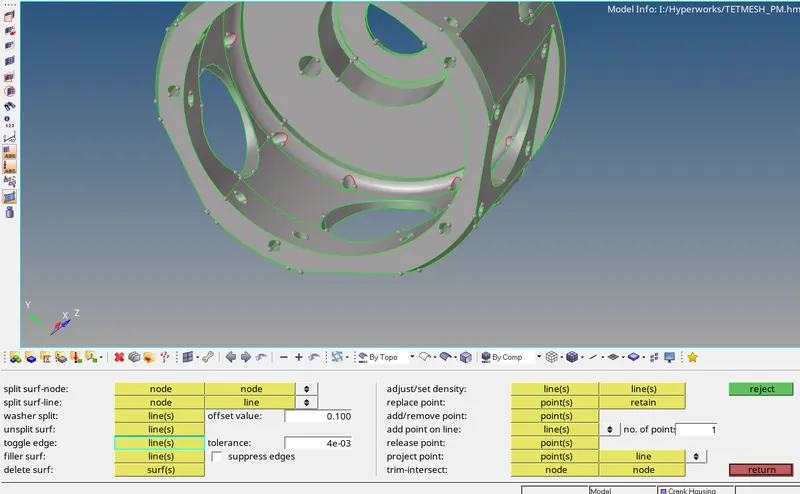
- If any surface is missing, create a new surface over there by using a surface tool or filler surf tool.
- If two surfaces are not stretched together then use a toggle edge tool to stretch together.
- By using the toggle edge tool the feature lines can be suppressed for better mesh generation.
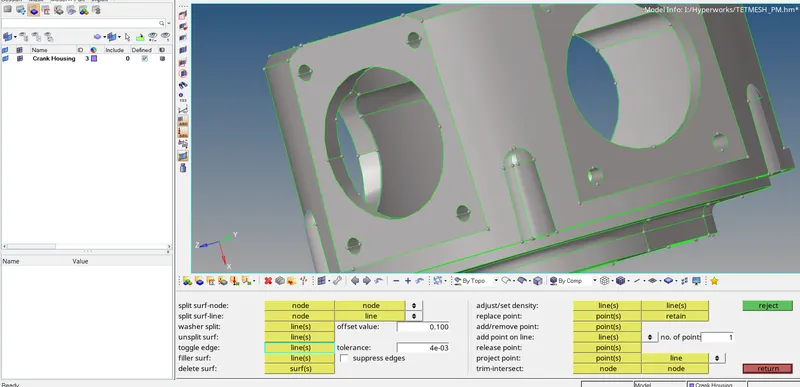
MESHING THE COMPONENT:
- For the given housing model to perform the meshing select 2D.
- In 2D by using the AUTOMESH tool mesh is generated.
- Before meshing, always assign the quality criteria.
- For creating TETRA MESH for the model, firstly trias meshing should be generated.
- Select the whole surface to generate trias mesh and proceed with the meshing.
Quality Criteria:
- For model 1:Elements sizes: Min- 2 Units, Target- 5 Units, Max- 7 Units
- For model 2:Target Element size: 3 Units.
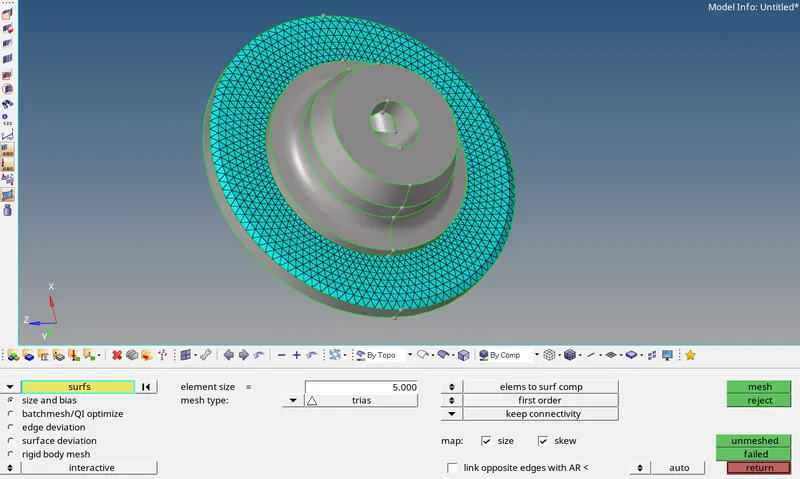
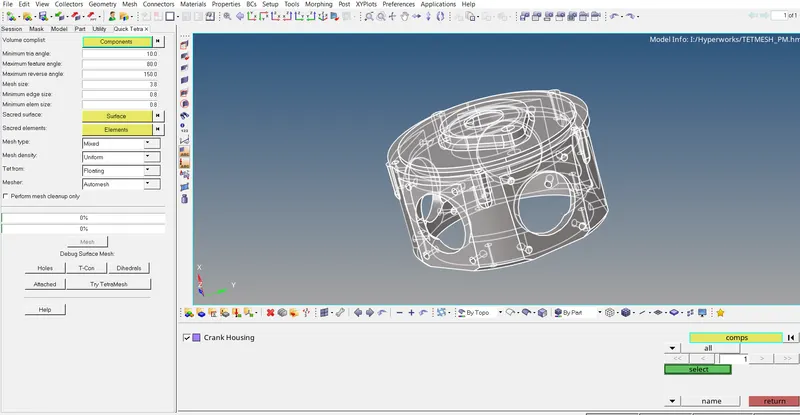
- This is another method to mesh the whole component and it accurate compare to auto mesh.
- View>Browser>Hypermesh>Utility>geo/mesh>Quick tetramesh
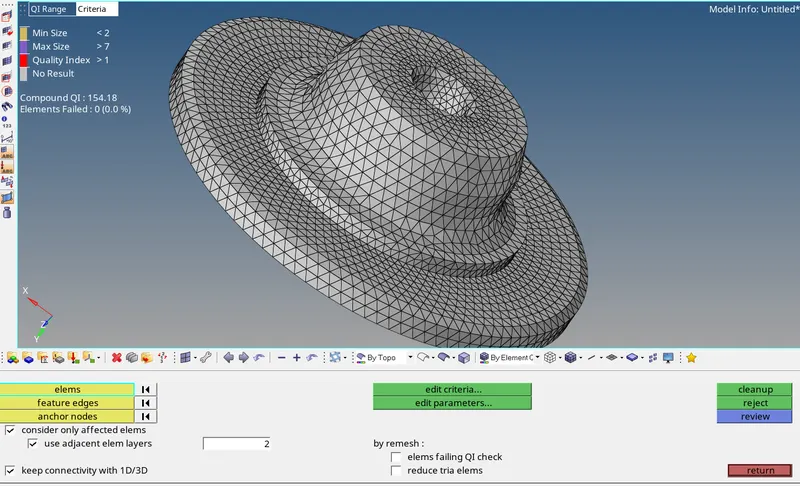
ELEMENT CLEANUP:
Elements sizes: Min- 2 Units, Target- 5 Units, Max- 7 Units
5.CONVERTING 2D TO 3D MESHING:
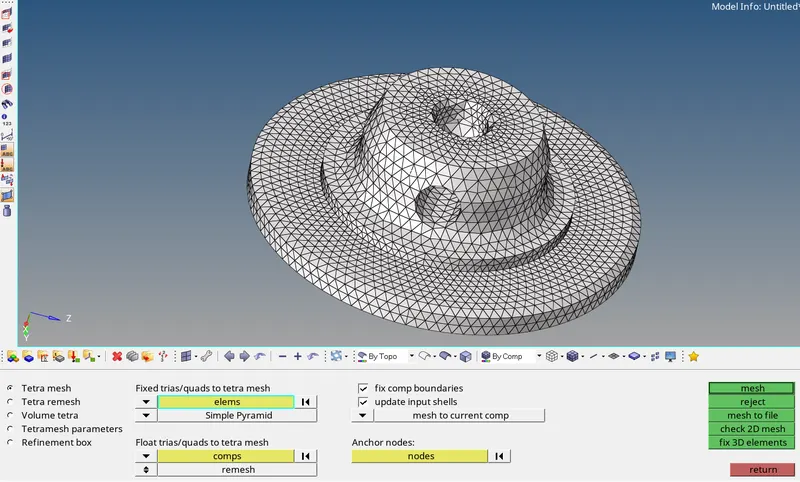
- For converting the 2D trias meshing to 3D tetra meshing go to 3D tools.
- 3D>tetramesh>tetramesh parameters
- Under 3D tools select tetra mesh, under tetra mesh tools there are tools to create tetra mesh, tetra remesh, parameters, volume tetra, and refinement box.
- For converting 2D to 3D mesh select tetra mesh and select the elements from the model to convert to 3D.
- After performing the tetra mesh the 3D meshing of the model will be ready.
- In multiple ways, tetra mesh can be generated. Directly we can create tetra mesh without creating the 2D mesh.
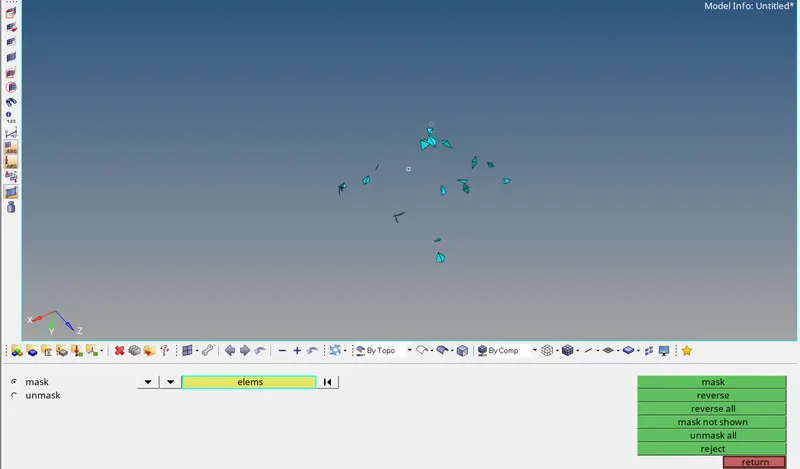
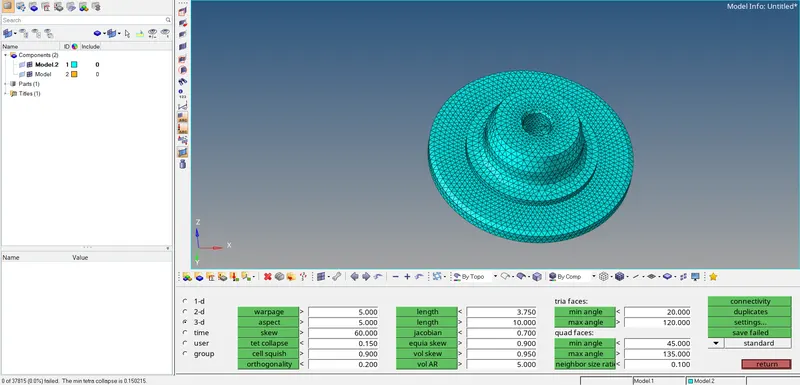
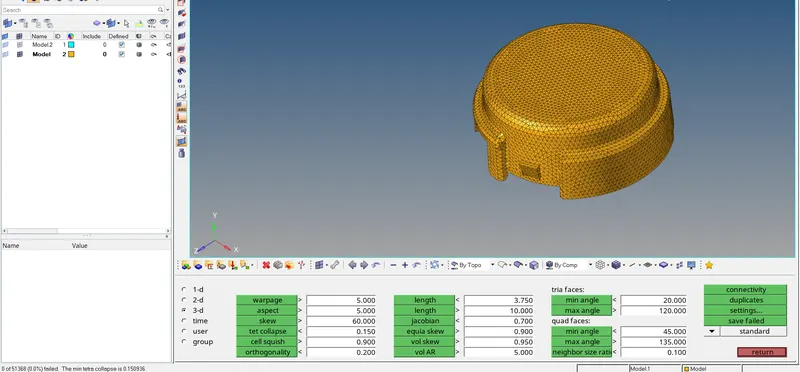
6.CHECKING TET COLLAPSE:
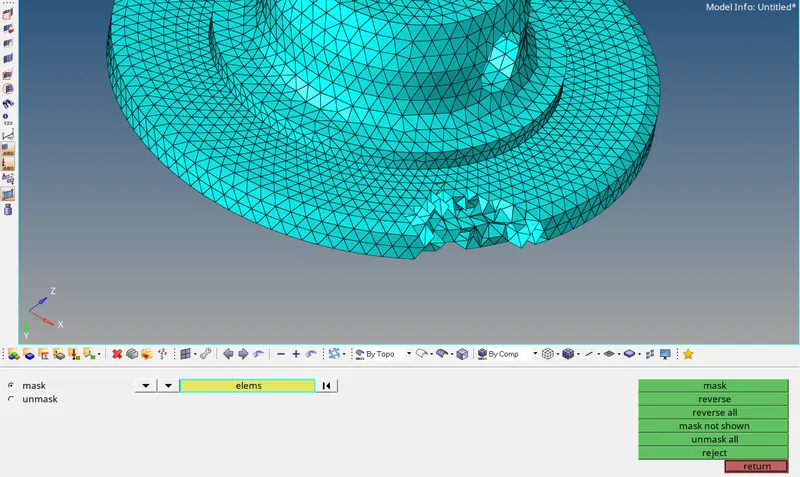
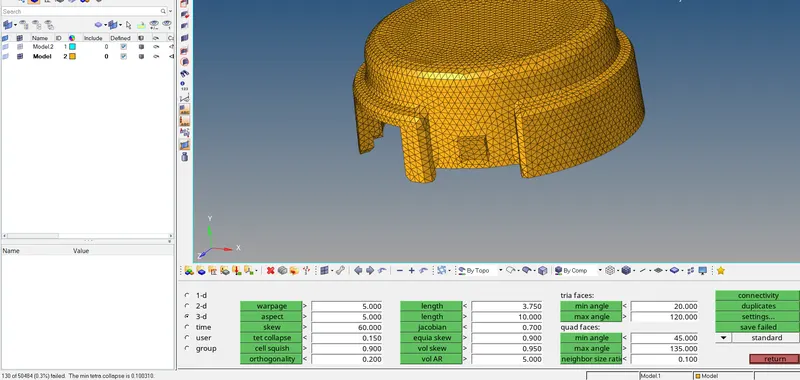
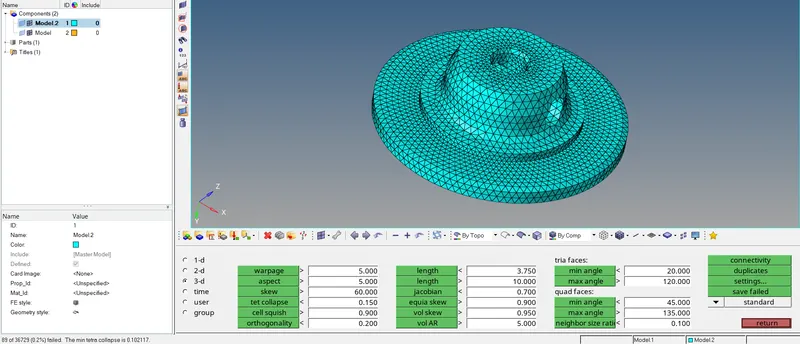
- For checking the TET COLLAPSE we can directly access the check menu by F10.
- The tet collapse should not exceed the given value.
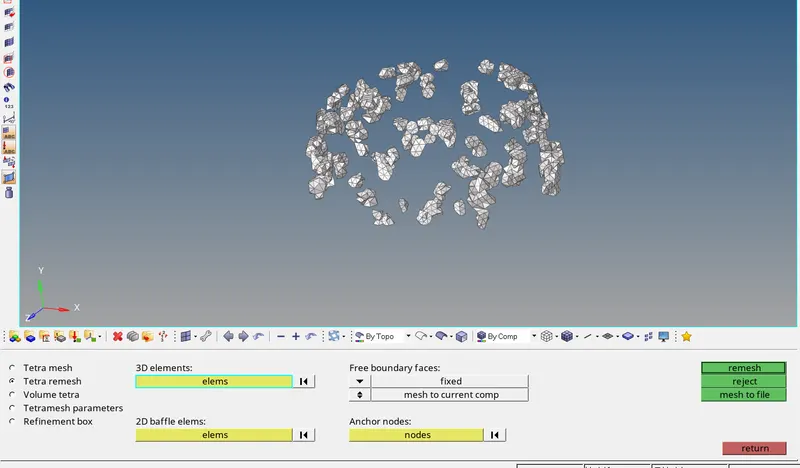
- After setting the parameters we have to remesh the mesh (Tools>tetramesh>tetra remesh).
- By adjusting the height the tet collapse also is solved.

Model 3 :
Procedure
- IMPORT MODEL:
- Import the given model into hypermesh.
- Importing the model may not be possible if the file format is not supported by the hypermesh.
2.DELETING SOLIDS:
- Before generating a 2D mesh for the components then the solids should be deleted.
- It can be done by using the delete tool and select solids and select to delete all solids from the component.
3.GEOMETRY CLEANUP:
- After importing the model the main process is geometry cleanup.
- In some cases if the model is imported to hypermesh due to some graphical issues the geometry changes may occur, So geometric cleanup plays an important role.
- Remove all unnecessary lines from the model.
- Check if any surface is missing or overlapping.
- If any surface is missing, create a new surface over there by using a surface tool or filler surf tool.
- If two surfaces are not stretched together then use a toggle edge tool to stretch together.
- By using the toggle edge tool the feature lines can be suppressed for better mesh generation.
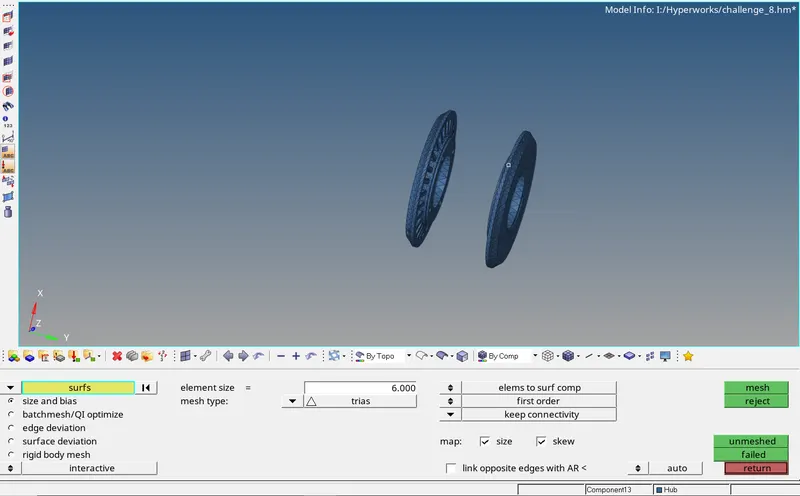
MESHING THE COMPONENT:
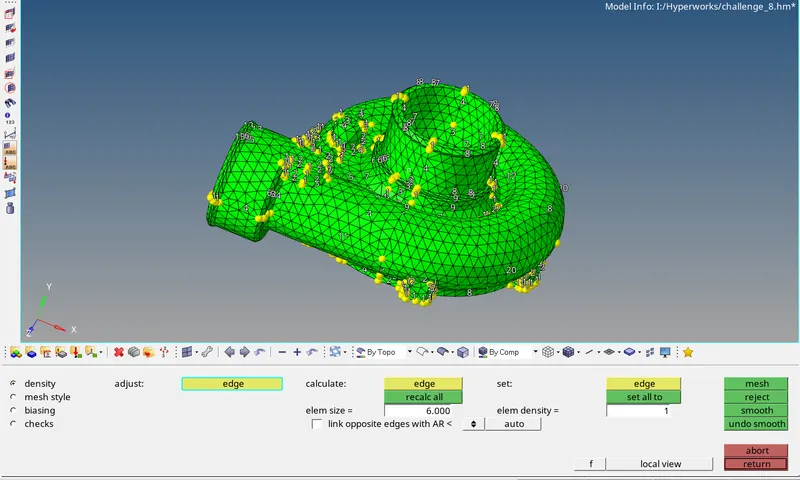
- For the given housing model to perform the meshing select 2D.
- In 2D by using the AUTOMESH tool mesh is generated.
- Before meshing, always assign the quality criteria.
- For creating TETRA MESH for the model, firstly trias meshing should be generated.
- Select the whole surface to generate trias mesh and proceed with the meshing.
Quality Criteria:
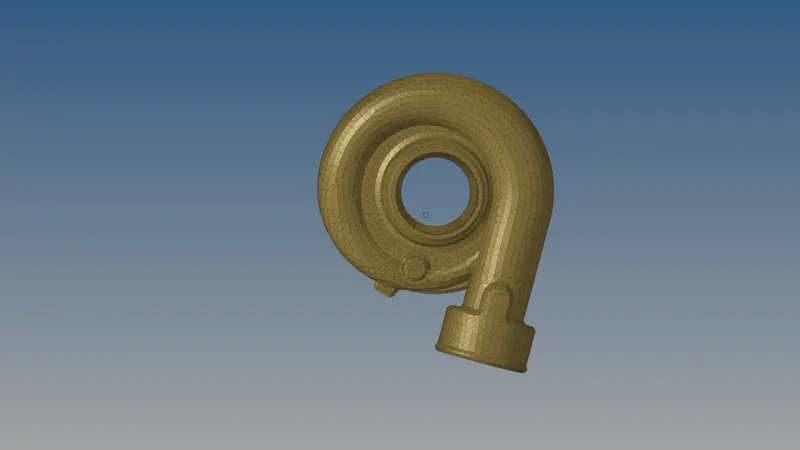
- For model 3:Target Element size: 6 Units.
CONVERTING 2D TO 3D MESHING:
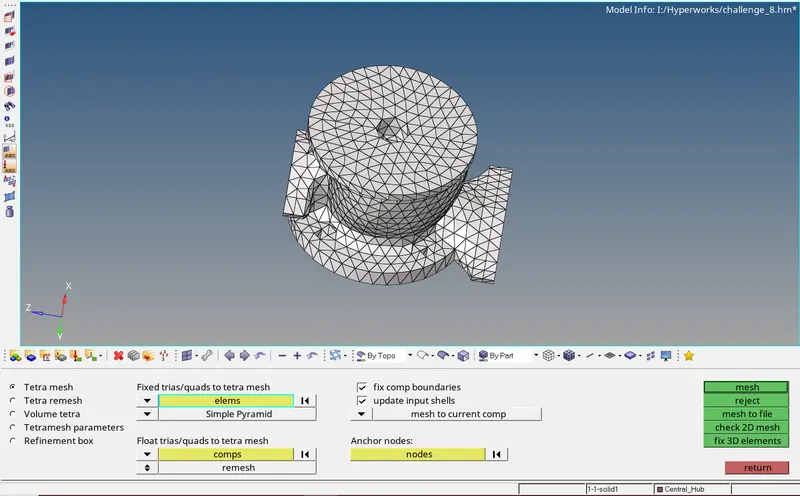
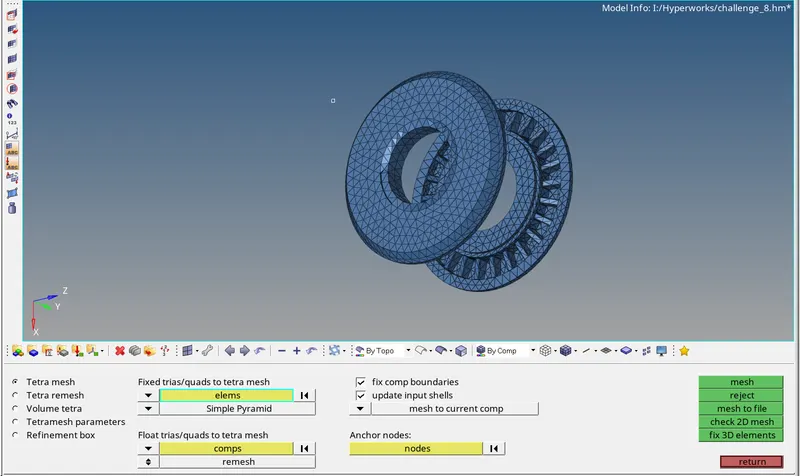
- For converting the 2D trias meshing to 3D tetra meshing go to 3D tools.
- 3D>tetramesh>tetramesh parameters
- Under 3D tools select tetra mesh, under tetra mesh tools there are tools to create tetra mesh, tetra remesh, parameters, volume tetra, and refinement box.
- For converting 2D to 3D mesh select tetra mesh and select the elements from the model to convert to 3D.
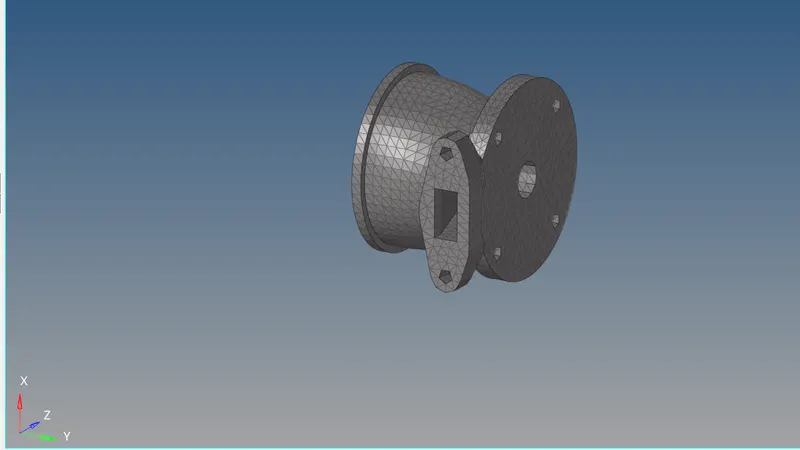
- After performing the tetra mesh the 3D meshing of the model will be ready.
- In multiple ways, tetra mesh can be generated. Directly we can create tetra mesh without creating the 2D mesh.
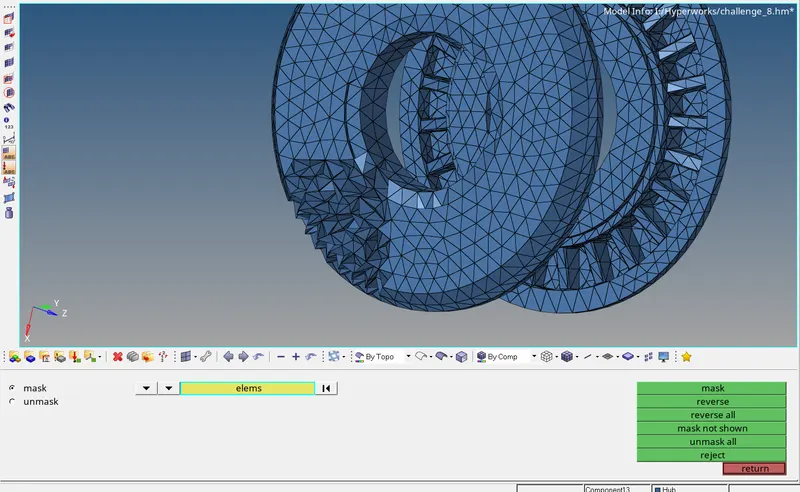
CHECKING TET COLLAPSE:
- For checking the TET COLLAPSE we can directly access the check menu by F10.
- The tet collapse should not exceed the given value.
- After setting the parameters we have to remesh the mesh (Tools>tetramesh>tetra remesh).
- By adjusting the height the tet collapse also is solved.
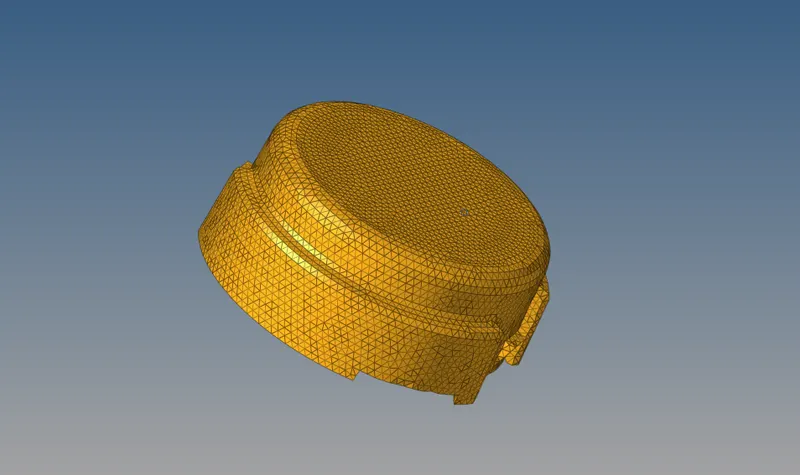
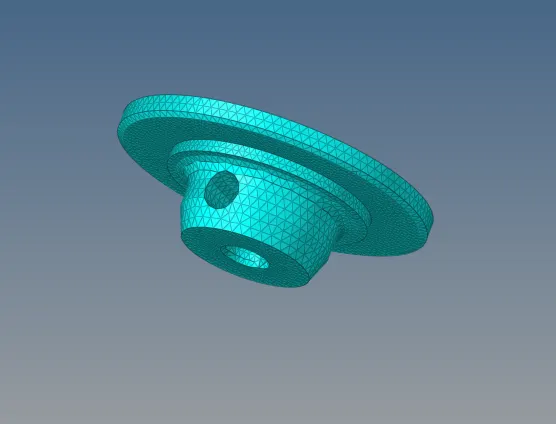
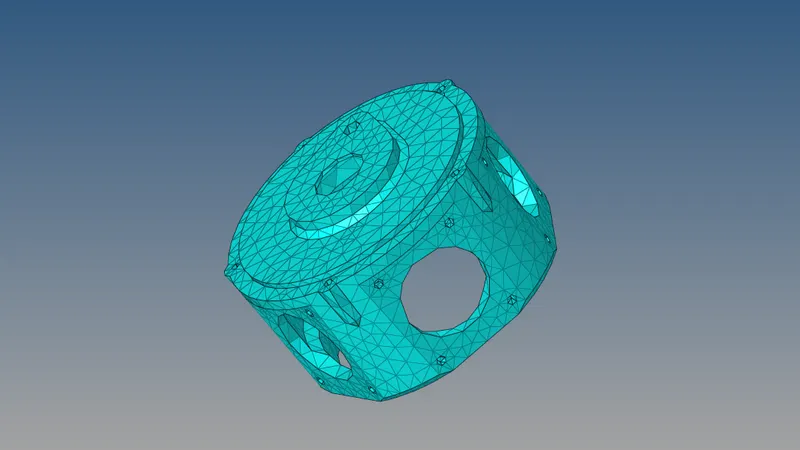
Final models:
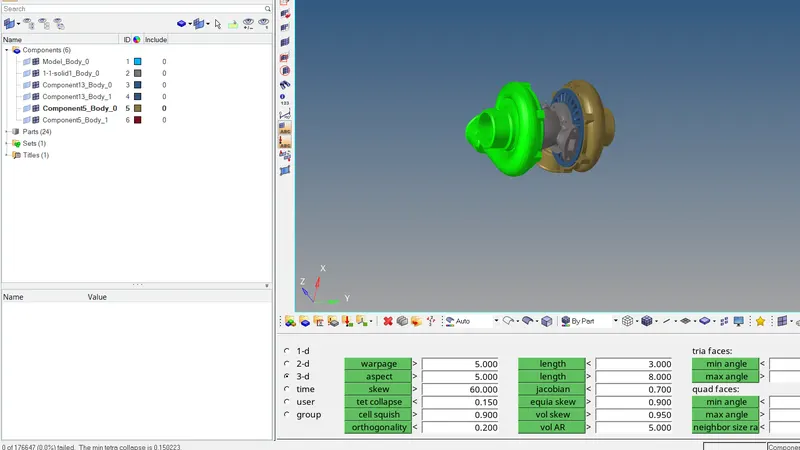
RESULT:
3D Meshing for the given components with the mentioned quality criteria had done completely.
LEARNING OUTCOMES:
- Trias meshing
- Tetra meshing
- Complete 3D meshing
- solving the tet collapse elements