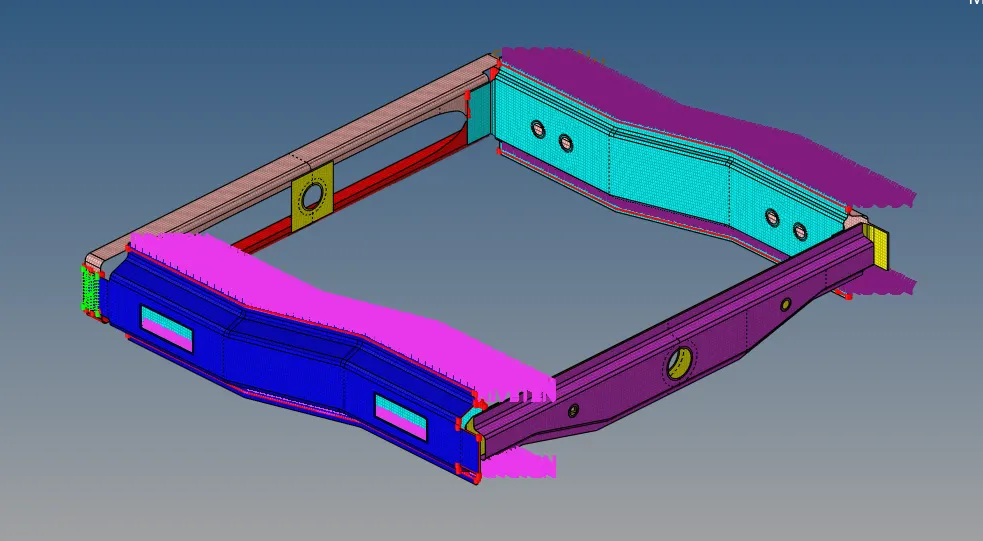
Week 7-12-Creation of 1D Connectors Challenge
Considering the Model Image
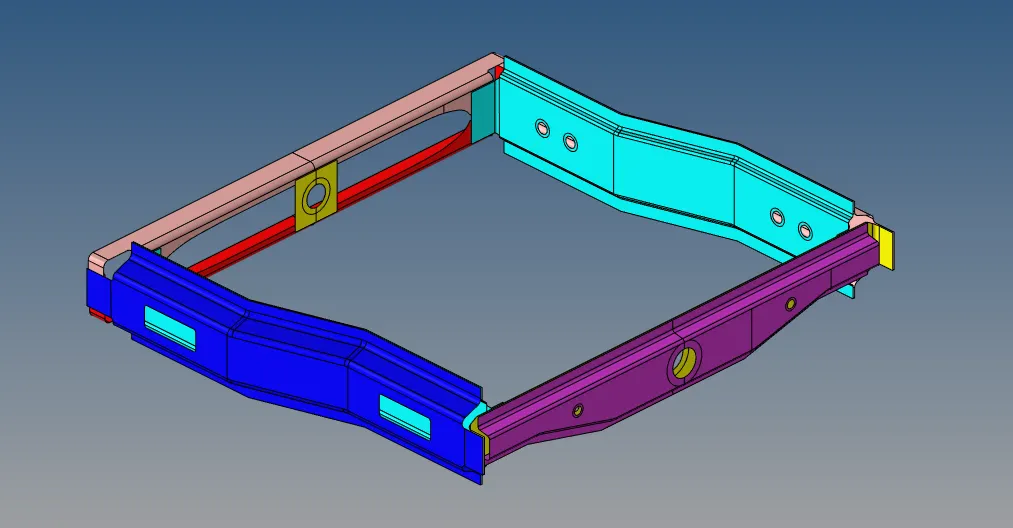
Steps to follow:
- Import the model.
- Mesh the specified component and do the geometry cleanup.
- Produce "steel" as the material. To do this, right-click the left panner and choose "material." 'steel' is the material name >> Image of Card: 'MAT1' >> G = 80769 >> NU = 0.3 >> E = 210000
- Establish a property. In this case, right-click on the left panel, choose "Property," then enter the property name "Property1." Card Picture: "PSHELL" Subject = "Steel" >> Thiskness: 1 millimeter
- Now give the component a property. Because of this
All components should be selected, then right-click, assign, choose property1, apply, and OK. - Mesh and clear the quaity criteria.
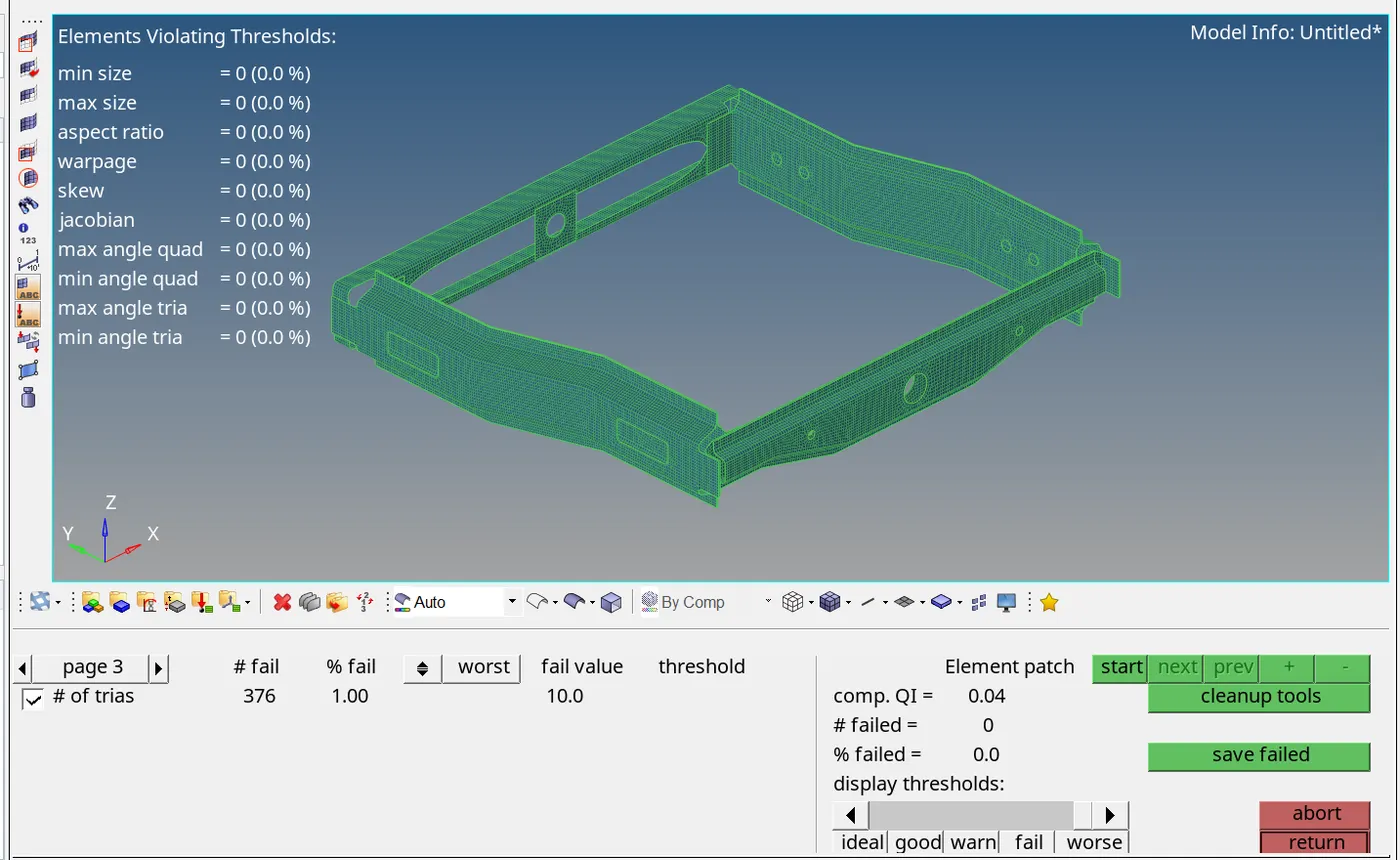
Connections
1. Front Truss 1 & Right Rail 2: Seam-Quad (angled+capped+L)
Navigate to Connectors >> 3D seam [2] Choose nodes >> provide the goal length of the meshing (spacing) = 5 mm >> tolerance = 10 >> choose both components, construct, and return with type = Seam-Quad(angled+capped+L).
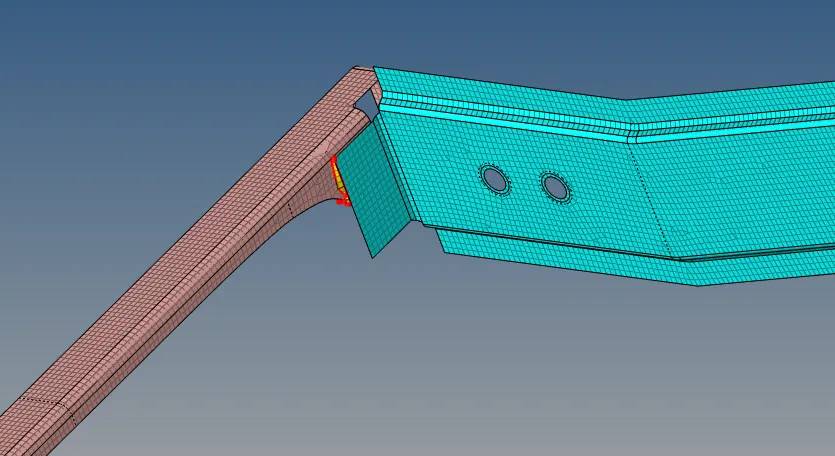
2. Left_Rail_2 & Front_truss_1:- Quad elements
Navigate to 3D. Connectors >> seam Choose nodes >> provide spacing = 5 mm (about the meshing target length) >> tolerance = 10 >> type = Quad, choose both parts, then produce and return.
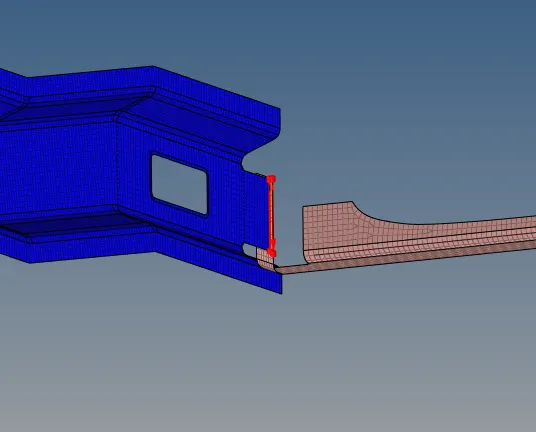
3.Front_truss_2, Front_truss_1 & Left_Rail_1:- Hexa (Adhesive)
Navigate to 3D >> Area >> Connectors >> Choose your components >> choose two components. tolerance (10) in this case kind: adhesive make and come back.
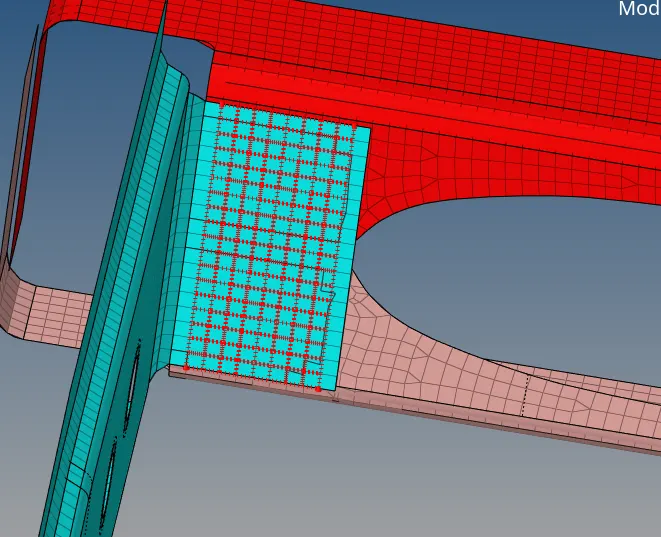
4. Right_Rail_1 & Right_Rail_2:- Spot-weld with Rigid Elements
Select nodes, components, tolerance = 10, stiff type, construct, and return by going to 3D >> Connectors >> Spot >> Select Nodes.
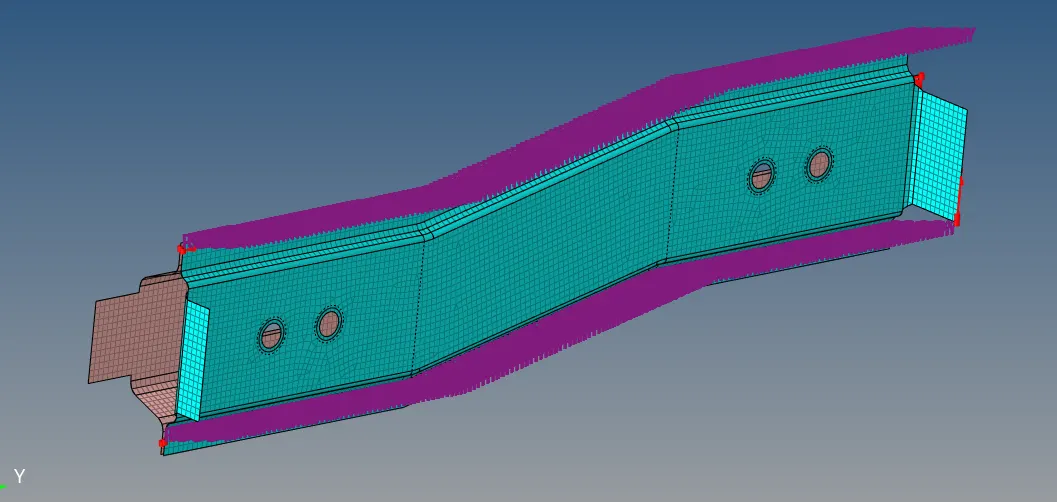
5. Left Rails 1 and 2: Using Spring Elements to Spot-weld
Select nodes, components, tolerance = 10, type = spring, construct, and return by going to 3D >> Connectors >> Spot >> Select Nodes.
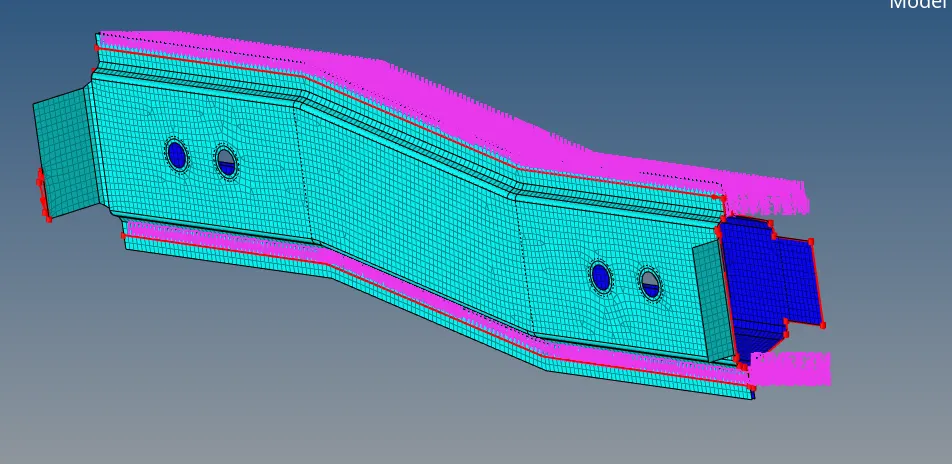
6 Front trusses 1, 2,
Select nodes, components, tolerance = 10, type = spring, construct, and return by going to 3D >> Connectors >> Spot >> Select Nodes.
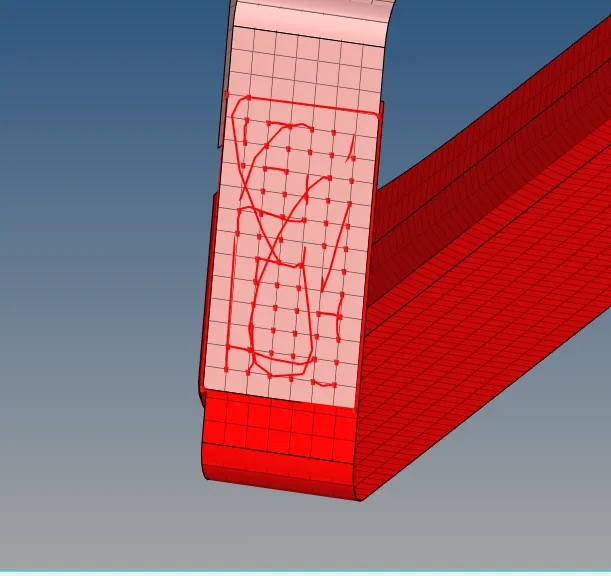
In summary :
As a result, the meshing and connecting job is finished.
Final Image :