Week 6-Meshing of Hood Challenge
AIM:
Take the mid surface and mesh the hood component with given quality criteria.
S.N. Quality Criteria Value
1.Aspect Ratio 5
2.Skewness 45
3.Warping 15
4.Taper 0.5
5.Min. Length 2 Units
6.Max. Length 8 Units
7.Min angle Quad 45
8.Max angle Quad 135
9.Min angle Tria 20
10.Max angle Tria 120
11.Tria % 10
PROCEDURE:
- Download the file from the assessment.
- Import or open the file in the Hypermesh.
- Check the number of components from the model > components.
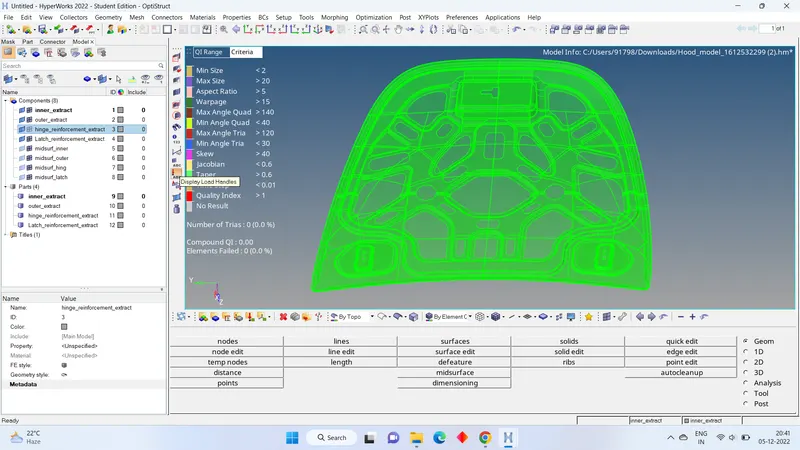
- Delete the solid from the components.
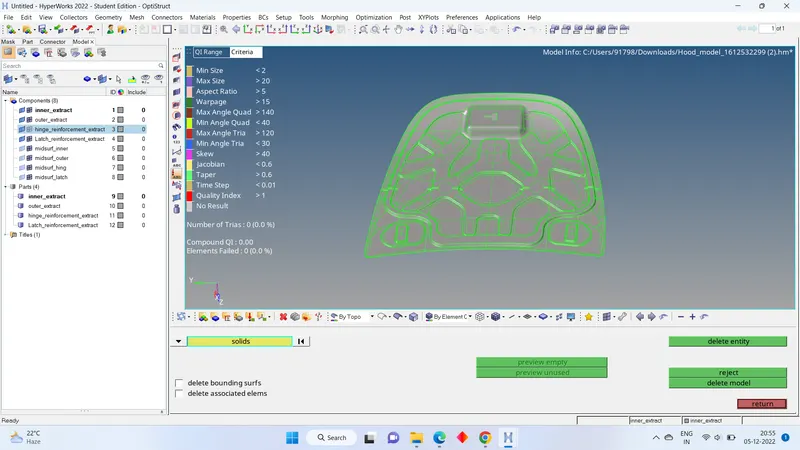
- First the take the mid surface from each component and save the component with different names.
- For taking mid surface from the each go TO MAIN MANU TOOL > GEOM > MID SURFACE> EXTRACTION OPTION > SKIN OFFSET > AUTO EXTRACTION > SELECT THE SURFACE > EXTRACT.
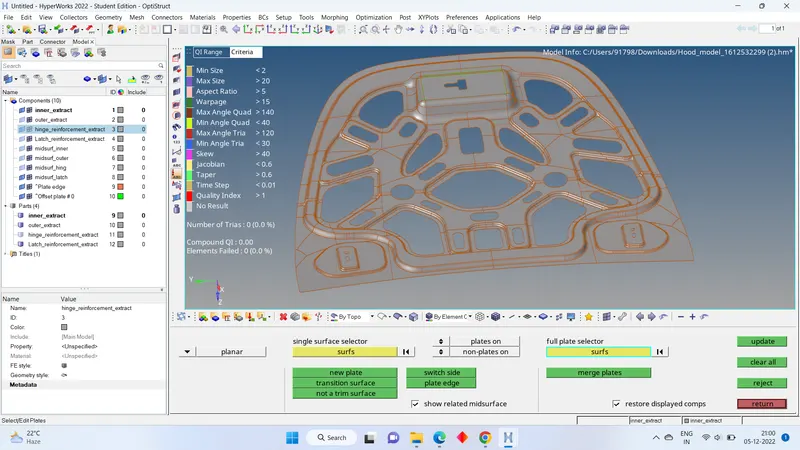
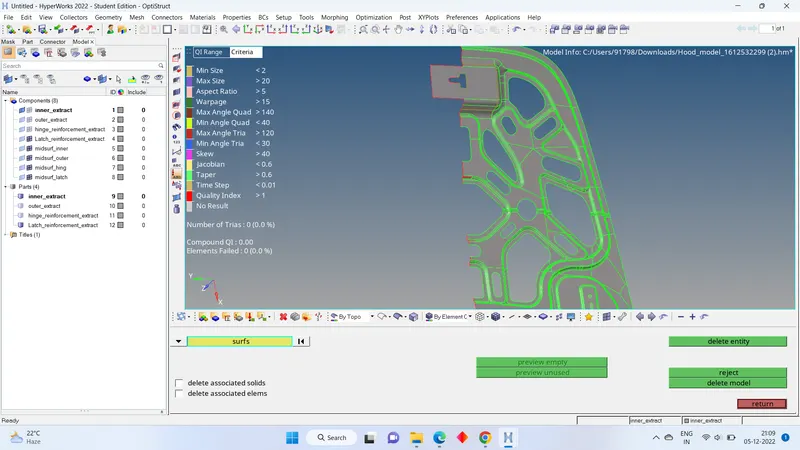
- If we observe that except the INNER EXTRACT part all are symmetry about X- axis.
- So, I have decided to remove the half of the surface. FOR THAT GO TO F2 > SURFACE > SELECT THE SURFACE > DELETE ENTITY.
- Now we have to go clean up the mid surface. We have two options for clean-up. One is auto clean up and manual clean up.
- As a beginner to this software, it always recommended to go for manual clean up.
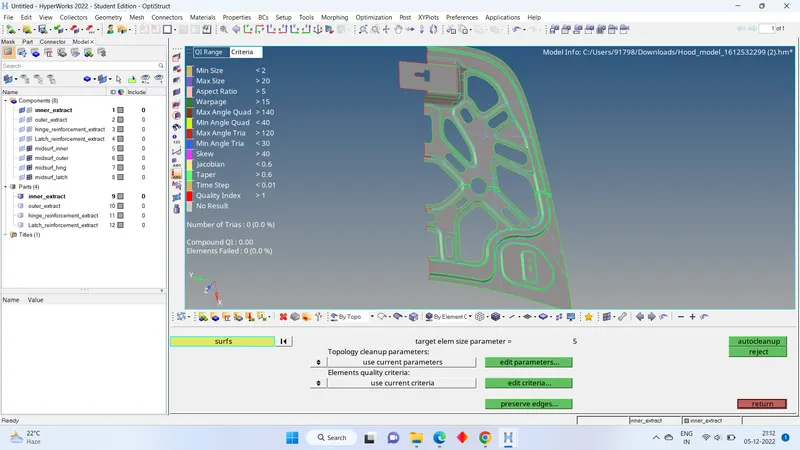
- In manual clean up the edges present in the mid surface to be toggled or supress the edge.
- For toggle edge we have to go for PRESS F11 > SELECT THE TOGGLE EDGE > SELECT THE LINE TO BE TOGGLED.
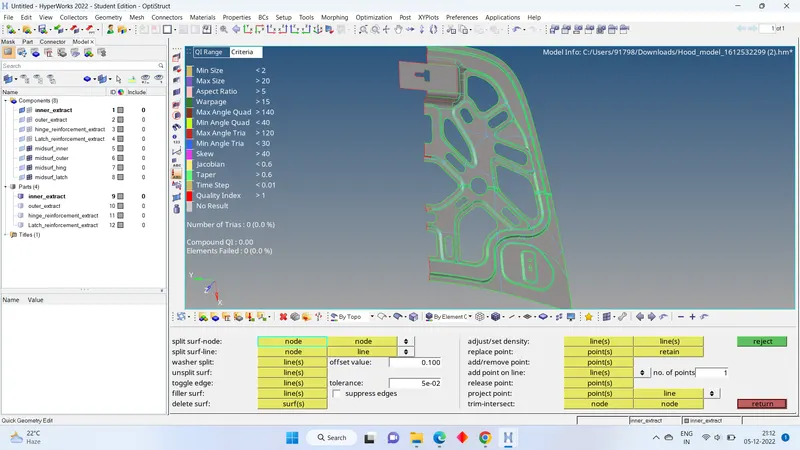
- We can also add some edges on the surface with help of lines and nodes.
- Now we can go for meshing part. But before meshing we have check weather all the clean up done properly or not.
MESHING
- For meshing the component go for PRESS F12 > CHANGE ELEMENT SIZE AS 5 > ELEMENT TYPE AS MIXED > SELECT THE SURFACE TO BE MESHING > MESH.
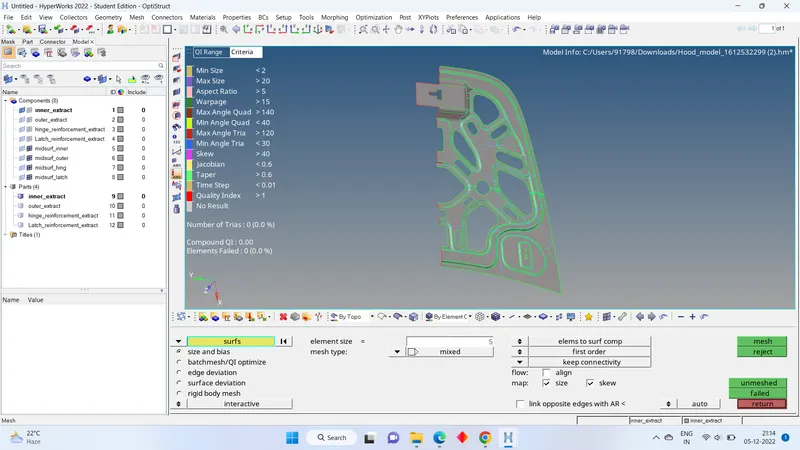
- We can change number of nodes at the edges so, we get proper mesh flow. The increasing or decreasing of nodes for proper mesh flow is always depend upon trial and error.
- We can also correct the mesh flow by selecting the area by area and doing mesh.
- Now we have to check the element quality criteria. for that press F10 > GIVE THE QUALITY CRITERIA > RETURN.
- Now go to element colour mode change to by element quality.
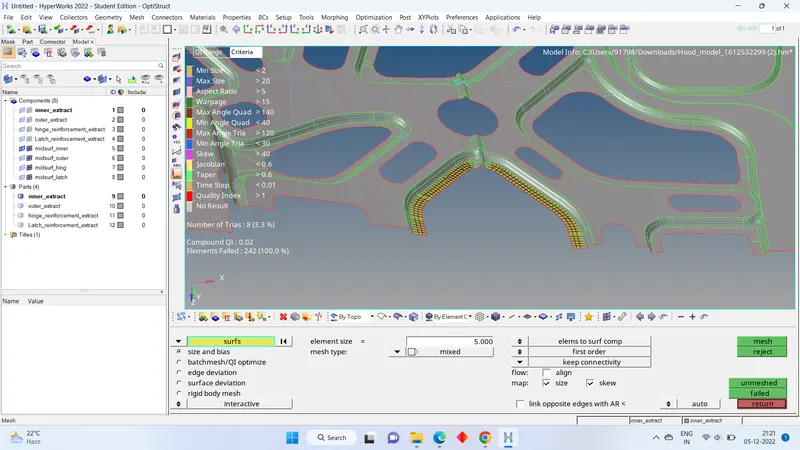
- We can see the element quality criteria on screen. It can also display the number of failing elements on screen.
- Now we have to correct that mesh error. For that we have go for 2D > QUALITY INDEX > CLEAN UP TOOLS >
- In clean up tools, we can find many options like ELEMENT OPTIMIZE, SMOOTH, SWAP EDGE. PLACE NODE.
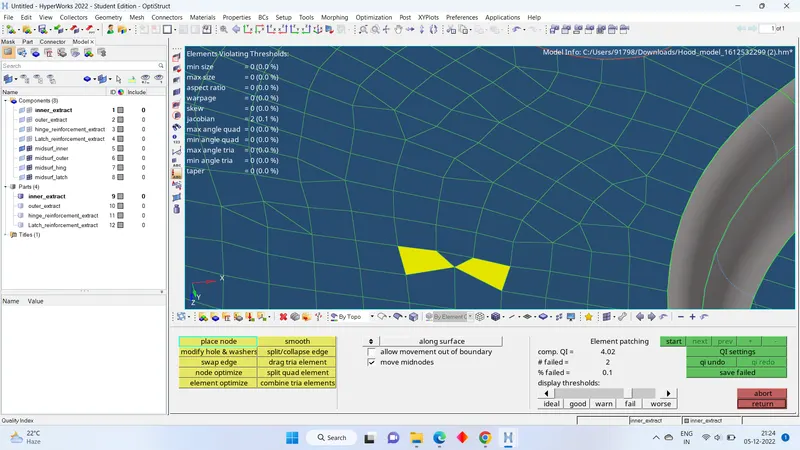
- I used place node to change the position of the element node. Element optimize is mostly reduce the failing elements.
- We can add element by going TO 2D > EDIT ELEMENT > CREATE > SELECT THE TYPE OF ELEMENT TO BE CREATED > SELECT THE NODE.
- We can reconstruct the element using rebuild option. For that 2D > REBUILD > SELECT THE ELEMENTS > REBUILD.
- After completing the meshing and solving the errors. We have to check any free edges are present or not.
- Now have mirror the elements and surface to get total geometry.
- for that go to TOOL > REFLECT > CHANGE TO SURFACE > SELECT THE SURFACE > CLICK ON SURFACE > DUPLICATE > ORIGINAL COMPONENT > SELECT THE N1, N2,N3 IN SAME PLANE > REFLECT.
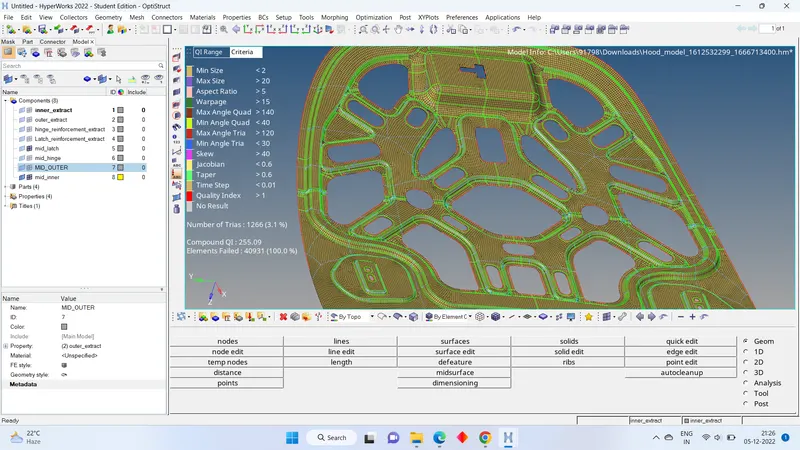
- this process can be for elements also. Instead of selecting the surface, select the elements.
(Note: duplicate before reflecting the entities).
- now we can find many free edges. Because of the reflecting. We have to solve that
- For that go to tool > edges > select the component > find edges.
- If any edges present in same tab, we can solve again SELECT THE COMPONENT > PREVIEW > EQUIVALENCE. We can see the highlighted lines in yellow colour. Now click the equivalence. It automatically joins the free edges.
- Now we have to assign the property to that mid surface and meshing. For that RIGHT CLICK > CREATE > PROPERTY > DOUBLE CLICK ON PROPERTY > GIVE PROPERTY CARD AS PSHELL> GIVE THICKNESS.
- Save the model.
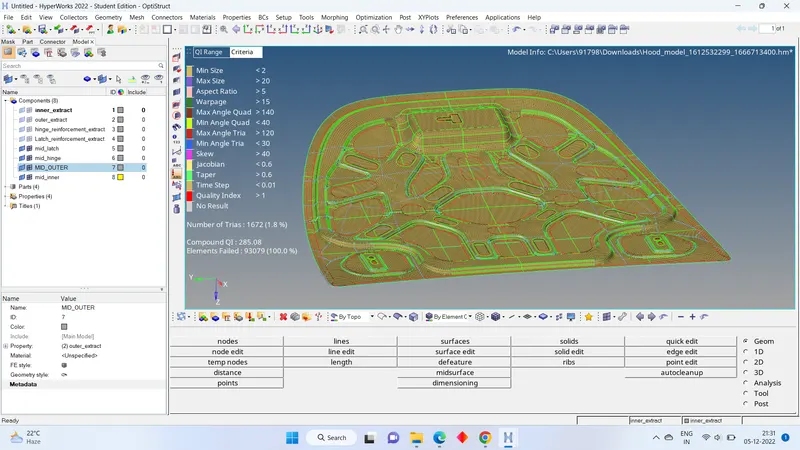
Learning outcomes:
- Manual auto clean-up.
- Using of meshing tools and solving the quality parameters.
- Some topology setting like if we working surface > disassociate. Or if we working on element > Ramesh.
- Solving the opposite trias.
- Using of rebuild option.