Week 6-Meshing of Hood Challenge
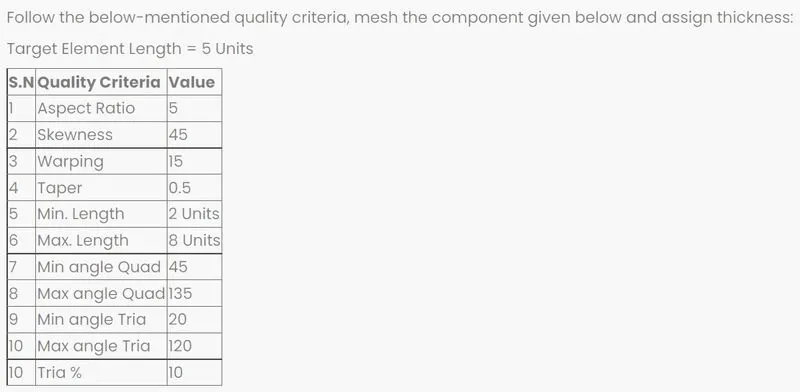
Aim: To mesh the given hood using the given quality criteria and also to assign the material and property thickness.
Introduction:
The hood or bonnet is the hinged cover over the engine of motor vehicles. Hoods can open to allow access to the engine compartment, or trunk on rear-engine and some mid-engine vehicles for maintenance and repair. On front-engined cars, the hood may be hinged at either the front or the rear edge, or in earlier models it may be split into two sections, one each side, each hinged along the centre line. A further variant combines the bonnet and wheelarches into one section and allows the entire front bodywork to tilt forwards around a pivot near the front of the vehicle. Hoods are typically made out of the same material as the rest of the body work. This may include steel, aluminimum, carbon fiber, etc.. However, some aftermarket companies produce replacements for steel hoods in fiberglass or carbon fiber to make the vehicle lighter. The hood release system is common on most vehicles and usually consists of an interior hood latch handle, hood release cable and hood latch assembly. The hood latch handle is usually located below the steering wheel, beside the driver's seat or set into the door frame.
Procedure:
- Let us first import the model into Hypermesh using Import Geometry tab.
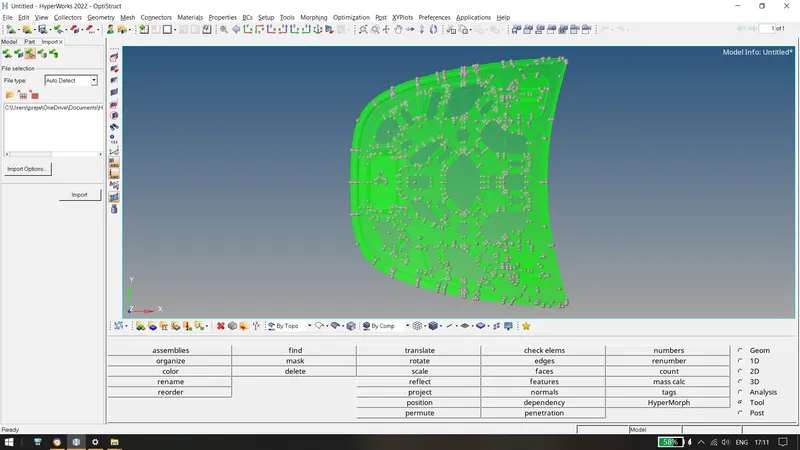
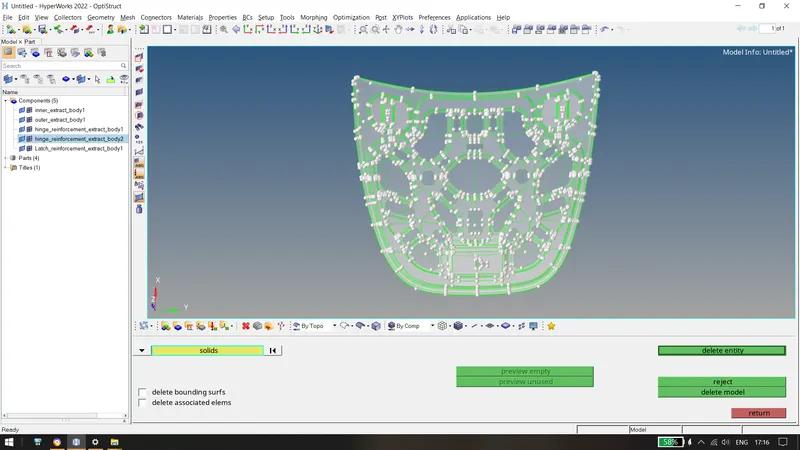
- After Importing, let us switch to topo mode and check whether the components given are solids or surfaces. Thicken lines indicate solids. If they are solids, delete them and convert them to surfaces for midsurface extraction.
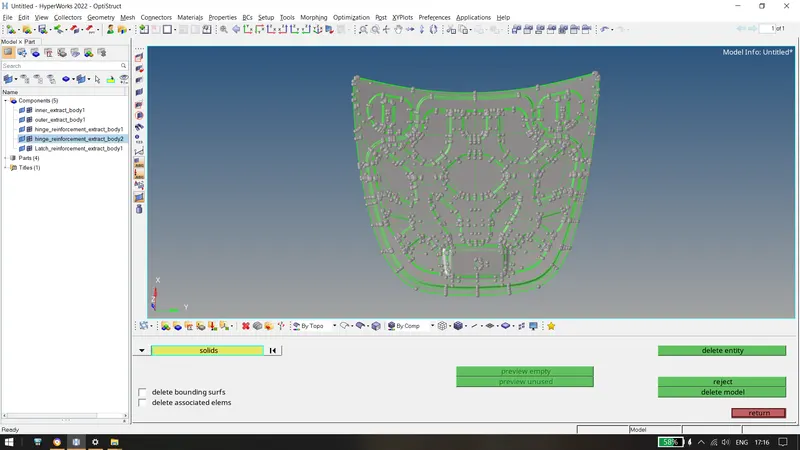
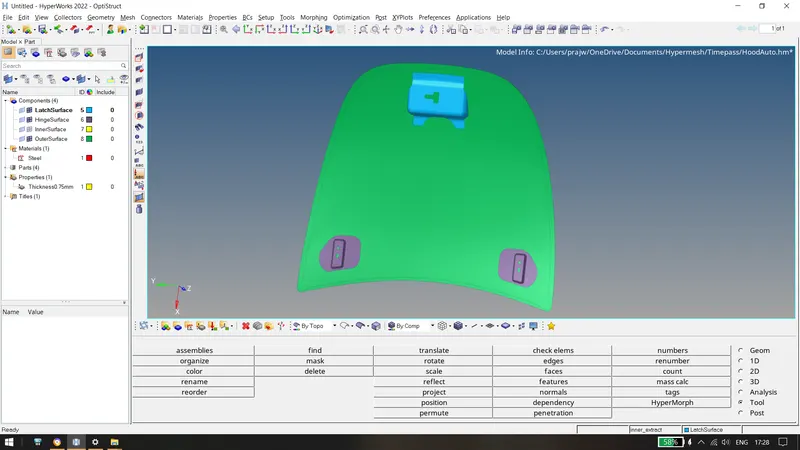
After deleting, surfaces are obtained:
- After observing the thickness of each and every component, we found out that the thickness is for a all the components is same. (0.75mm). So, we extract the midsurface using the auto midsurface option using Skin Offset as extraction option.
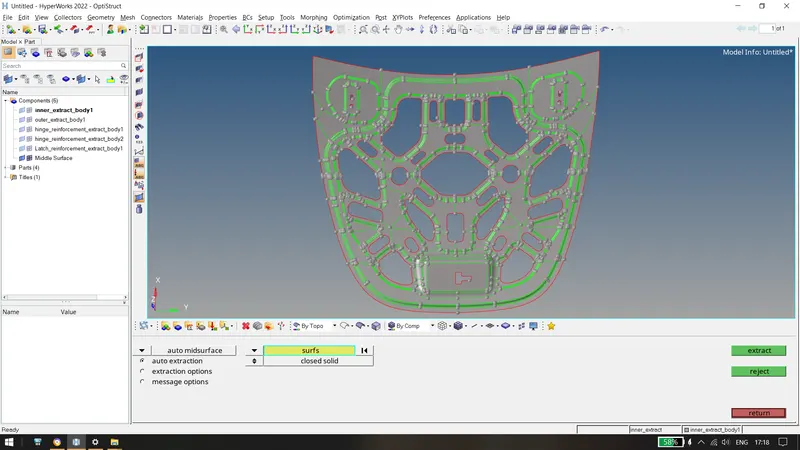
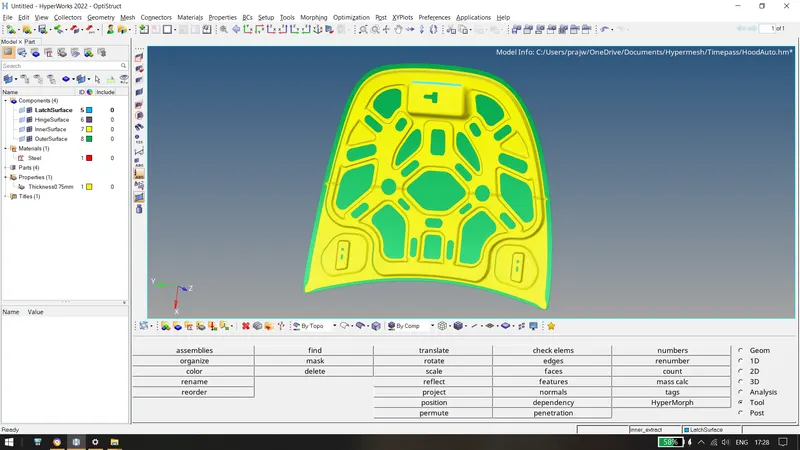
- Similarily we do it for the rest of the components and obtain the surfaces.
- Now, perform the cleaning of the geometry of the surfaces by using quick edit panel. Now we do the geometry edit as given below for the components as shown below.
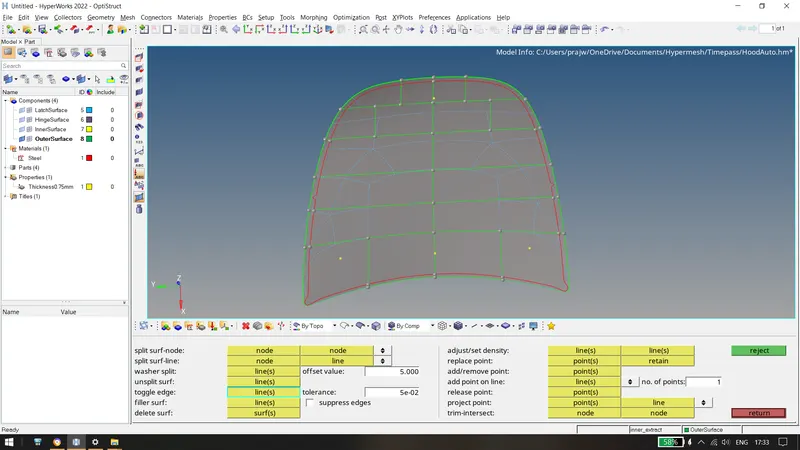
Similarily, cleaning up the geometry for the other component surfaces.
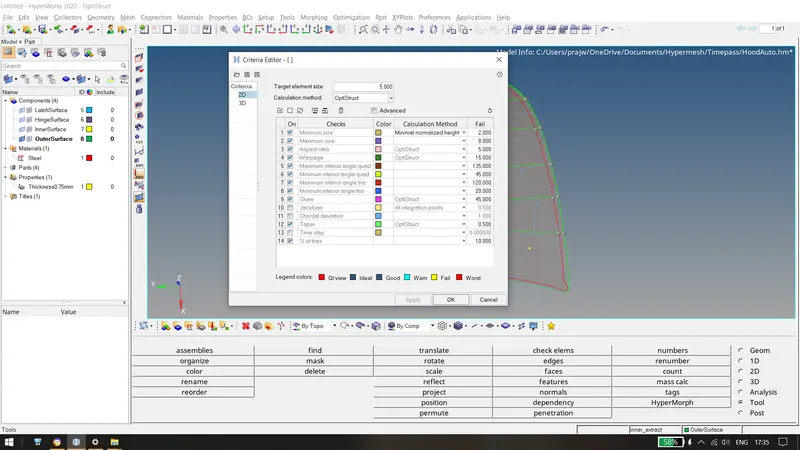
- We will now set the criteria file settings.
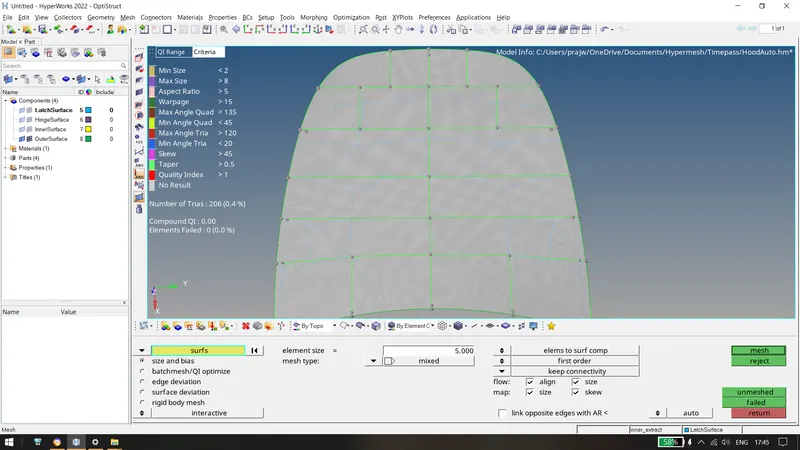
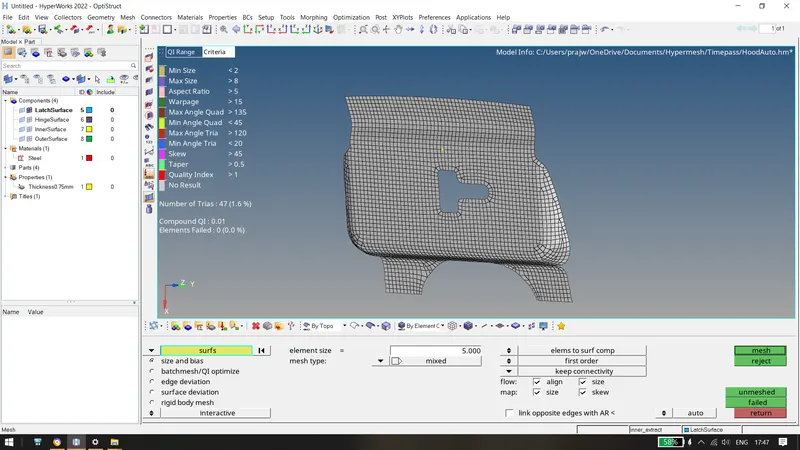
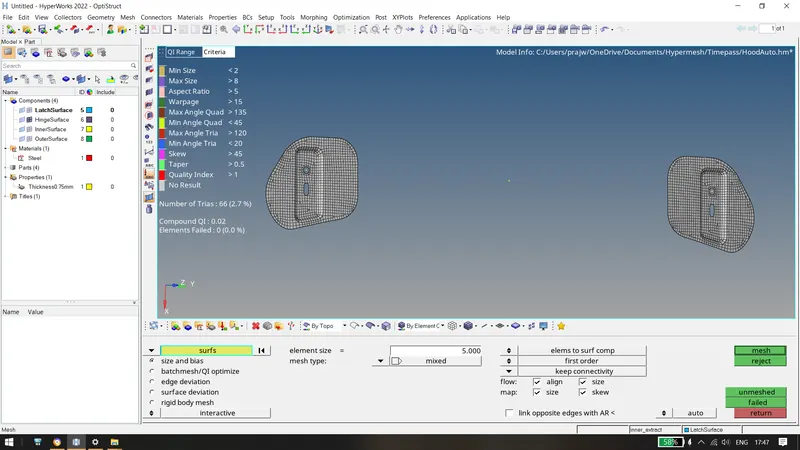
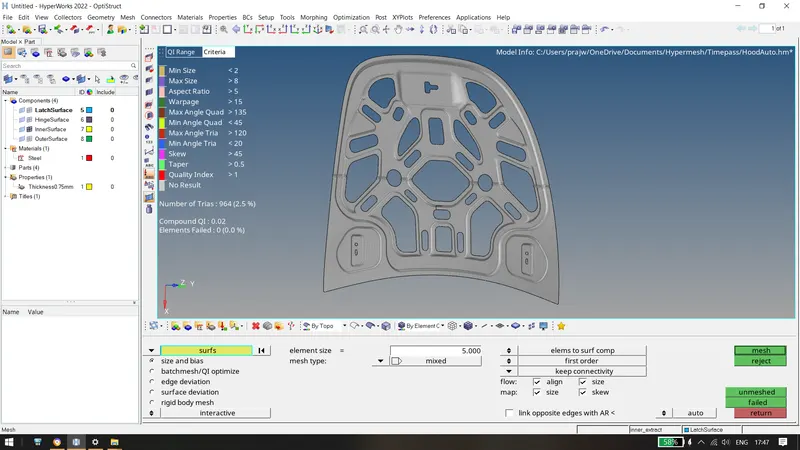
- Now, meshing the components one by one: 2D > Automesh > Surf > Displayed > Mesh. After meshing, use rebuild mesh, quality index for better mesh quality.
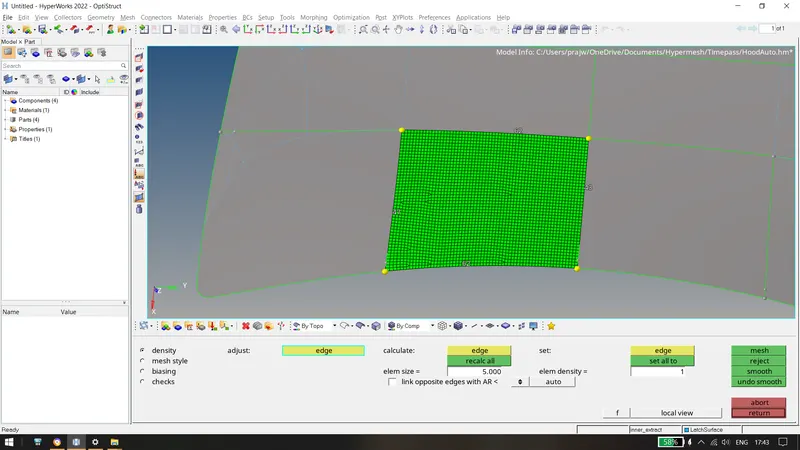
Meshing in smaller surfaces creates a good mesh flow.
The final mesh obtained for all components:
- After meshing is completed for all the components, create a property of thickness 0.75mm and material as steel and assign it to the components.
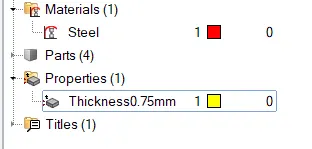
- The final Hood obtained by proerty, by material, by component and quality criteria:
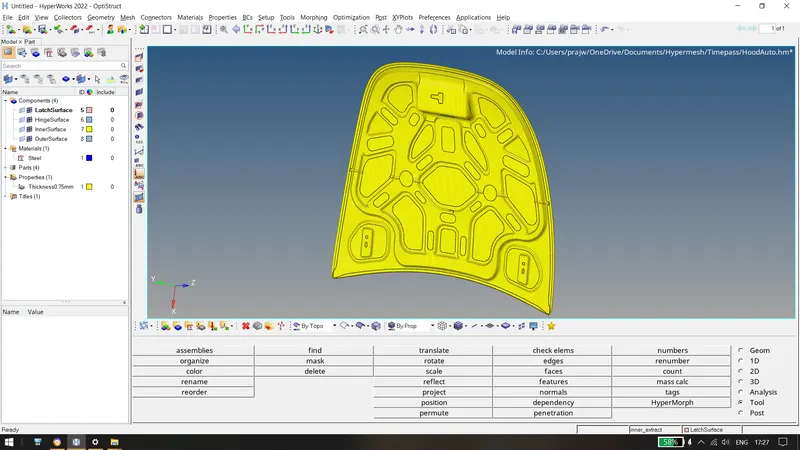
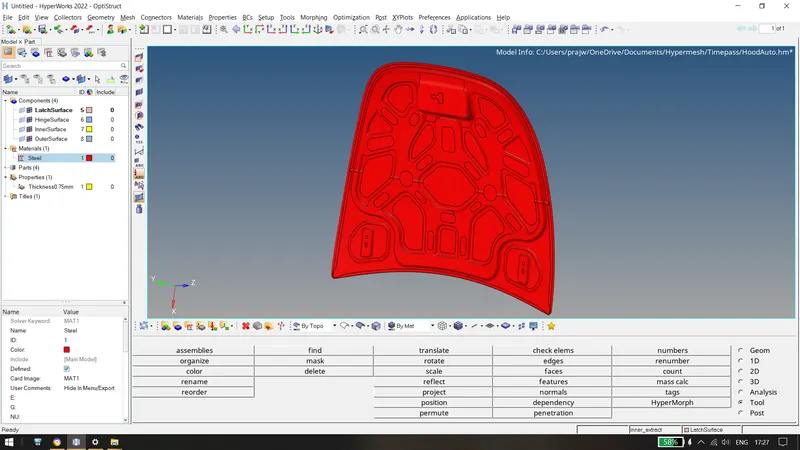
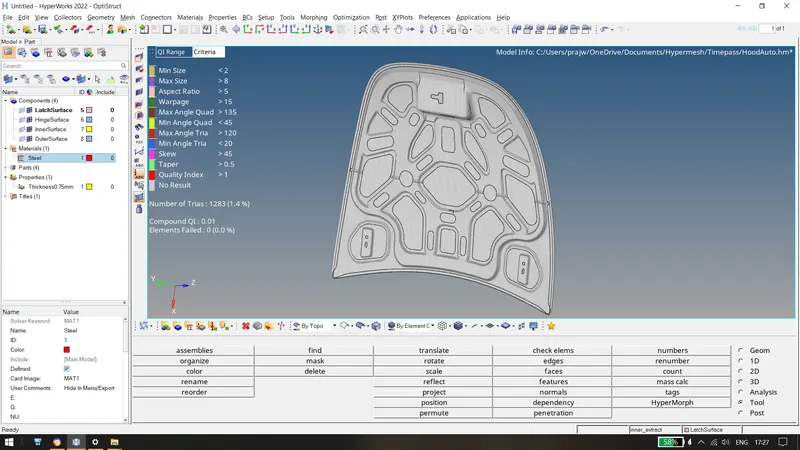
Conclusion: Hence, meshing of hood was done with the given quality criteria with 0 elements failed. Material and property was also assigned to the components. We also understood the use of automesh, rebuild mesh, quality index, etc.
References: Wikipedia.