Week 6-Meshing of Hood Challenge
CHALLENGE-6
AIM
Mesh the component given below and assign thickness:
PROCEDURE
- IMPORTING THE MODEL
- CHECK THE MODEL FOR ERROR
- EXTRACT THE MID SURFACE
- GEOMETRY CLEAN UP
- MESHING
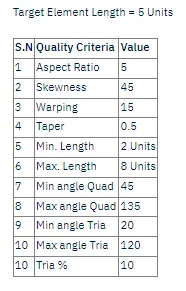
- CHECKING FOR QUALITY CRITERIA
- Use the 'Mixed' (Not Quad) option to generate the mesh for this challenge because we are preparing the model for crash & safety simulations. The quad-only mesh is preferred for durability and structural simulations.
- The minimum length errors in the Hemming regions are acceptable because the hemming region has a very small cross-section when compared to our minimum length. If you want to avoid the minimum length error in the hemming, follow the below procedure
- Toggle all the split lines which are all less than the minimum length.
- Go to midline option (Geom → lines → Midline)
- Select the two fillet edges on the hemming portion and create a mid-line.
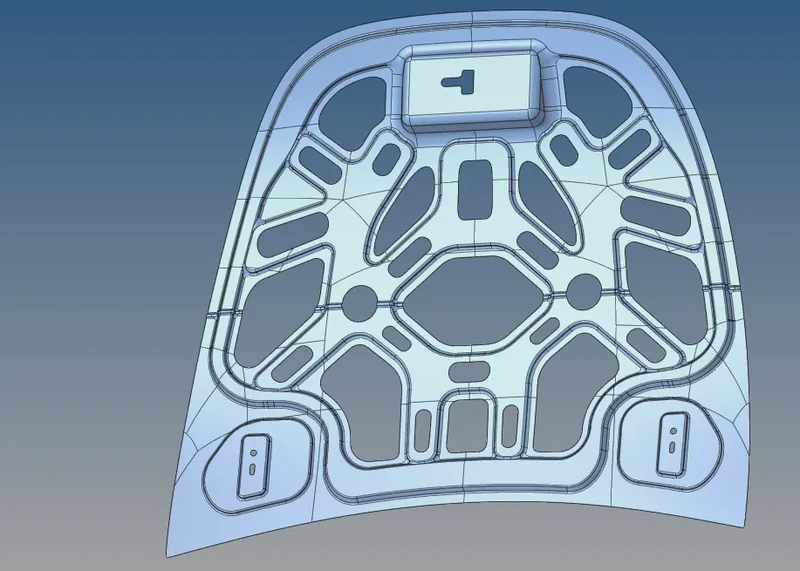
• Inner Extract
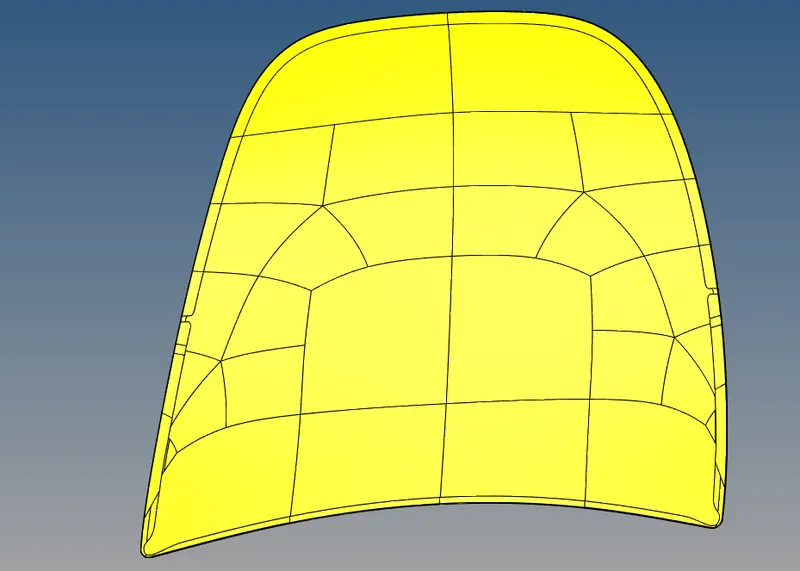
• Outer Extract
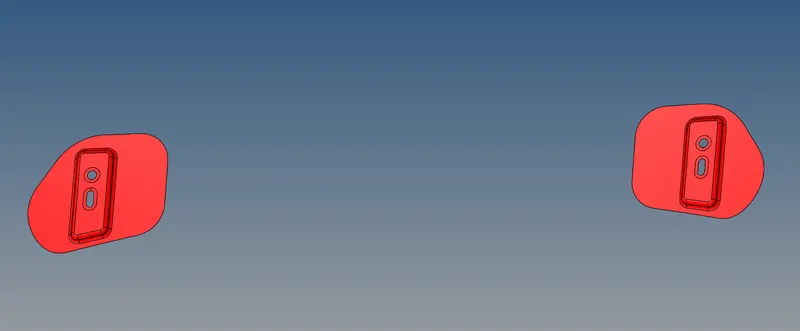
• Hinge Reinforcement Extract
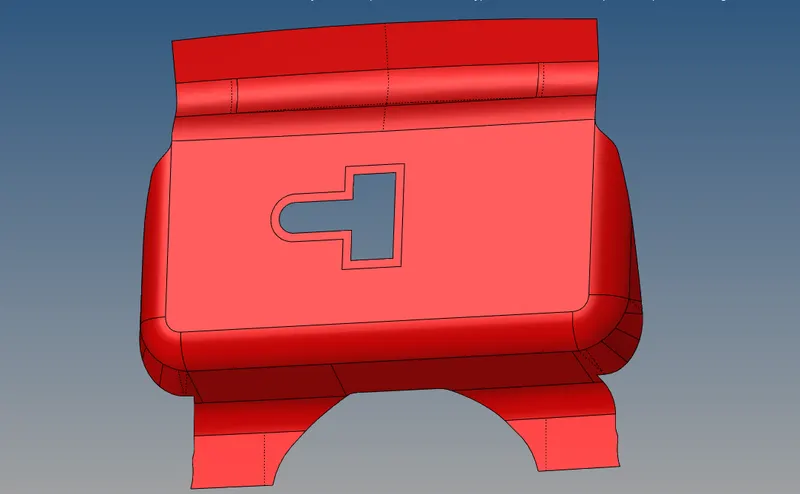
• Latch Reinforcement Extract
(1) To import the geometry, go to file » Import » select the file » Import.
• After importing the geometry, the geometry is checked for any missing surfaces or triple cons.
(2) Go to geom » mid-surface » select any extraction option » select the surface » extract to extract the mid-surface. In this task, we'll employ offset + plane + sweep.
• The mid-surface is verified for geometrical faults such as needle faces, missing surfaces, and triple cons once it is extracted. If any of the faults are present, they should be corrected right away.
• The thickness, material, and other parameters of the mid-surface must now be assigned. To assign the properties, right-click on the model in the database and select Create, then Property.
• All of the properties are now entered in the property tab and allocated to the appropriate mid-surfaces.
• To assign properties to a mid-surface, right-click on it, select assign, and then select the appropriate properties.
(3) Creating mesh that meets the specified quality criteria:
• The geometry is split into smaller rectangles before mesh generation to ensure good mesh flow.
• Go to 2D » automesh » choose the surface » mesh to generate a mesh. The elements are picked and meshed again to adjust the mesh for correct flow.
• If any elements fail to meet quality standards, the cleanup tools option in the quality index can be employed.
We'll go over each of the four components one by one now.
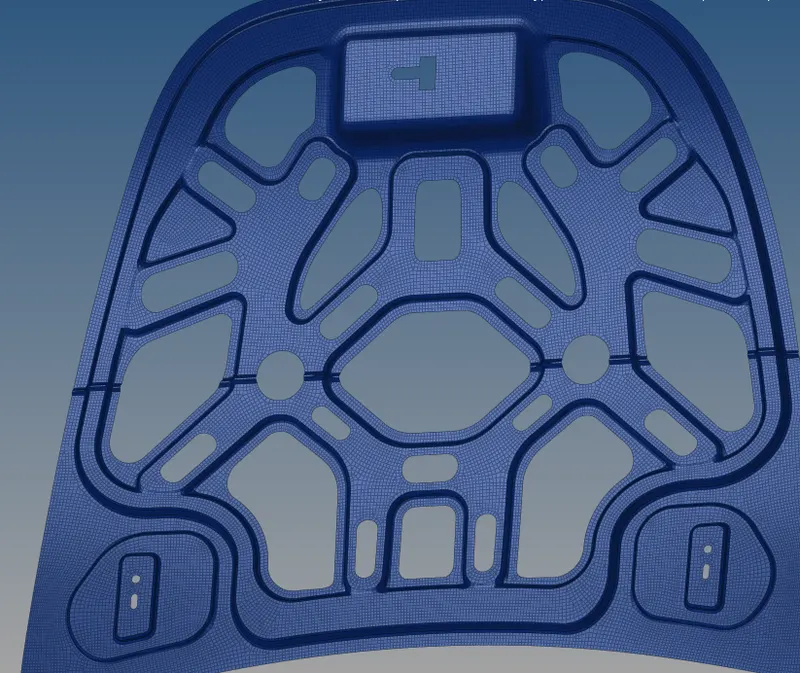
(4) Extract from the inside:
• When we import the file, we find four separate components.
• First, ensure that only the "Inner Extract" component is turned on.
• Clear the component of all solids.
• Select specific surfaces to create a Mid surface for only Inner Extract.
• We can split this component in two and mesh it because it is axis symmetric.
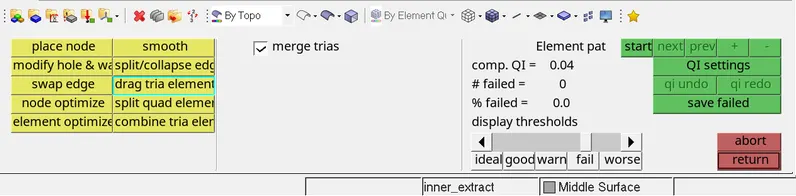
Similarly (Latch)
Delete solids and create Mid surface for Latch
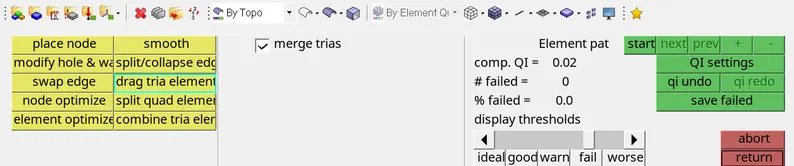
Hinge
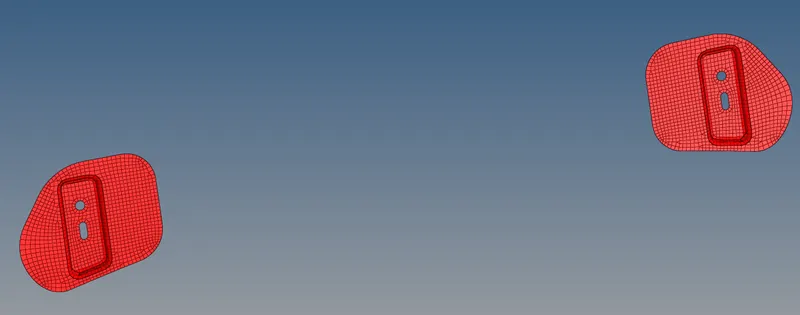
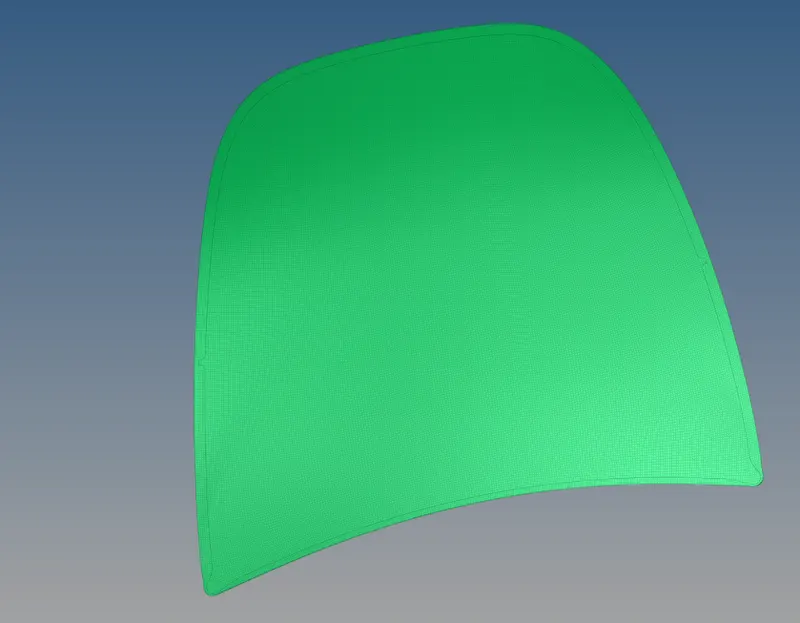
OUTER PART
INNER PART
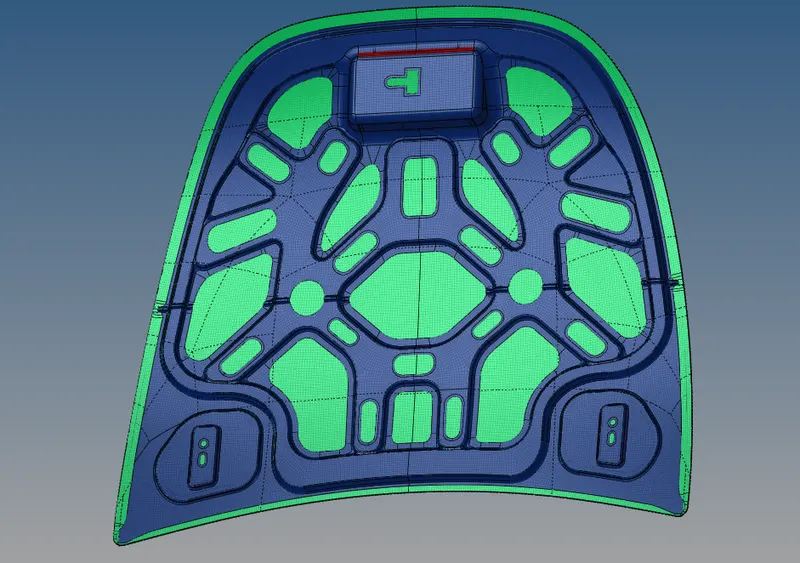
FINAL MESHING
Conclusion:
The mid-surface of the supplied Hood panel is extracted, and a mesh is constructed using the given quality requirements.