Week 6-Meshing of Hood Challenge
Hood challenge
AIM:
Follow the below-mentioned quality criteria, mesh the component given below and assign thickness:
Target Element Length = 5 Units
Note: Make sure that all the mid-surface is done separately for each component and then meshed.
|
S.N |
Quality Criteria |
Value |
|
1 |
Aspect Ratio |
5 |
|
2 |
Skewness |
45 |
|
3 |
Warping |
15 |
|
4 |
Taper |
0.5 |
|
5 |
Min. Length |
2 Units |
|
6 |
Max. Length |
8 Units |
|
7 |
Min angle Quad |
45 |
|
8 |
Max angle Quad |
135 |
|
9 |
Min angle Tria |
20 |
|
10 |
Max angle Tria |
120 |
|
11 |
Tria % |
10 |
Introduction:
Used the 'Mixed' elements option accordingly generated the mesh for current challenge because aim is to prepare the model for crash & safety simulations. As we know the quad-only mesh is preferred for durability and structural simulations.
Also here minimized minimum length errors in the Hemming regions are acceptable because the hemming region has a very small cross-section when compared to our minimum length as per requirement toggled those hemming lines
Procedure:
Hood component consists of:
- Inner extract
- Outer extract
- Latch reinforcement
- Hinge reinforcement
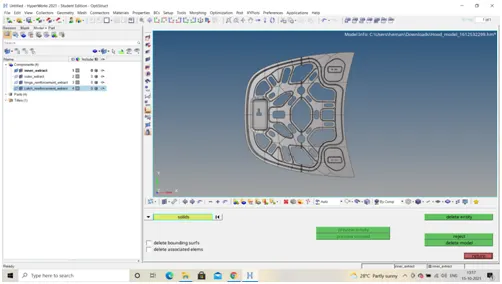
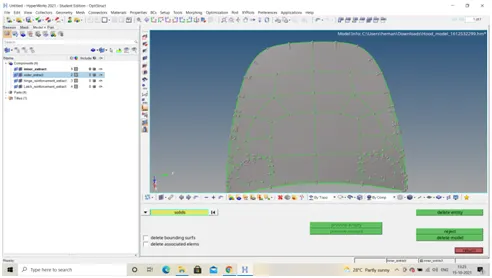
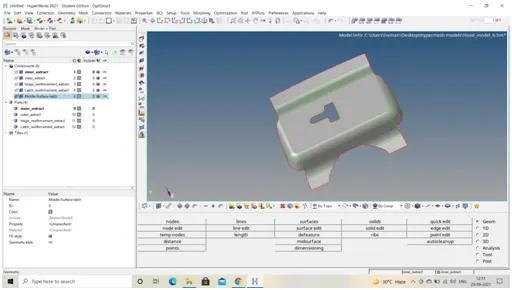
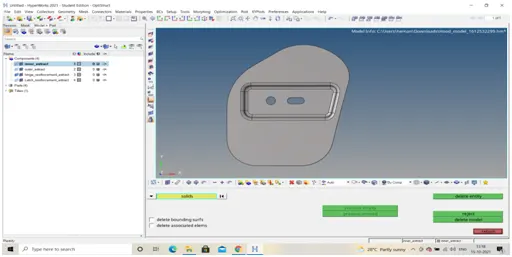
- Deleted the solids from given model as we need minimize our processing expenses
- Geometry cleanup
Checked the given model visually whether exists any geometrical errors by using BY TOPO
As we know free edges are highlighted in red color shared edges, T junctions and suppressed edges are highlighted in yellow, green and blue colors
Checked thoroughly for any missing surfaces
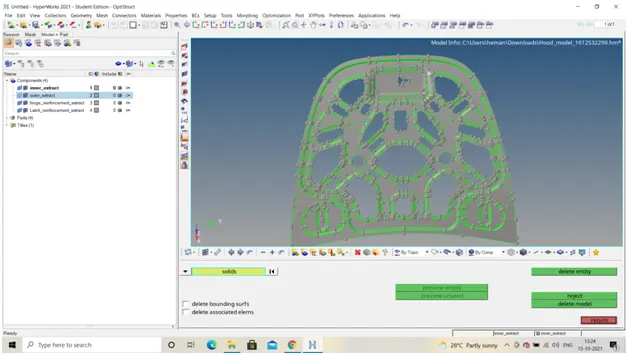
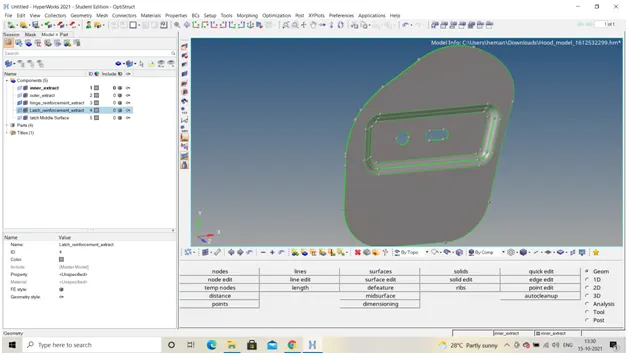
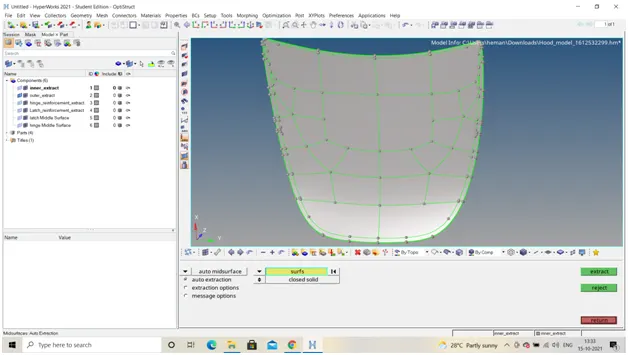
3. Extracted the mid surfaces individually
GEOMETRY> MID SURFACE > SKIN OFFSET
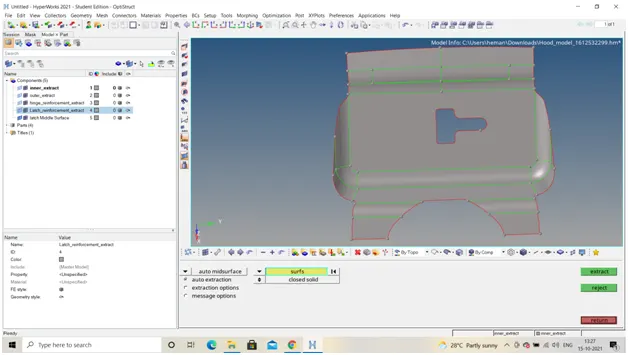
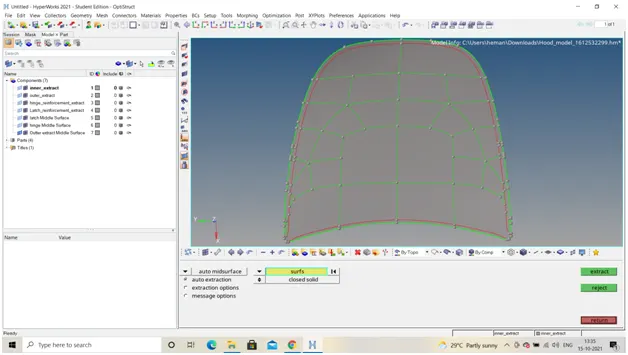
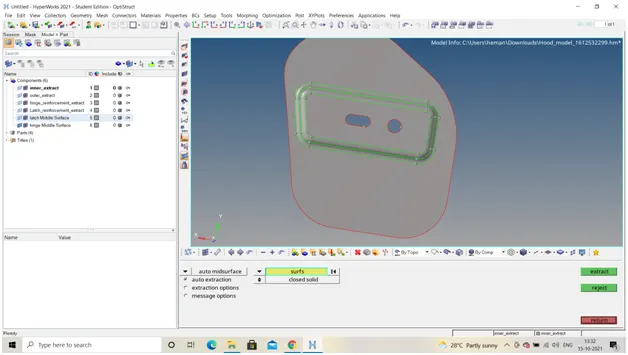
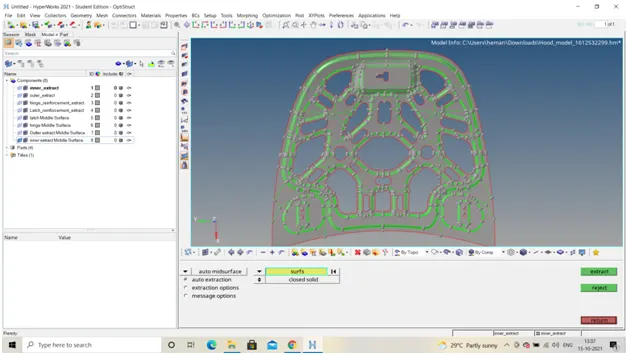
Then defeature those edges which are failing for minimum length using
GEOMETRY> QUICK EDIT> TOGGLE EDGE selected the edges to suppress
4. Meshing the given component as per quality criteria
For this preferences are given at 2D> AUTO MESH>BATCHMESH/QI OPTIMISE>EDIT CRITERIA
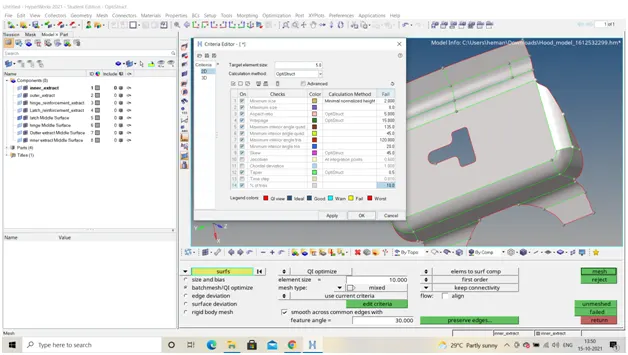
5. Now created the mid-surface for above component individually
In order to get good mesh flow especially cross checked twice for latch component created the washer split where as for hinge component didn’t created washer spilt observed the difference
As I’m aware the this definitely increase my processing expense still experimented to check the difference in post processing
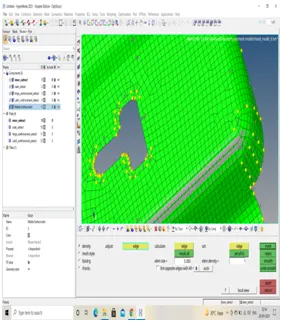
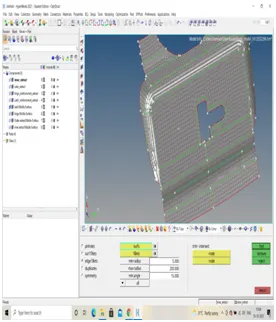
7.Created the mesh for all components
2D> AUTOMESH> SELECT THE SURFACE TO MESH>MESH
Assigned the element size ass per requirement 5 units
8.Defeatured the edge fillets in latch area
GEOMETRY>DEFEATURE>EDGE FILLETS> chosen min & max radius> as result highlighted the edge fillets as we don’t want these fillets removed those highlighted fillets
9. Now checking the quality criteria i.e., identifying those element that violating our quality criteria
2D> Quality check up> Clean up tools
Most of the cases I used the ELEMENT OPTIMIZE, SPILT QUAD, COMBINE TRIA, DRAG TRIA
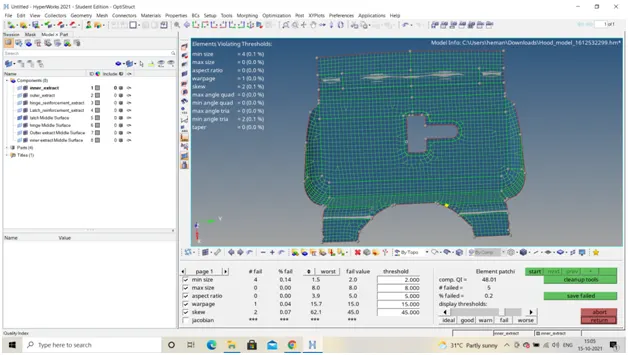
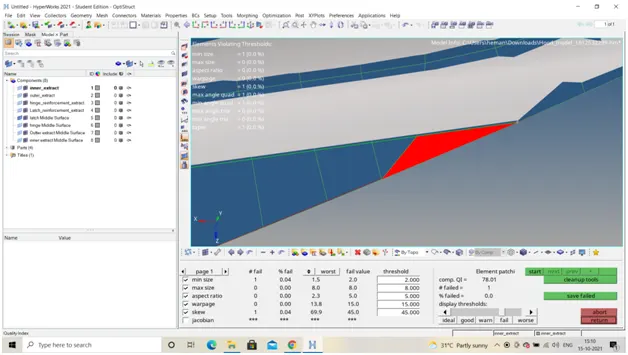
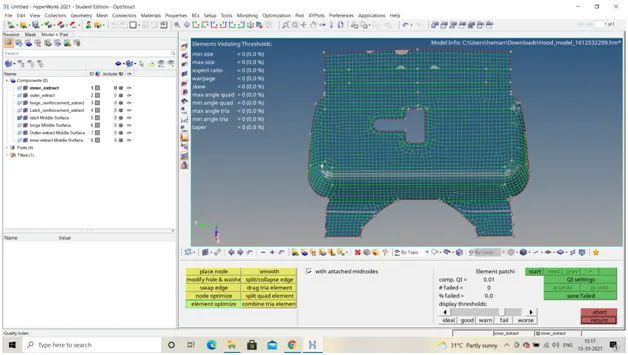
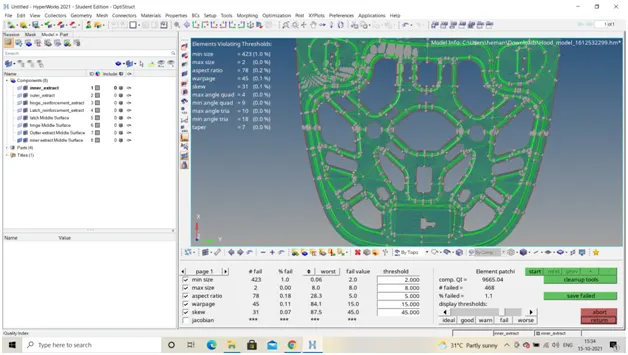
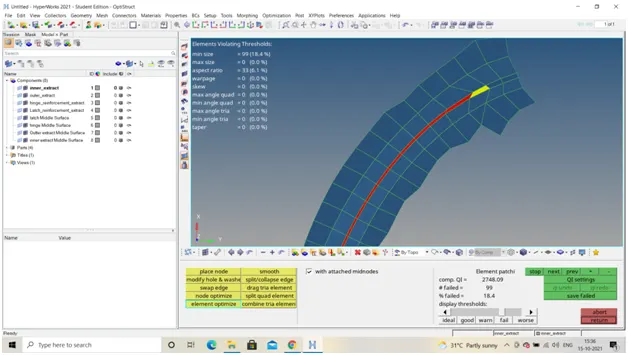
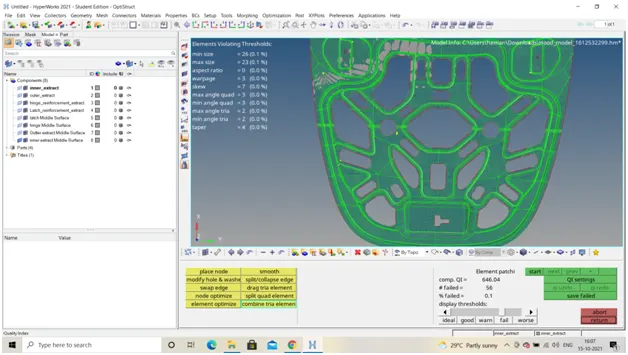
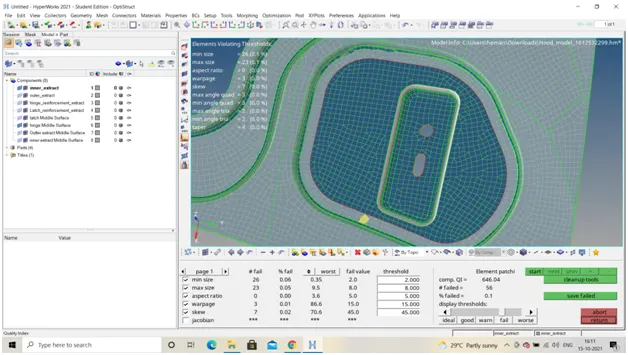
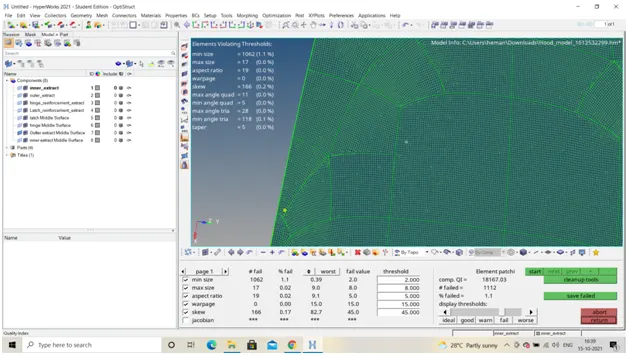
Finally meshed and cross checked the quality criteria for the hood component
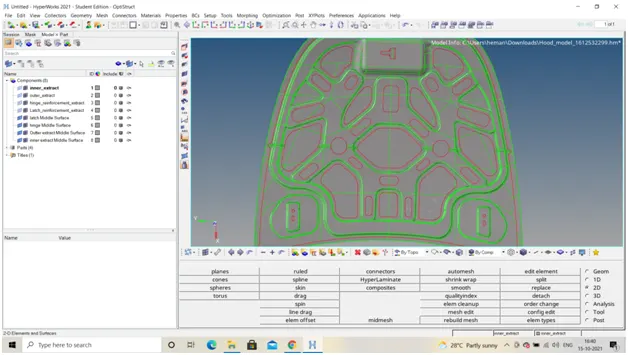
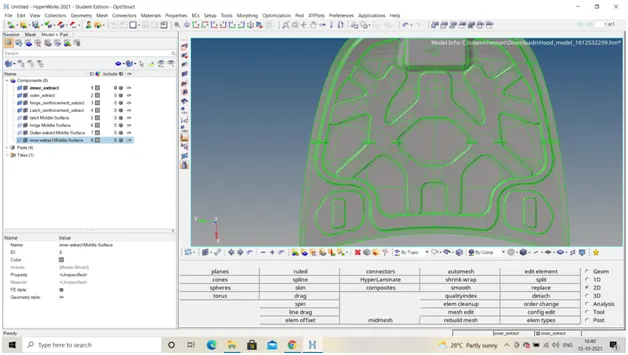
Conclusion:
Understood the importance of the meshing as preprocessing is key role to understand any FEA based tools its rigorous process but it will pays dividend as it reduces post processing time
Also meshing the surface with smooth flow is vital part in this process also tried to elemental cleanup this enhanced my quality criteria
Need to explore many options as current component is symmetrical one could reflect same preprocessing symmetrical to the axis as it reduces the computational time
Also left the Failed elements to minimum possible as far as for free edges are concerned worse and failed elements are left as it is as we are performing this problem for durability test in crash worth analysis