Week 6-Meshing of Hood Challenge
Week 6 - Meshing of Hood Challenge
Aim : To mesh the hood and its components.
Objective :
- Generating Midsurface and geometry clean up on the given component.
- Generating mesh on the given component with low tria concentration and proper mesh flow.
- Model should pass all the given quality parameters.
Procedure :
1) Import the model
- Click on the import icon on the main menu bar.
- Select the import geometry and choose the file, click on import.
- Then the file will be imported.
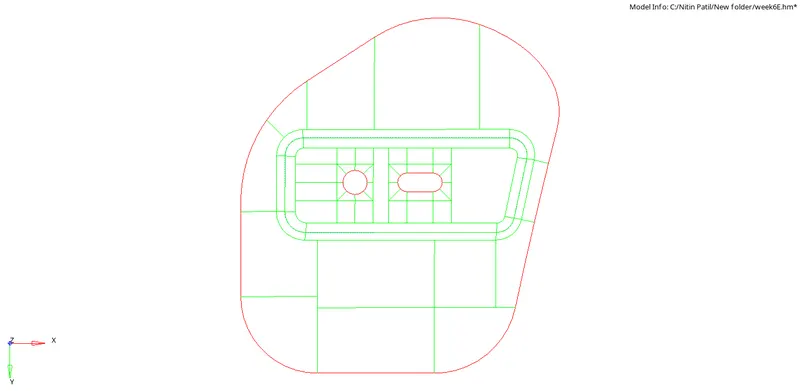
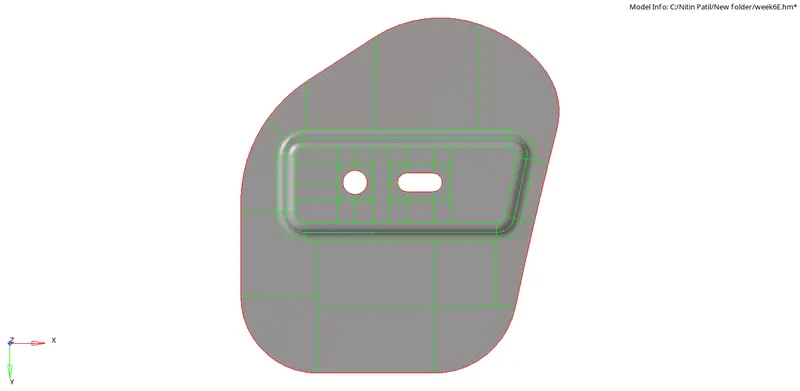
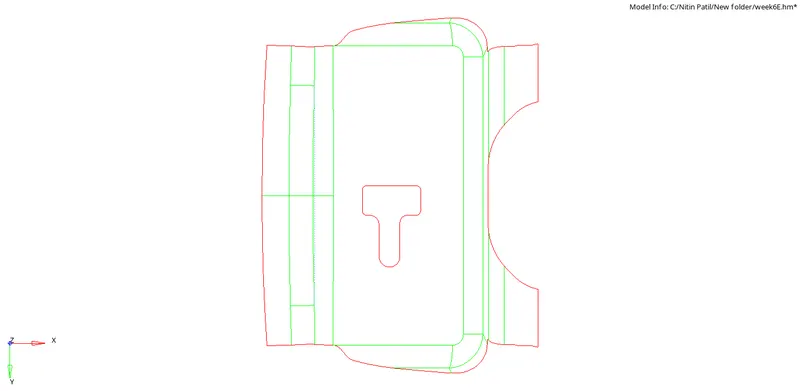
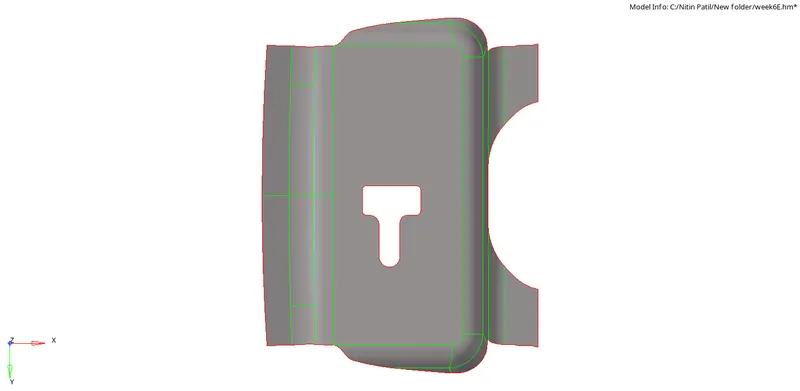
2) Create mid-surface
- Check if the geometry has any missing surface or not, and perform geometric cleanup.
- Click on the mid-surface in the "Geom" menu bar.
- Click on auto-extraction.
- Select the surface and click on extract, rename it accordingly.
Hinge :
Latch :
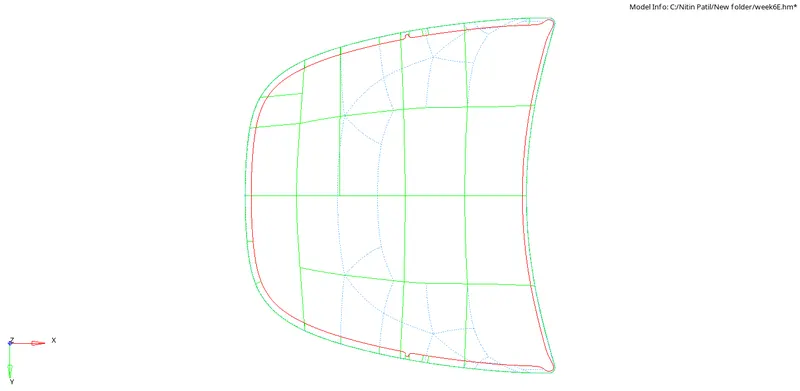
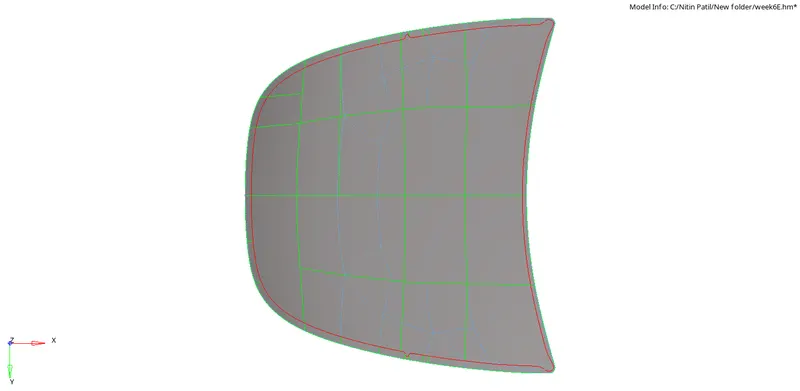
Outer panel :
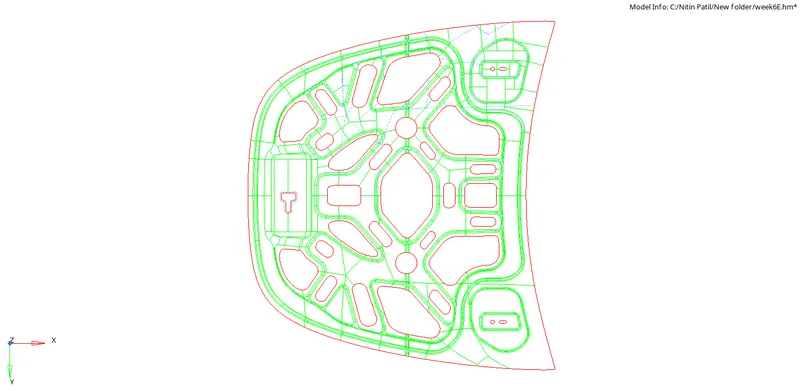
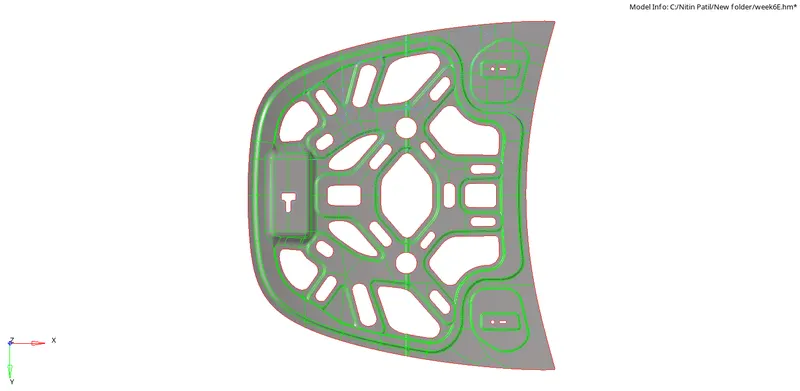
Inner panel :
3) Geometry cleanup
- Some of the region in the face of inner panel,outer panel,latch and hinge reinforcement will be distorted exp. misaligned lines, unchecked faces, damaged faces, non-washers face, etc.
- Distorted region will be removed by following the process (Geometry>>quick edit>>toggle lines) to hide the lines to avoid mesh error and process (Geometry>>quick edit>>washer split) make washer across the hole in order to get proper mesh flow in all component of hood model.
4) Meshing the component
- Before applying mesh, we need to set up given quality criteria as per specified to create quality mesh and also meshing parameter for every particular hood model parts.
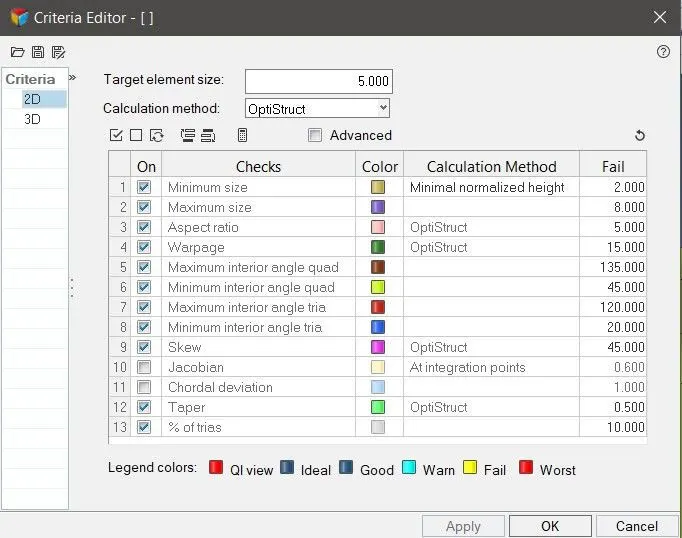
- Now, meshing process is not be done by manually but there are various types of algorithms available for different meshing strategies which makes meshing process somewhat easier for the user. In this process, (2D>>automesh) is applied to hinge and latch reinforcement model to develop mesh.

- As meshing is applied, irregular elements will form in some region of latch and hinge reinforcement like triangular element, rotating quadrilateral Element which prevents model from obtaining high quality mesh.
- Conditions through which this elements form in the parts of hood model like (opposite triangular, side by side triangular, most triangular in faces of every part of model must be avoided and kept minimum as possible.
-
We have to mind the given quality criteria, we can check elements by following command-
(Toolbar>>element colour mode>>by element quality)
-
We can see symbols of the failing elements on the left side of the graphic screen and we can fix it by following commands-
(2D>>quality index>>cleanup tools>>place node/drag trias/split quad element/element optimize)
- Quality Index :


-
Merging of elements’s nodes if not connected.
(2D>>replace>>select replace node>>with node) or (F3)
-
If there is any vacancy of element or have to combine or split the element.
(2D>>edit element>>create/combine/split) o
r (F6) -
Alignments of element’s node
(Geom>>node edit>>1st node>>2nd node>>select node>align) or (F7)
-
If elements lines are not aligned properly we can smooth it to look neat.
(2D>>smooth>>plates>>select elements>>smooth) or (Shift + F12)
-
Checking of free edges
(Tool>>edges>>surface>>set tolerance>>find edges>>preview equivalence>>equivalence) or (
Shift + F3) -
The component which are symmetric and worked on half of the surface now we have to again reflect it back
(Tool>>reflect>>element>>select elements>>set axis>>base node>>reflect)
-
To organise the mid surface and mesh elements to parent component.Make the midsurface component as current component and then follow following command (Shift + F11)
(Tool>>organise>>collectors>>
surface>>select surface>>move) (Tool>>organise>>collectors>>
elements>>select elements>>move) -
After moving all arganise components to its parent component we can delete organised component.
4) Assign thickness
-
To assign thickness, first we should know the thickness of the original component by distance command or F4.
(Model tree>>Create>>property>>name_(
thickness)) (Model tree(component)>>select mid surfaced component>>assign>>
property[(name_(thickness)]>> apply) -
After assigning thickness we can check it by enabling the meshing and original component, we’ll see that it meshing thickness perfectly match to the original component.
Results :
1) Meshed components
Hinge :
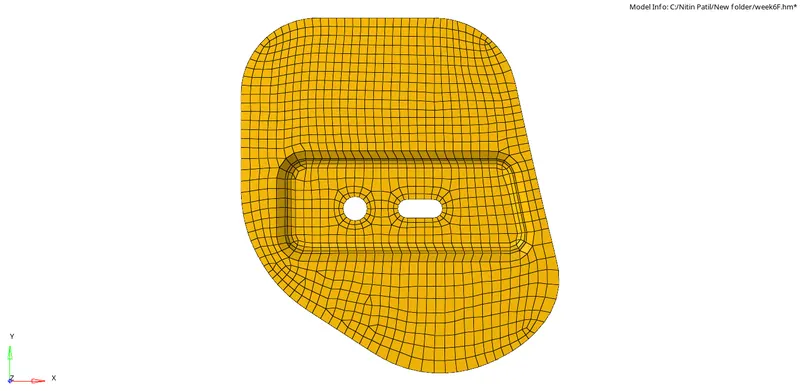
Latch :
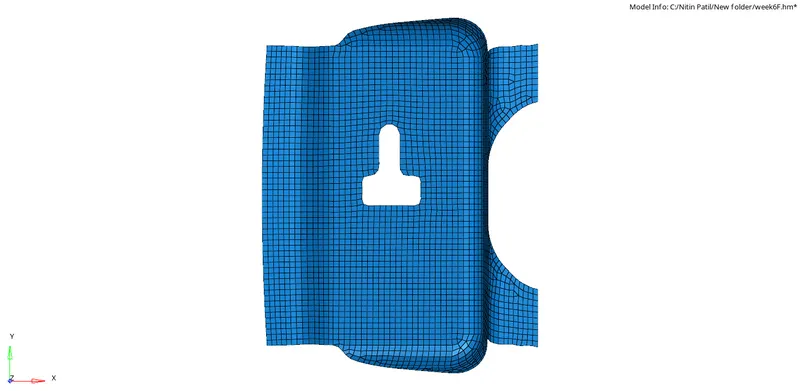
Outer panel :
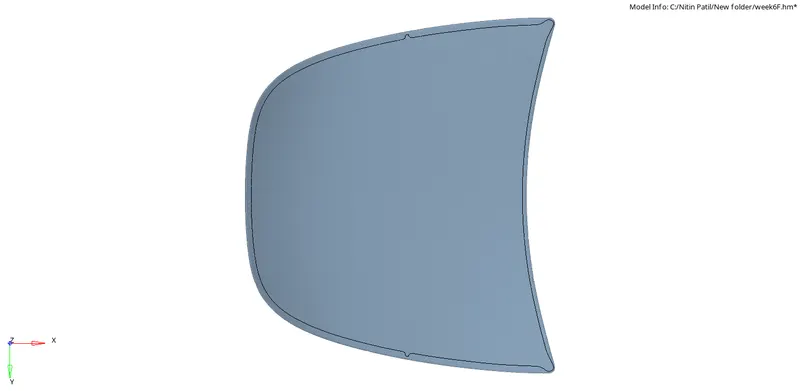
Inner panel :
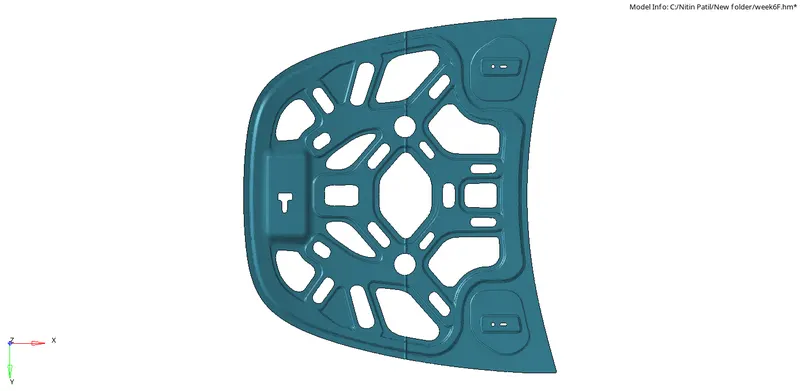
2) Quality check
Hinge :
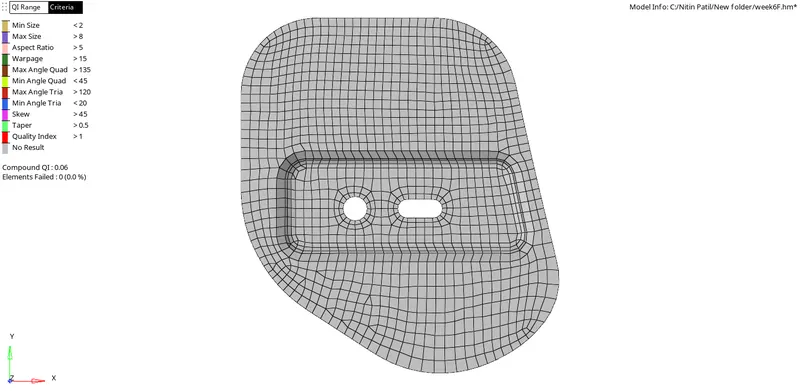
Latch :
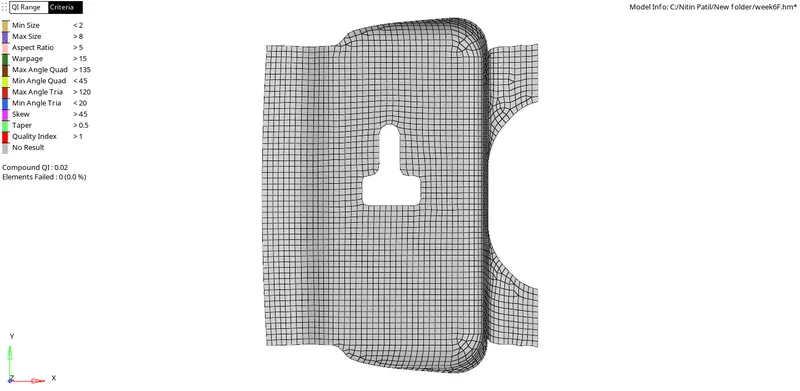
Outer panel :
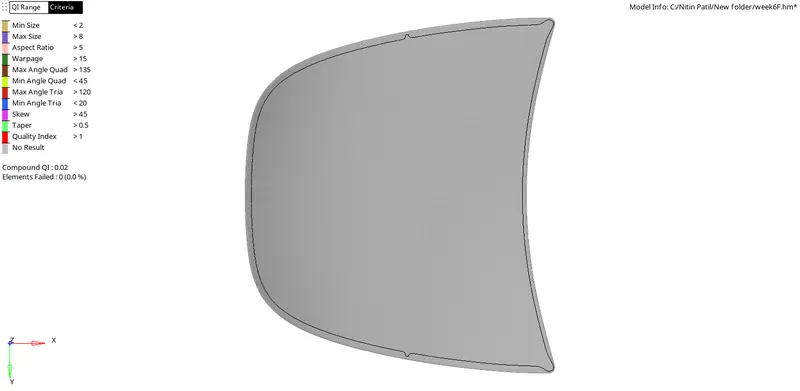
Inner panel :
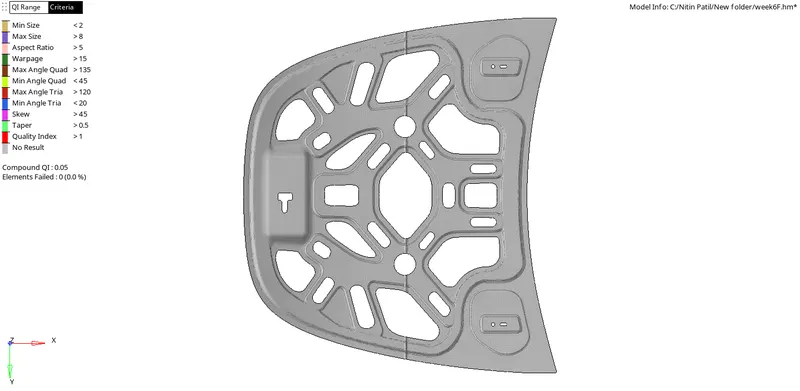
3) Thickness assigned
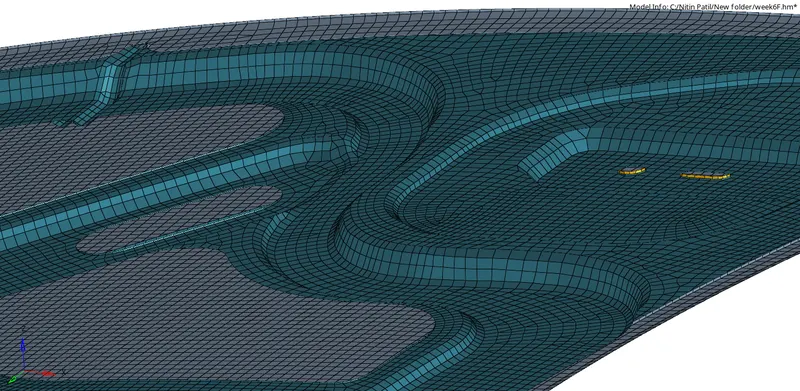
4) Model Tree
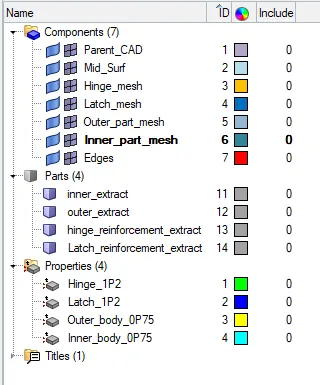
Conclusion :
All the components of the Hood model are error free and meshed successfully.
LEARNINGS:
- Meshing components according to quality index.
- Quality index cleanup tools
- The mesh should look smooth and regular.
- Use the simplest element type suitable for the component.
- To keep mesh uncertainties to a minimum and simple as possible.
- Try to avoid opposite tria elements in components.
- If a component is converging from either side, trias occur.
- Organising components, creating mid surface,mask,duplicating,
reflecting surface and elements, etc. - Creating property to assign thickness.
- Assigning thickness to the meshed component.