Week 6-Meshing of Hood Challenge
Objective:- To create the mid surface of the component by satisfying the given criteria
Follow the below-mentioned quality criteria, mesh the component given below and assign thickness:
Target Element Length = 5 Units
|
S.N |
Quality Criteria |
Value |
|
1 |
Aspect Ratio |
5 |
|
2 |
Skewness |
45 |
|
3 |
Warping |
15 |
|
4 |
Taper |
0.5 |
|
5 |
Min. Length |
2 Units |
|
6 |
Max. Length |
8 Units |
|
7 |
Min angle Quad |
45 |
|
8 |
Max angle Quad |
135 |
|
9 |
Min angle Tria |
20 |
|
10 |
Max angle Tria |
120 |
|
10 |
Tria % |
10 |
Procedure:- First Importing the model by selecting Import model. Select the file and Import the model.
After Importing the model, check for any solid component and delete it by selecting Delete-> Solids
Generating Mid surface:- Generate the mid surface of each components separately. To do this goto Geometry-> Midsurface. Now selecting the given component and then extracting the mid surface.
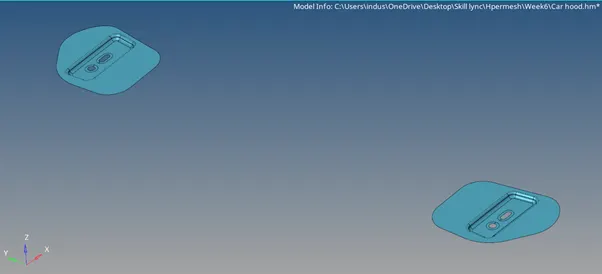
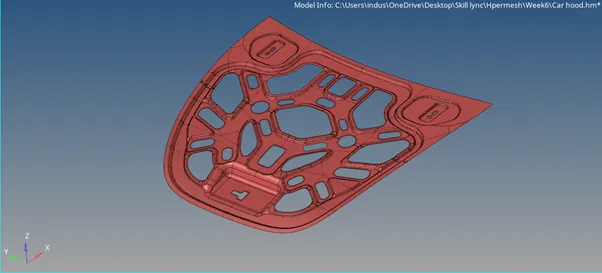
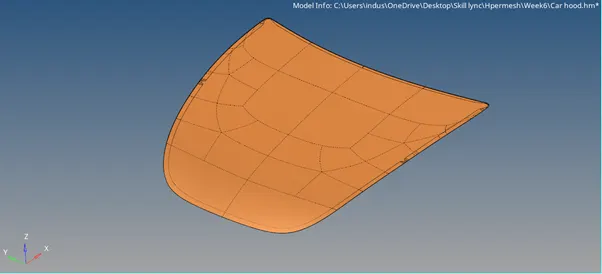
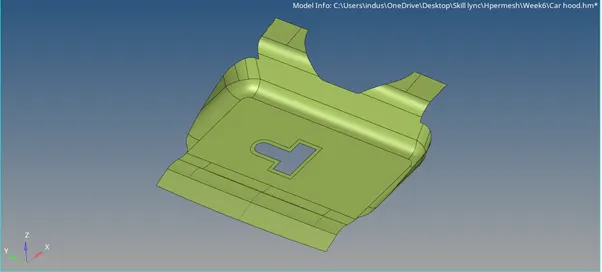
Cleanup:- To do this goto Geometry -> Autocleanup. Select the component and enter the element size as 5 in the edit criteria.
Also before meshing the component enter the given quality criteria by selecting ‘Criteria File settings’ under ‘Preferences’ menu bar.
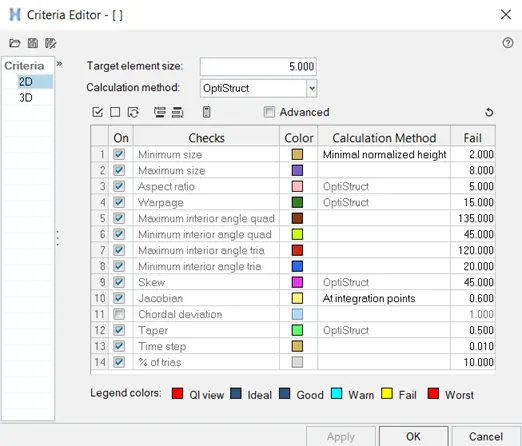
Creating Material and assigning thickness to the material:-
Create the material for the given component as steel by clicking on this icon 
Now assign the material as ‘Steel’ and selecting the type as ‘Isotropic’ and create it.

Now creating the property for the given component. The extracted mid surface will be a 2D shell element. To create the property for the given components click on the given icon 
Give an appropriate name of the property, select the card image as ‘PSHELL’, then select the material and assign the thickness and create.

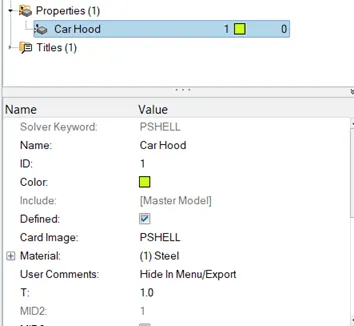
As seen in the above image, the thickness is set to 1.
After this assign the property to the given component as seen in the below image
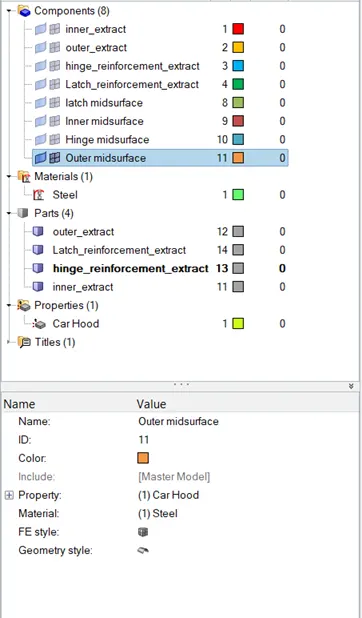
Meshing:-
To mesh the given surfaces, goto 2D -> automesh. Now select the surface and click mesh
Now to check the element quality, goto Tools -> check elements.
The failed elements can be corrected by using element cleanup in the ‘quality index’ option
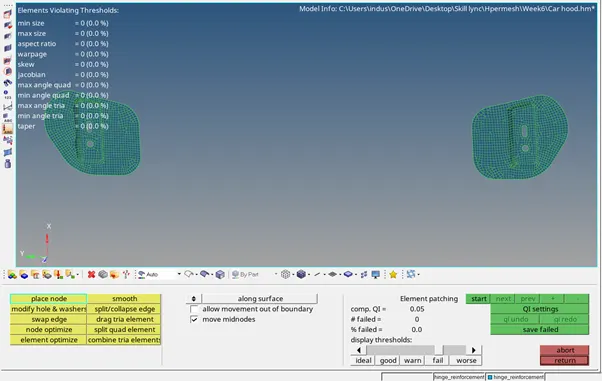
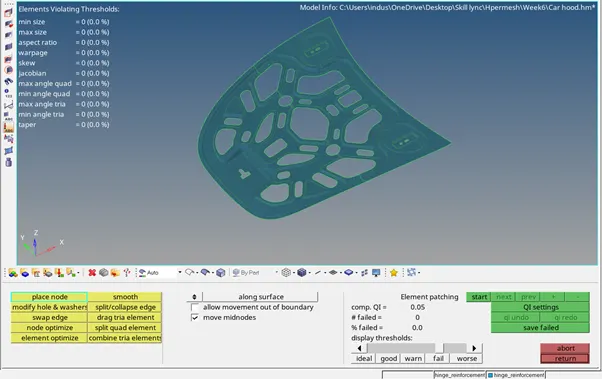
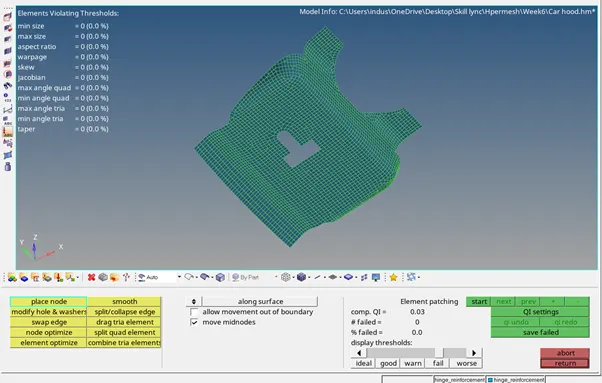
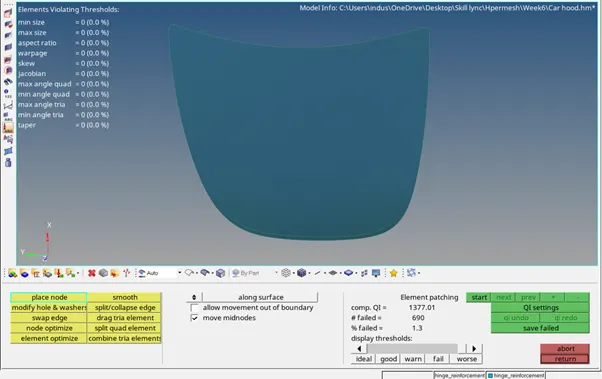
Final Checks:- To check for any duplicate elements press F10, in that press duplicate option. If there are any duplicates present, then save the failed elements and then goto to Delete > elements > retrieve and then delete the excess elements
To check if the elements overlap each other, goto Mesh > Check > Elements > comparison and choose the target and source. Now enter the tolerance value and click on Run