Week 6 - Creating connection for Rear door
- Aim-Applying different PID's for different compoenents and give a proper connection between two parts.
- Procedure-
- Load the mesh model from stored location.
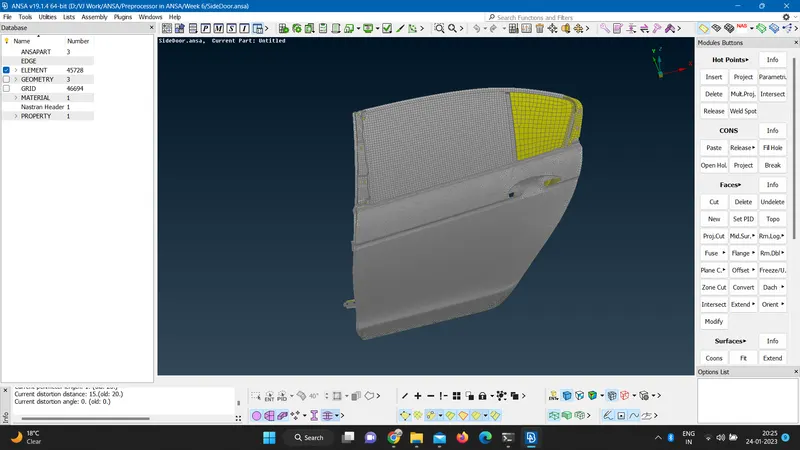
- setting different PID's for each elements.
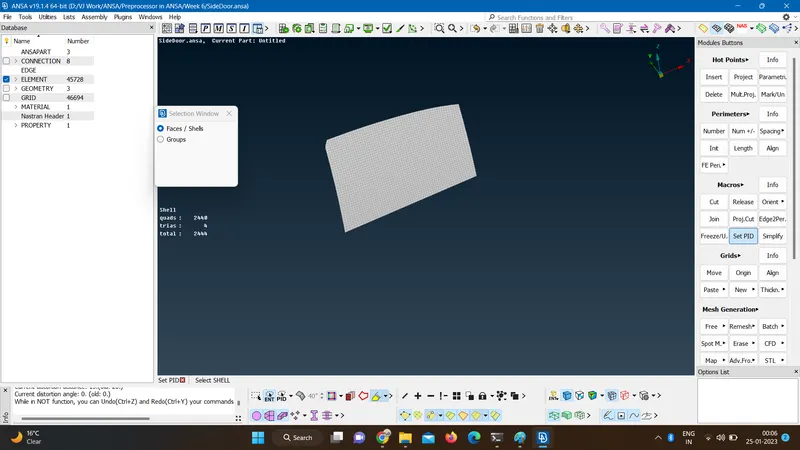
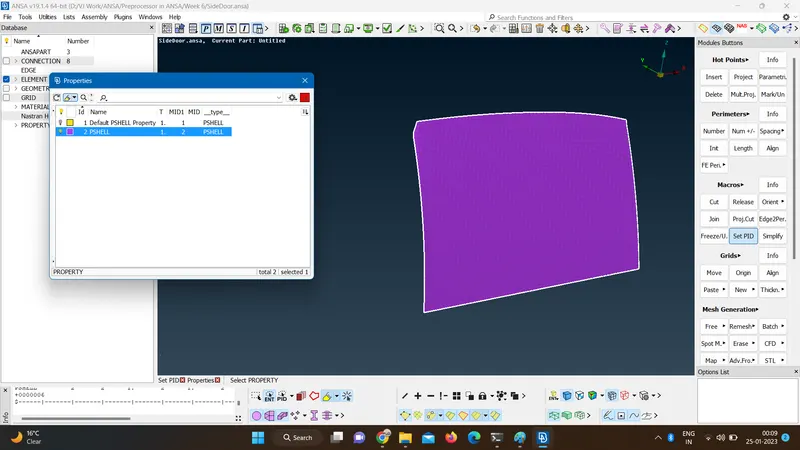
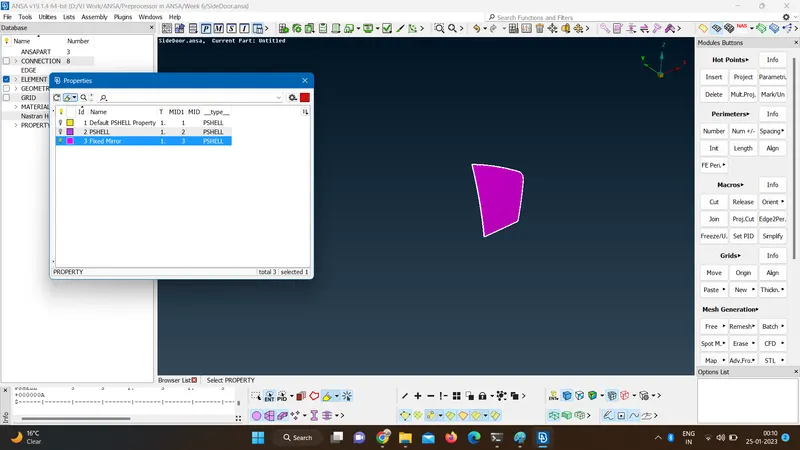
- After setting PID's to each element the model looks like this.
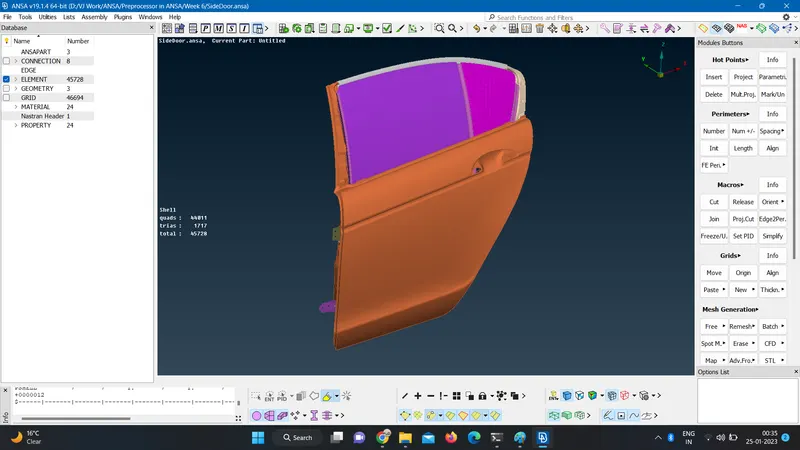
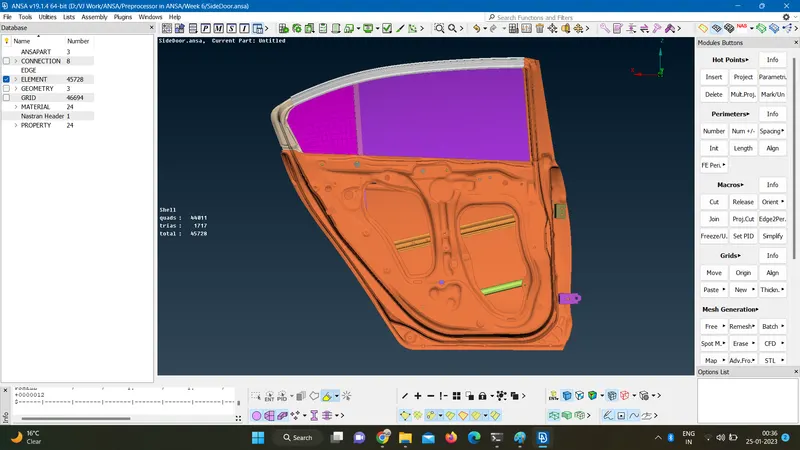
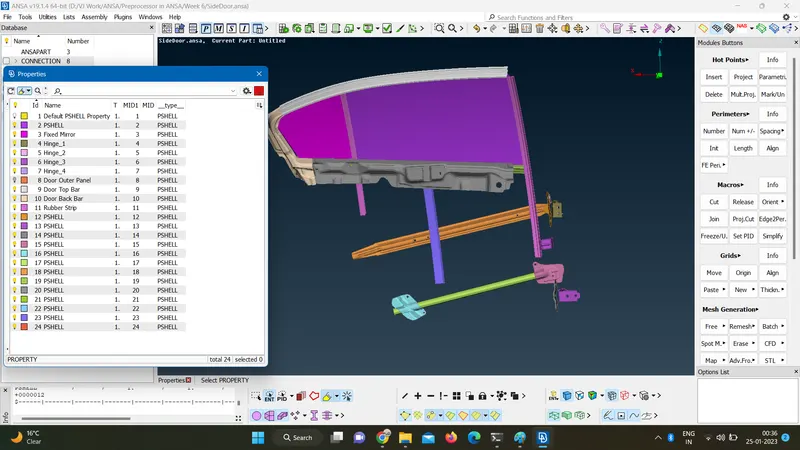
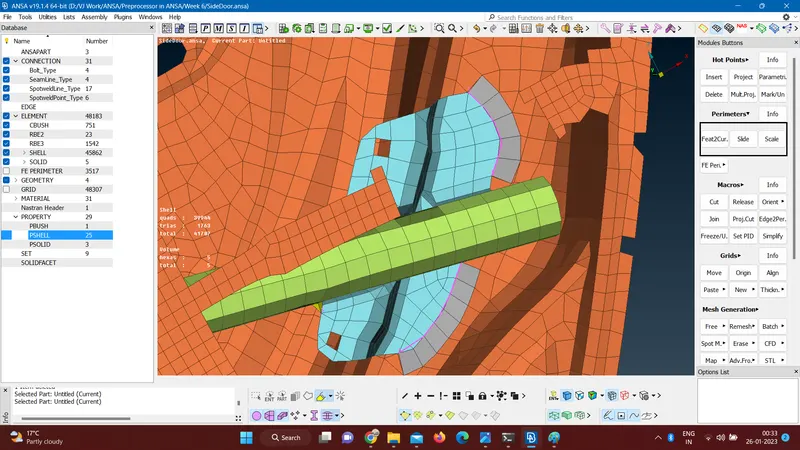
- Creating 3D points and converting them to bolt joints an giving RBE2 element defnition.
-
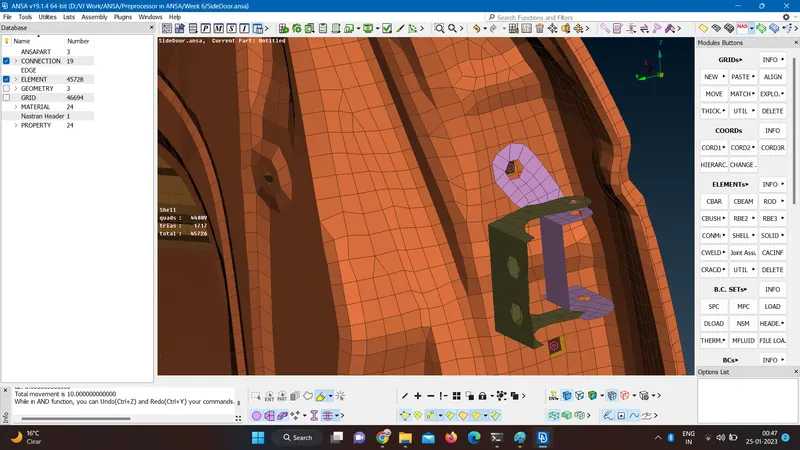
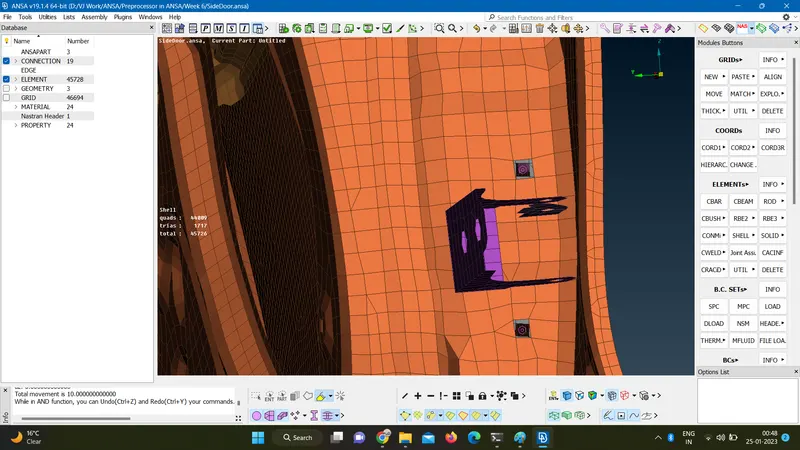
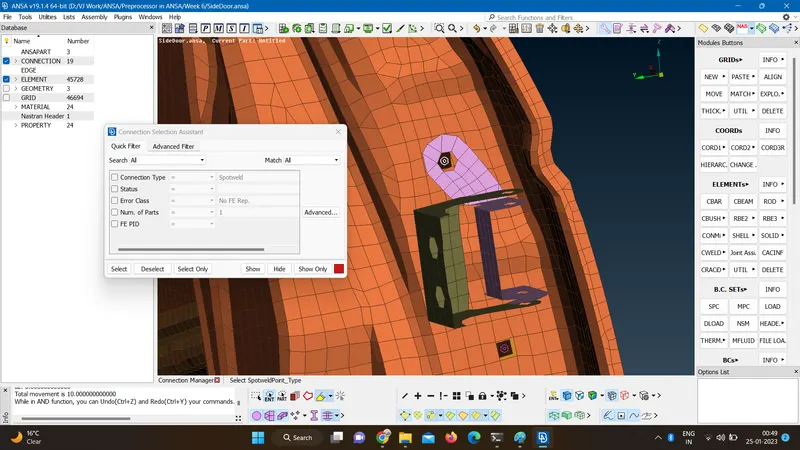
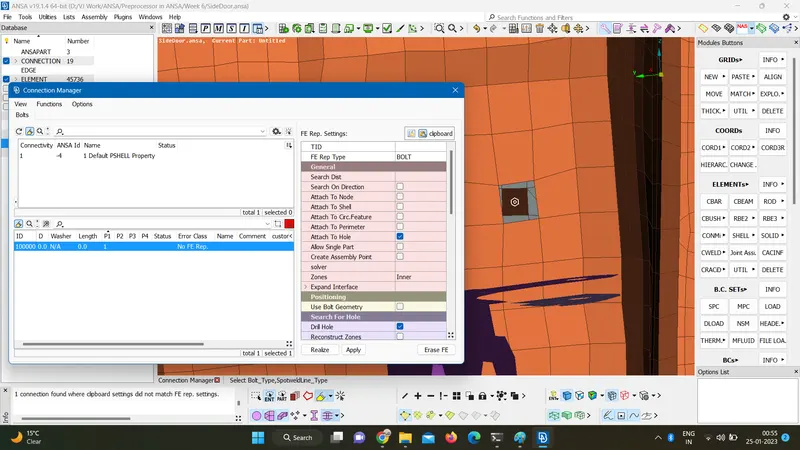
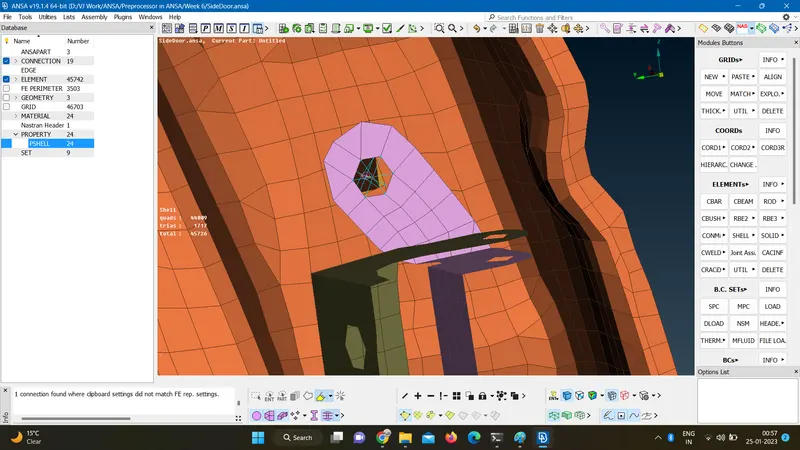
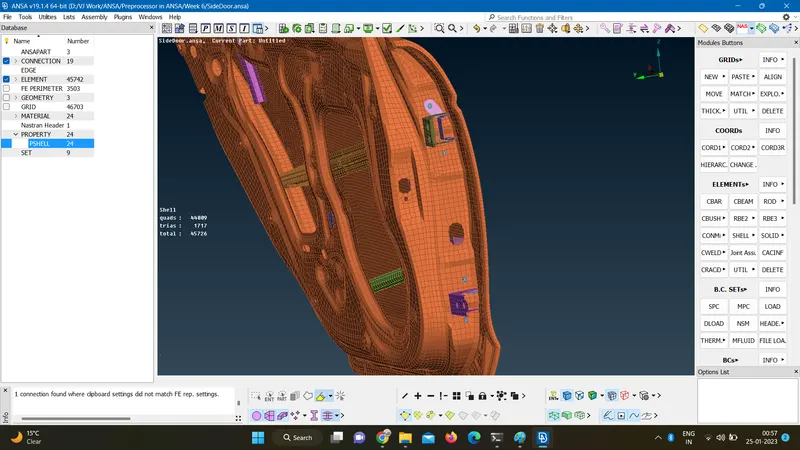
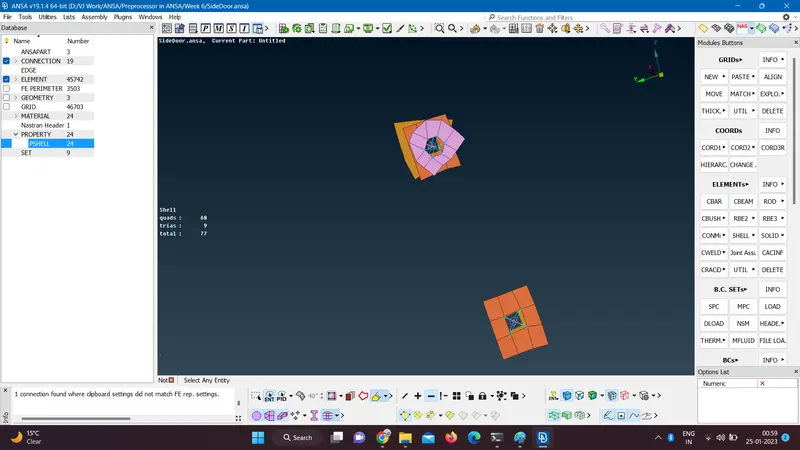
- Creating a bolt at door hinges.
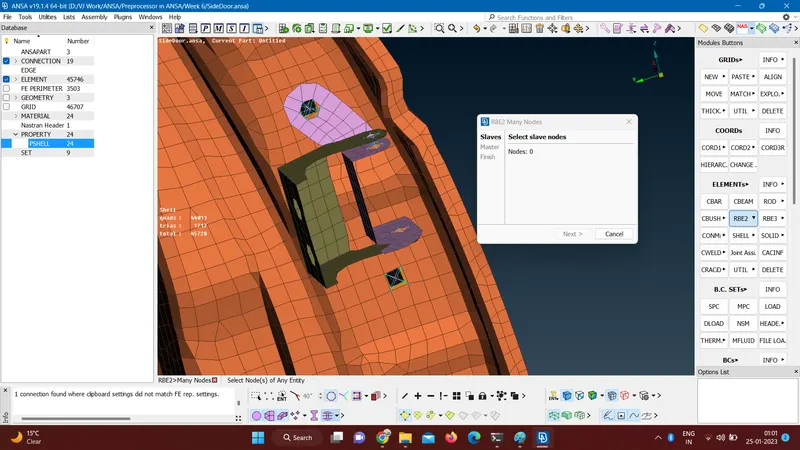
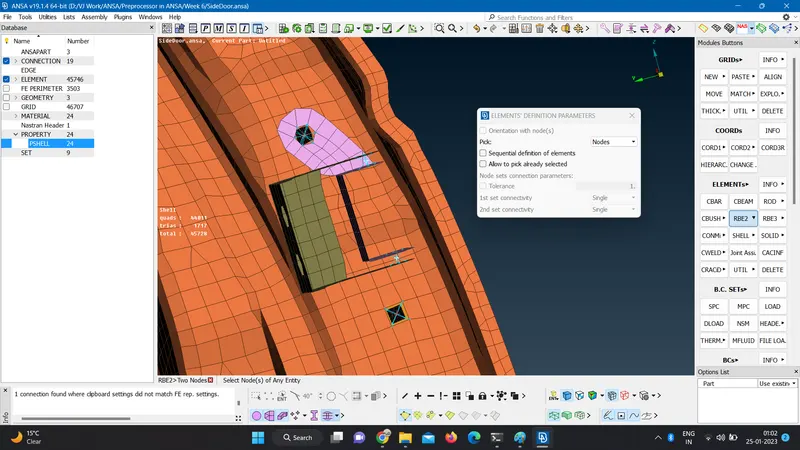
- Restricting 5 DOF and allowing the rotation at Z axis for open and closing of door.
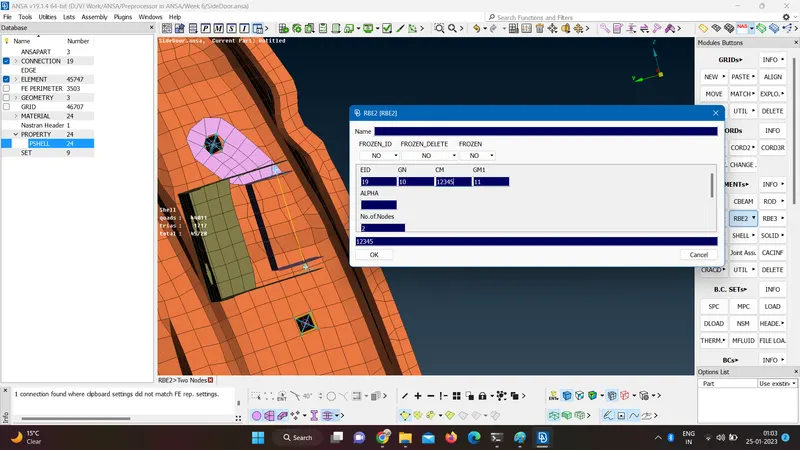
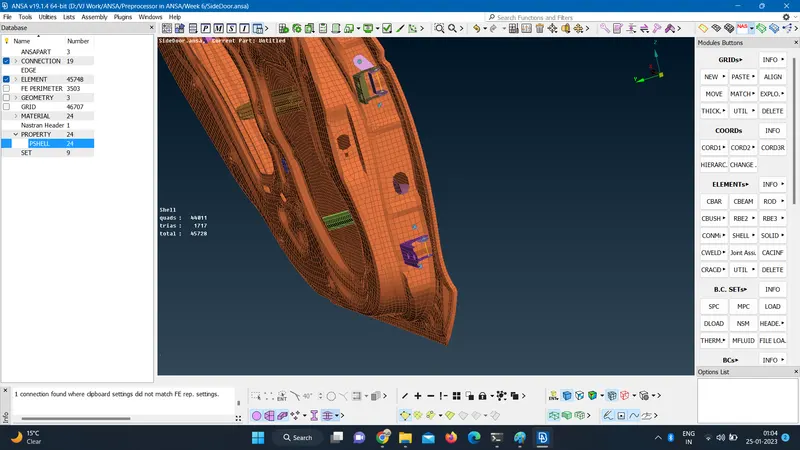
- Creating many nodes RBE 2 for possible rigid conections.
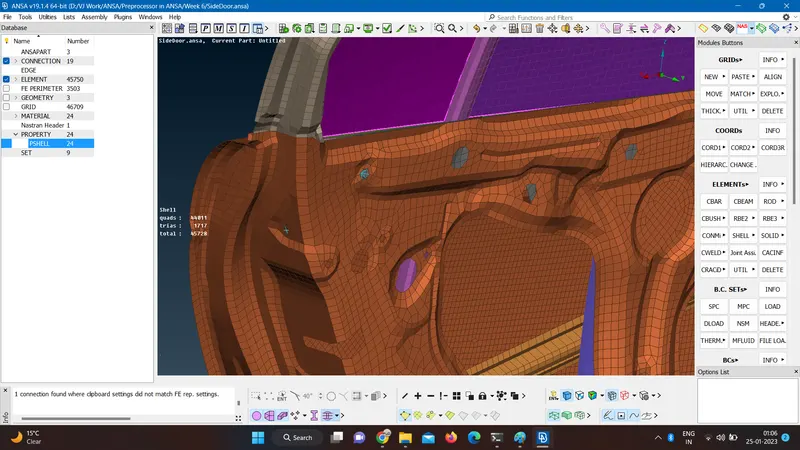
- Creating spot weld line connection for sliding mirror using feature to curve then giving it a RBE 3 CBUSH element considering damping.
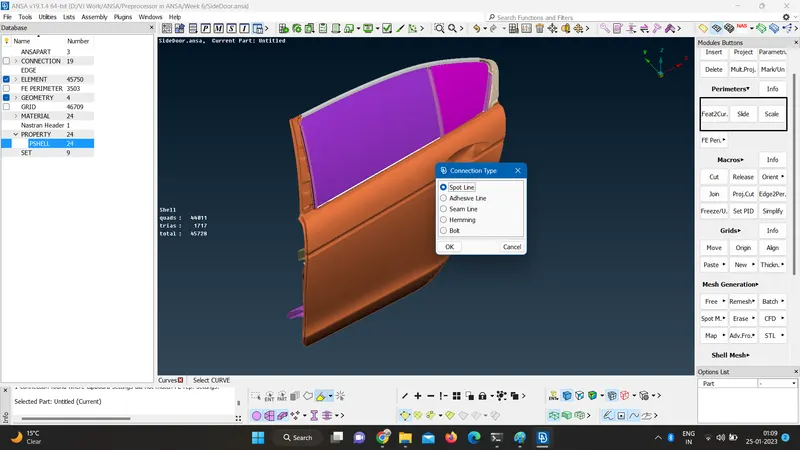
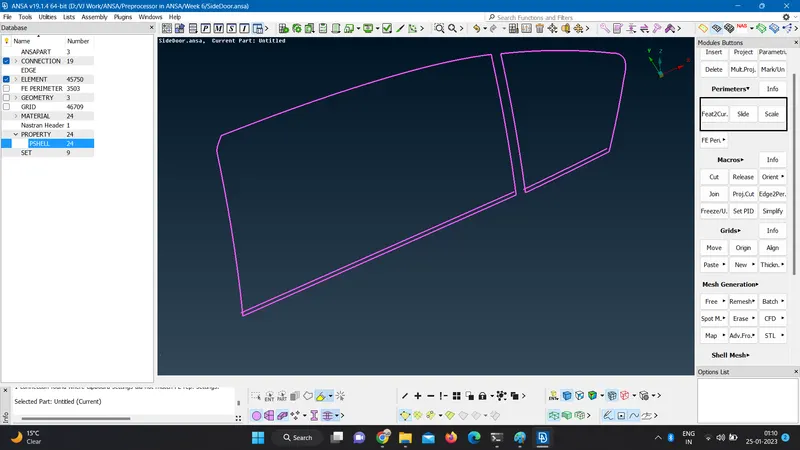
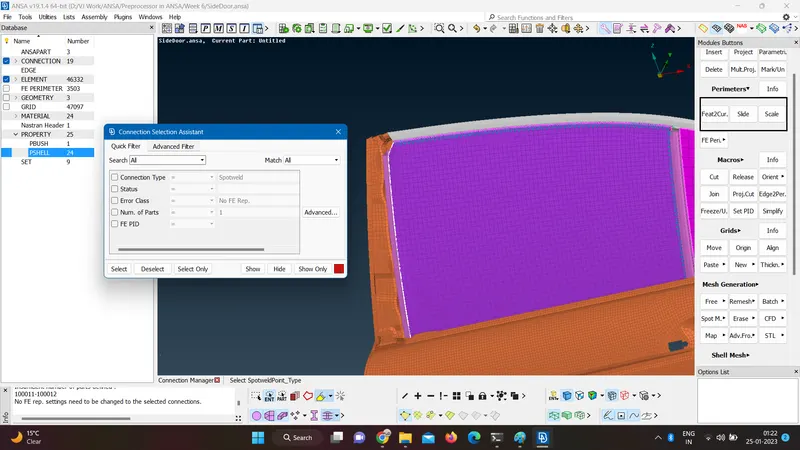
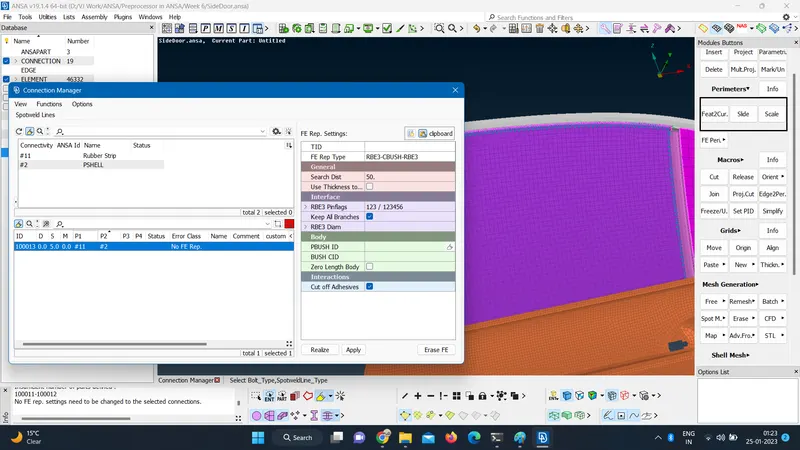
- After realizing the model it will look like
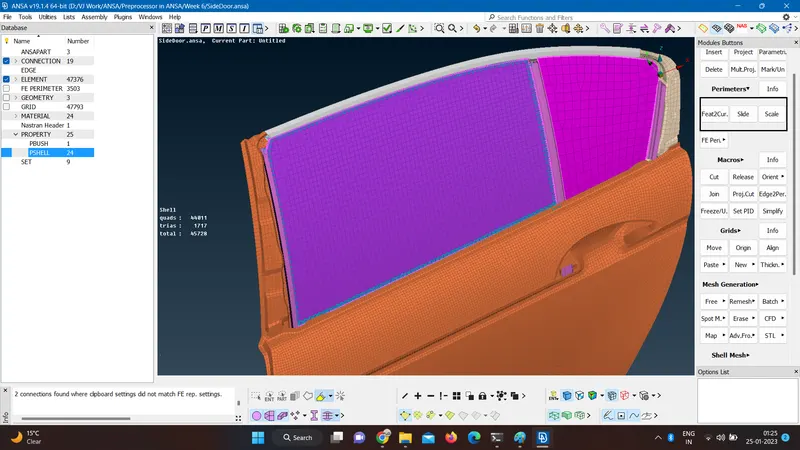
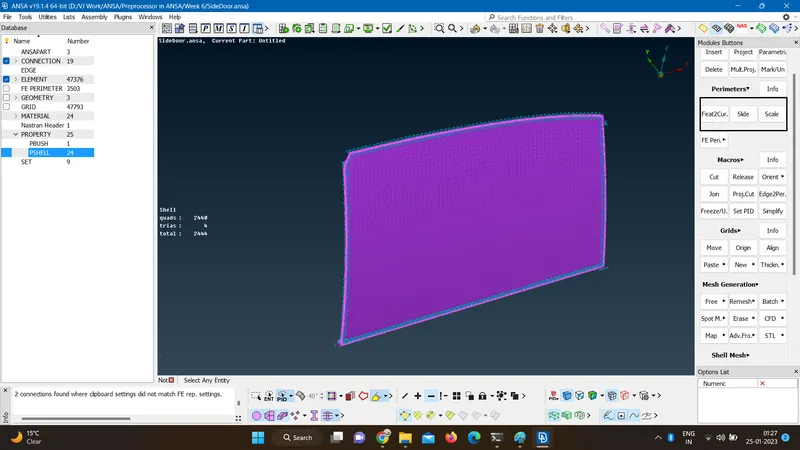
- Providing stiffeness values and orienting the bushes with global coordinare system.
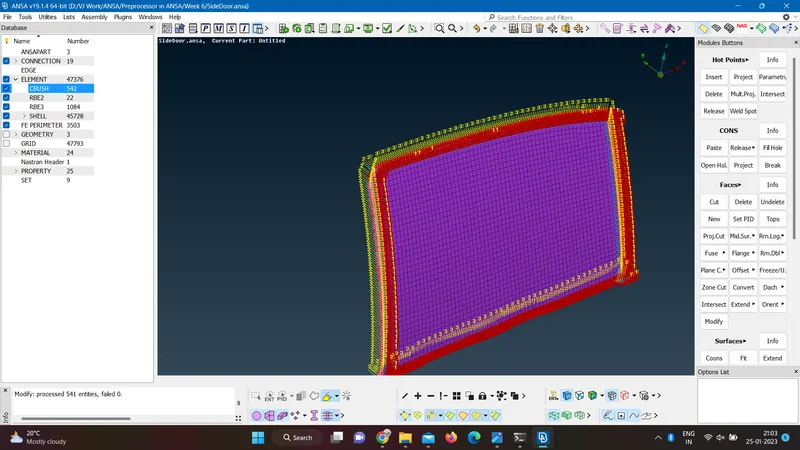
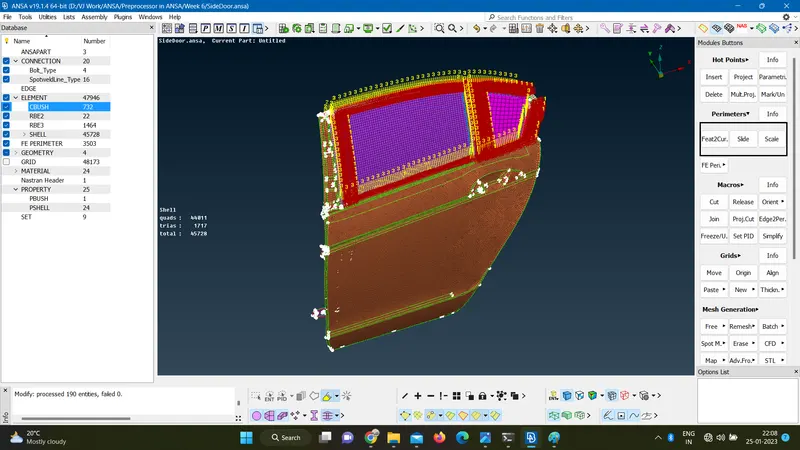
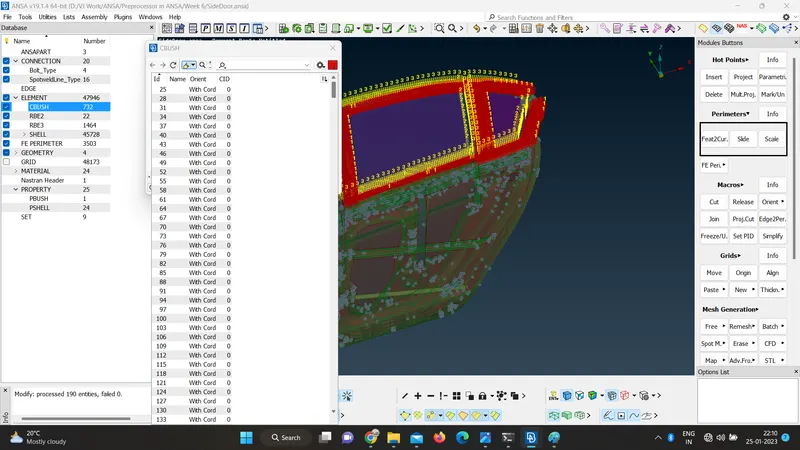
- Creating spot welds.
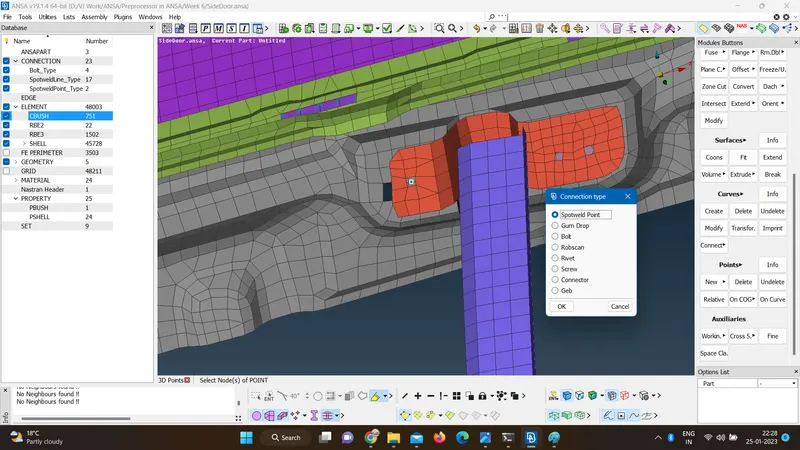
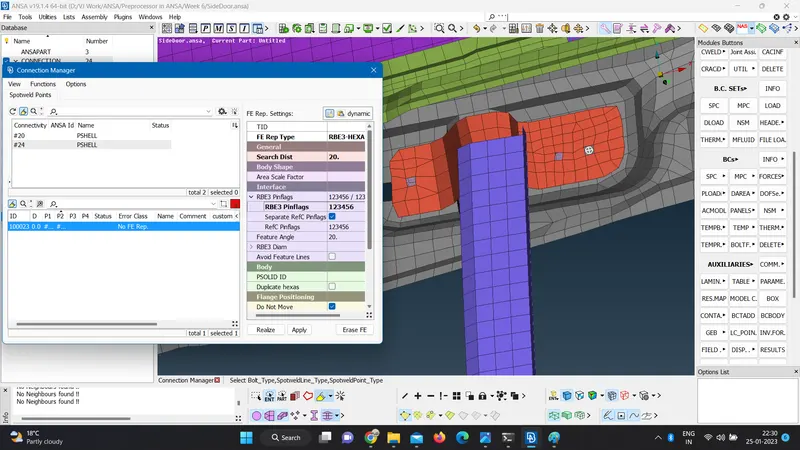
- Creating seam weld using overlap shell.
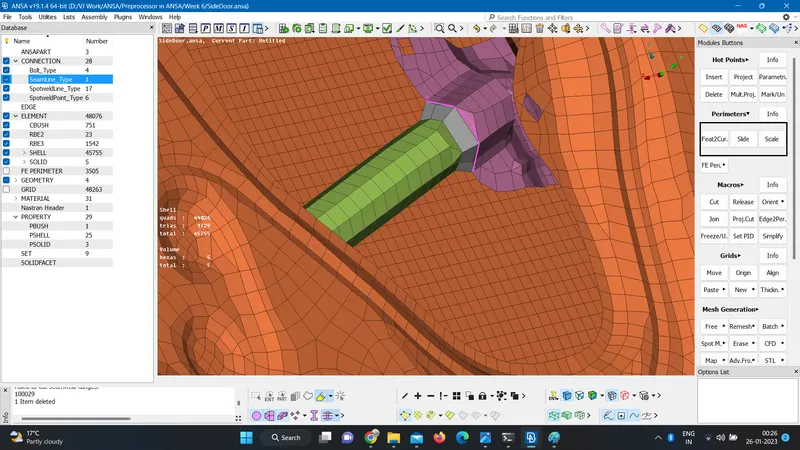
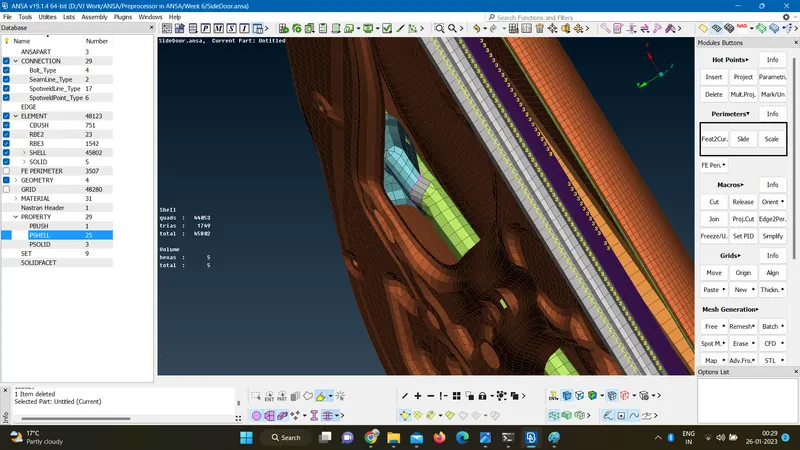
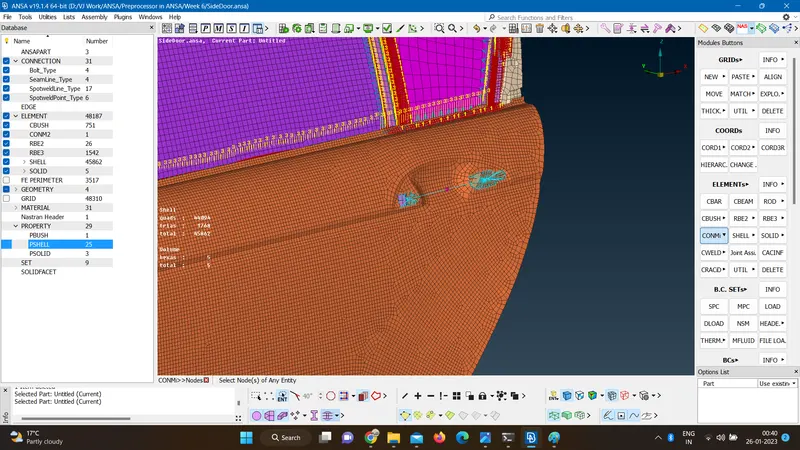
- Creating conmass at door handle .
- Conclusion-
- By attempting ths challenge I have learned the following
- Assigning different PID's to each element.
- Assigning RBE2, RBE 3 connections by bolts, spot welds, seam welds, C bushes,
- Assigning ConMass to the model.
- By attempting ths challenge I have learned the following