Week 6 - Creating connection for Rear door
Objective :-
Giving connections for the rear door by using different 1D elements.
Procedure :-
1) Import the model to ANSA, by clicking on File>Open>Browse the file from the list. Click OK.
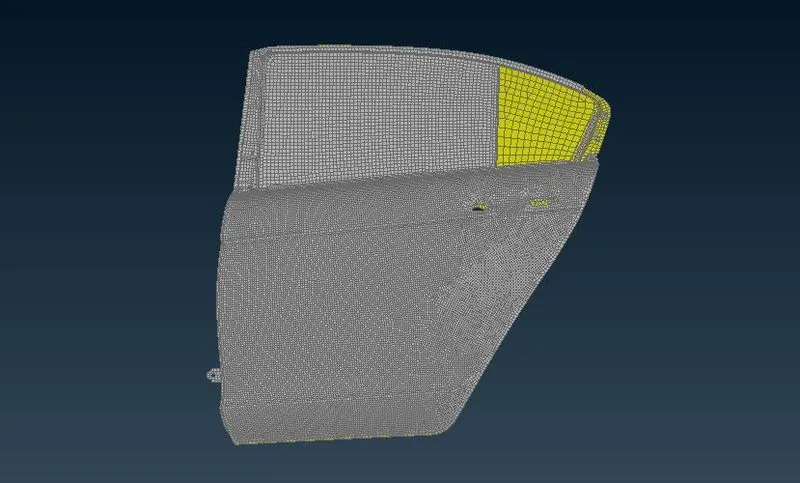
2) Study the model and understand where and which connections should be giving to different parts.
3) We can see that the whole rear door is saved as a single property. So we should separate each part by giving different property.
4)Click on set PID in topo>choose Faces/Shell> Select a part> Middle click > In Property Help window right click and create a new property and double click on that property to assign the property to that part.
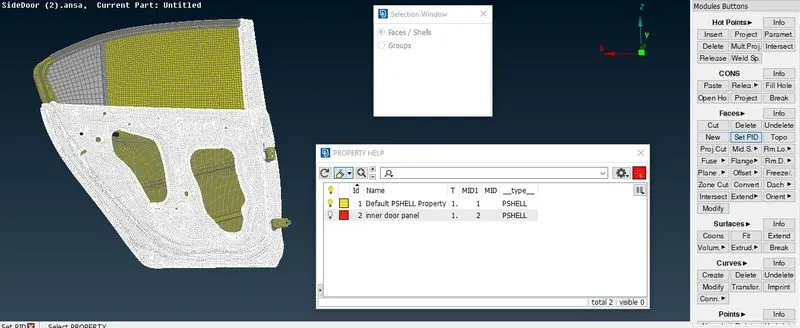
5) Likewise do for each and every part.
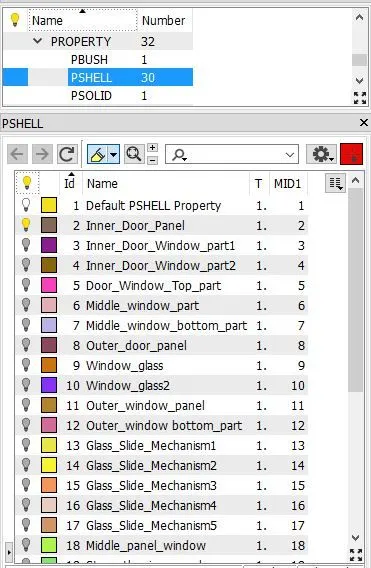
6) So after seperation i have got 30 shell parts.
7) After that we can apply connections.
Main connection done in this challenge:-
a) RBE2
1,Many node :- Rigid connections with more than 2 nodes.
2,two node :- Rigid connections with only 2 nodes.
b) Bolt connections :- connections given to places where we use bolts.
c) Spot weld Connections :- connections given to places where we use spot welds.
d) C-Bush connections :- Connections given to places like weather strips in door window.
e) Special case ( Door handle with mass)
RBE2 Connections :-
a) Many nodes RBE2
For creating single node RBE2 go to NASTRAN Deck> Click on RBE2 in Elements tab>Drag to Many nodes.
Select the nodes to give rigid connection> click next.
For master node choose Average position> Click Next
Give degree of freedom and click Finish.
Save each connections as sperate parts so that we can edit them easily.
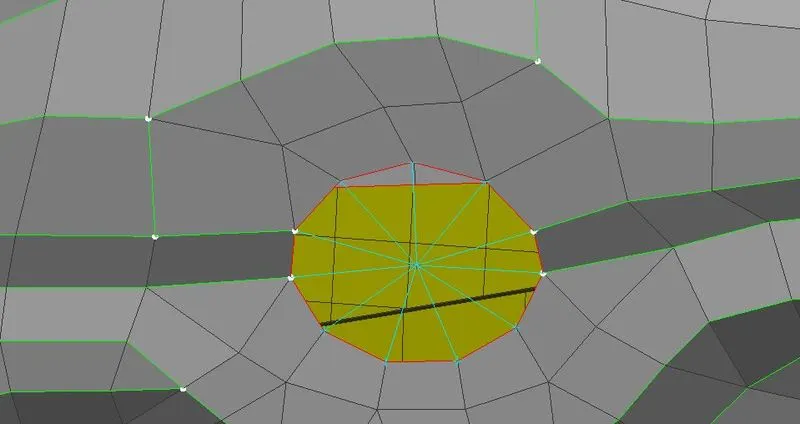
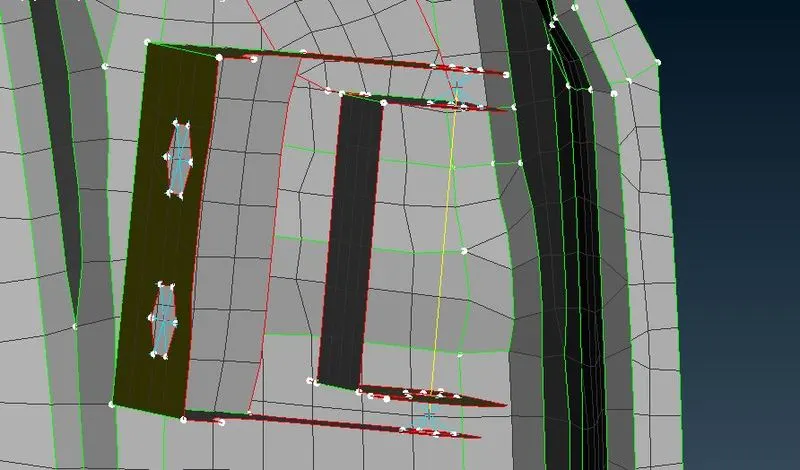
b) two node RBE2
For creating single node RBE2 go to NASTRAN Deck> Click on RBE2 in Elements tab>Drag to Two nodes.
Select the nodes to give rigid connection> click next.
Give degree of freedom and other property in the coming window and click OK.
Bolt Connections :-
Before creating the bolt connection create a COG point on any of the part which we are going to bolt. From topo deck> Points tab > On COG> select the nodes> middle click.
Click on Convert> 3D points > Select the COG point created>Middle click> choose Bolt> Middle click.
Go to Connection Manager> Select the Bolt point> Middle click.
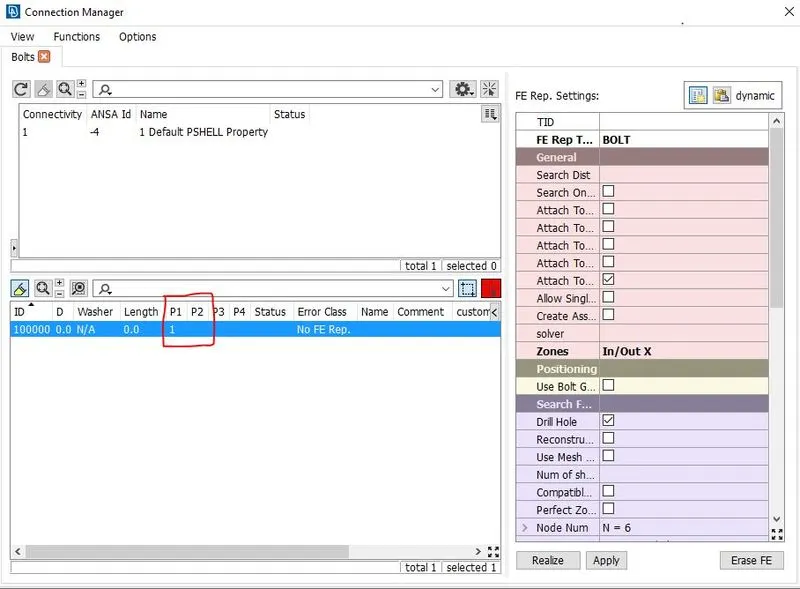
Choose each part P1, P2 P3 and P4 as per number of parts you need to join.
Select parts by right click on the P1, click on F1 key> Choose the part > click Ok> Click enter.
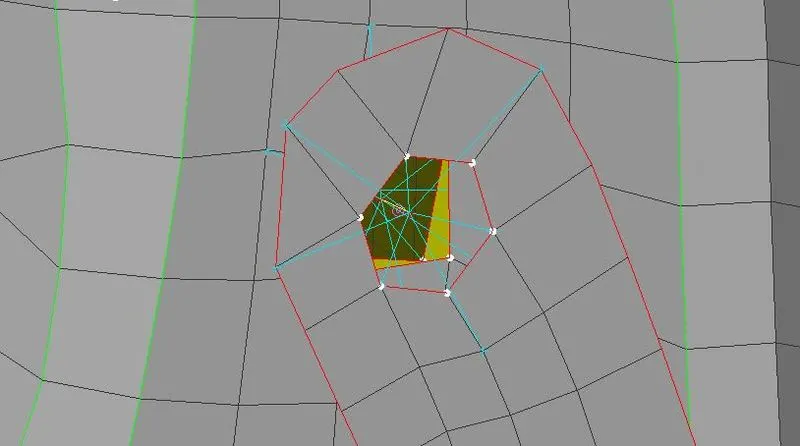
After selecting the parts in FE Representation type choose Bolt.
Give necessary inputs click on Apply> Click on Realize.
Spot weld Connections :-
Before creating the Spot Weld connection create a COG point on any of the part which we are going to weld. From topo deck> Points tab > On COG> select the nodes> middle click.
Click on Convert> 3D points > Select the COG point created>Middle click> choose Spotweld point> Middle click.
Go to Connection Manager> Select the Spotweld point> Middle click.
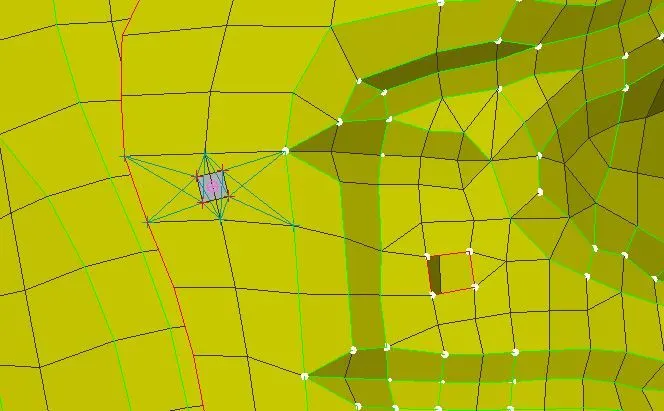
Choose each part P1, P2 P3 and P4 as per number of parts you need to join.
Select parts by right click on the P1, click on F1 key> Choose the part > click Ok> Click enter.
After selecting the parts in FE Representation type choose RBE3-HEXA-RBE3.
Give necessary inputs click on Apply> Click on Realize.
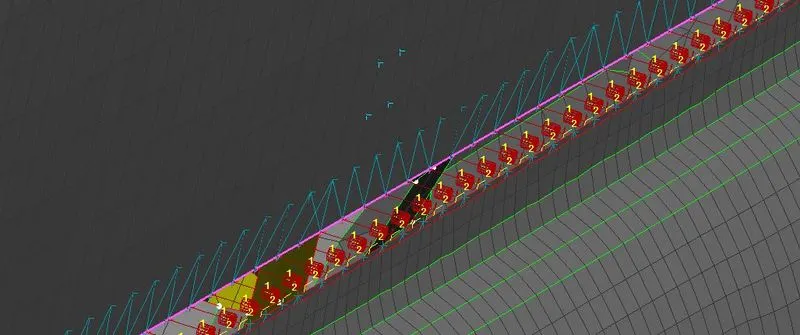
C-Bush connections :-
In the C-Bush connection instead of points we need curves.
so we go to Mesh Deck and in Perimetrs we have Feat2Curves, which convert perimeter to curves
Make curves at perimetres where we want to connect C_Bush
Go to convert> curves> Select the curve > Spot Lines> Middle click.
Go to Connection Manager> Select the Spot Lines> Middle click.
Choose each part P1, P2 P3 and P4 as per number of parts you need to join.
Select parts by right click on the P1, click on F1 key> Choose the part > click Ok> Click enter.
After selecting the parts in FE Representation type choose RBE3-CBUSH_RBE3.
Give necessary inputs click on Apply> Click on Realize.
Special case ( Door handle with mass)
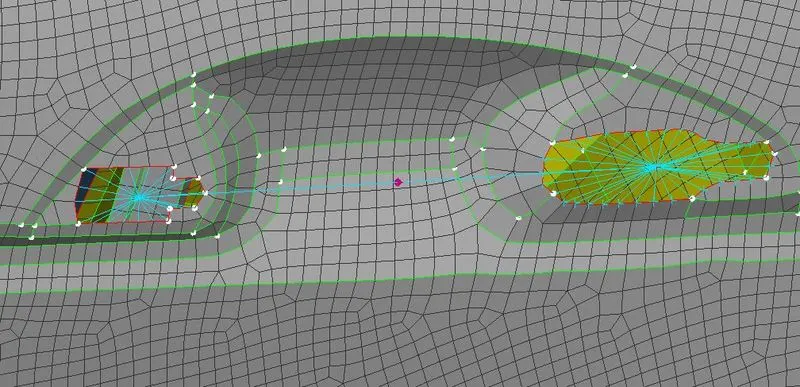
In the two holes of the handle part wee give RBE2 many node connection
The the master nodes of these to connections will be connected using RBE2 two node connection.
The for adding mass in NASTRAN deck>Elements>CONMi>CONMi2
Choose the part where we want to add mass> Middle click> In the coming window under M give the mass of the handle.(always remember to give mass in tonnes)
Click OK
Conclusion :-
1) Learned different types of 1D connections.
2) Given 1D Connections for a rear door model.