Week 6 - Creating connection for Rear door
Aim - To create various types of connections in the model using various options.
Procedure -
Import the model & move the different parts to various PIDs. Ex - Clips, Railing, Mirror, Body, Hinge, Hinge Supports, etc. Topo/Mesh>Faces/Macros>Set PID> Select the macro areas>OK>Create new PID>OK>OK. Repeat.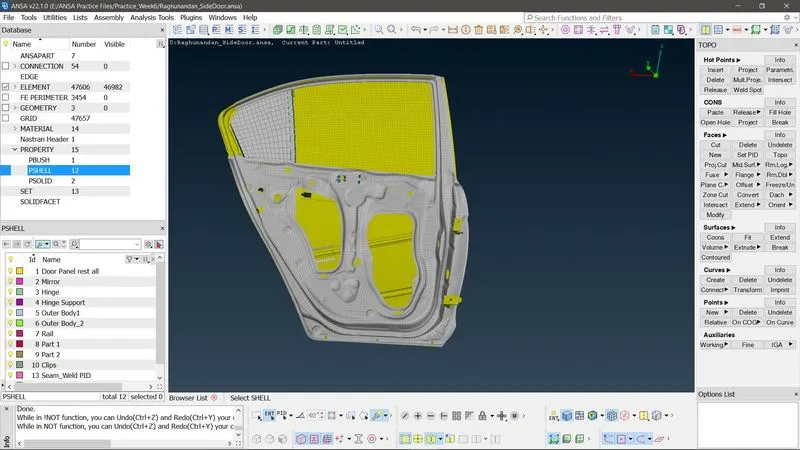
1. C-Bush creation (Weather strips realizesation) between Window Mirror & Body of door.
a. Isolate the required glass PID only.
b. Using Feat2Curve option, select the extreme edges of mirror & realise the curves. Mesh mod>Perimeters>Feat2Curve>Select the lines>OK
c. Using "Convert" option from "Assembly" toolbar, convert the perimeter lines to Curves.
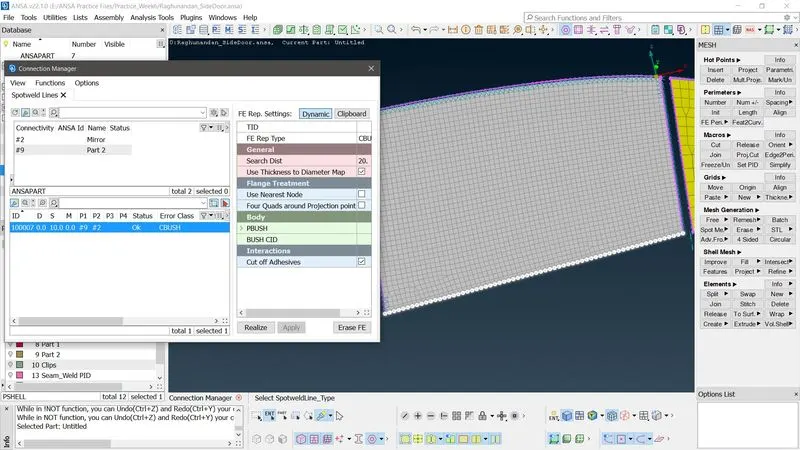
d. Using "Connections Manager" from "Assembly" toolbar, select the required connection lines and specify the PIDs for P1,P2,etc & FE Rep Type as RBE3-CBUSH-RBE3, specify search distance, apply & realise. Connections manager>Select the spotline>P1>P2>FE Rep Type>RBE3-CBUSH-RBE3>Search Distance>#####>Apply>Realize.
e. Repeat the same for the other sides as well, so as to represent the weather strips applied between mirror/glass & door body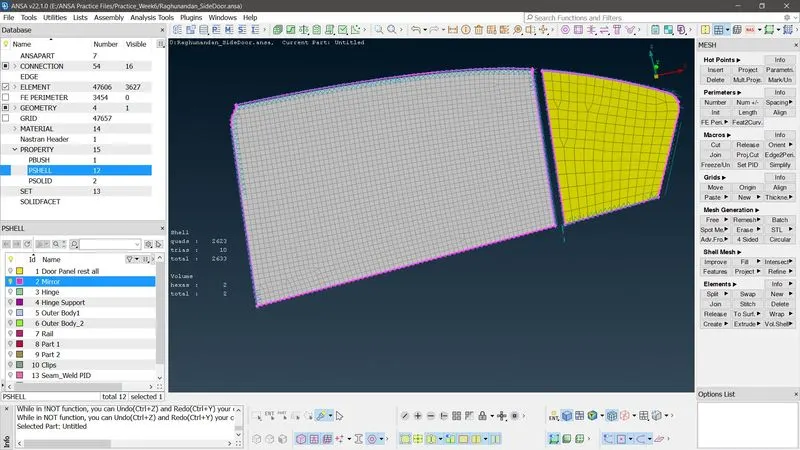
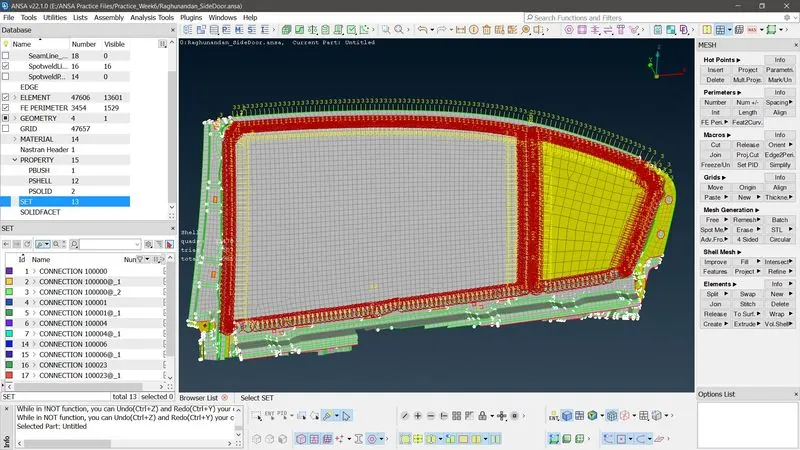
2. Bolt connection b/w Door body,hinge,hinge support.
a. Isolate the required the parts.
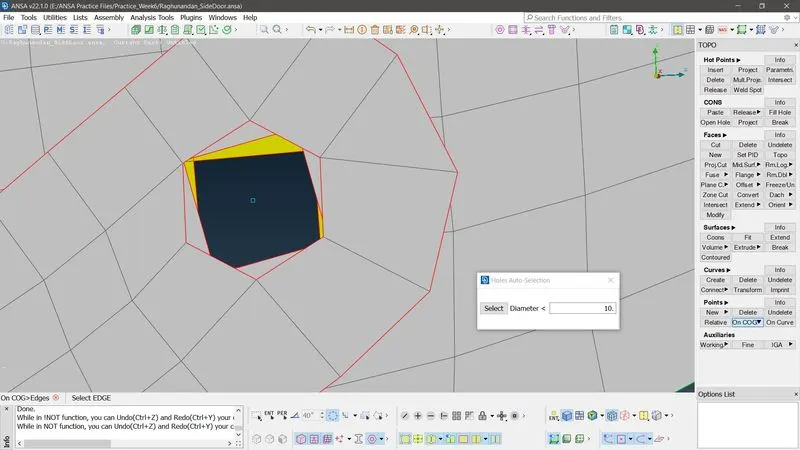
b. Create a 3d point using Topo>Points>ON COG>Select the edge lines (Loop) to get a point @ the center of the selection.
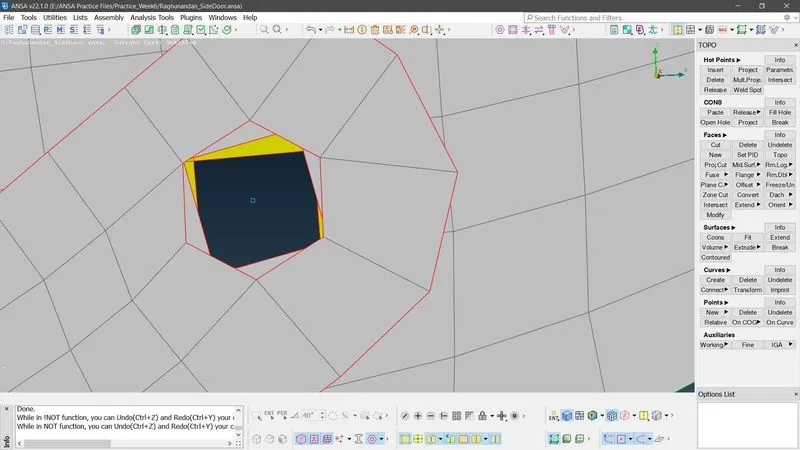
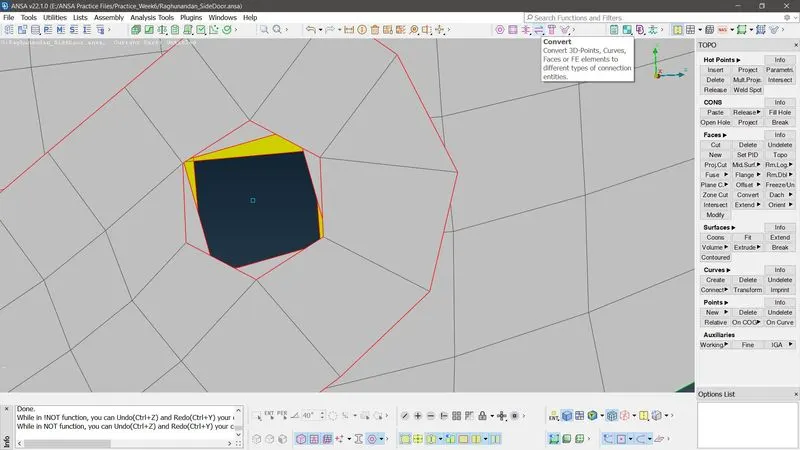
c. Convert the point to Bolt entity using Assembly toolbar. Convert>3D Points>Select>Bolt>OK.
d. Using connections manager from Assembly toolbar, realize the point as a bolt. Connections Manager>Select point>OK>P1,P2,P3>FE Rep Type>Bolt>Search Distance ####>OK>Apply>Realize>OK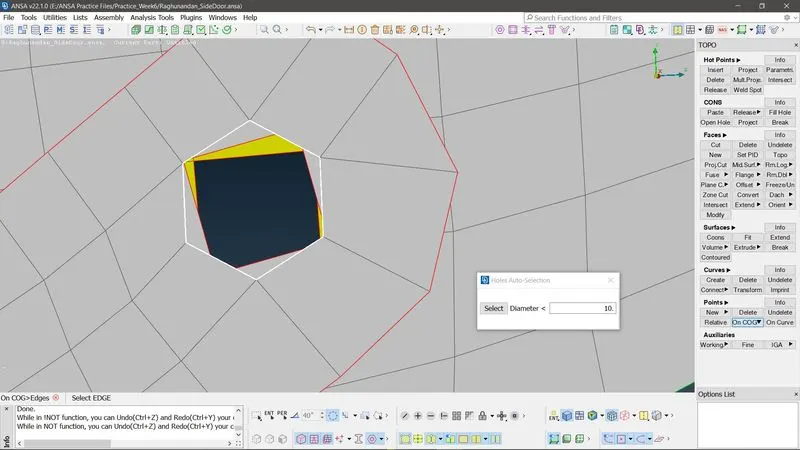
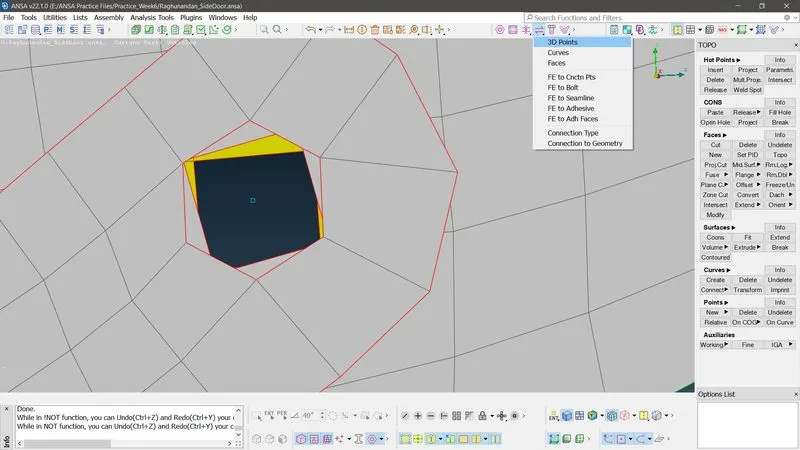
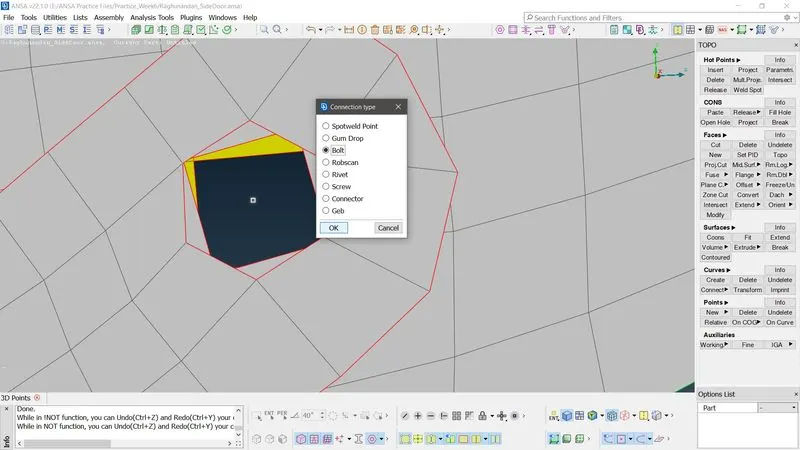
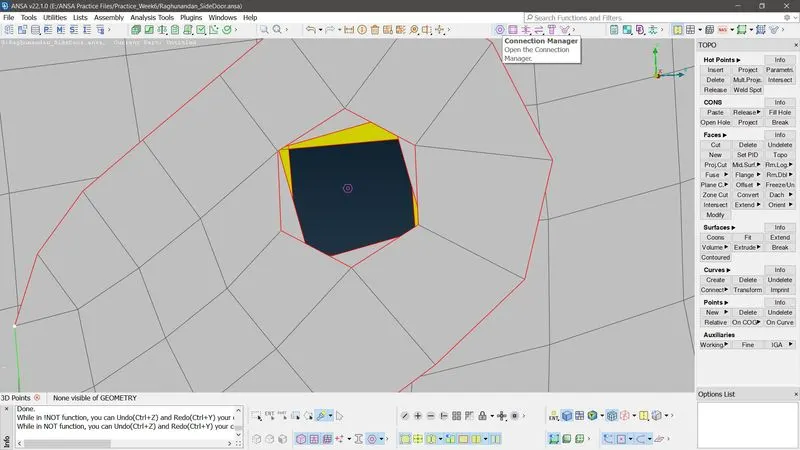
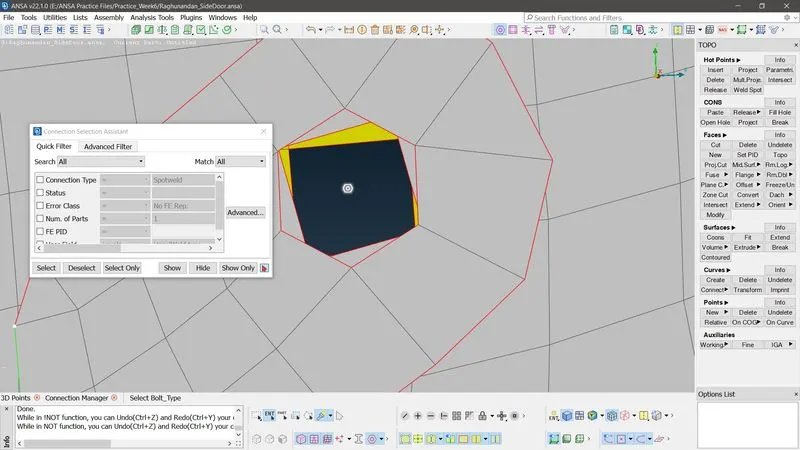
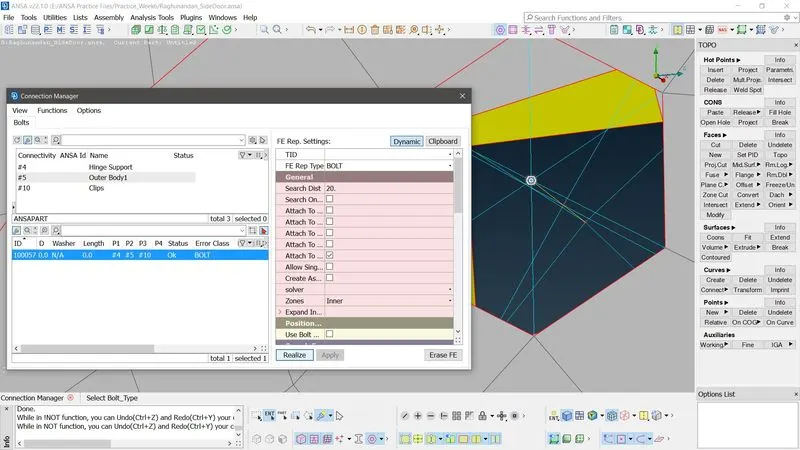
e. Repeat the steps wherever necessary.
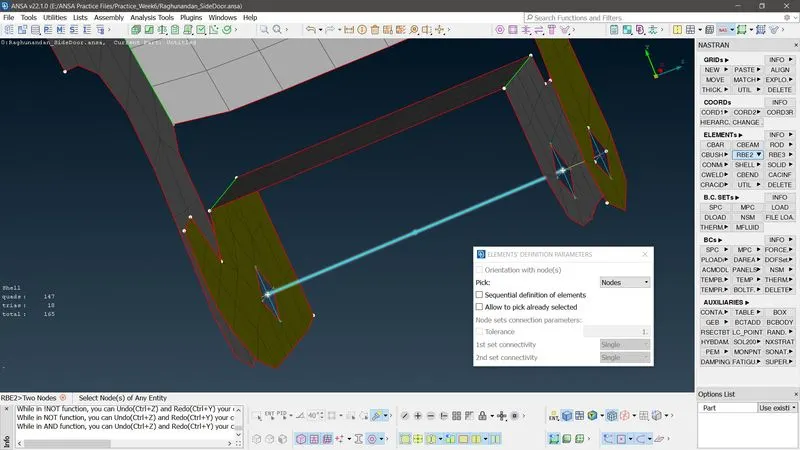
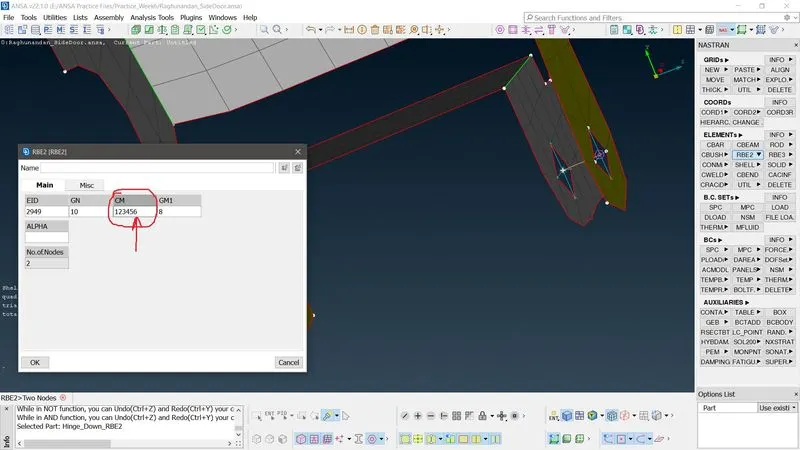
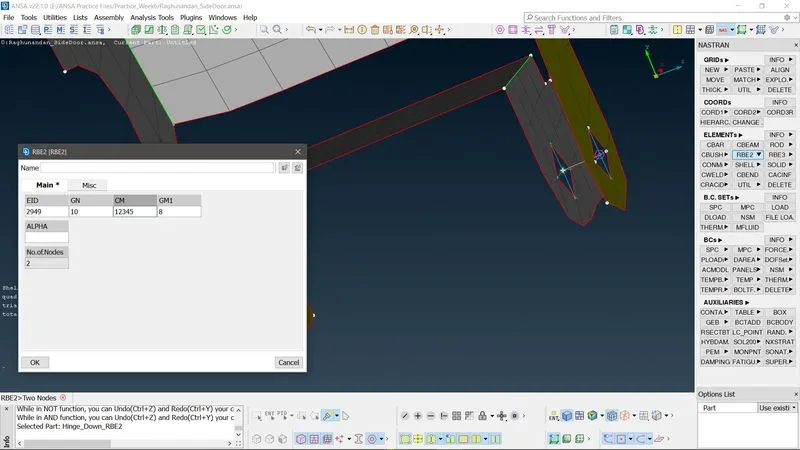
3. Creating an RBE2 element with 'Rot Z' Free to simulate hinge and door rotation.
a. Isolate required elements.
b. Create bolt connection like above between the marked elements.
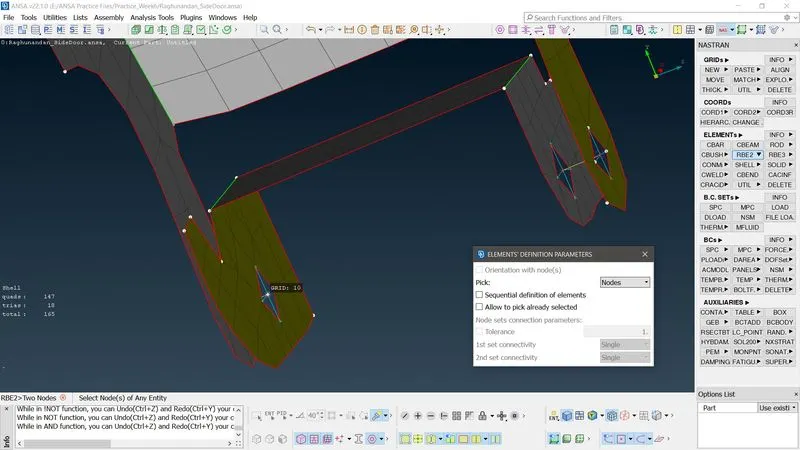
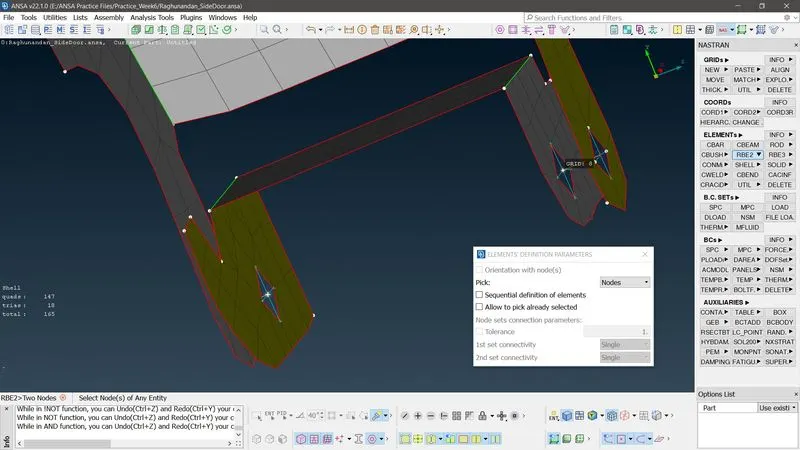
c. Create an RBE2 element between the bolt connections using 2 nodes option & constrain the element in Translation XYZ & Rotational XY as the Rotation along Z is required to be free for the door to rotate. Nastran Deck module>Elements>RBE2>2 Nodes>Select the 2 nodes>OK>Delete 6 in CM [####]>OK>OK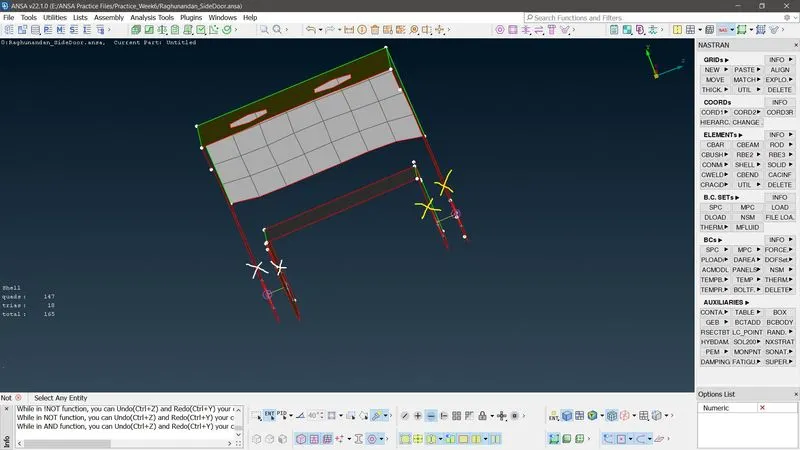
4. Creating a spot weld.
a. Isolate the required PIDs.
b. Creat a 3D point as shown before.
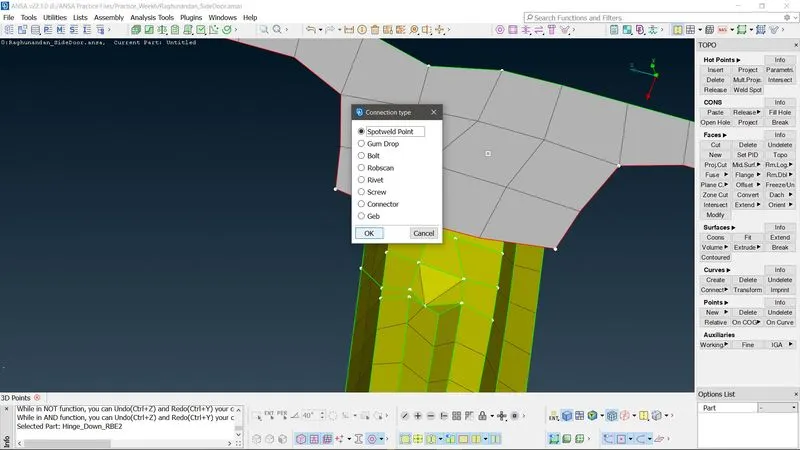
c. Convert the 3D point as a Spot Weldpoint using Convert from Assembly toolbar.
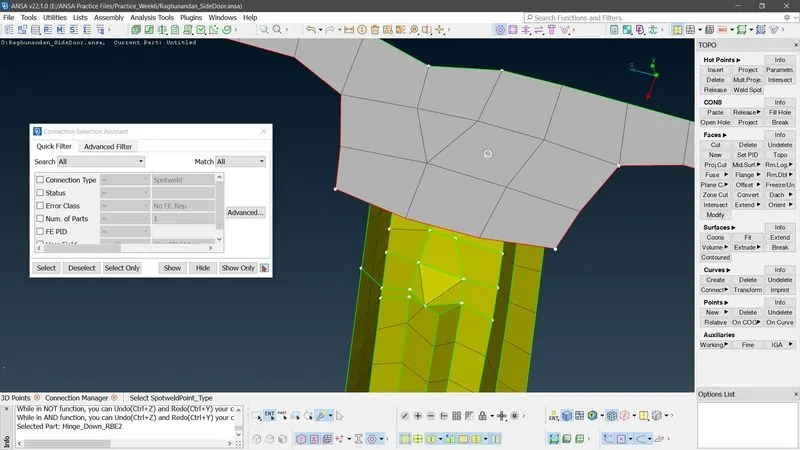
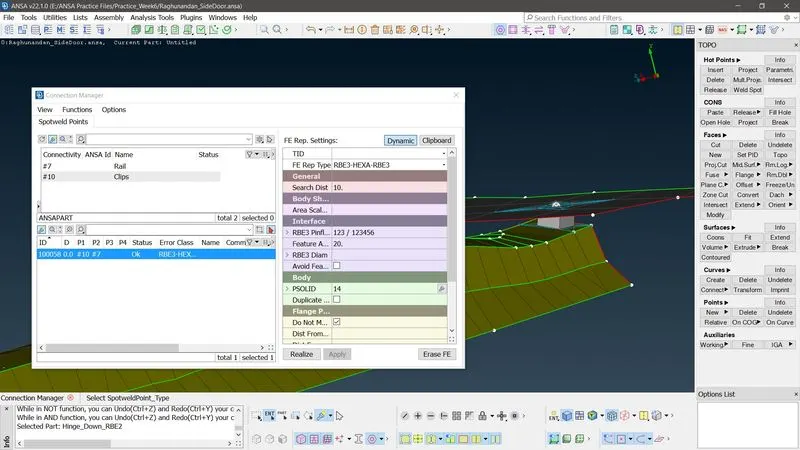
d. Using connections manager, realise the Spot weld point as a Spot weld by specfying the P1,P2, FE Rep Type, Search Distance.
Topo>Points>ON COG>Select the edges>OK>OK. Convert>3d Points>Select>OK>Spot Weld>OK. Connections manager>Select>P1,P2>FE Rep Type RBE3-HEXA3RBE3>Search Dist>##>PSOLID>Create a new property PSOLID for Spot weld>OK>Apply>Realize>OK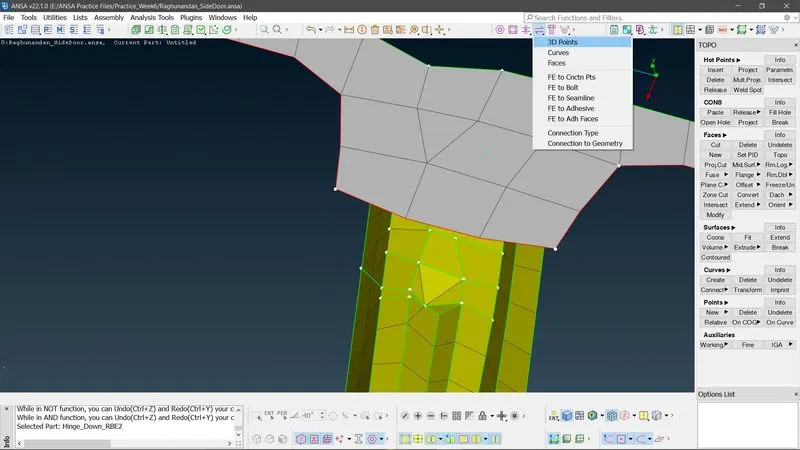
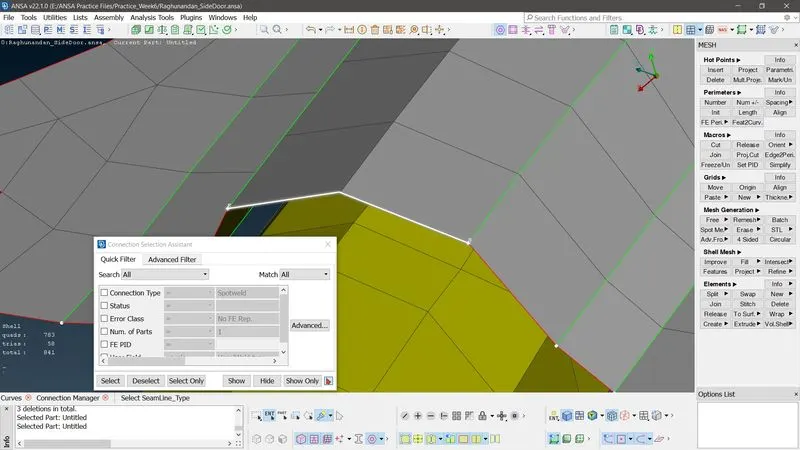
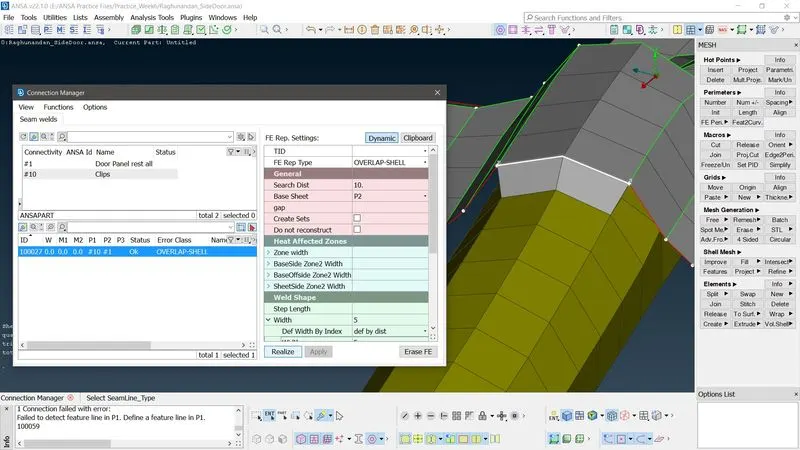
5. Creating a Seam Weld.
a. Isolate the required elements.
b. As previously shown, creat a curve using Feat2Curve.
c. Convert the curve to Seam Line using "Convert" from "Assembly" toolbar.
d. Usinng Connections manager, realize the Seam line as seam weld by specifying the required P1,P2, FE Rep Type, Width, etc.
e. Apply & Realize.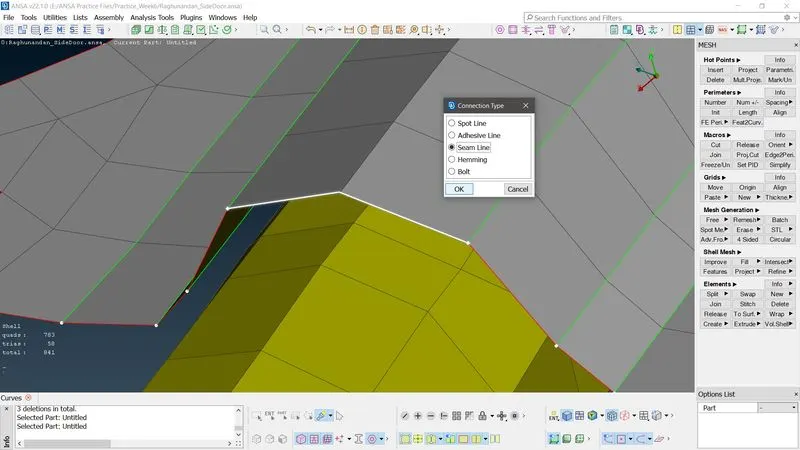
Learning Outcomes - Learnt to create different type of connections like CBUSH, RBE2, RBE3, SPot Weld, Seam Weld, Bolt between various entitites and specifying the respective type of FE Representations along with properties such as Width of seam Weld, Rotational freedom in RBE2 element, Lentgh of Bolt, Distance between the CBUSH elements, etc