Week 6 - Creating connection for Rear door
Week 6 #Side Door
Aim:
To give connection to Rare door FE model.
Objective:
Now for the given Rear door FE model, Create and Apply different PIDs for different components. By using the same technique and the elements as shown in the video, Perform suitable connections.
Employ the right tools for NVH modelling
ANSA is a standard and robust solution for NVH simulation pre-processing that addresses the industry needs for process efficiency and simulation results reliability. It constitutes a complete platform covering equally and at the highest level all preprocessing activities from CAD input to the output of a ready-to-run model. Through its integrated and interoperable tools such as batch meshing, morphing, and coupling with optimizers, ANSA further augments the pre-processing range covered and through its automation tools, such as the Data Manager and the Task Manager, productivity is further increased ensuring robustness and repeatability during the creation of multiple high quality models. In addition, a set of tools dedicated to NVH, addresses efficiently all specific needs of an NVH analysis. ANSA supports industry standard codes for NVH analysis.
Procedure:
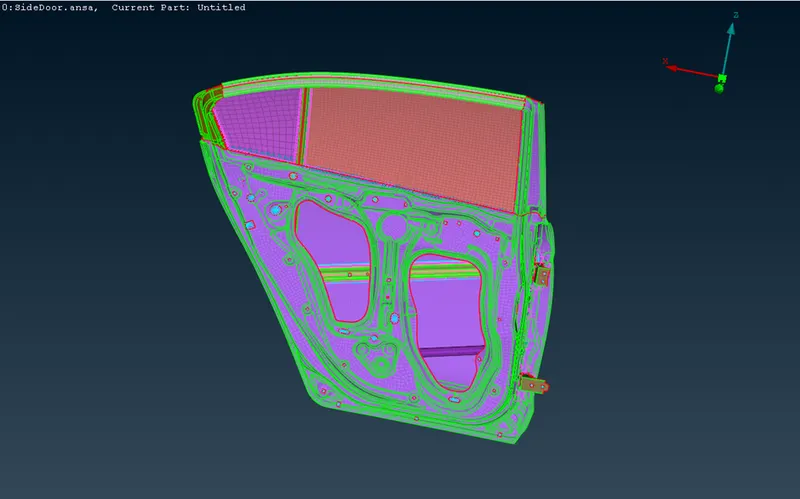
- Import the model side door to the Ansa work bench.
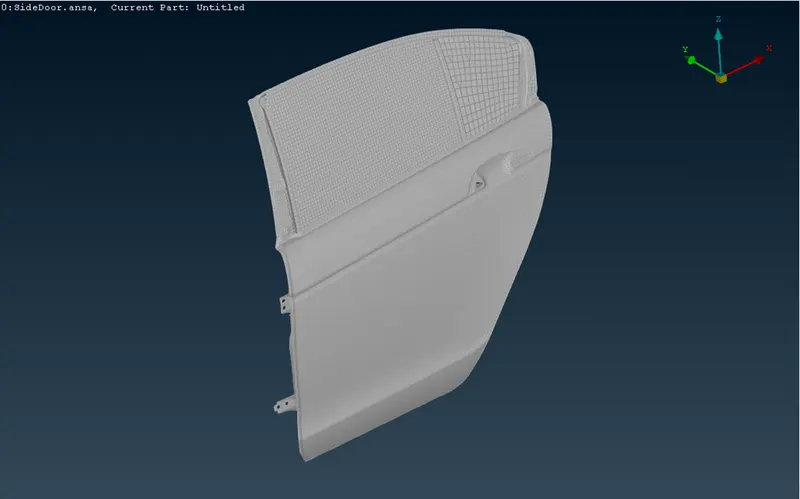
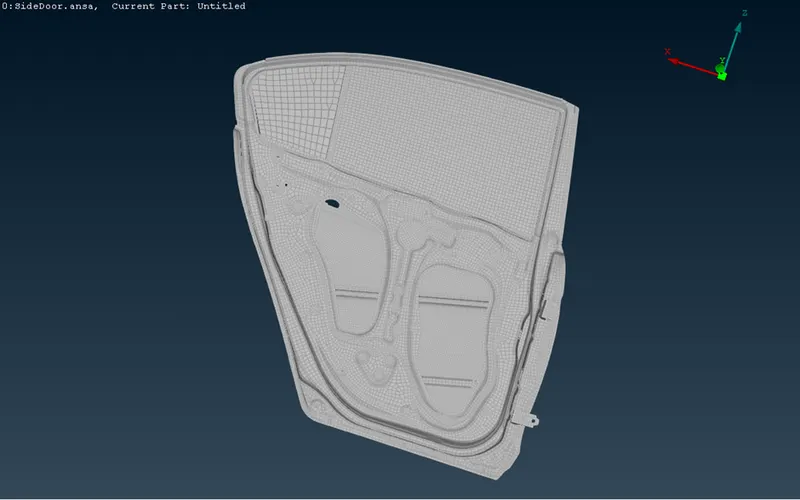
- Divide the model to different PID using Set PID option.
- Set the door parts to different different pids.
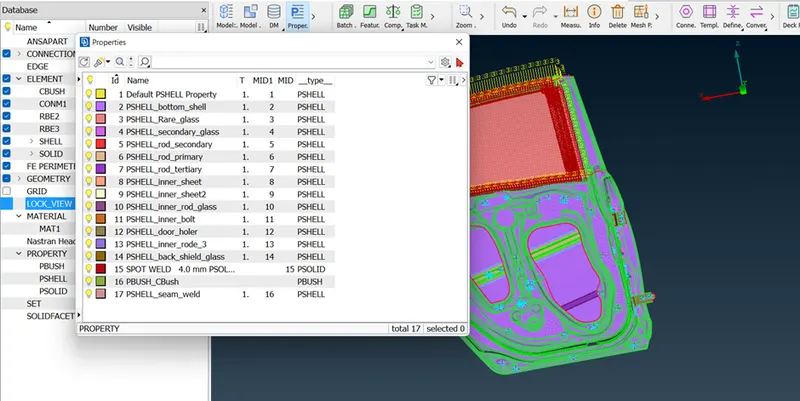
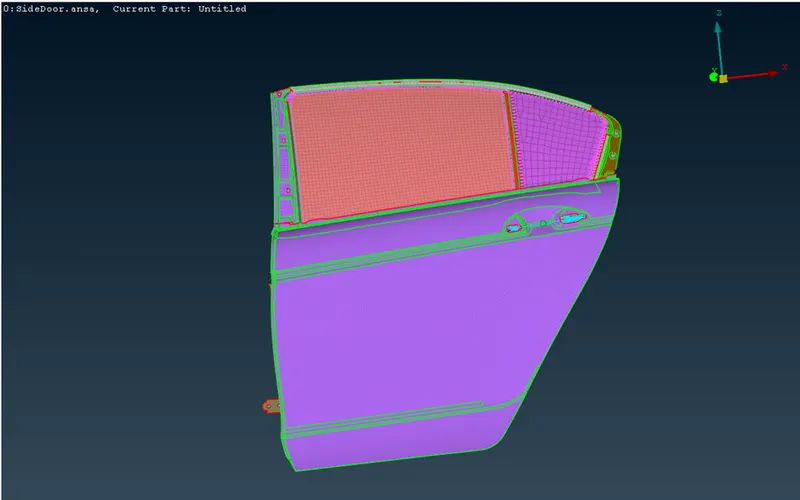
- Now start with creating the COG point in the centre for the bolt.
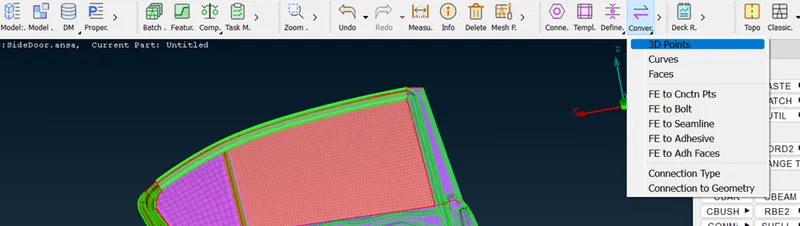
- By using Convert option choosing the 3D point convert the point to bolt.
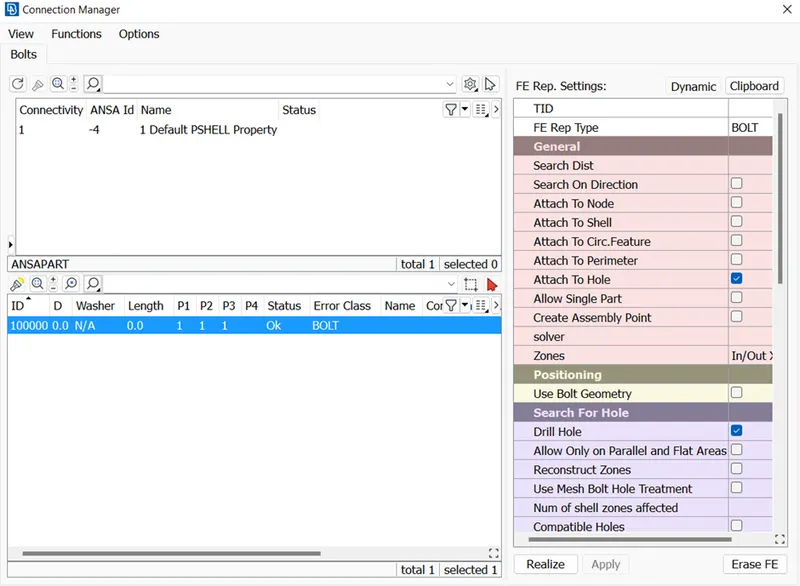
- Now click the connection option and middle click to open the connection manager.
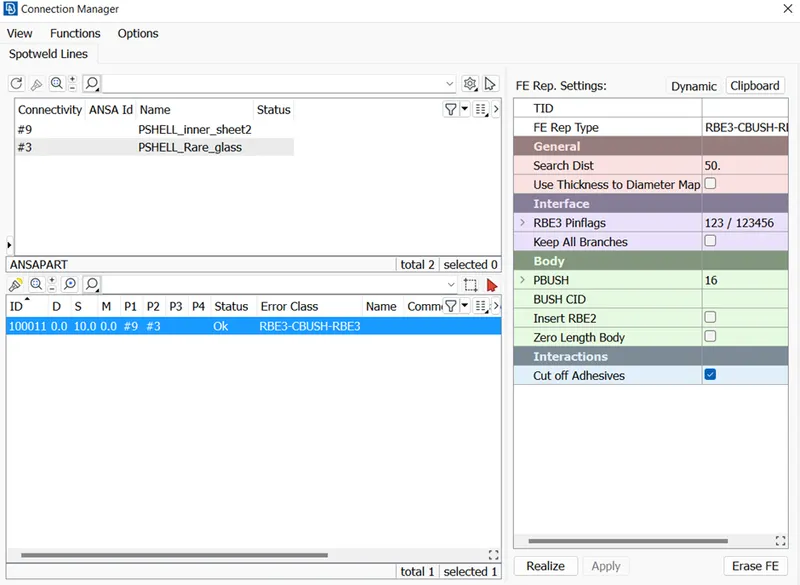
- Start selecting P1, P2, P3 to give the appropriate connection by setting the distance and parameter with new pid for bolt connection.
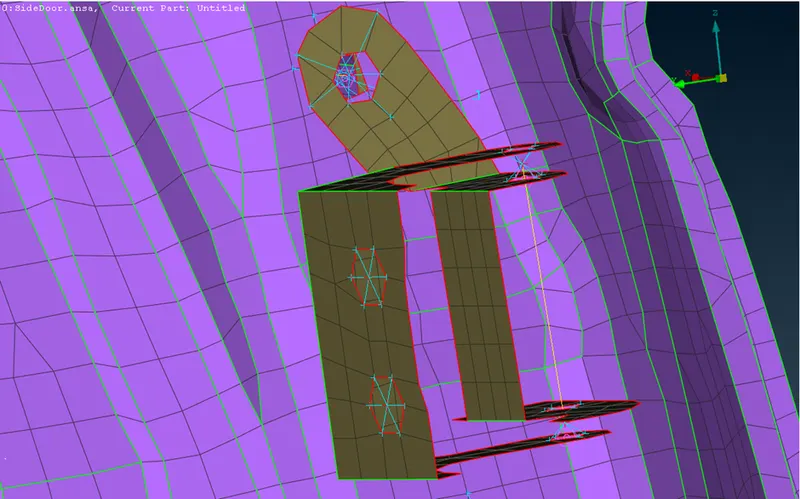
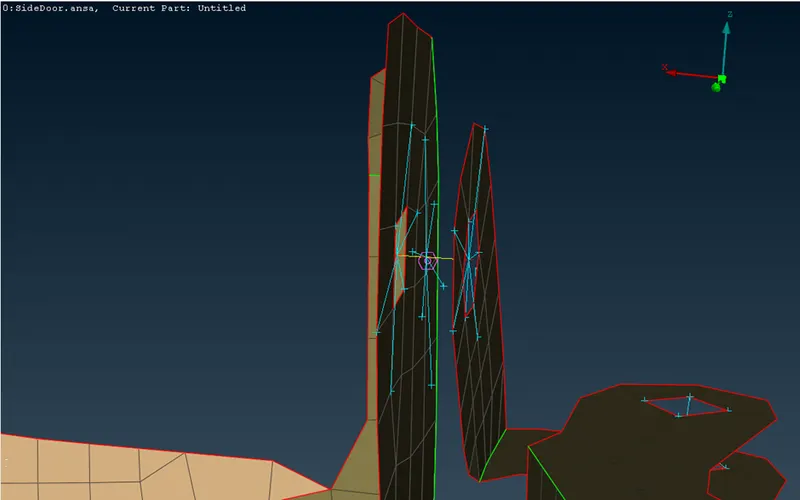
- Now Apply and realize the connection u can see the blow connection:
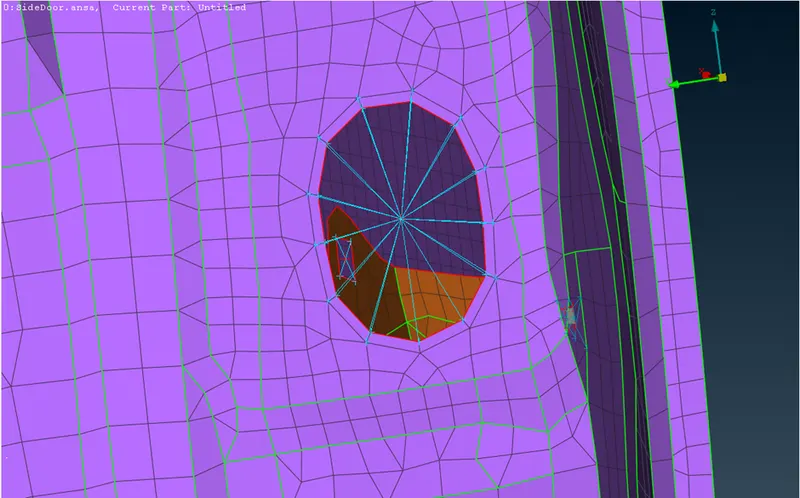
- For the rigid body connection:
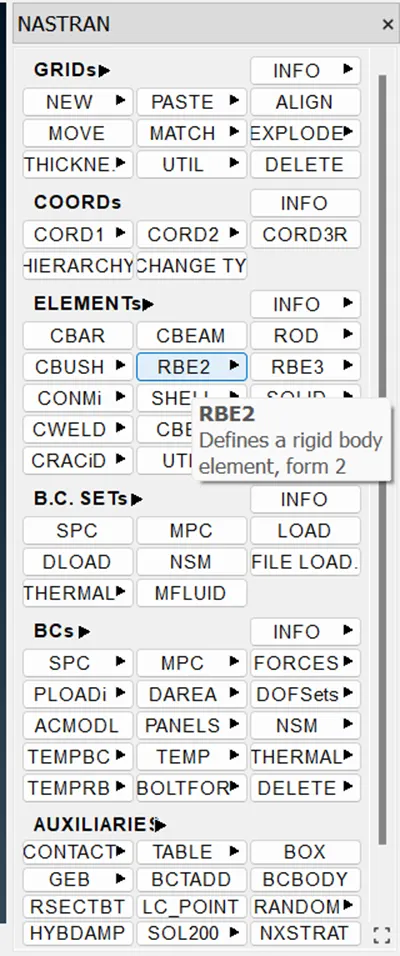
- We need to go to Nastran and select the RB2 many nodes option.
- Select the entities of the parts cut by using zone cut option.
- And middle click to deploy the connection of cluster.
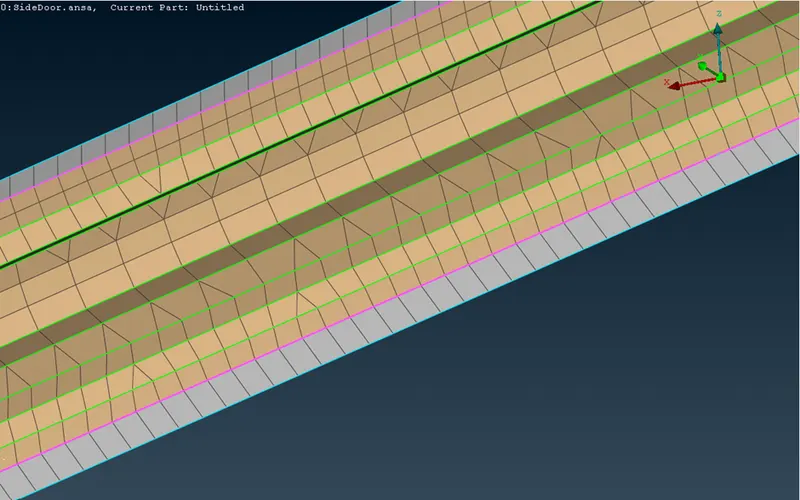
- For Seam weld connection:
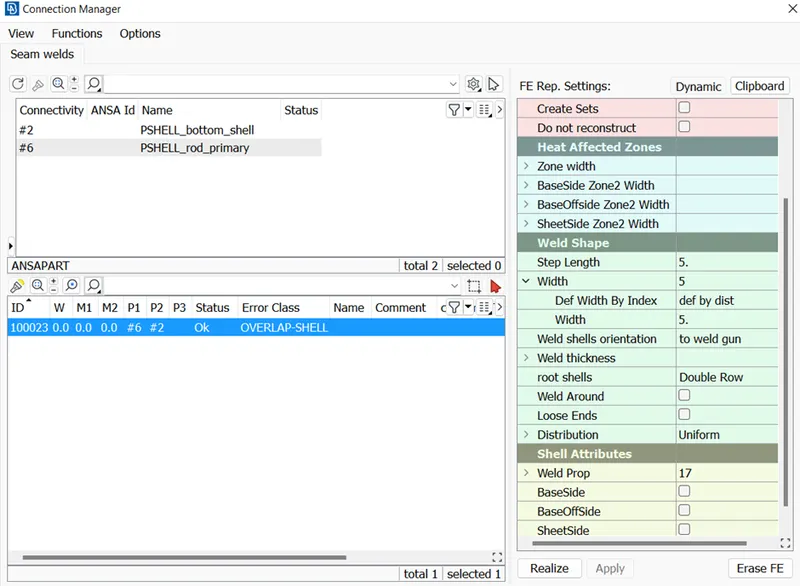
- Create a curve by choosing the option of cons to curve of manually make a curve measure the distance.
- Using convert option to convert the curve to Seam weld.
- After converting the curve choose the connection option and deploy Overlap shell connection by choosing the P1 and P2 setting the parameter and realize the connection.
- For Spot weld connection:
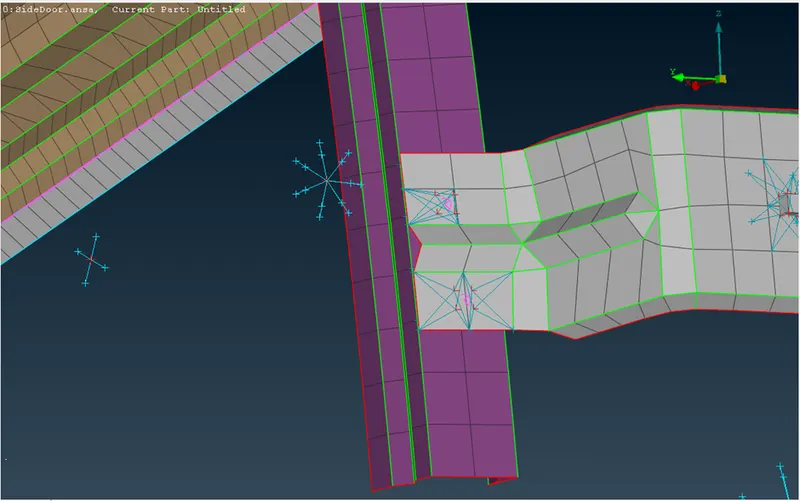
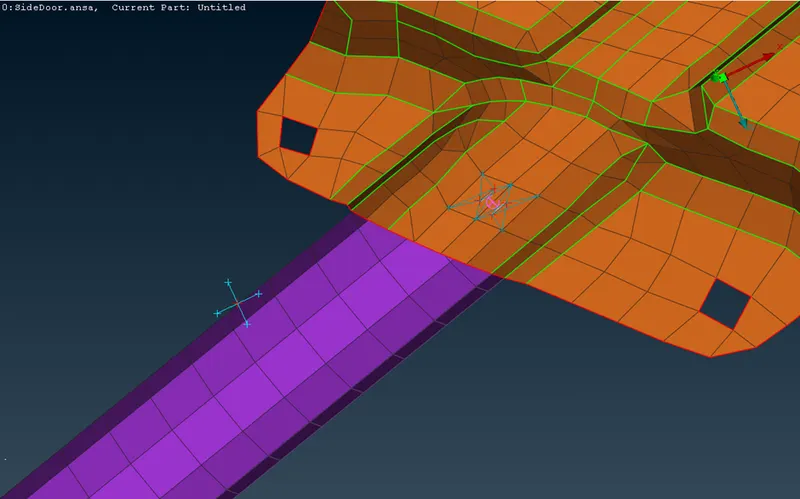
- Create a point on the nodes.
- Convert the 3D point to spot weld by convert option.
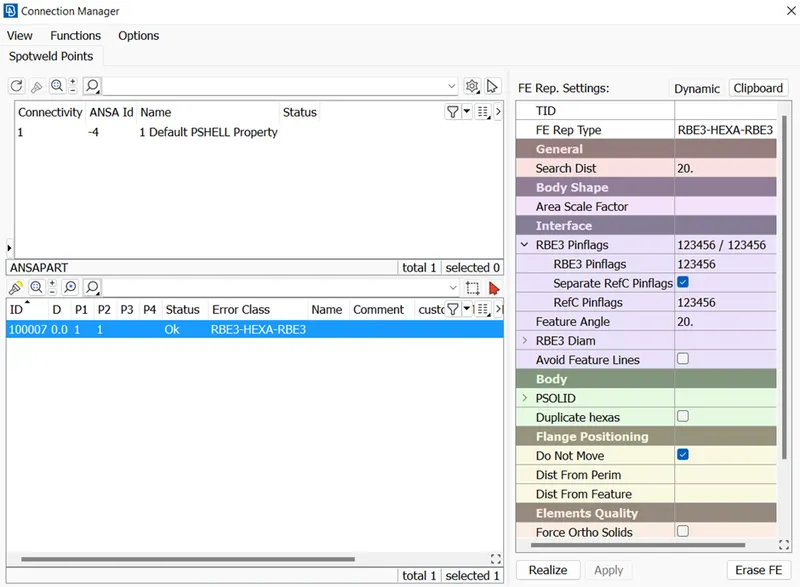
- Choose the connection option to give the connection of RB3 Hexa RB3 select the P1 and P2 set the parameter and distance set Pids for spot weld hit Realize to deploy the spot weld connection.
- For Glass we need CBush connection:
- To provide CBush connection we need to draw a curve around the glass and convert the curve to spot weld by using convert option.
- Now after converting the curve around the glass.
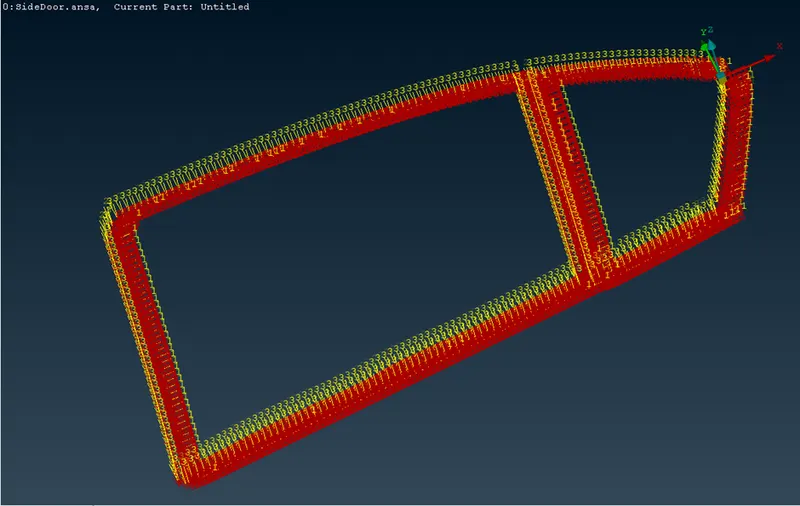
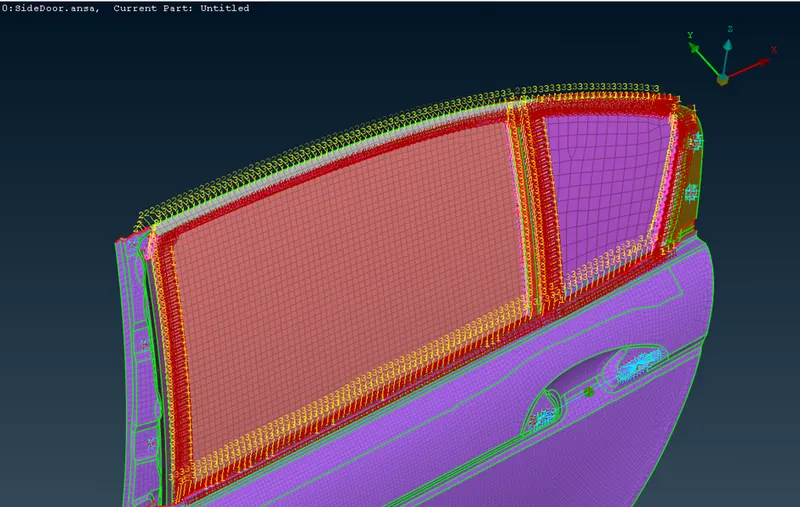
- Use the connection option again and this time give RB3 CBUSH RB3 connection from the option and give the P1 and P2 set the parameter appropriately and realize the connection of CBush.
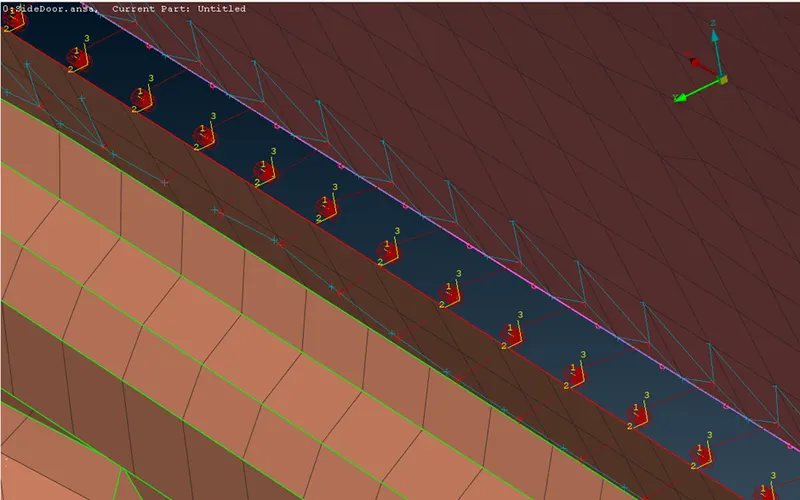
- You’ll get the below connection.
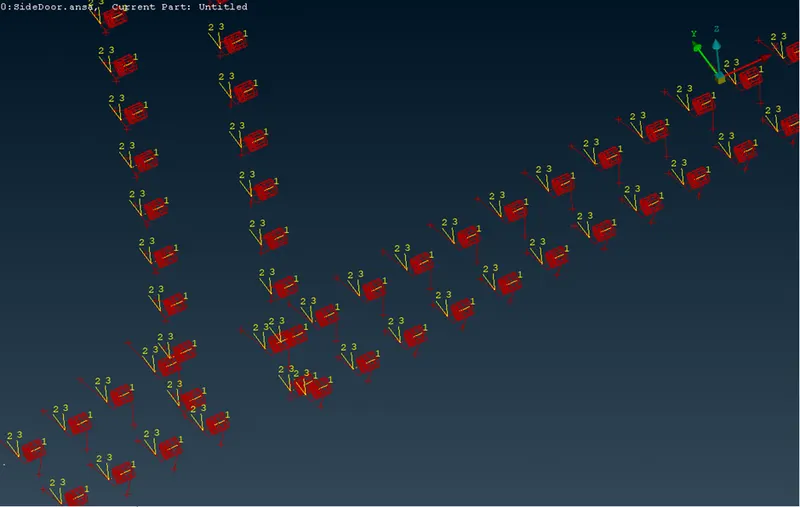
- But the CBush is not align properly the axis is hinged for every single CBush connection to avoid it we need to go to elements and select the CBush and enable the orient and CID.
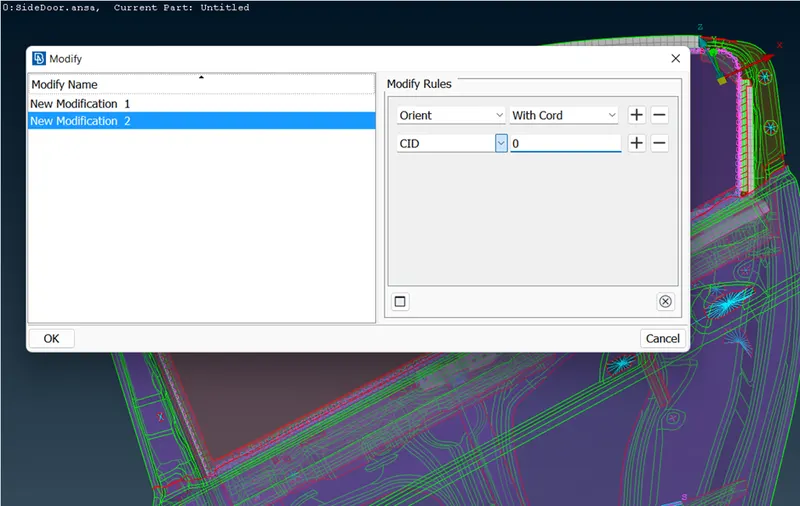
- By selecting all the CBush element and right click modify and window will appear where we can right click and create new coordinates.
- On side select the Orient and select the new Coordinates.
- Click the + option and select the CID and give coordinate point 0. Hit OK and Yes.
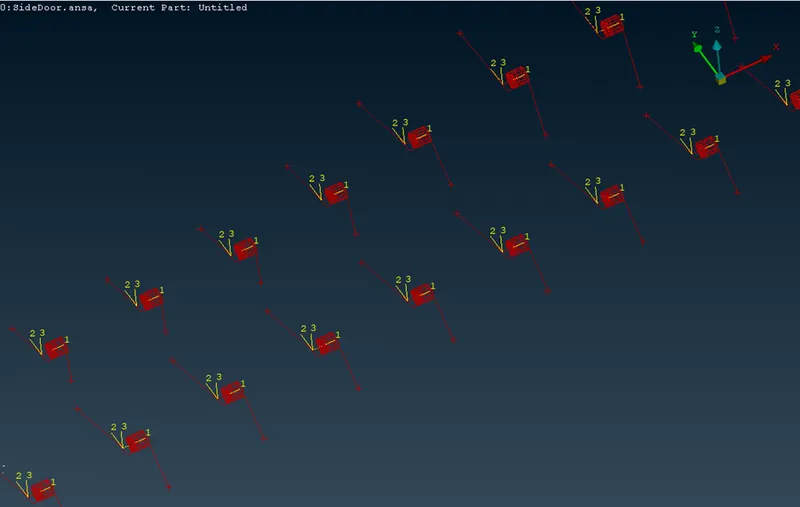
- The coordinate of every single CBush element is re organised to the parent ansa axis.
- As show in Beolow:
Learning Outcomes:
- It’s great experience doing the side door connection I learned about providing the different connections like Bolt connections, Spot weld connection, Seam weld connection, Cluster connection, CBush connection.
- How to set parameters for RB3 CBush RB3 , RB3 Hexa RB3, Overlap shell, Bolt etc.
Conclusion:
- We have given the different connection required to Rare door FE model.