Week 6 - Creating connection for Rear door
OBJECTIVE
For the given Rear door FE model, Create and Apply different PIDs for different components and Perform suitable connections.
PROCEDURE
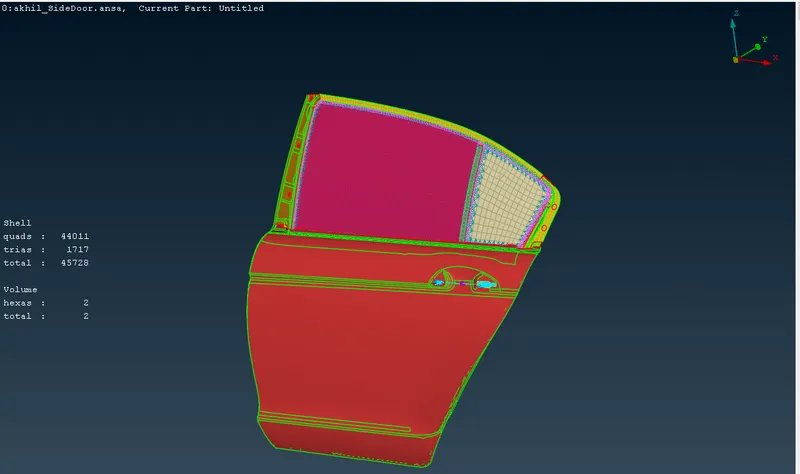
Step 1: Assign PIDs
- Seperate the parts using inot and not options.
- Go to topo- face- set PID. Create new PID and assign it to the part
Step 2 : Creating connections
- Identify the locations where bolts will come.Create a 3d point at the hole COG.
- Convert thie 3d point to bolt.
- Go to connection manager. Select the bolt.Assign P1, P2.
- Select bolt in the FE REP TYPE.Give search distance as 20.Assign PID. Then apply the connection.
- Identify the location of spot weld.Create a 3d COG pont in the mesh element.
- Convert the point into spot weld point.
- Go to connection Manager.Select spot weld point.Click middle mouse click.
- Assign P1 AND P2.Select RBE3-HEXA-RBE3 as FE rep.Give search distance as 20.
- Give RBE3 Pinflags as 123456.Apply the fe.
- Create cluster RB2 on side door outer body Create another RBE2 using 2 master nodes.
- Go to NASTAN- Elements- Conmass- CONM2.Select main master node and assign mass to it.
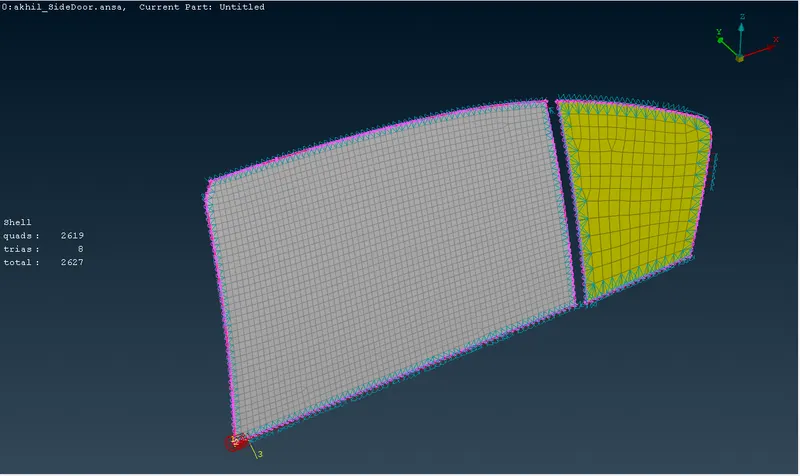
- Isolate the glasses.Go to mesh-perimeters-fetocurve option.Convert the outer perimeter of glass to 3d curve.
- Make a offset curve at 1 unit apart.Covert this curve to spot line.
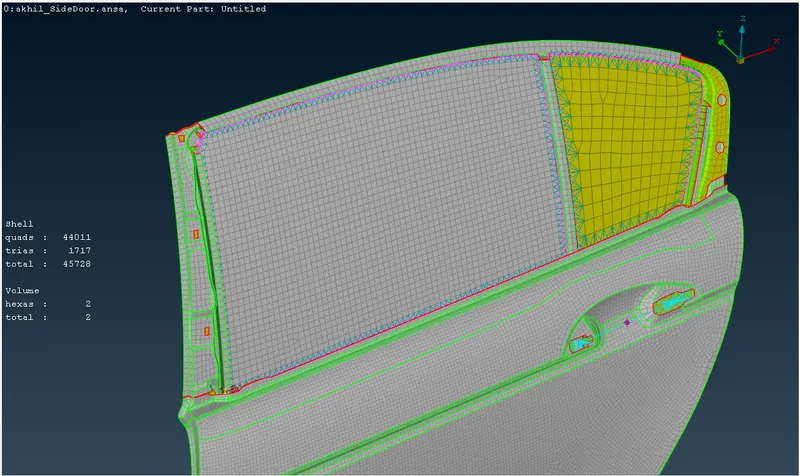
- Go to Connection manager.Assign S as 10, P1 and P2.
- Select RBE3-CBUSH-RBE3.give search distance as 60. Select keep all braches.Assign PID. apply connection.
LEARNING OUTCOMES
- Understood how to assign PIDs for various parts and make connections for bolt, spot weld and weather strips
RESULT
For the given Rear door FE model, Created and Applied different PIDs for different components and Performed suitable connections.
CONCLUSIONS
Connections makes the body rigid.