Week 6 - Creating connection for Rear door
Aim-
Create and Apply different PIDs for different components, Perform suitable connections to the given componnent.
Given Data-
Rear Door model
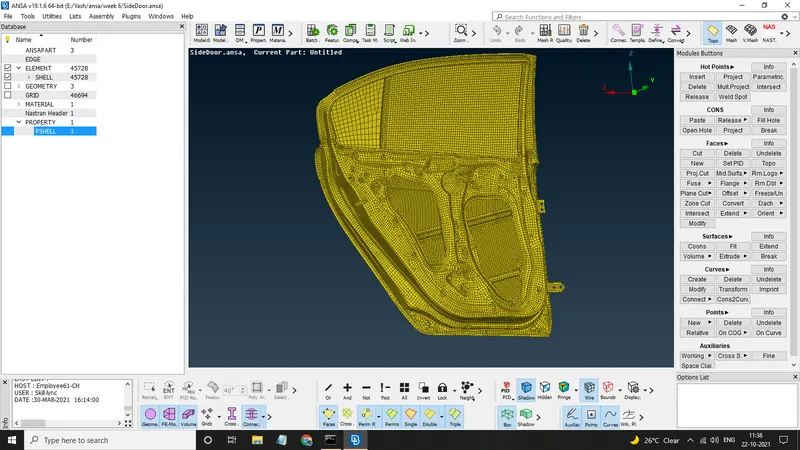
Procedure-
1. Setting PIDs to all components.
2. Checking Holes for Vasher Elements, if not present then creating one.
3. Providing all RBE2 connections.
4. Giving Seam Welds & Spot welds whereever necessary.
5. Providing weather strips and damping connection to the window.
1. Setting PIDs to all components
Components with diffrent thickness should be assigned diffrent PIDs, to do this we first need to select the components individually by the use of !NOT command and FEATURE AREA>>PID>>PID REGION
now use TOPO>>FACES>>SET PID to select the CAD and set the PID
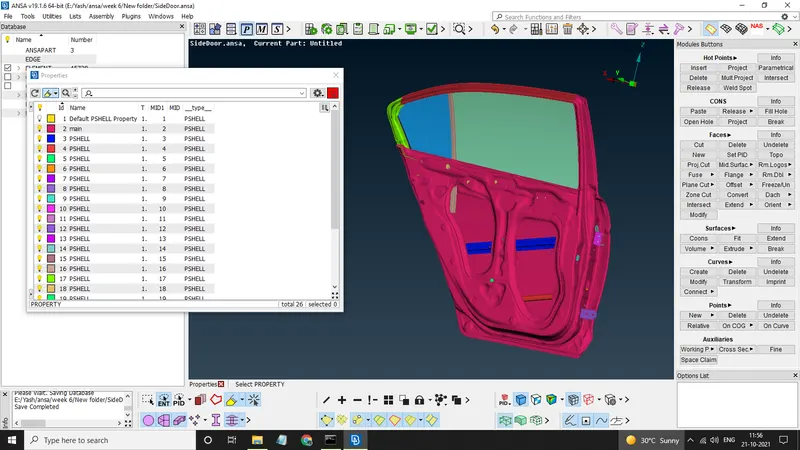
2. Checking Holes for Vasher Elements, if not present then creating one
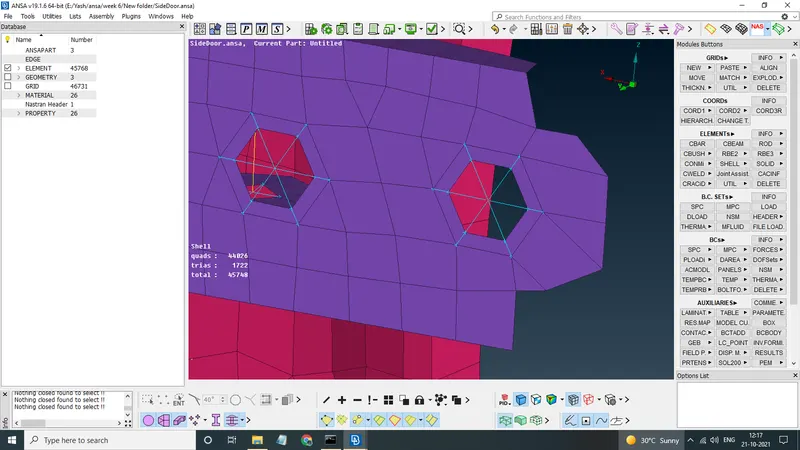
Now we check for holes that have more edges then 4, if the do then we use MESH MODULE>>SHELL MESH>>ZONE CUT
this will introduce a zone which will represent vasher element.
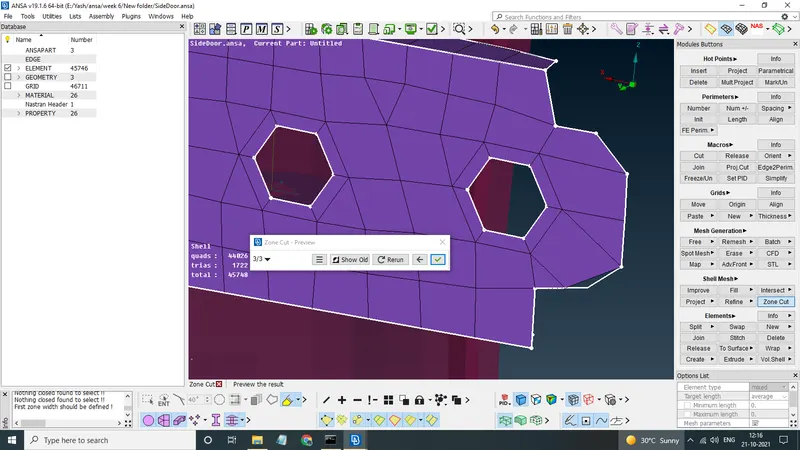
3. Providing all RBE2 connections
Now we introduce RBE2 for all bolted components, its a RIGID BODY ELEMENT.
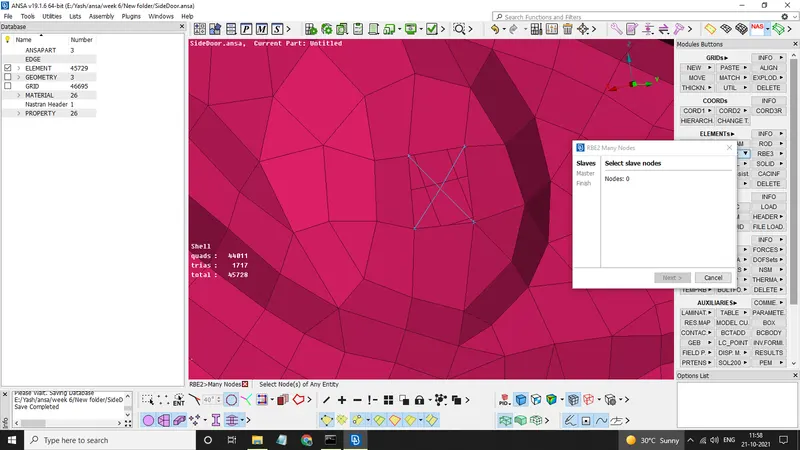
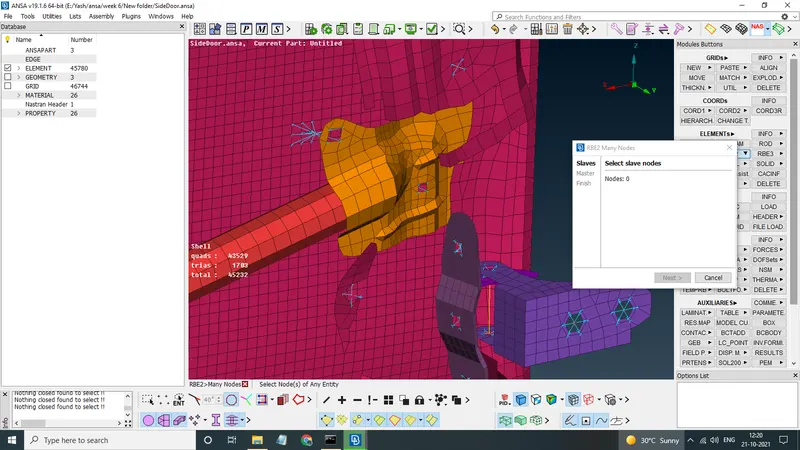
for vasher element holes the the nodes selected for RBE2 will also include the vasher nodes as shown below
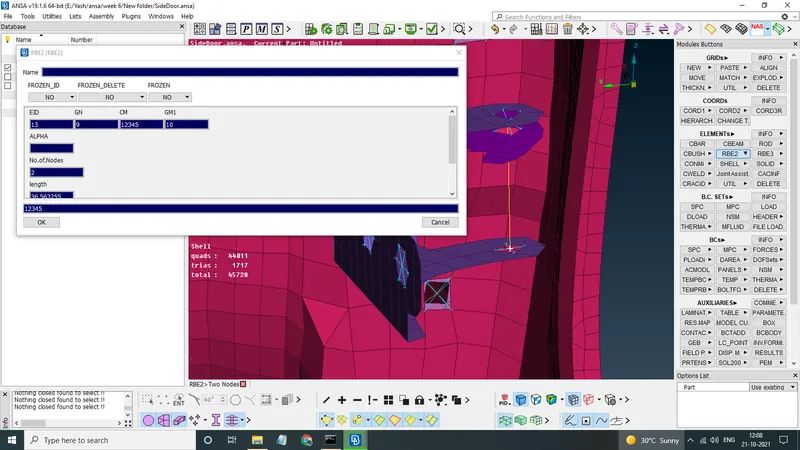
now at the hinges we use RBE2-MANY NODES for bolting hinges but to provide hinge we use RBE2-2 NODES, here we select the master nodes of 2 opposite RBE2 to connect, and in degree of freedom we alow this hinge to rotate about z-axis.
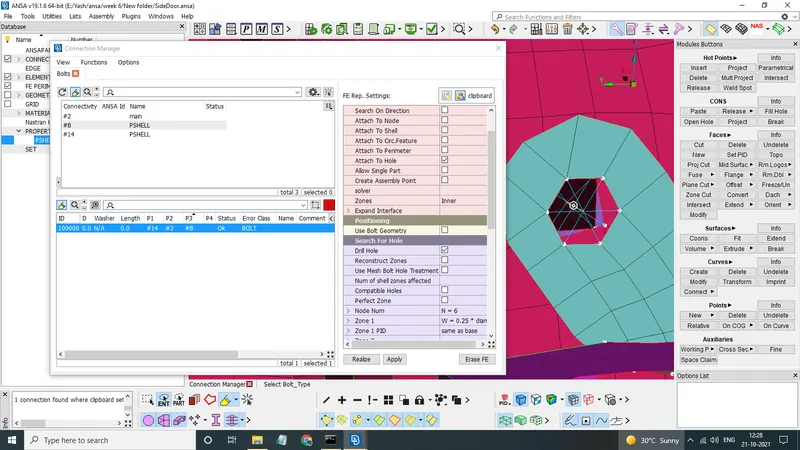
for joints that connect more then 2 surfaces we used bolt element by creating a point at Center of Gravity of any surface by TOPO>>POINTS>>ON COG, now we convert this point into a bolt element by ASSEMBLY>>CONVERT>>POINT>>BOLT , now go to CONNECTIONS, and select the bolt, here assign the parts by right click on P1,P2,P3 individually, press F1 now select the part we want as Part 1 then ENTER, do the same for P2 and P3, now go to FE REP SETTINGS , select BOLT.
4. Giving Seam Welds & Spot welds whereever necessary
now we start assigning seam and spot welds to places where no bolt connection is given.
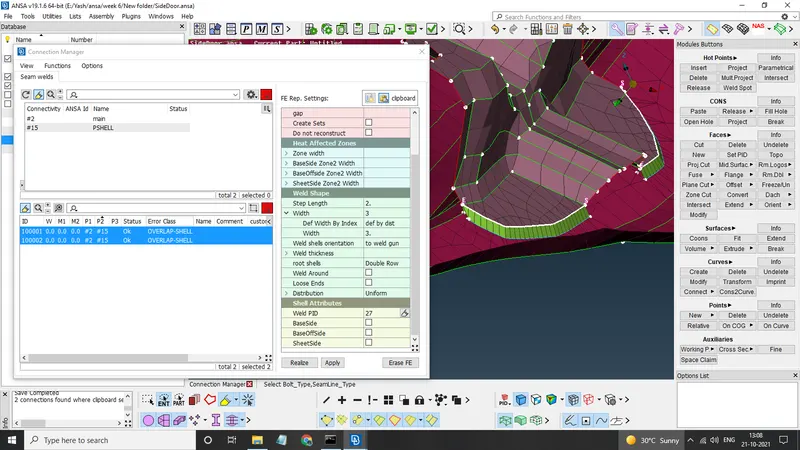
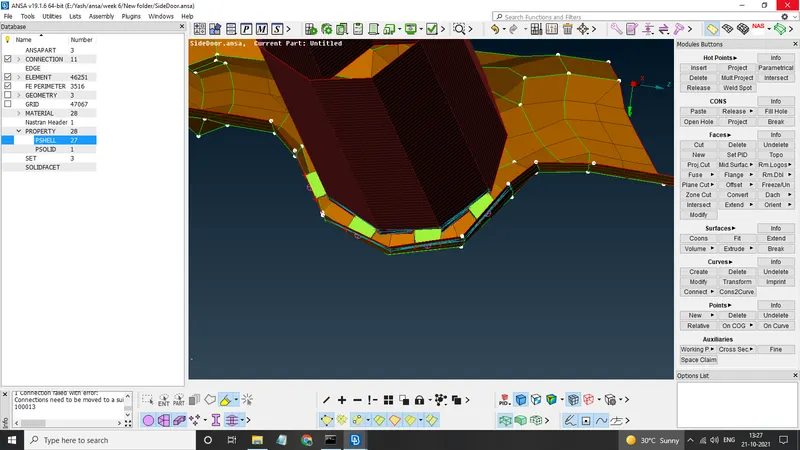
here we gave seam weld as the surfaces were parallel to each other, first we deploy a curve form TOPO>>CURVES>>CONS2CURVE, And select the edge were we want to create weld, now if the curve is not a single curve then use TOPO>>CURVES>>CONNECT>>MULTIPLE on it, now go to ASSEMBLY>>CONVERT>>CURVES>>SEAM LINES and select the curve, now use CONNECTIONS MODULE, here as usual give P1 and P2, in FE REP Settings select Overlap Shell, give search distance between Part1 and Part2, select the more rigid/strong part as base, give step length and width according to requirment, and give this weld a seperate PID by going to Weld PID and pressing Shift+?, here property window will pop up , assign a new weld pid here, and press ENTER.
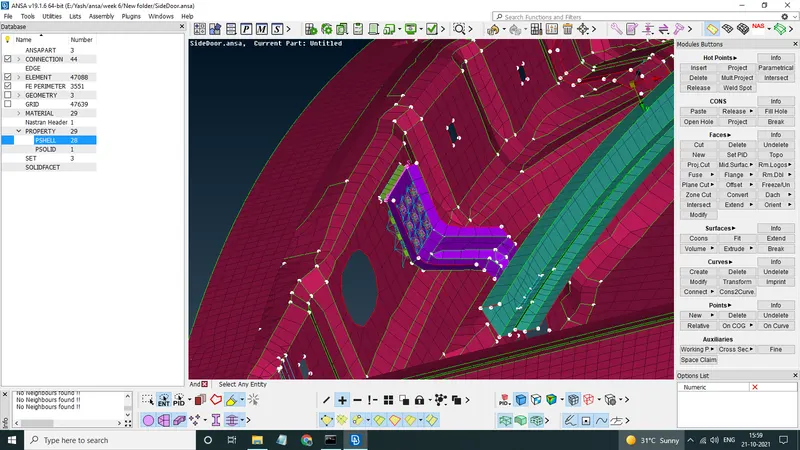
Some parts can't be joined together by seam weld so we give them spot weld, to do this we assign points on parts where we want spot weld by using ON COG, now we convert this point into weld spot by using convert on it, now using connections and changing FE REP Setting to RBE3-HEXA-RBE3, give this a new weld PID as a solid and we are done.
5. Providing weather strips and damping connection to the window
now to provide weather strip and damping connections we deploy curves on the edges of the glass by using CONS2CURVE, here at the base of main mirror we deploy another curve offet to the base curve, now converting those curve as a spot lines but select one curve at a time, now again going to Connnectons change Fe Rep Settings to RBE3-CBUSH-RBE3, select P1 and P2, give search distance , apply and realize.
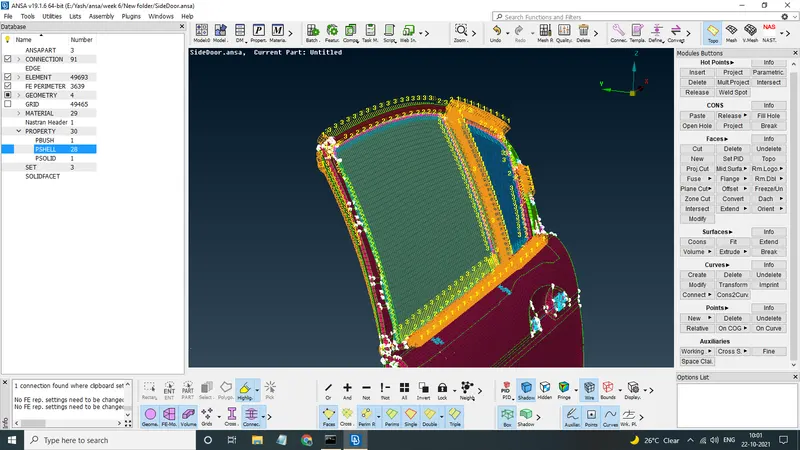
now if we go to DATABASE>>ELEMENTS>>CBUSH here we can see all the cbush elements, but if we open them we can see their orientation is diffrent so we have to change their orientation to global coordinate system, to do this first open filter and enable CID and Orient, now select all CBUSH and right click>>modify>>right click>>new here select orient and change the option to CID now click on + and select CID , enter 0 in the next box and OK.
Conclusion-
Were able to create connections like RBE2, bolts, spot welds, seam welds and window bushes using the NASTRAN Module