Week 6- Challenge
Objective
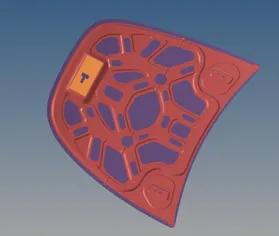
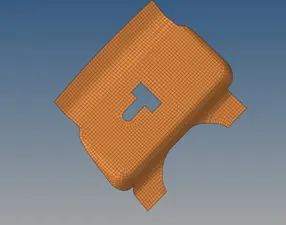
Follow the below-mentioned quality criteria, mesh the component given below and assign thickness:
Target Element Length = 5mm
|
S.N |
Quality Criteria |
Value |
|
1 |
Aspect Ratio |
5 |
|
2 |
Skewness |
45 |
|
3 |
Warping |
15 |
|
4 |
Taper |
0.5 |
|
5 |
Min. Length |
2mm |
|
6 |
Max. Length |
8mm |
|
7 |
Min angle Quad |
45 |
|
8 |
Max angle Quad |
135 |
|
9 |
Min angle Tria |
20 |
|
10 |
Max angle Tria |
120 |
|
10 |
Tria % |
10 |
Procedure
- To import the bracket, Click on the Import Geometry icon from the tool bar or from the file drop down list and browse the file and click import.
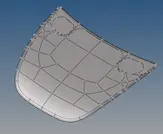
- There will be 5 compodents in the hood. We need to do quality check one by one.
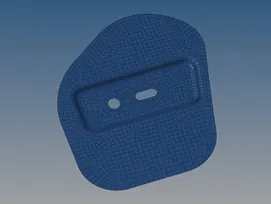
- First we can do for hinge_reinforcement_extract_body1.
- Select the component in the tree and make current
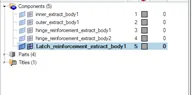
- Delete the solid surface of the of Latch Reinforcement. By using delete icon.
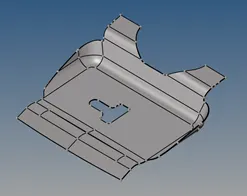
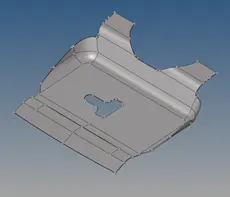
- To create mid surface of the bracket, Select GEOM radio button and select the tool Mid Surface. Select
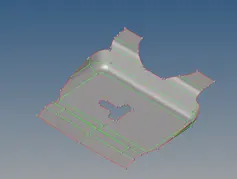
- After creating the mid surface do the clean up by using autocleanup or manual clean up using quick edit.
- After finishing the quick edit, give a wasger fillet of about 5mm in the hole. By using quick edit option.
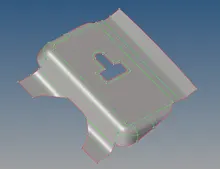
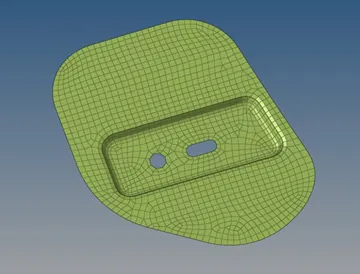
- Now mesh the component by using automeshh under 2d element, giving 5mm as mesh length, make sure to select the quid in the option

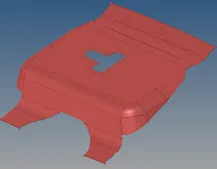
- Once the meshing is finished we need to do quality check. In the 2d elements tools there will be quality index option select the option
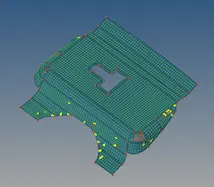
-
The yellow colour are failed components meanwhile red are worst components. We need to rectify them by using these tool.
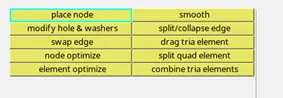
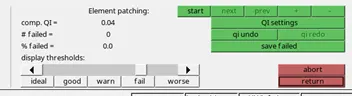
- After finishing the element check. We need to do another one. In the tool option select Check elements.

- Enter the table value and check for quality by selecting the icon. Make sure there will be zero error.
- Do the same for other two components.
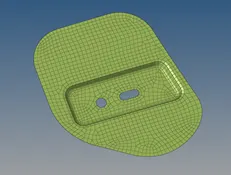
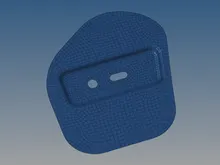
- We need to give thickness and property to the component. Right click on the comment tree and select create. Search for material and properties and assign them to the component.
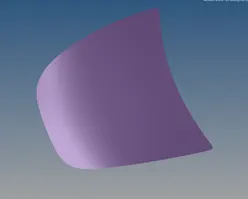
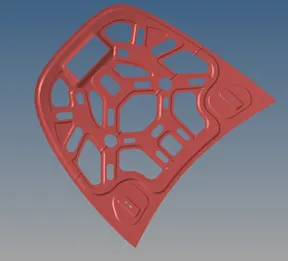
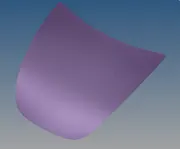
- Now open the hood and do mid surface.
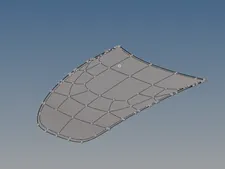
- Manually clean do clean up so that to avoid the error.
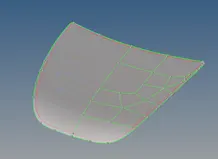
- Since it’s a bigger component do one side of the hood. And add lines equally.
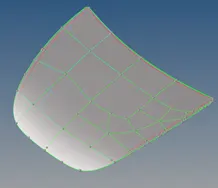
- Do automesh by single part.
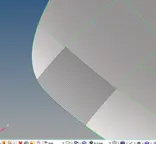
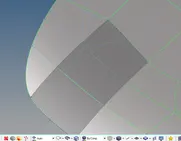
-
In this manner we need to go evenly to avoid Error. After finishing a single section do quality check and rectify the error.
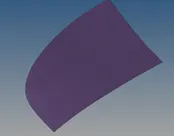
After finshing the single side of the meshing we can do reflect option since its identical component.
-
To mirror the surface, Select reflect option in Tool and select the element and select all select duplicate option to duplicate the elements and reflect them along y-axis.
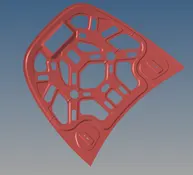
- Do the same for inner surface.
-
My cad Model