Week 6-3D Tetra Meshing Challenge
OBJECTIVE: Using hypermesh software, execute 3D tetramesh on the provided models in accordance with the provided Quality Criteria.
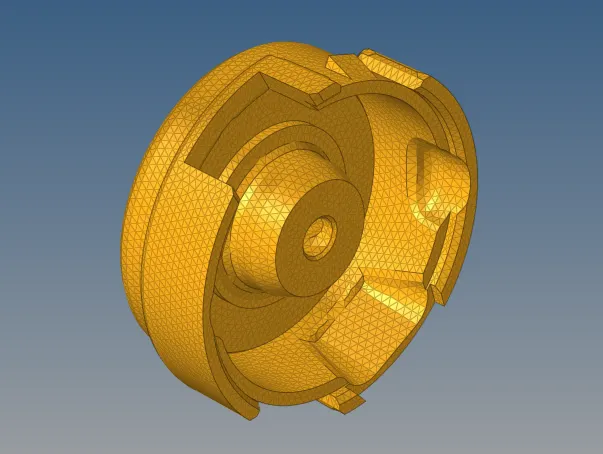
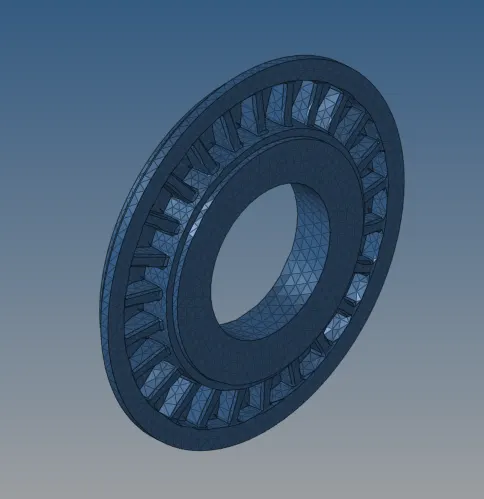
MODEL_1
ACTION:
- First, import the model into the Hypermesh program, then launch it by following the instructions: Navigate to Import Geometry and choose "step" as the file type. Next, choose the file and select the import option. The software opens the model.
- Check the model to see whether there are any solids within once it has been opened. In the event that the component contains any solids, they must be removed. To do that, navigate to Delete>solids, pick the component, and then press the delete button.
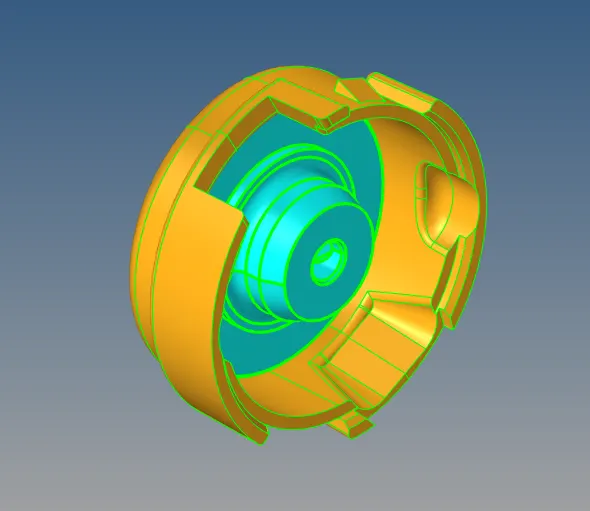
- Navigate to the Surf Fillets option under Geometry>defeature. Type in the minimum and maximum radius while choosing every surface. Next, select the "Find" option and eliminate every fillet that is included in the model.
- Navigate to the Geometry> autocleanup menu, pick the model, and then click the middle mouse button. Geometric errors in the model are automatically eliminated by the autocleanup option.
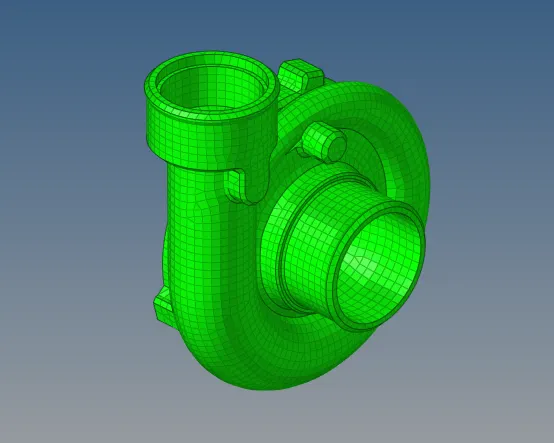
- Proceed to mesh the component at this point. The steps listed below will be used to complete the meshing in this case: Select 2D>automesh and input 5 units as the specified element size. Next, pick each surface and select "trias" as the mesh type. Next, click the mesh option to start the meshing process.
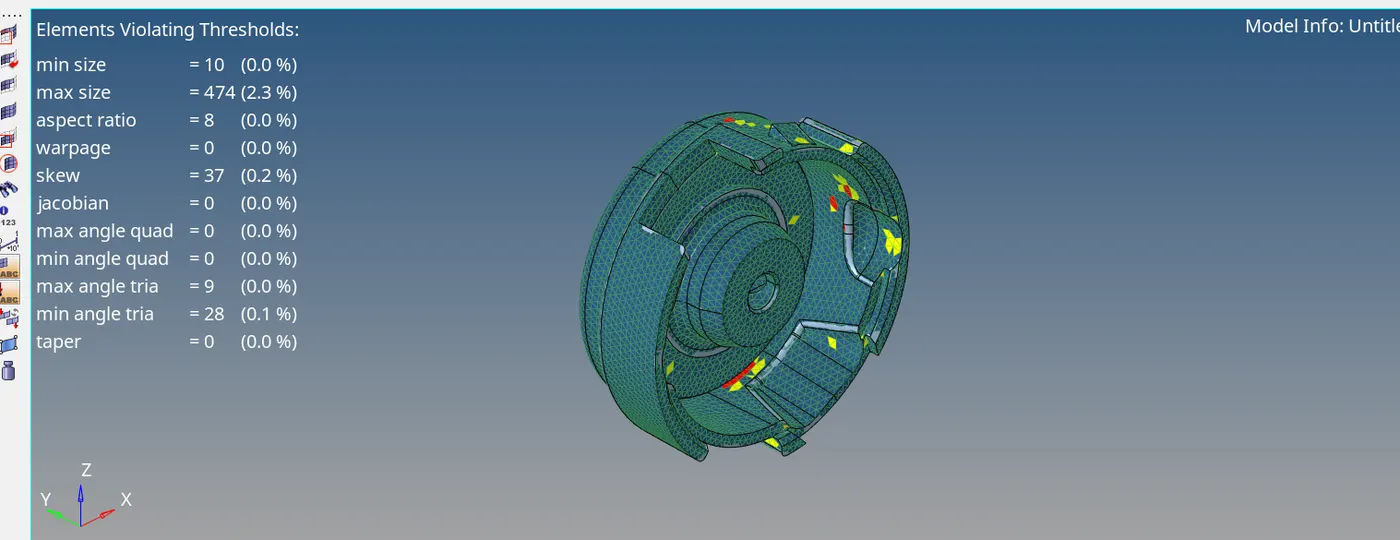
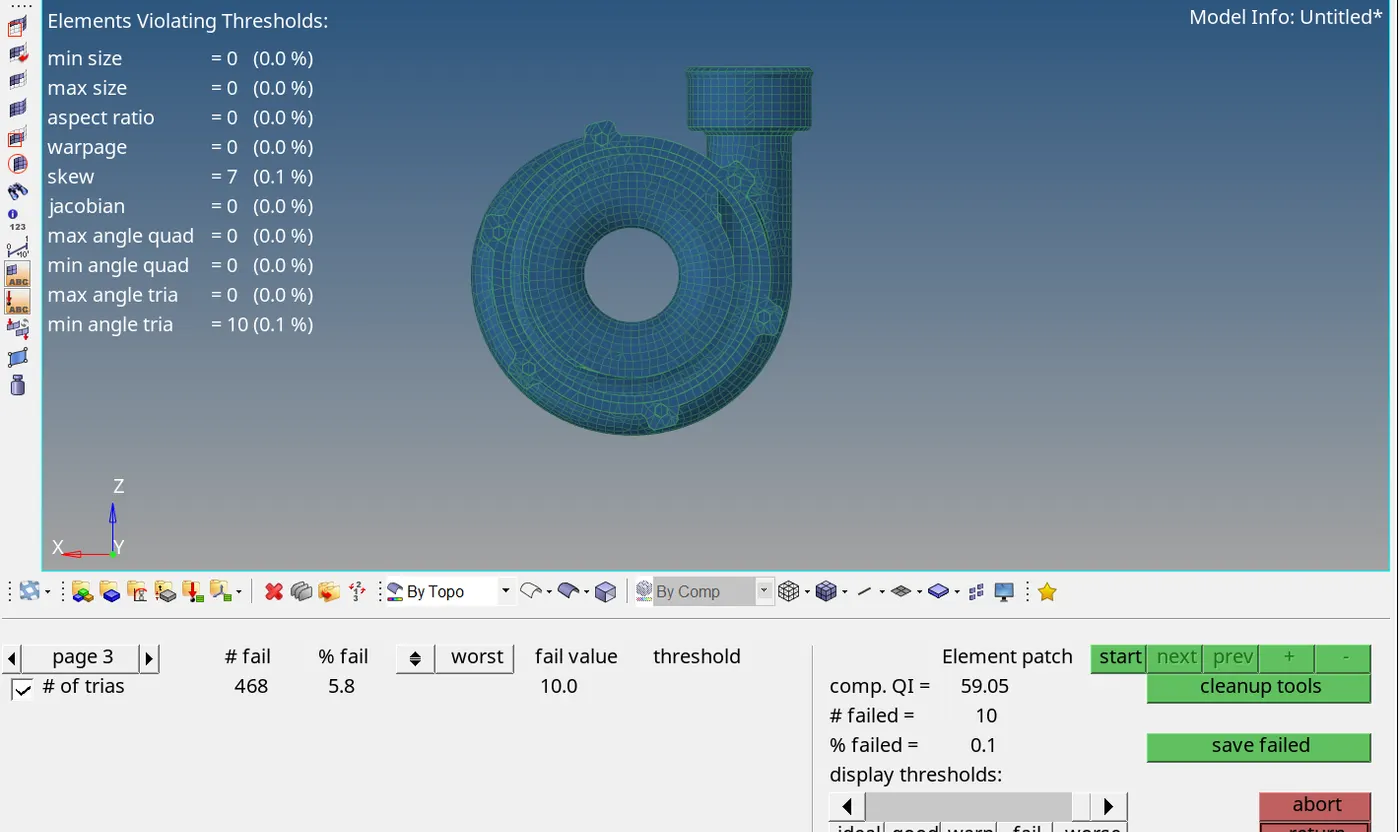
- Once the mesh has been built for the component, go to Tools>check elems>settings>Criteria editor, add the provided quality criteria, and then click "Apply." This will set the maximum and minimum element sizes to 2 and 7 units, respectively. Refine the mesh using the cleanup tools option found in the quality index section if any elements don't meet the required standards.
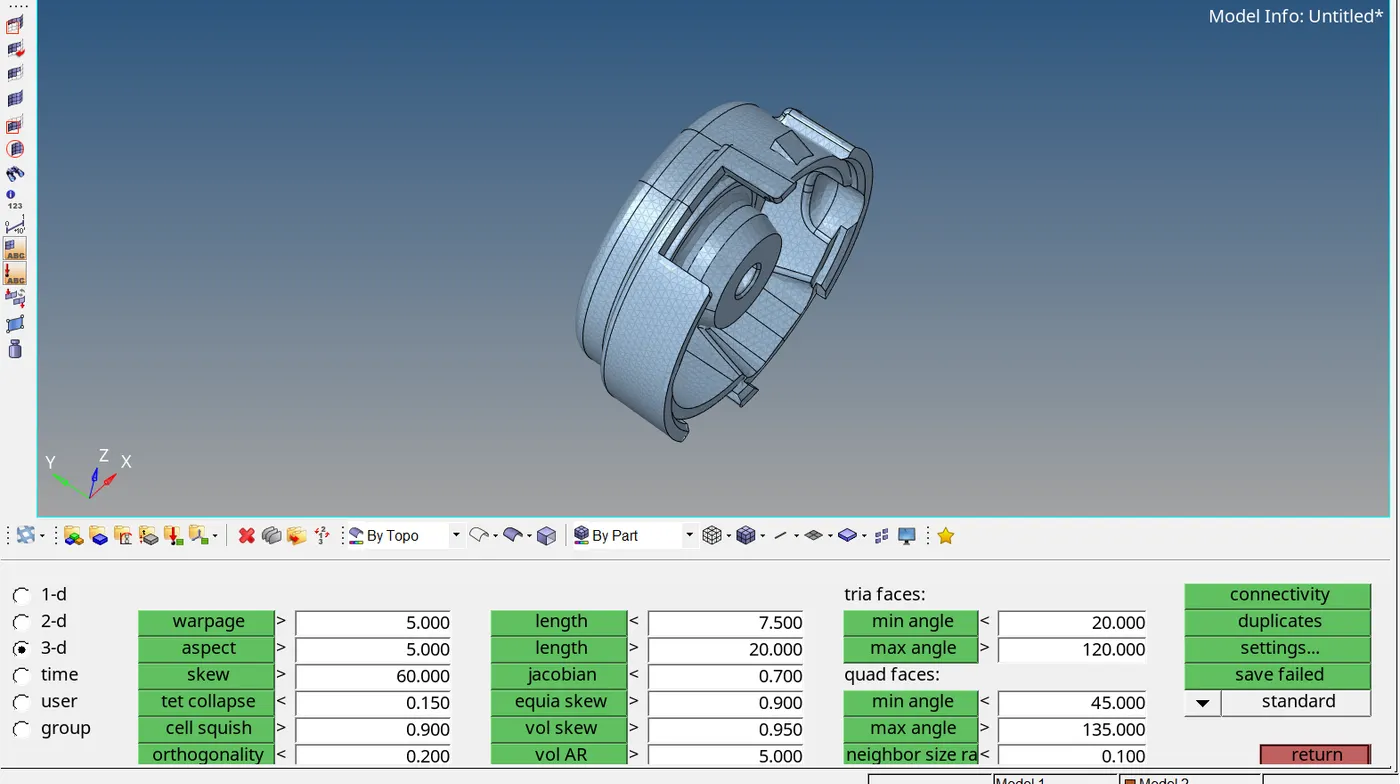
- Proceed with 3D tetrameshing now: To do so, navigate to 3D> Tetramesh, choose the model, and then click Mesh.
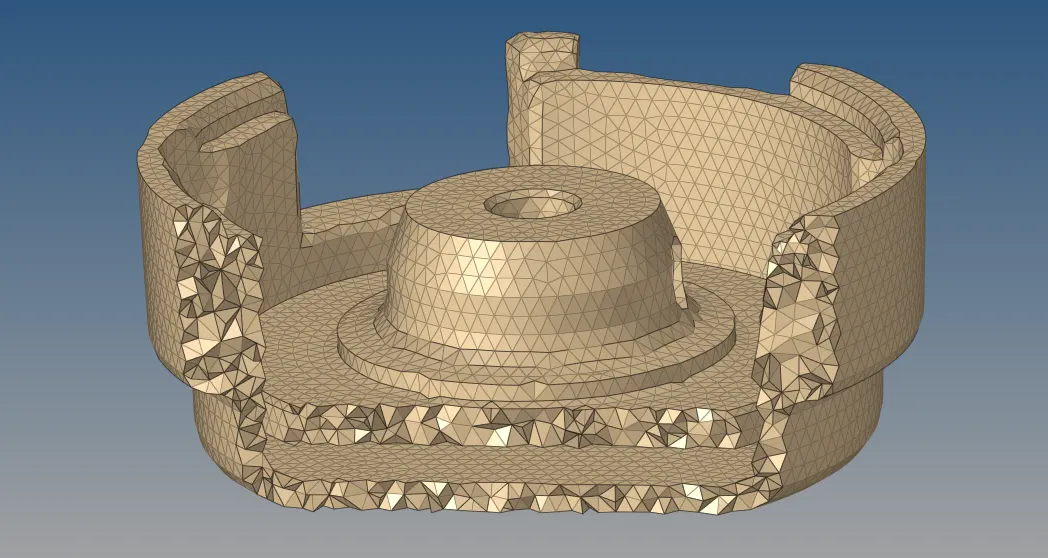
Verify the model for tet collapse once the meshing process is complete. To do so, select Tool>check elems>3-d>tet collapse, then input the number. Meshwork is completed within the necessary bounds if no elements fail to meet the criterion.
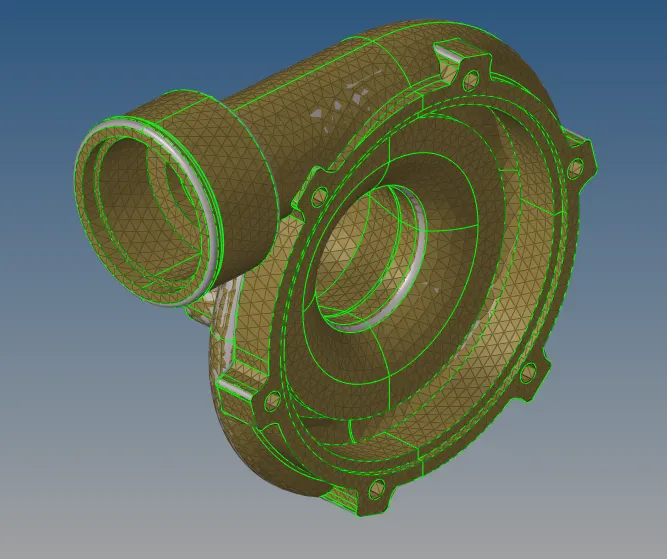
MODEL_2
- Use the Hypermesh program to import the model.
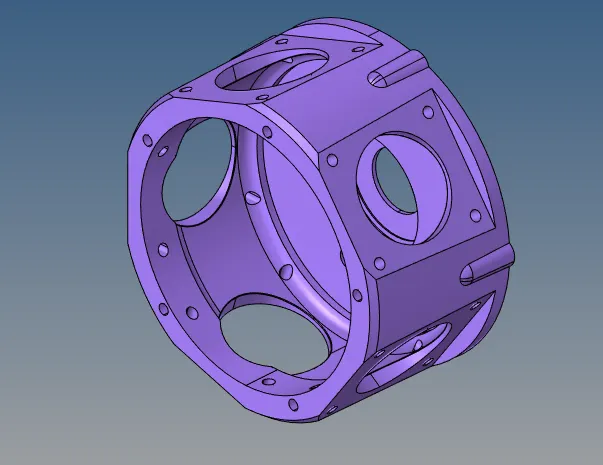
- Check the model to see whether there are any solids within once it has been opened. In the event that the component contains any solids, they must be removed. To do that, navigate to Delete>solids, pick the component, and then press the delete button.
- Navigate to the Surf Fillets option under Geometry>defeature. Type in the minimum and maximum radius while choosing every surface. Next, select the "Find" option and eliminate every fillet that is included in the model.
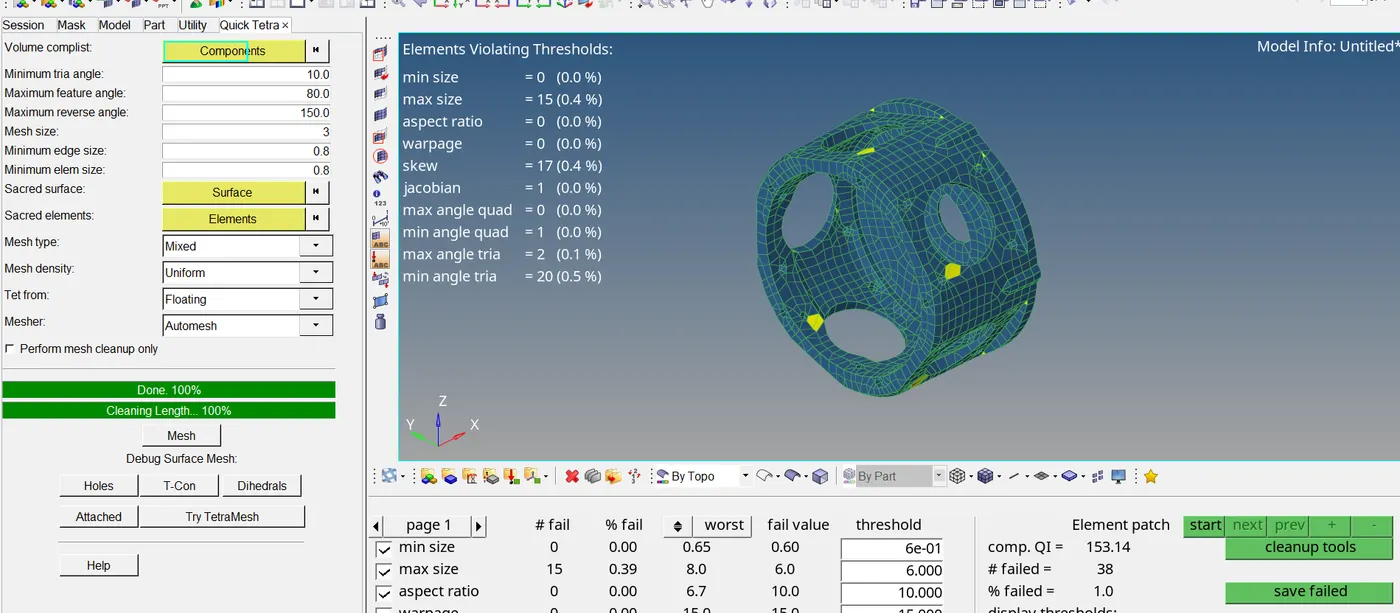
- Navigate to the Geometry> autocleanup menu, pick the model, and then click the middle mouse button. Geometric errors in the model are automatically eliminated by the autocleanup option.
- Proceed to mesh the component at this point. Here, the Fast Tetramesh option is used. Click Geom/Mesh>Quick tetramesh under View>Browsers>Hypermesh>utility to accomplish it.
- Next, a fresh window opens. After choosing the component and entering the mesh settings, select the "Mesh" option.
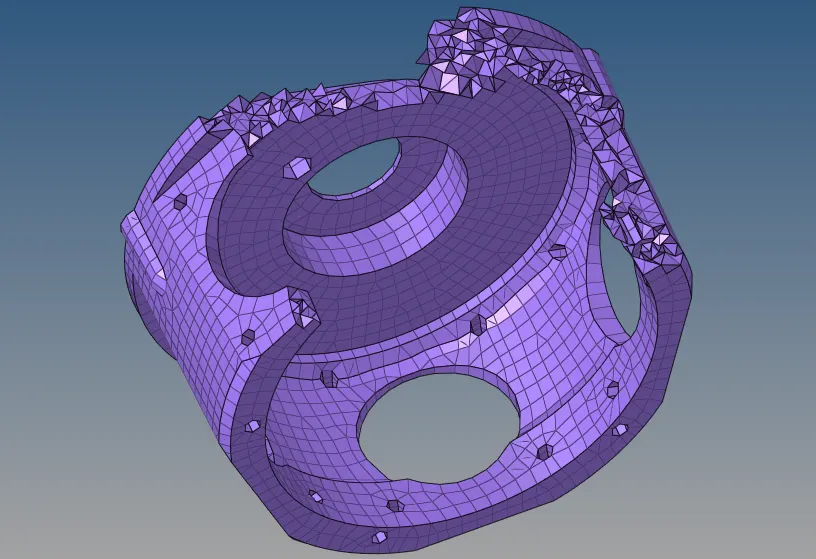
- A new component known as "Quick_Tets" will form after tetrameshing is finished. Depending on the needs, we can relocate this component back to the original component.
- Verify the model for tet collapse once the meshing process is complete. To do so, select Tool>check elems>3-d>tet collapse, then input the number. Meshwork is completed within the necessary bounds if no elements fail to meet the criterion.
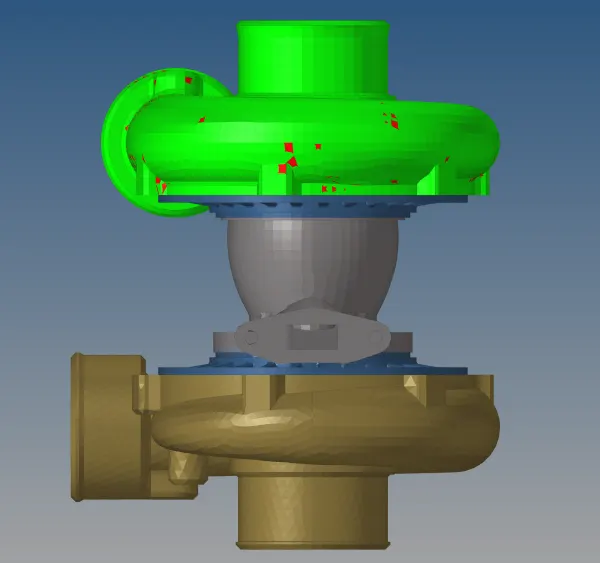
MODEL_3
- First, open the Hypermesh program and import the model.
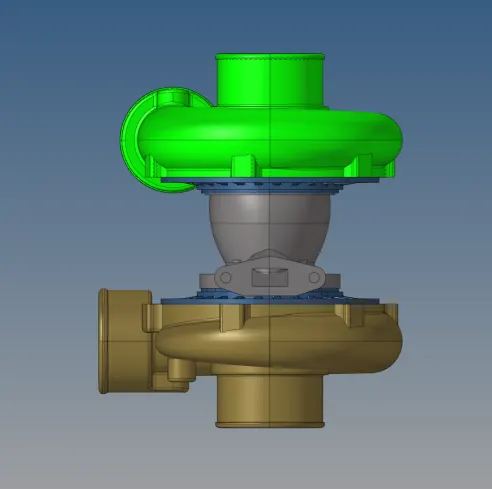
- There are five distinct components in this model. For various components, we employ volume tetramesh and fast tetramesh.
- We next go on to meshing the component after defeaturing and autocleanup.
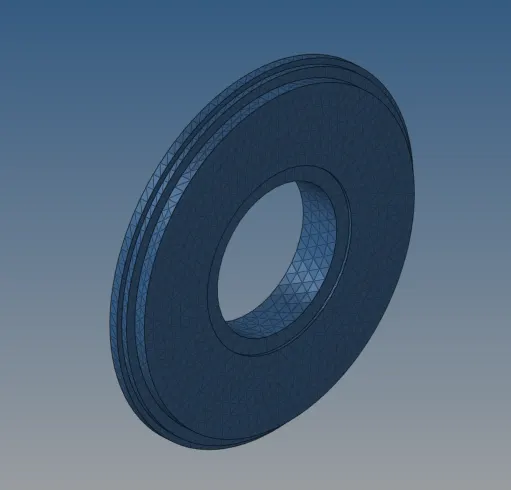
- 2D meshing is not required for rapid tetrameshing and volume tetrameshing. To access the volume tetramesh, navigate to 3D>tetramesh>Volume tetra and choose the 2D type as "trias," the 3D type as "tetras," and the component as contained volume. then choose Mesh and input 4 units for the element size. The component will undergo volume meshing.
- Check the component for "tet collapse" after meshing.
- Save the pieces that don't work for the tet collapse. Next, select Mask > Elements > Retrieve, click on the mask, and then select Reverse. This will just display the failed items. Then, manually adjust the spacing between nodes to fix them. The model is ready per the criteria after all fail components have been manually corrected.
RESULTS OF LEARNING:
1) Taking on this assignment allows you to employ various software tools.
2) Discover how to create tetrameshes utilizing the process of 2D to 3D conversion.
3) Acquire the skills necessary to create tetrameshes utilizing the Volume and Quick tetramesh techniques.
4) Acquire the knowledge of manually resolving the failed elements for tet collapse.
COMCLUSION: Following the appropriate procedures, the models are meshes in accordance with the specified quality standards.
Links:
Model_1: https://drive.google.com/file/d/1CBM9QdRiJq5UVRRBUQ1fLi1ogSMdNiij/view?usp=drive_link
Model_2: https://drive.google.com/file/d/1TJpZBkPEMJ6VJYnXumwlXwtbElY1GpDN/view?usp=drive_link
Model_3: https://drive.google.com/file/d/1J4AfFIkyg174HXhnFNPECiR2DjEDokJu/view?usp=drive_link