Week 5 Challenge : Surface wrap on Automotive Assembly
Aim / Objective: - To perform Topo Cleanup of the Automotive assembly which includes the Engine, Gearbox, and the Transmission; and thereafter perform successful Surface wrap on the assembly.
Procedure: -
Step 1 - To Import the Engine CAD file in ANSA
- For importing the CAD Geometry go to file and click open.
- go to the directory where the cad file is present.
- select the geometry file with the .ansa extension and click open.
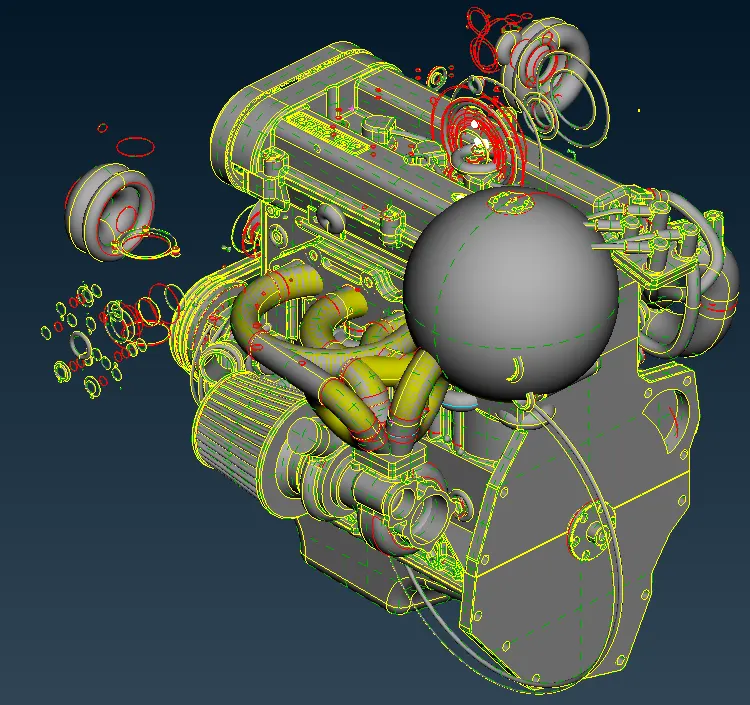
Step 2 - Topo Cleanup of the Engine model.
- In the surface wrap we are not interested in the errors which are inside the geometry but we are only concerned with the errors on the outer side.
- since, surface wrap is created only on the outer structure i.e it captures the outer shape of the geometry; we have to perform the topo clean up.
- we will delete all the extra geometries such as the rings/donuts, overlapped surfaces, belts, and also fix any single cons or triple cons as well as missing surfaces.
- We have deleted most of the extra geometry from the outer surface.
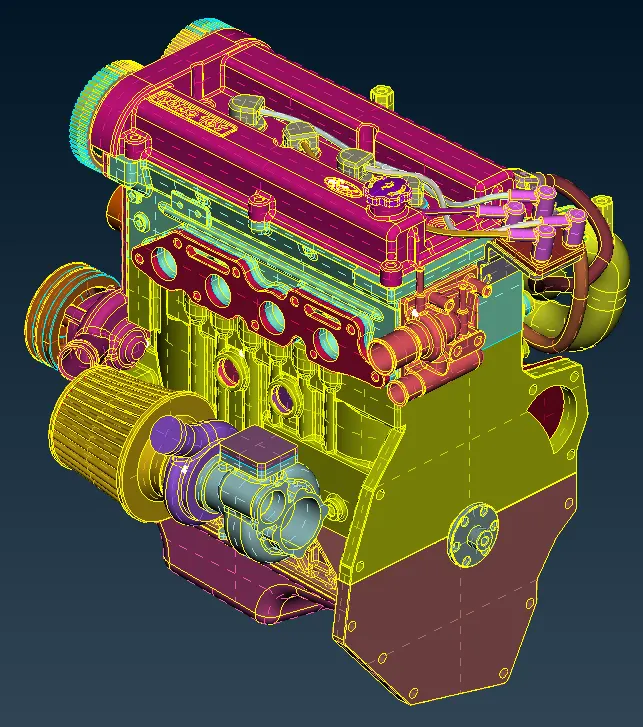
- we have switched to PID viewing mode since it helps to segregate elements.
- now we will close the holes in this geometry, as the surface wrap captures the outer elements we don't want it to capture the inner elements too.
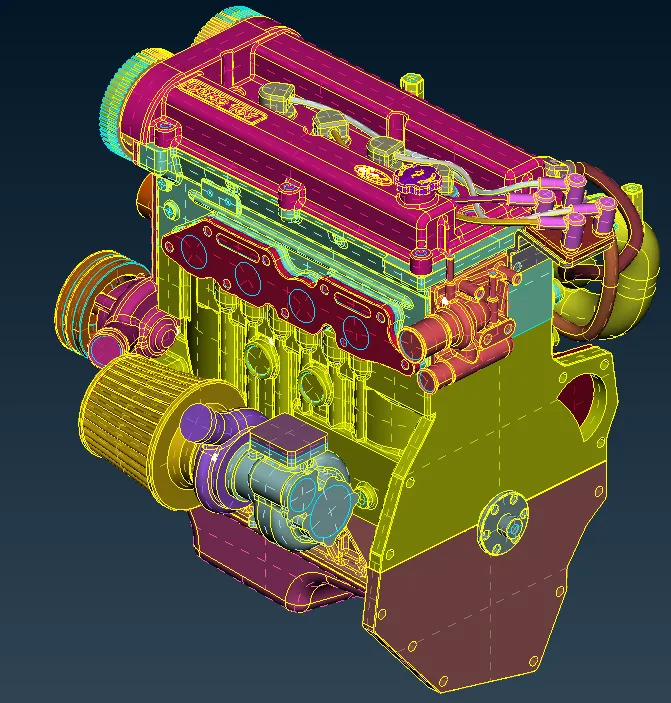
- using the fitted option we have closed most of the holes.
- now if we go to PID manager, we will see that there are lots of PID which have been deleted but are still visible in the PID manager.
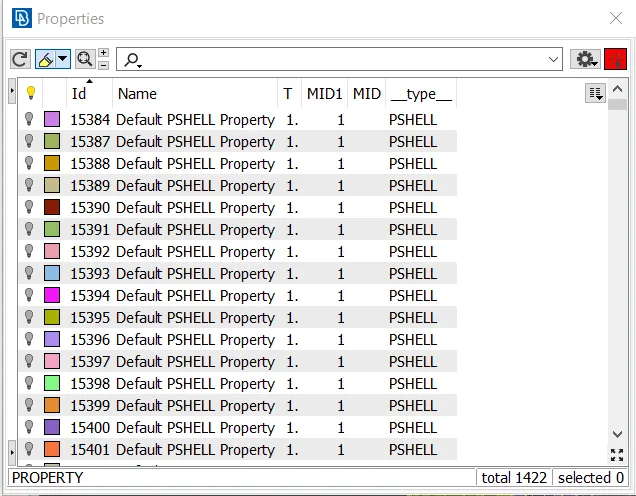
- we will delete this using the compress option.
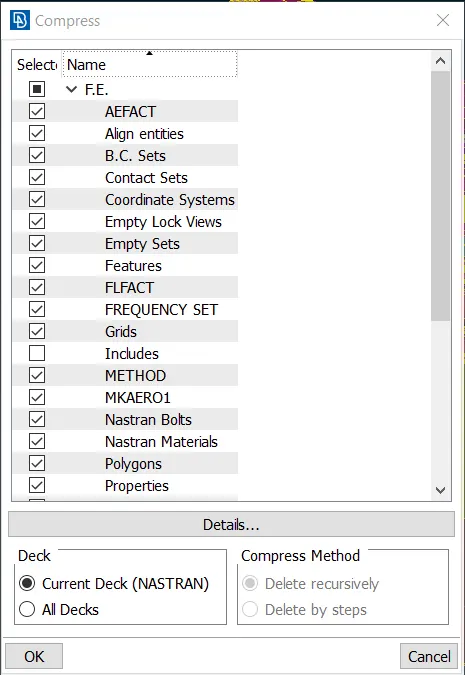
- After clicking on OK, all the unwanted PIDs will be deleted.
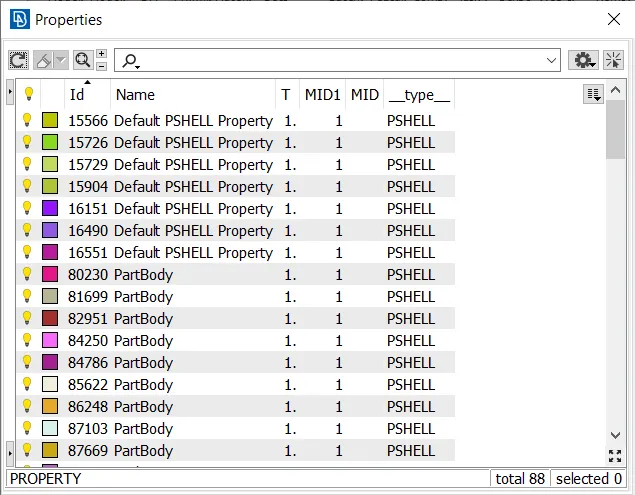
- Now we will save and close this geometry.
Step 3 - To Import the GearBox CAD file in ANSA
- For importing the CAD Geometry go to file and click open.
- go to the directory where the cad file is present.
- select the geometry file with the .ansa extension and click open.
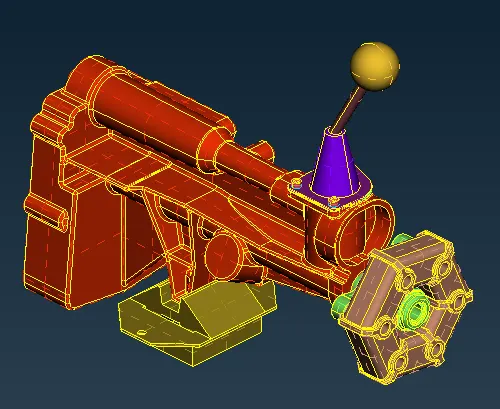
Step 4 - Topo Cleanup of the Engine model.
- We will delete any unwanted features or surfaces from this model.
- There are not many errors in this geometry.
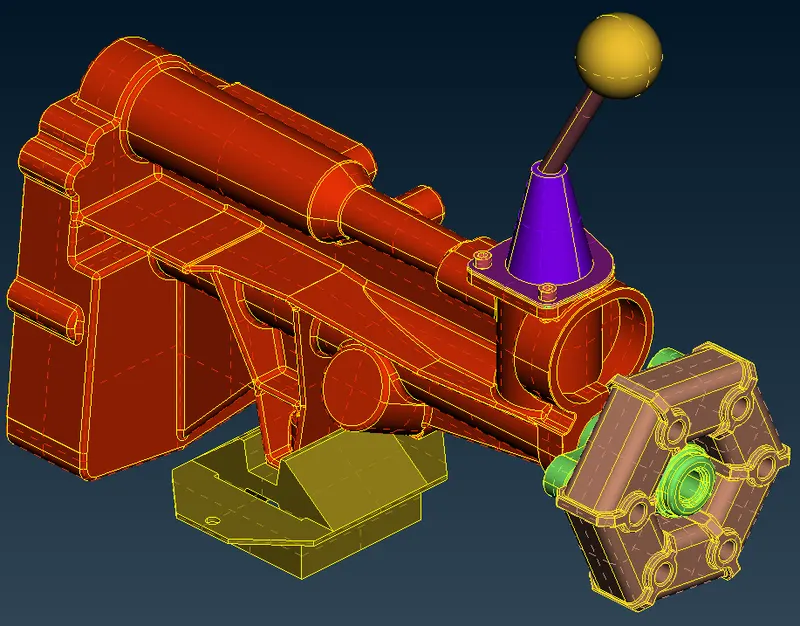
- Now we will patch all the holes using the fitted option.
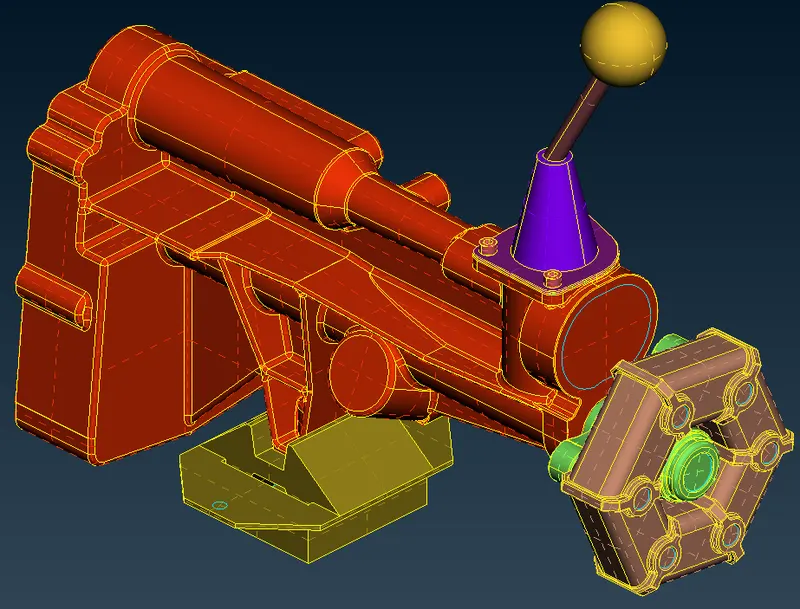
- we have patch the holes for this geometry.
- now we will save and close this geometry.
Step 5 - To Import the Transmission CAD file in ANSA.
- For importing the CAD Geometry go to file and click open.
- go to the directory where the cad file is present.
- select the geometry file with the .ansa extension and click open.
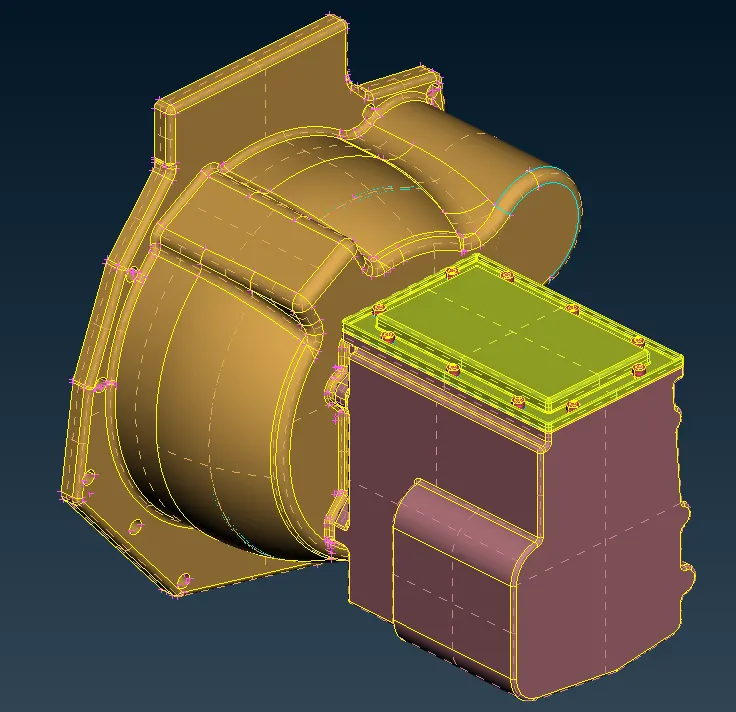
Step 6 - Topo Cleanup of the Transmission model.
- We will solve all the errors in these geometries.
- There were light errors which are solved now.
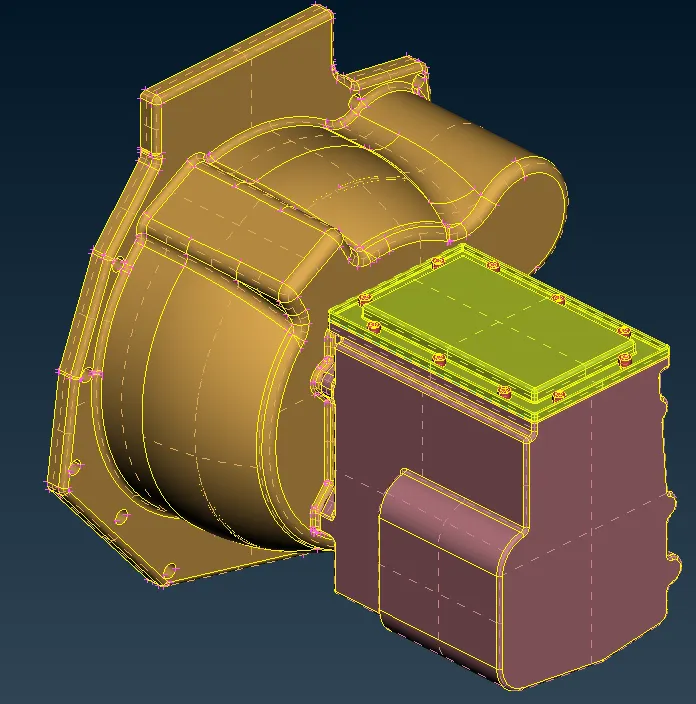
- We will patch all the holes in this geometry so that while the surface wrap captures only the outer surfaces.
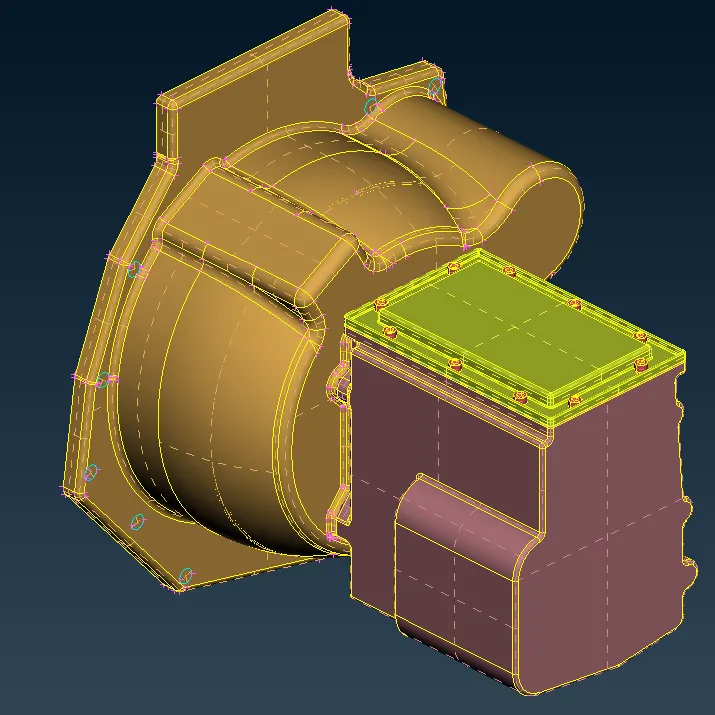
- we have patched all the necessary holes.
- now open the PID manager.
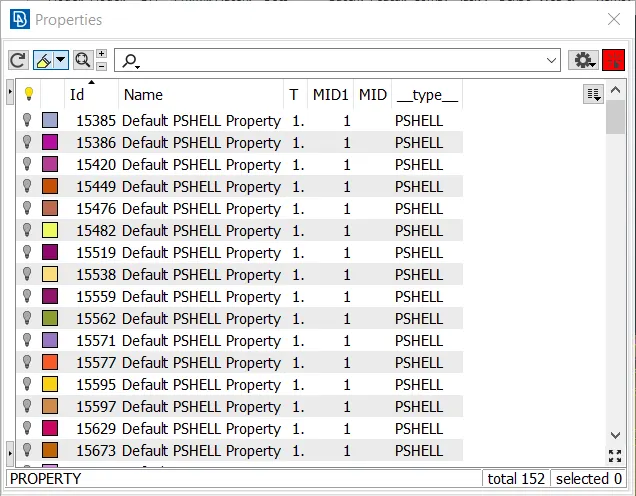
- we can see that there are still the PIDs of the deleted elements present.
- to delete this we will use the compress option.
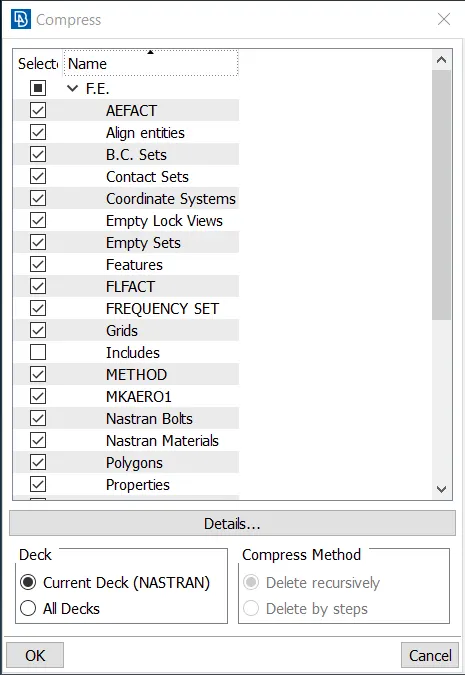
- click on okay to execute the command.
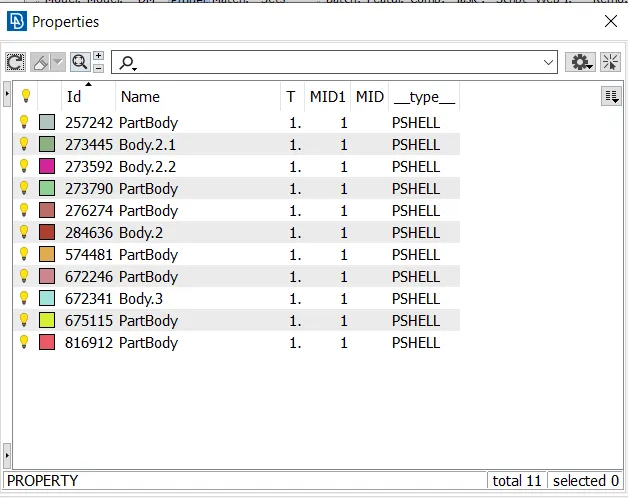
- now all the unwanted PIDs are deleted.
Step 7 - Merge all the models.
- We have to perform surface wrap on the whole assembly of the engine, gearbox, and transmission.
- So, we have to add the remaining components i.e. the engine and gearbox to the current geometry.
- To do so we will use the merge option.
- click on the file menu and select the merge option.
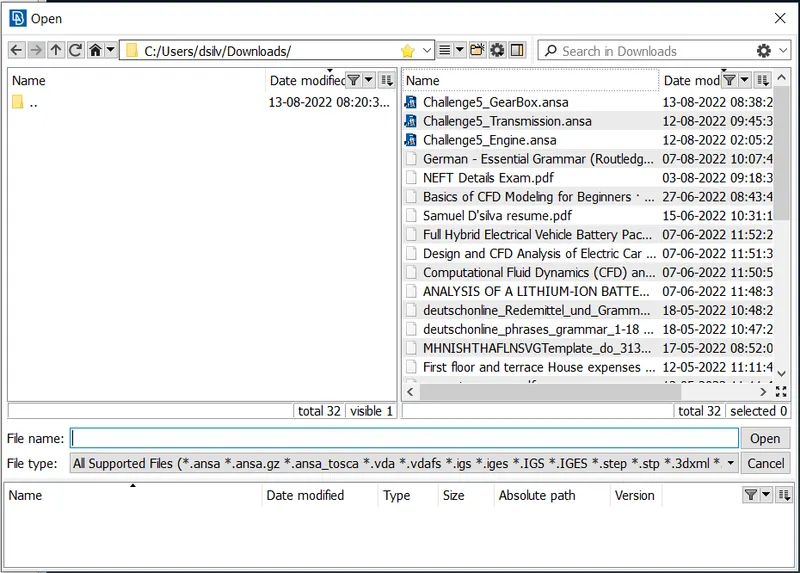
- a window pop out, in that select the remaining two geometries that are engine and the gearbox

- After clicking on open a window will pop up,
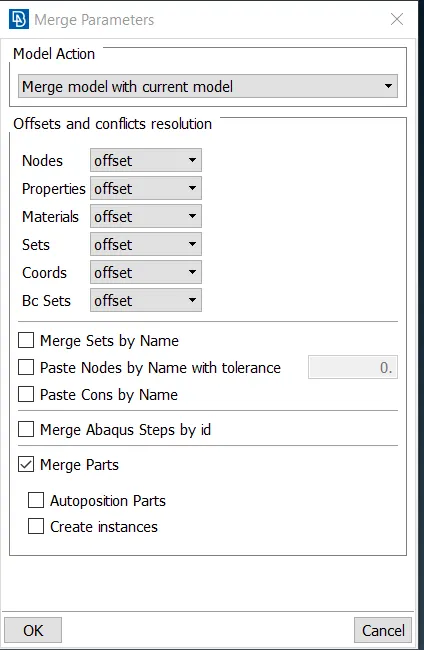
- select the model action as "Merge model with the current model" and also enable merge Parts.
- After clicking on OK, the software loads the components.
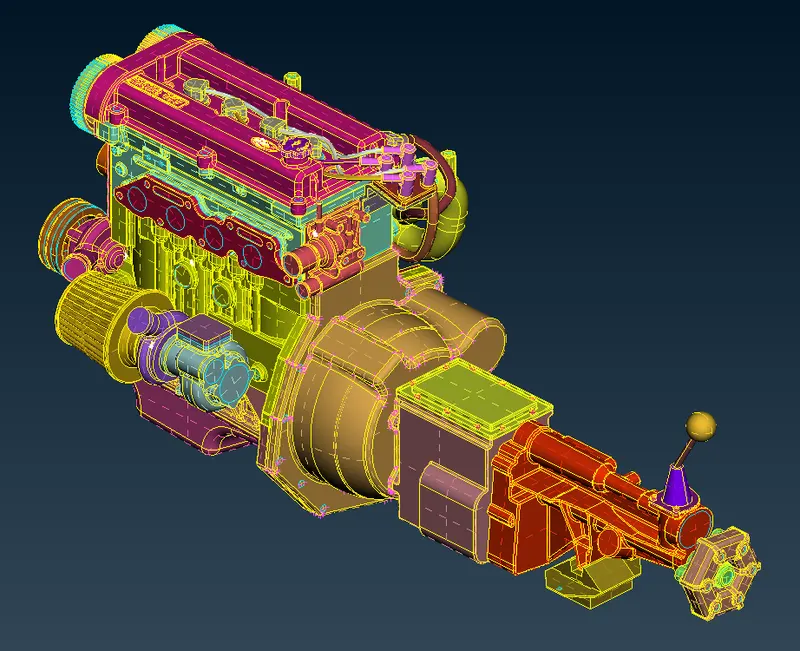
- Now we are done with the merging operation.
Step 7 - Creating the Surface wrap
- Now that we have done all the prerequisite for the surface warp, we will start with surface warp.
- We will switch to the mesh deck from the topo deck.
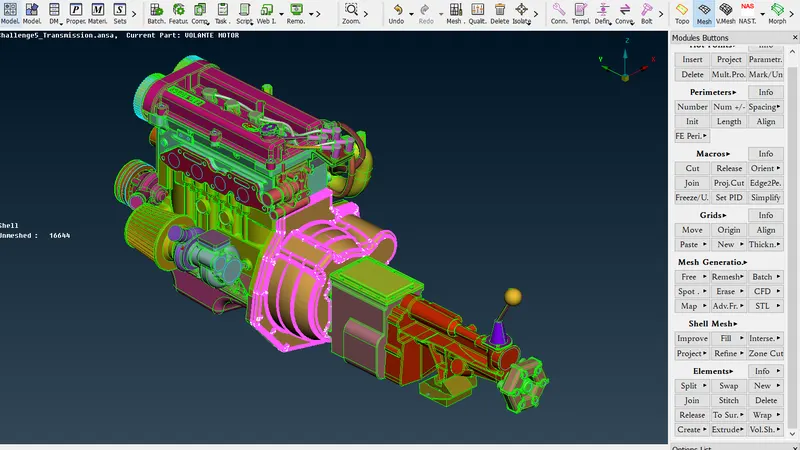
- In the Elements section select the wrap command. the wrap command creates a water-tight surface mesh around an assembly
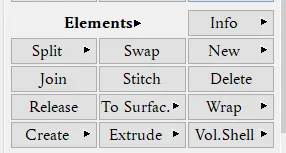
- in the wrap command select the constant length option.
- a window pops up,
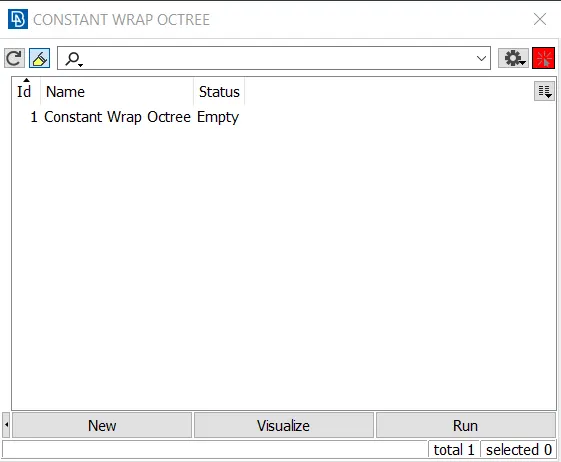
- Now if we double click on the status Empty, a new window will pop up.
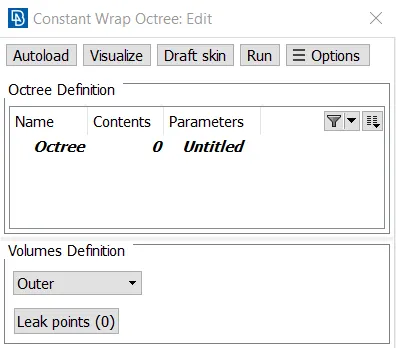
- we can see that the parameters are not defined / Untitled here, so to define the parameters double click on Parameters Untitled
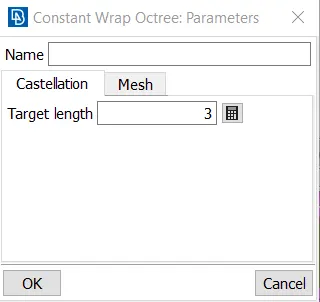
- a window will pop, in the castellation section enter the Target length as 3mm.
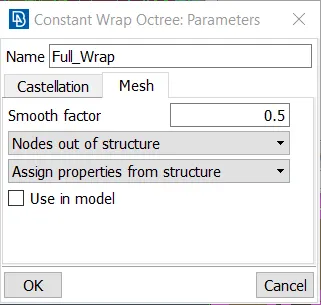
- In the Mesh section, enter the smooth factor as 0.5.
- also set the Name as Full_Wrap and click on OK.
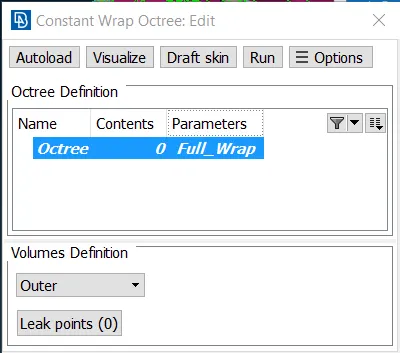
- Now the parameters are defined.
- Now we have to add the Contents, to do so double click on the contents 0, and a window will pop out.
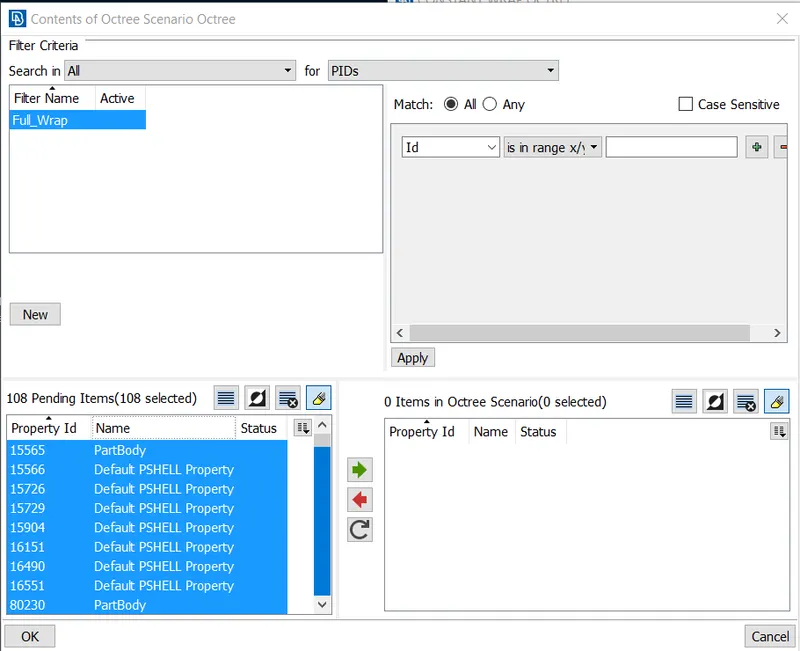
- Enter the Name as File_Wrap, and select all the PIDs, there are around 108 PIDs.
- after selecting the PIDs click on the green arrow to move them to Octree Scenario.
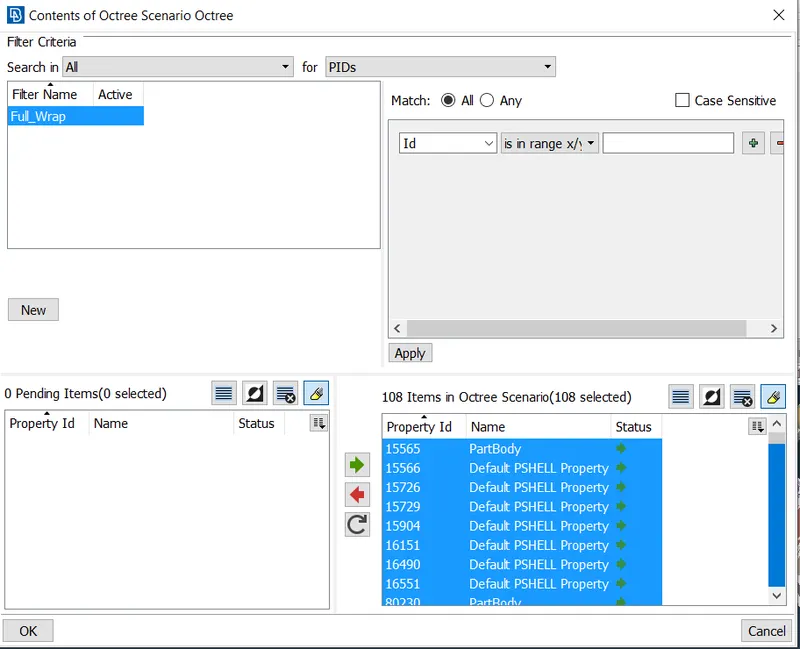
- Now click on OK.
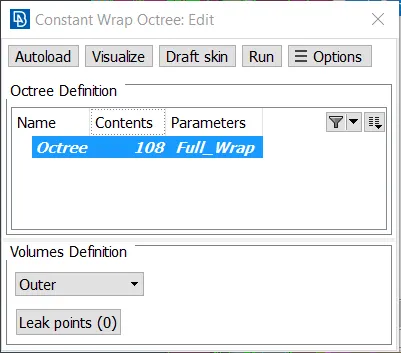
- Now that we have defined everything, we will click on the run command to start the surface wrap.
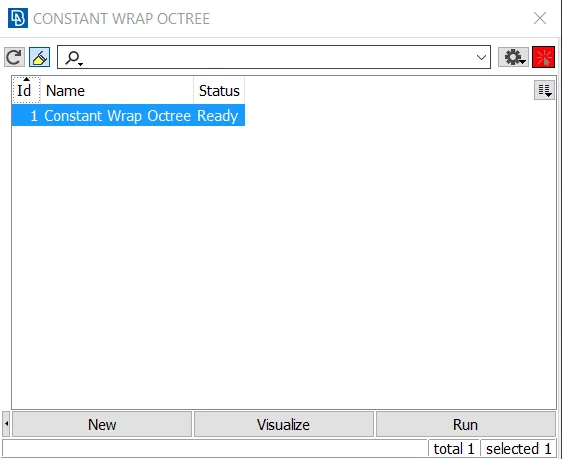
- we can see in the window that the status is ready which means the surface wrap is completed, now we will close this window.
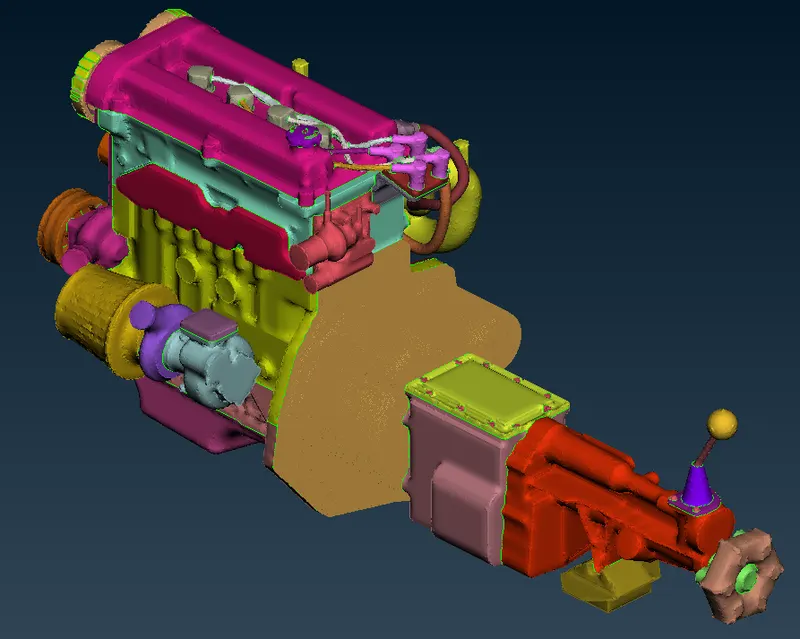
- we can see that the surface wrap is successfully generated.
- We will visually inspect the mesh to see if there are any errors in the mesh.
- We can turn off the cross hatches, perims points, triple cons, single cons, double cons a,nd the macros to efficiently inspect the model.
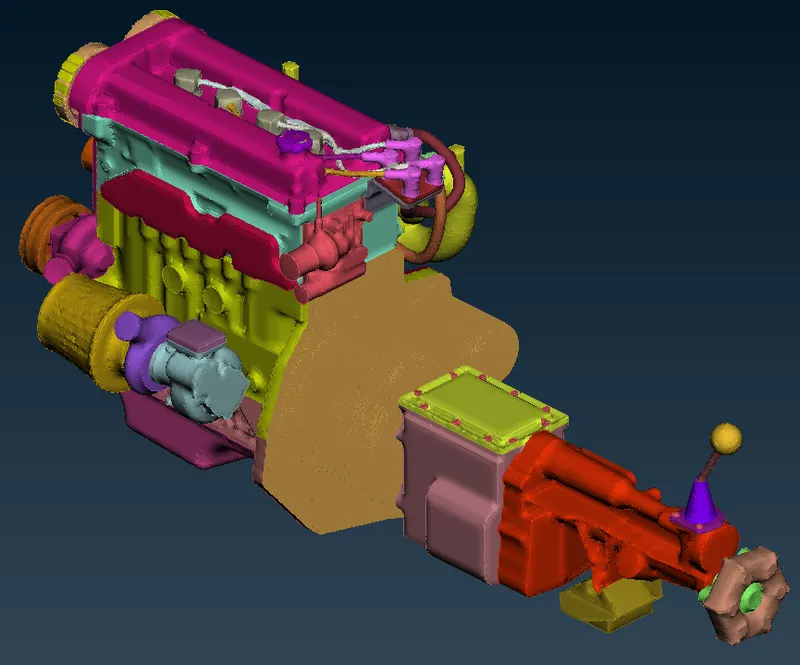
- We were not able to find any errors in the mesh.
- With this, we have successfully carried out the surface wrap of the automotive assembly.
Learning Outcome: -
- Learned to perform topo cleanup for surface wrap.
- Learned to merge different components/ models together.
- learned to perform the surface wrap.
Result: -
- Successfully Completed the Surface wrap on the automotive assembly.
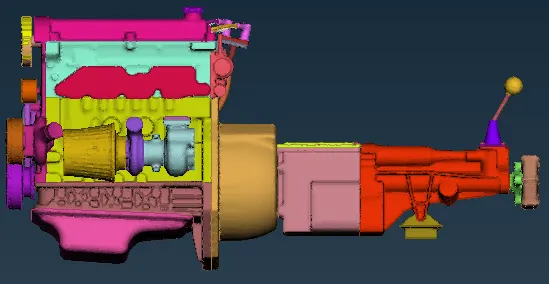
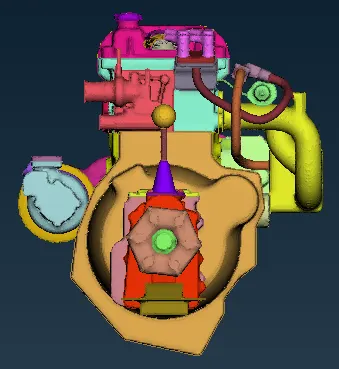
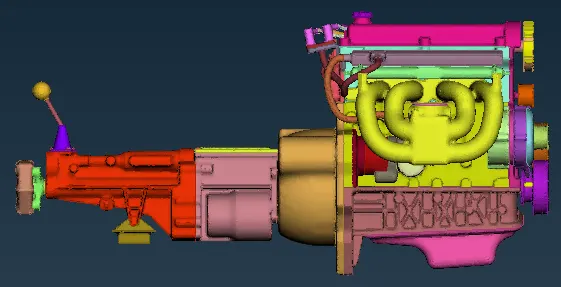
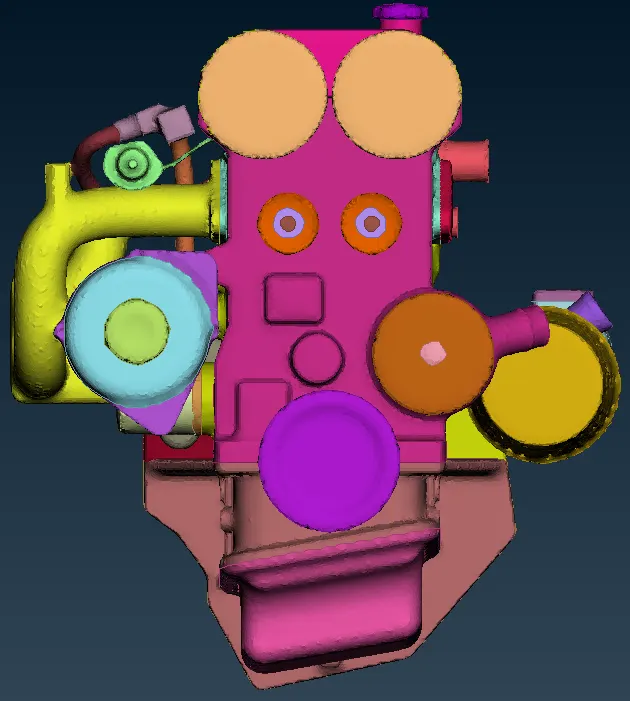
- Element length is approximately equal to 3mm
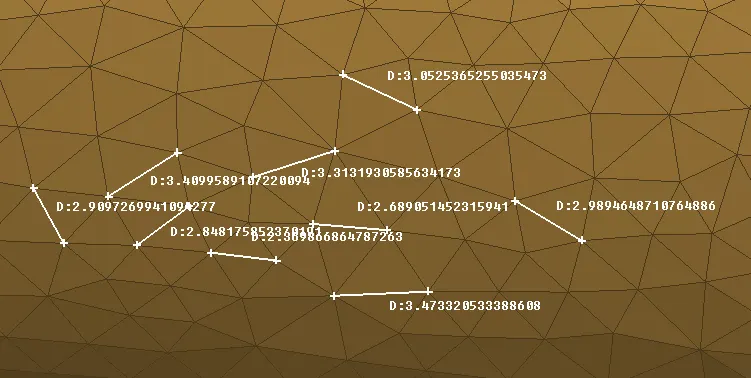
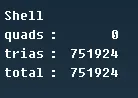
- After the surface wrap, there are around 751924 Tria elements.
Conclusion: -
- the surface wrap was successfully carried out.
- during the process, various commands such as compress, delete, and NOT, were extremely used.
- only the outer surfaces need to be cleaned since the surface wrap covers only the outer surfaces/ faces.
- We have to patch all the holes so that the surface wrap doesn't capture the inner geometry, and also to efficiently capture the outer surface.
- even after deleting all the unwanted elements, their PIDs will be present in the PID manager which we have to delete using the Compress option.
- After performing the Surface wrap, we get 751924 Tria elements.
- The target length of the surface wrap is 3mm, which captures the geometry effectively.
- If the target length is more it won't be able to capture the geometry properly and may fail whereas if it is less it will capture it more effectively.
https://drive.google.com/file/d/19fUcTRCSO1nFiEuqSwO3-s08eAeMV-K5/view?usp=sharing