Week 5 Challenge : Surface wrap on Automotive Assembly
AIM: -
To Perform the surface wrap on the given automotive assembly.
Surface Wrap is used for meshing the components from outside and it’s used to wrap the components and mesh the quality criteria.
->ANSA- (Automatic net generation for structural analysis) is a computer-aided engineering tool for Finite Element Analysis and CFD Analysis widely used in the automotive industry. It is developed by BETA CAE Systems [Source: - Wikipedia]
->It is used for pre-processing task and it includes proper clean-up like a geometric clean up.
-> 2D & 3D it is very widely used in CA applications.
->ANSA maintains the association between CAD geometry and the FE mesh.
Objective: -
- Check for the geometrical clean up and delete the unwanted surfaces.
- Merge all 3 models and perform surface wrap
Target length for Wrap = 3 mm
Procedure: -
Step 1: - Importing the CAD Model
Go to the file - > open the file - > Search the location, where the CAD model is present- >Supposed another model is open in workspace then it will be discarded or saved - >Certain path where we had download or save the model, It can be identified by ‘’Turbocharger ANSA’’ - >Select it & click on enter
Engine model
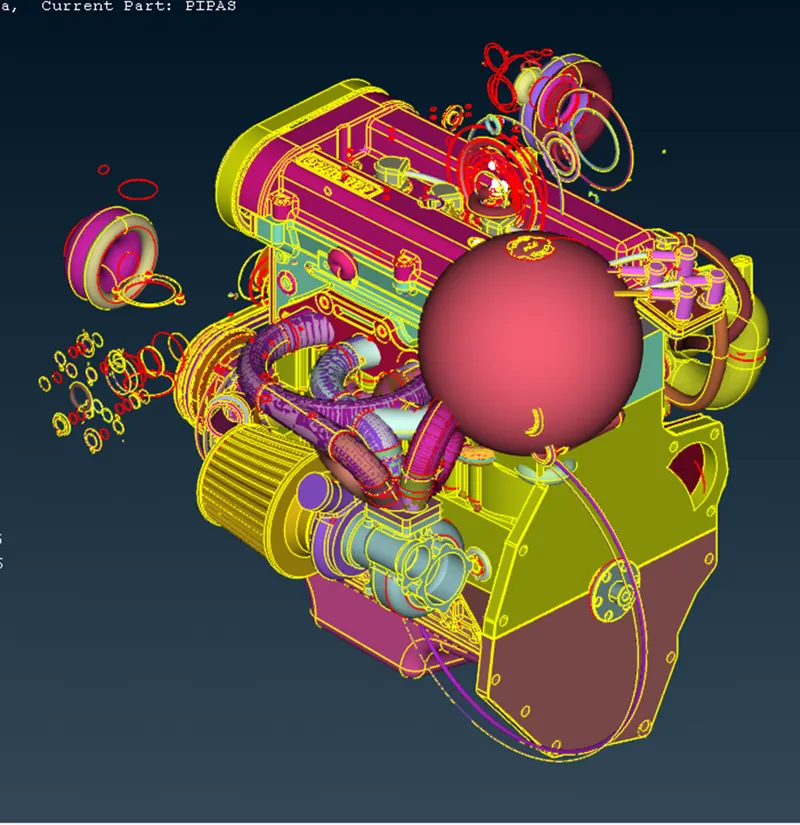
Geometry clean up
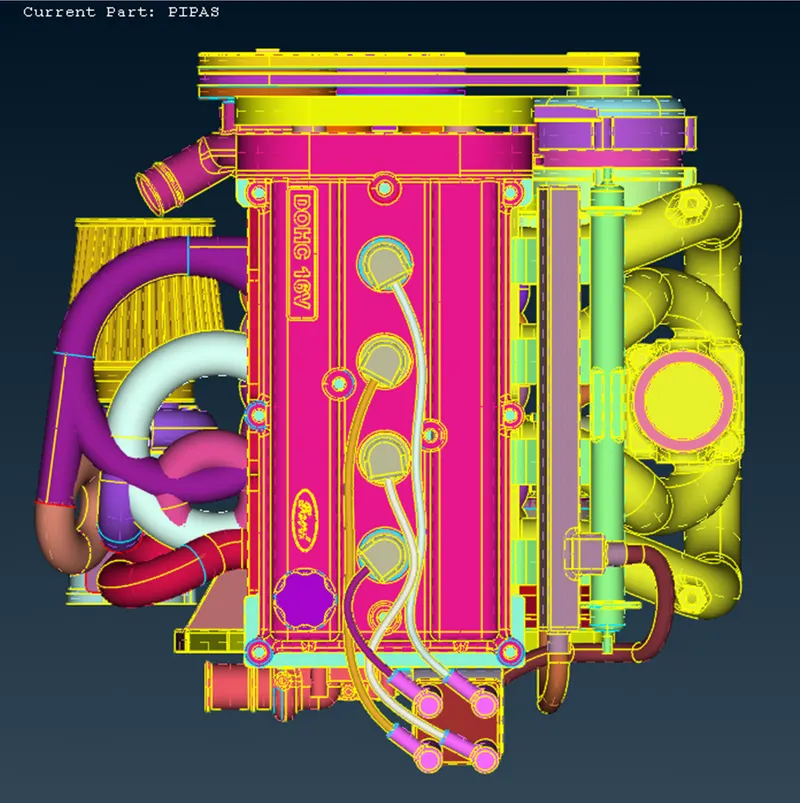
Gear box Geometry clean up
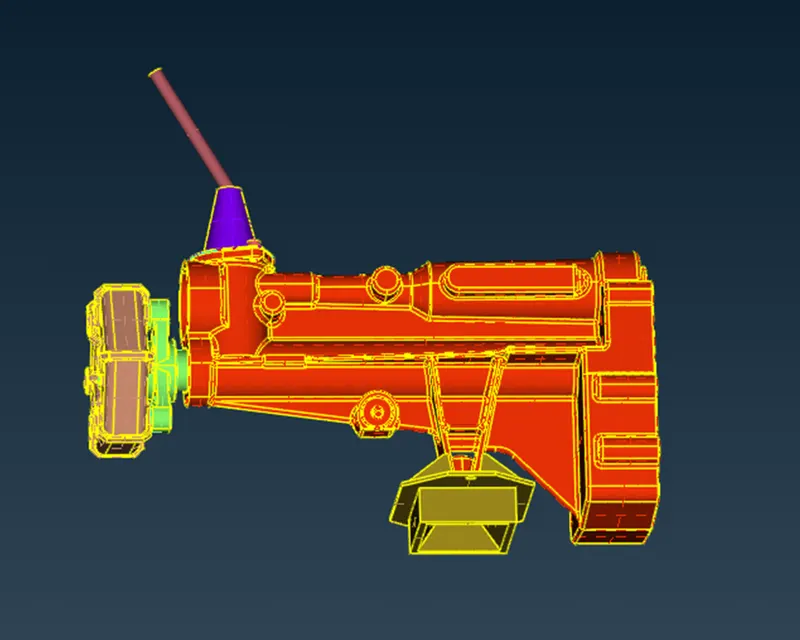
Transmission Geometry clean up
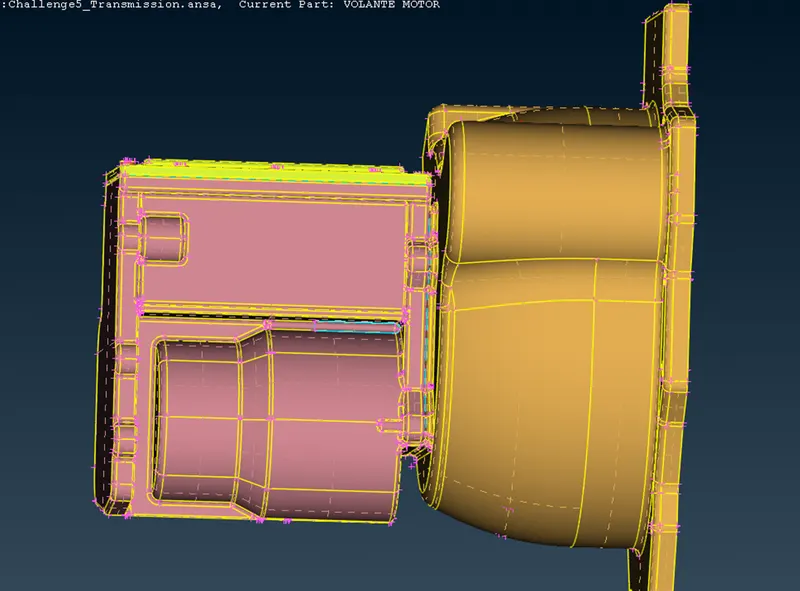
Step 2:- Merge all the models
Fill the holes / open surface in engine later we can use the surface wrap
Before doing surface wrap we should merge all model by following these steps.
Click on File__ > click on Merge __ > Select the model which must merge with current model present in the workspace __ > Later a pop will show in that we should check the merge option is selected or not __ > Click OK
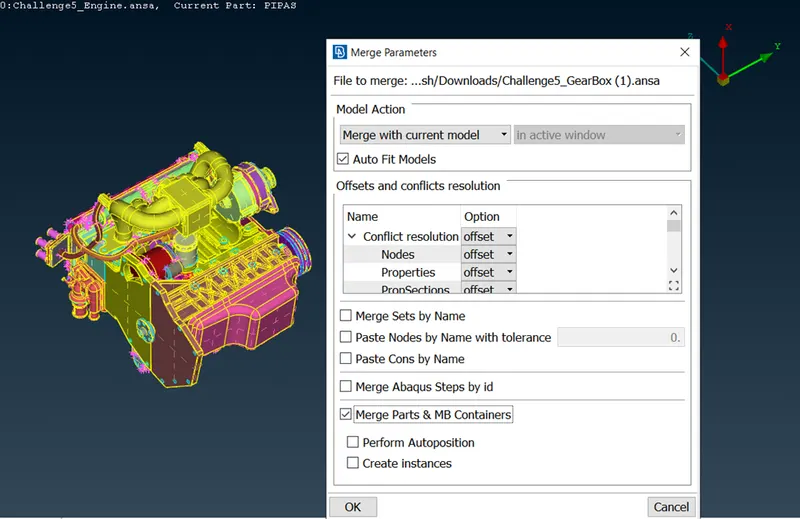
Once it has done its look like this in workspace,
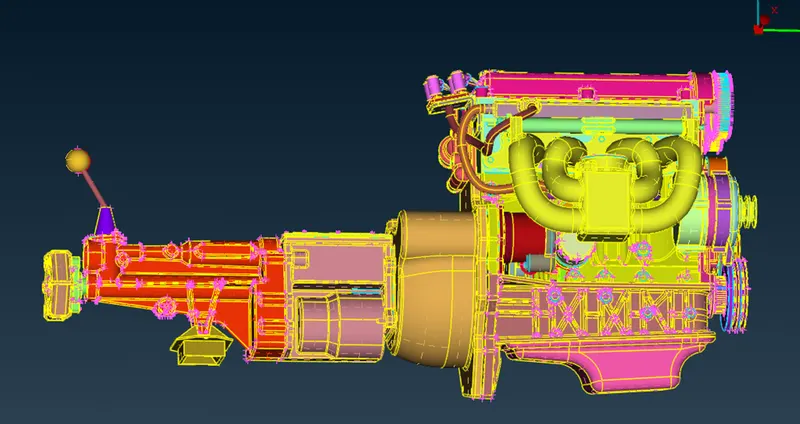
Once it is merged patch or fill the hole which is present in the surface.
Step 3:- Surface Mesh
For surface mesh,
Delete the unwanted PID with the help of compress
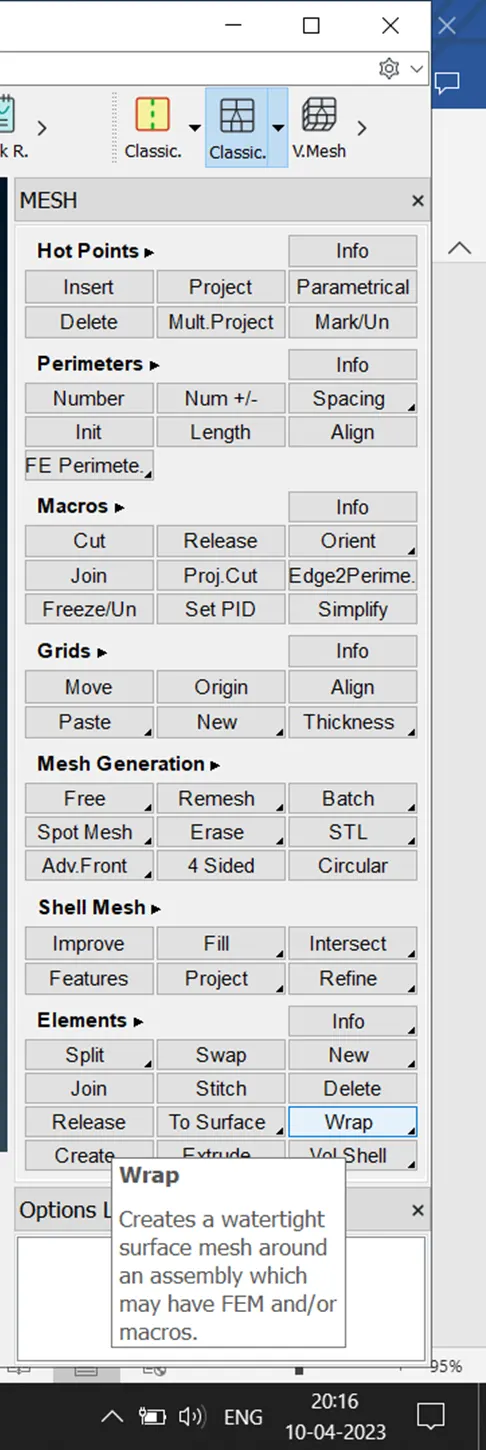
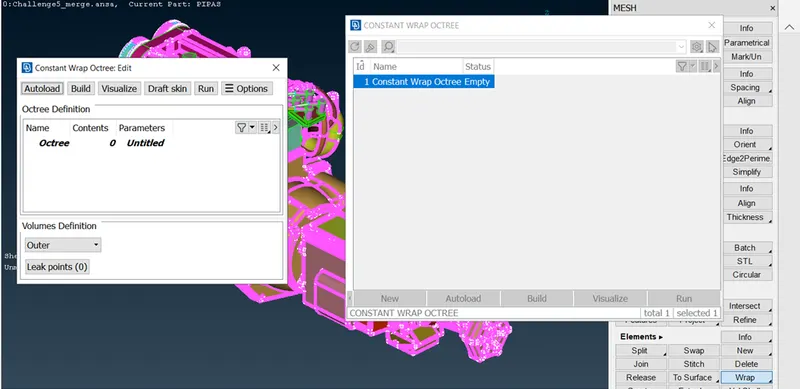
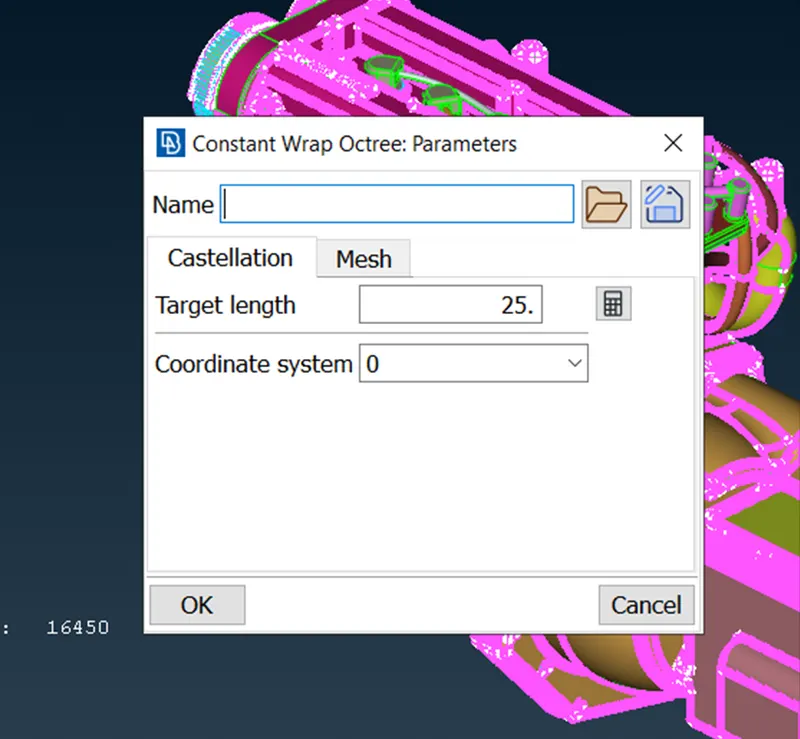
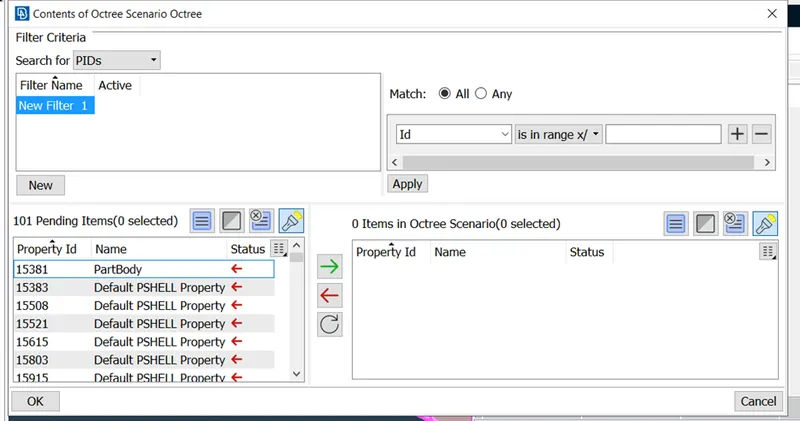
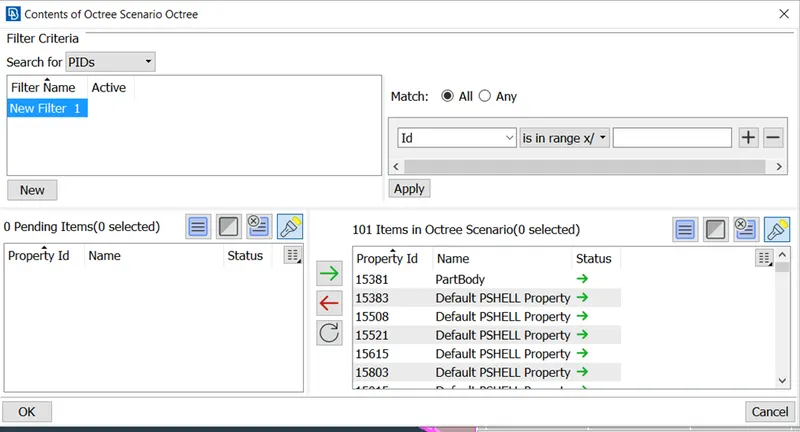
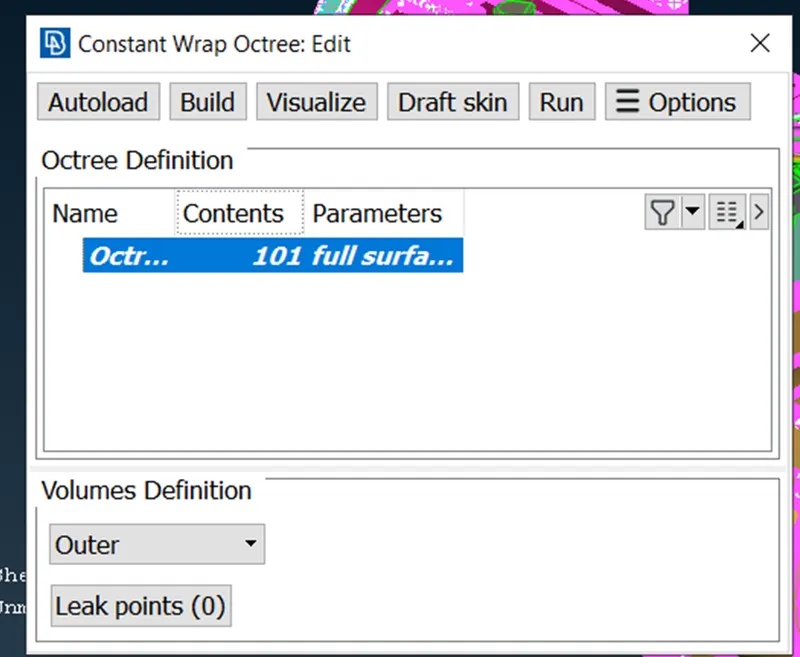
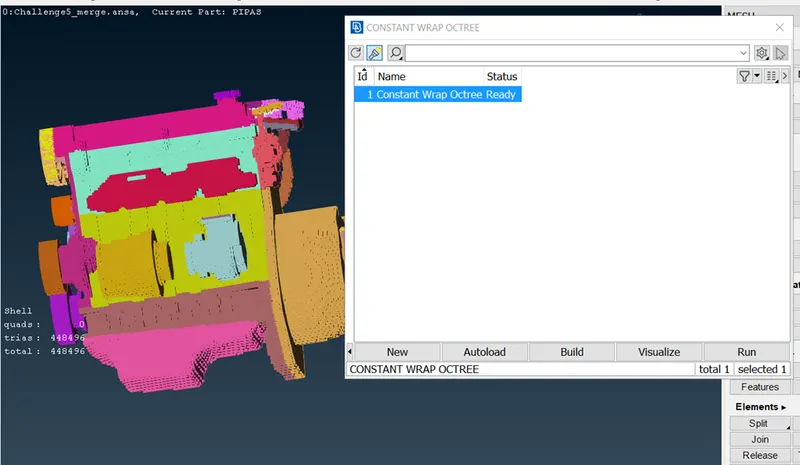
Go the mesh tool__ > Classic Mesh __ > Elements__ > Long press on the wrap __ > It’s shows Constant length and Variable length __ > Select the Constant length __ > New pop up appears in that if we Double click on the empty which is present in the status then new tab will gets open [ both tab image as shown below ] __ > Once the tab open if the parameters are untitled the double click on it __ > In that Castellation we had to input the target length, but in this if we choose the large number of target length then most of the surface will not be properly wrap and vice versa for small target length __ > In content the value is seen zero double click on it __ > In that we can see the PID was present in left hand side as shown below in picture, we shall select the whole PID with the help of control + A and after selecting all we should click on the green arrow which is present in the tab itself you can see in the image, once this step has been done all PID has moved from left hand side to right hand side as shown below. Click OK __ > return that tab gets open in which the contents was zero now its shows 101 __> for surface wrap that last tab was open in that RUN button showed just click and it will get started and ends in 15-20 minutes depend on the laptop configuration. __ > Once its completed you can see the ready in status.
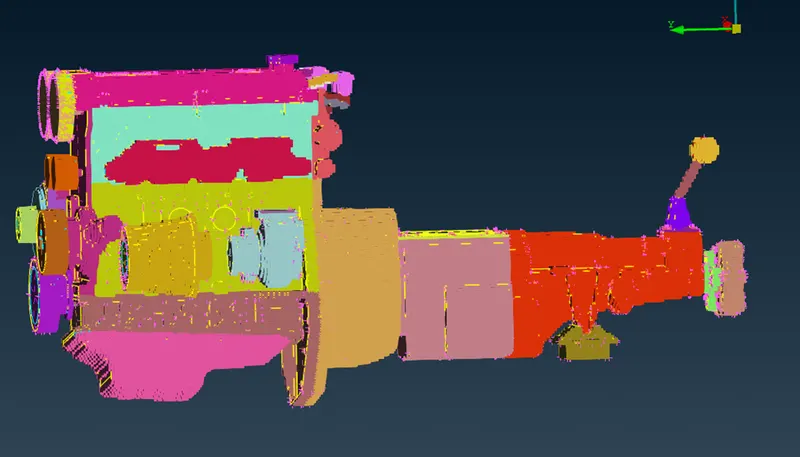
Step 4 :- Conclusion
- Learn surface wrap
- We can use this where the complicated models occur