Surface wrap on Automotive Assembly using ANSA
Aim: Surface wrap on Automotive Assembly
Procudure:
1. The first thing we do is to import the geometry within ANSA. We have to do surface wrap for three components i.e., Engine, Gearbox and the transmission. We will individually open these models and after their necessary cleanup for surface wrap and then we will assemble these models together.
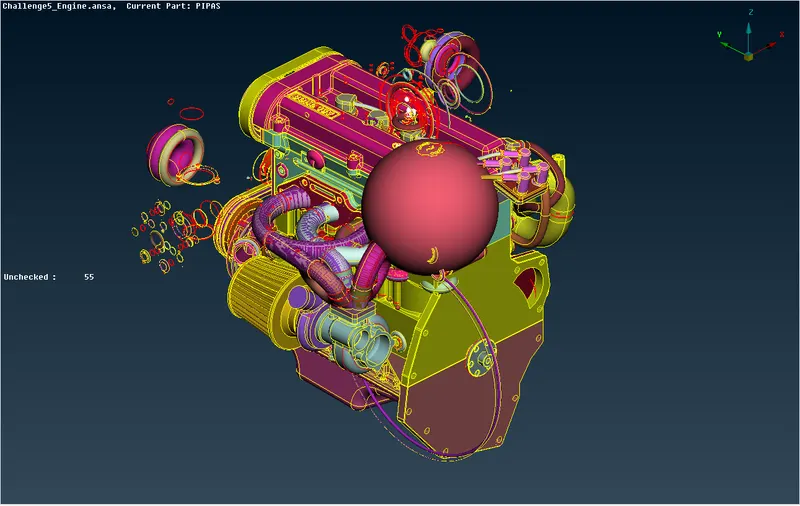
2. As you can see from the image, there are a lot of surface ir-regularities present within the model. We need to solve them as well as solve all the triple cons that are present outside the surface.
3. The unwanted geometries that are present inside the model are of no importance to us. We will solve all the surfaces that seem off at the outside.
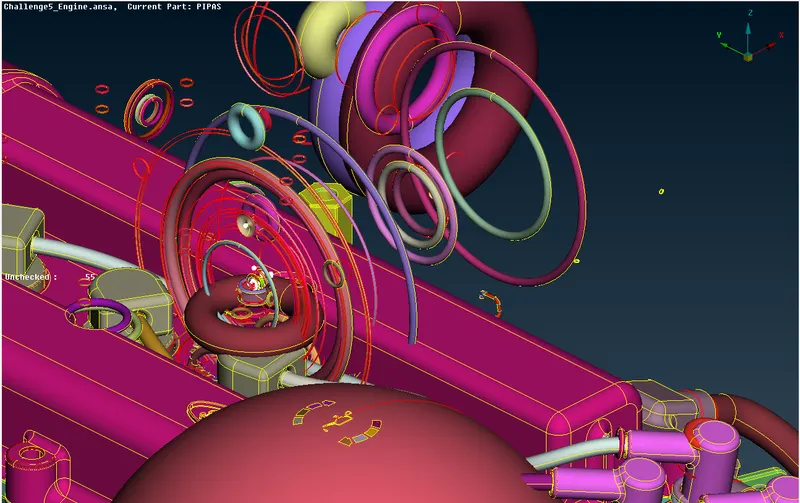
4. As you can see, there are several ring surfaces that are floating in the model. These surfaces are of no use at all. We will delete these surfaces in one shot by isolating the PIDs we need and then hiding them. With this, we will only be shown with the surfaces that are not needed. We will then delete the entire surface in one shot.
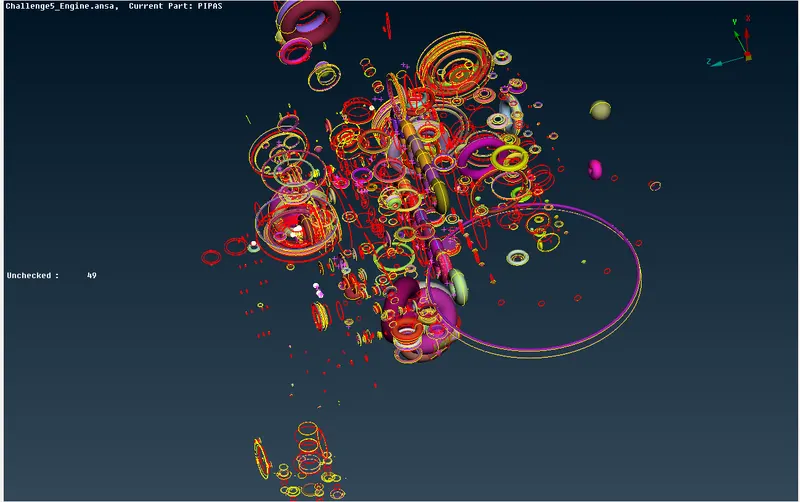
5. The image attatched below shows almost all the unwanted surfaces within the model. We will select all of them and delete them at once.
6. The image attatched below shows the cleaned model of the engine.
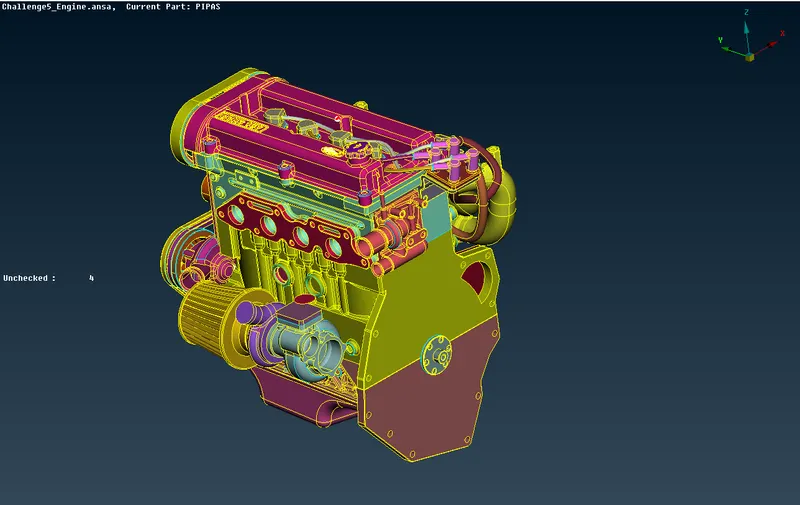
7. In the case of surface wrapping, we do not mind having triple cons. However, all the open surfaces and single cons need to be solves as the surface that we will be creating would be for the internal volume. The volume inside the engine will be hollow.
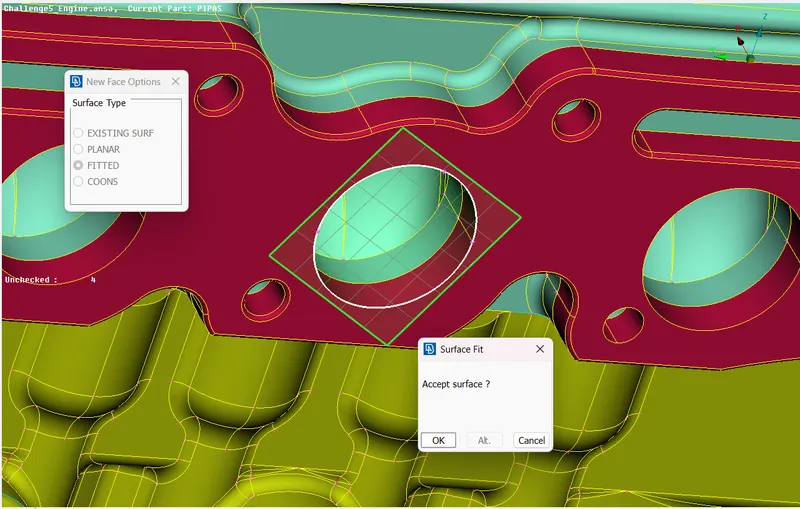
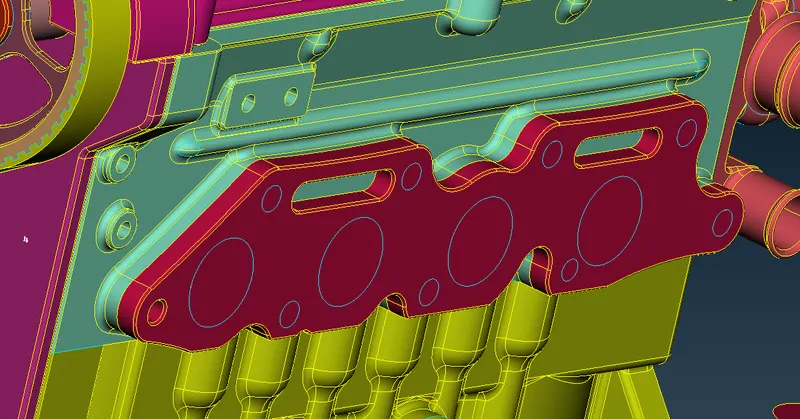
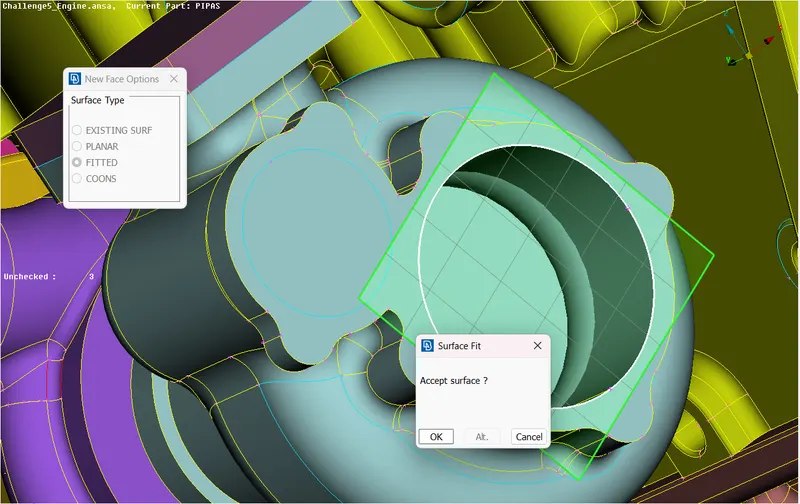
8. Just like that we will close all the visible openings on the outer surface of the model.
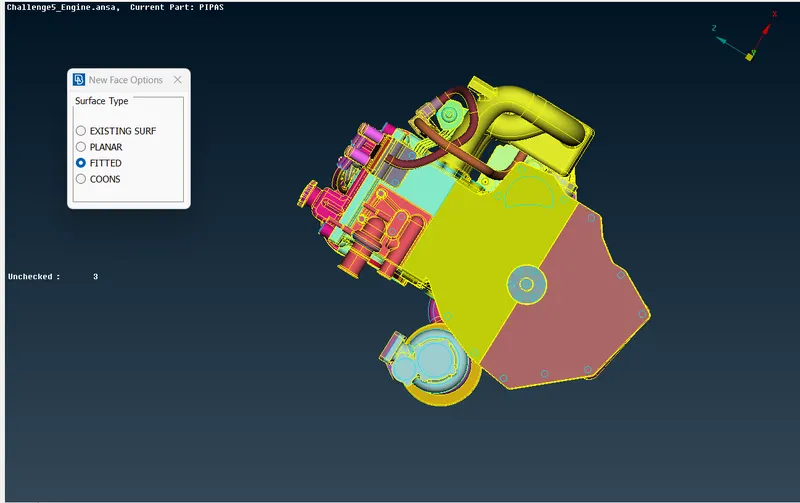
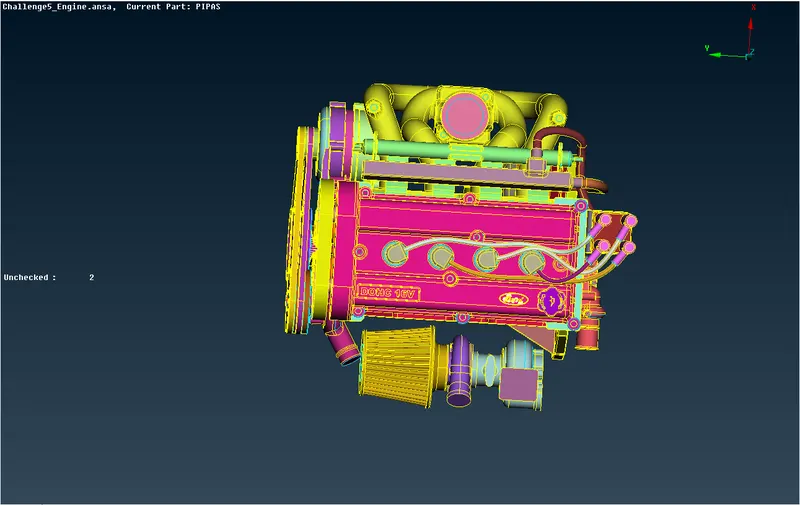
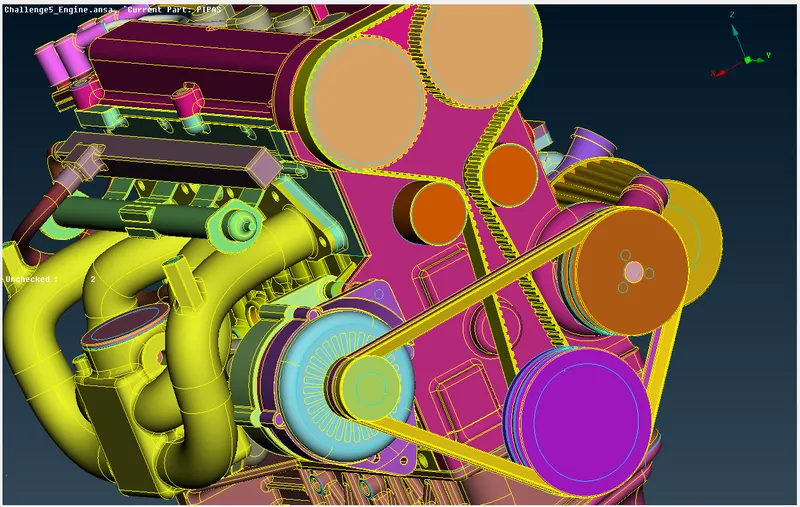
9. Just like this, we have solved all the single cons, overlapper surfaces and openings within the geometry.
10. All the single cons that are now visible are inside the geometry which is not important to be solved for surface wrap.
11. We will now next to TOPO cleanup for another model which is Gearbox.
12. We will solve all the surface ir-regularities that are present in the model and close all the open surfaces.
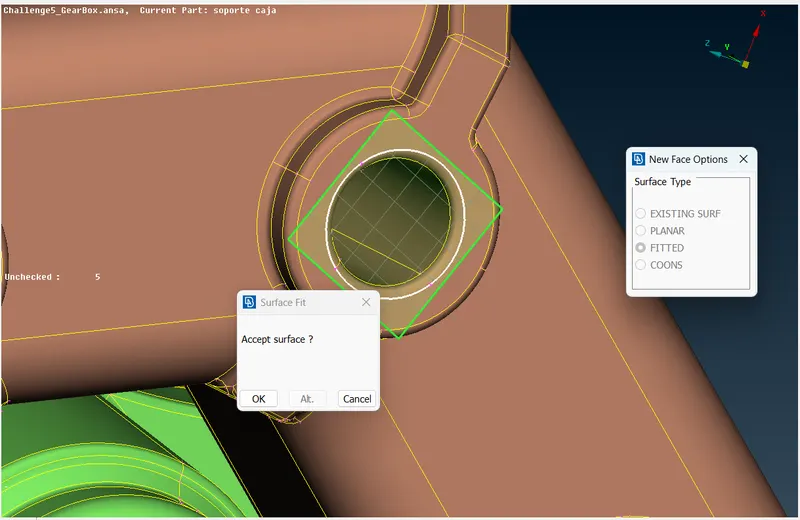
13. Just the like the image shown above, we will patch all the open surfaces present on the model.
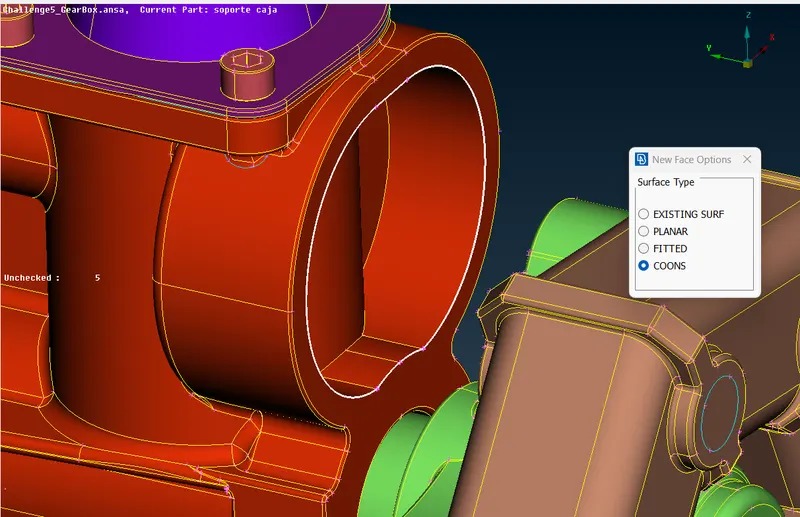
14. For gearbox, most of the problems are related to open surfaces. We have closed all of them.
15. We can move onto the next geometry i.e., Transmission model
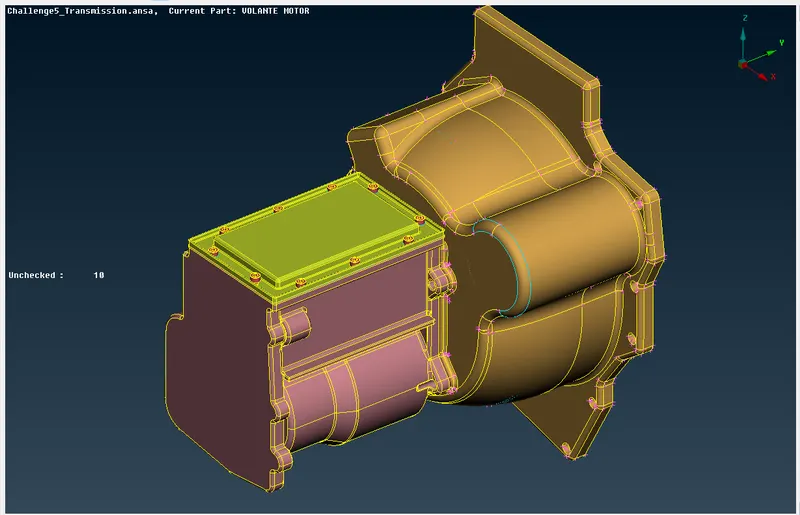
16. We will now solve the surfaces one by one.
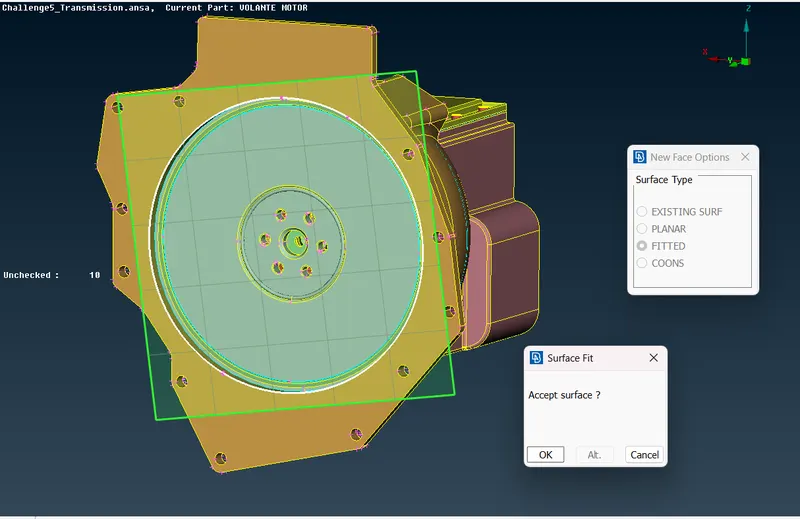
17. Just like the gearbox, most of the surface in the transmission model only needed to be closed. After completing that we will go to the merge option and merge all three models together.
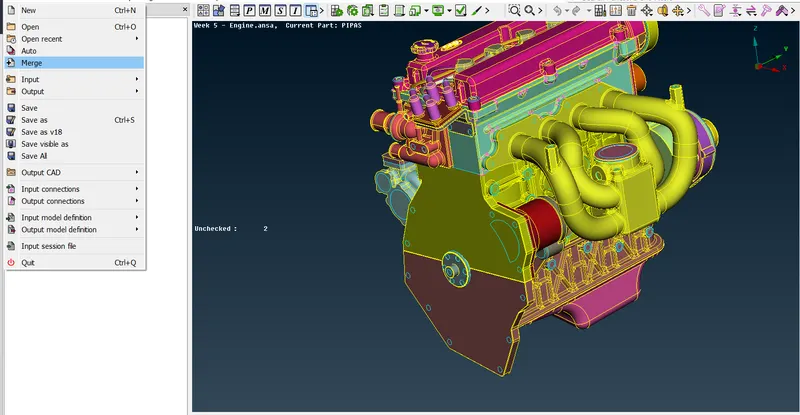
18. Using the merge option, we will merge all three components with each other.
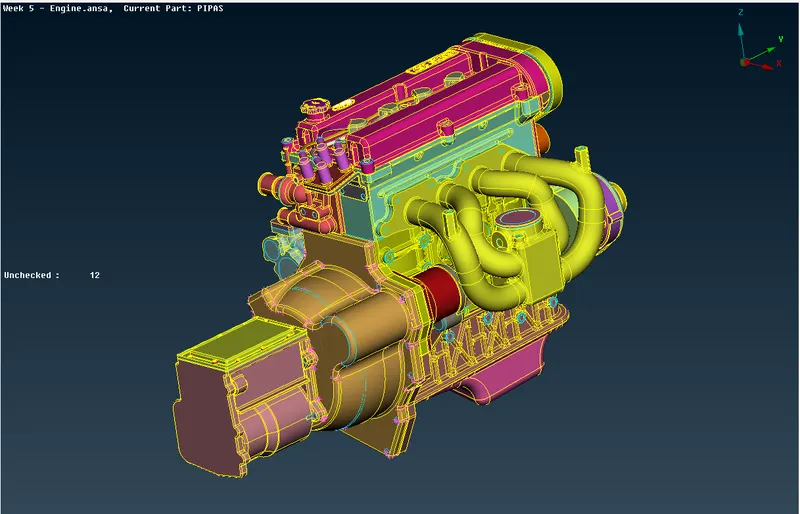
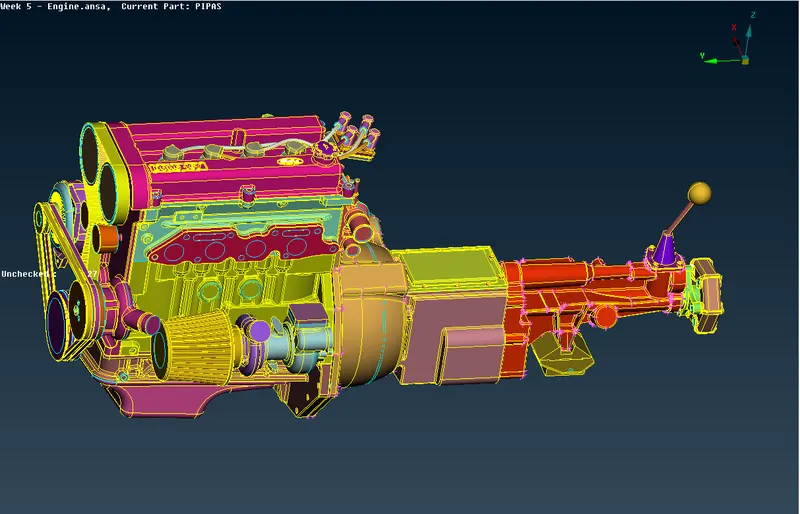
19. The above images show the final merged result.
20. As our model has been merged together, we can now use the surface wrap tool.
21. We will switch to the mesh module and select the wrap tool from the elements section.
22. When the interaface opens, we can see the following box.
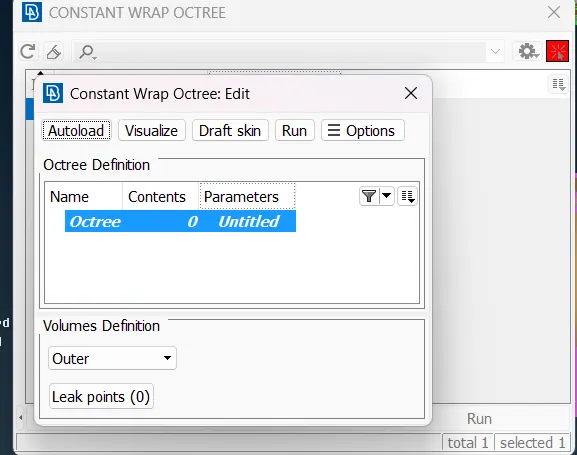
23. We will select the Parameters option and set the target length to 3mm as mentioned in the question.
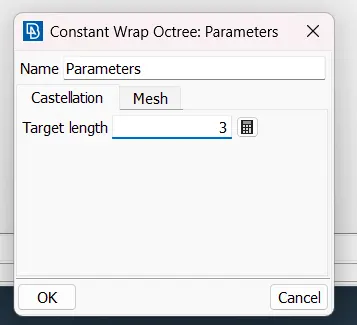
24. We will set the smooth factor to 0.5 and click ok.
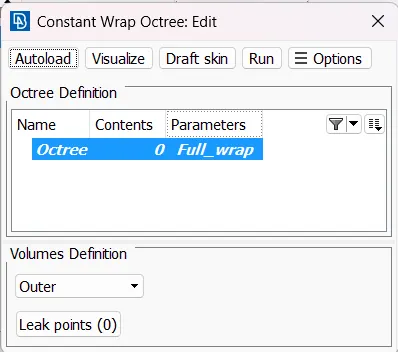
25. Before moving to setting the content we will delete the un-wanted PIDs from the model.
26. We will use the compress feature to remove the extra PIDs that we have within the model.
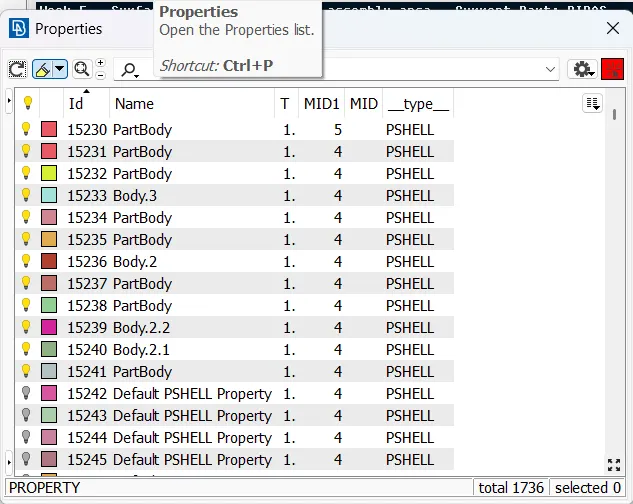
27. Now after using the compress feature, we have the following remaining PIDs which are needed by us.
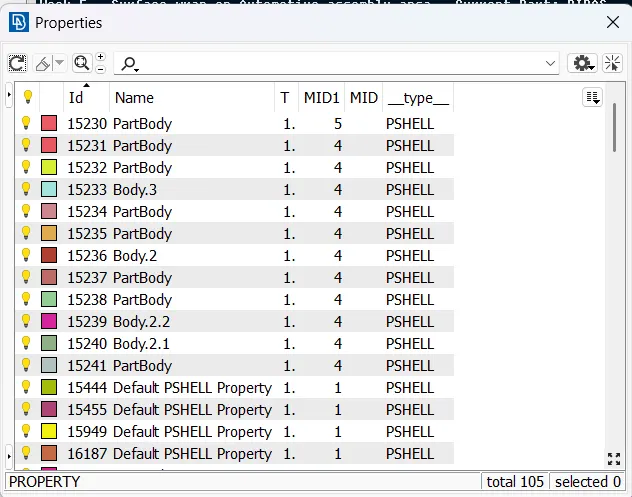
28. After we are done with our PIDs, we will go to the content option.
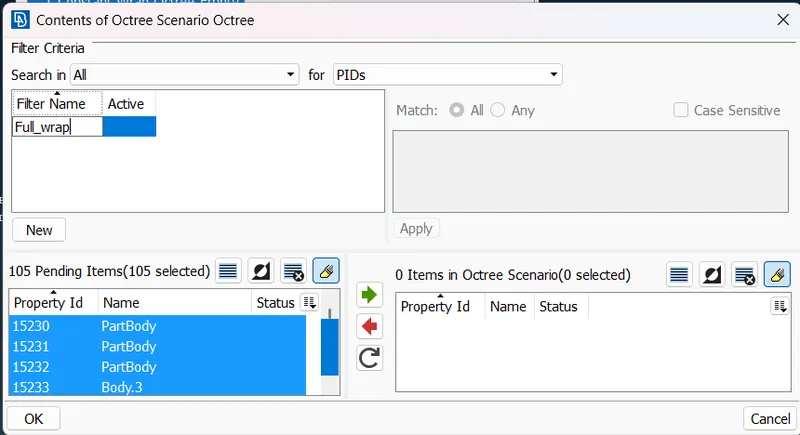
29. Now we select all the PIDs and move it to the other side.
30. We will now click ok and return back to the wrap edit window shown below.
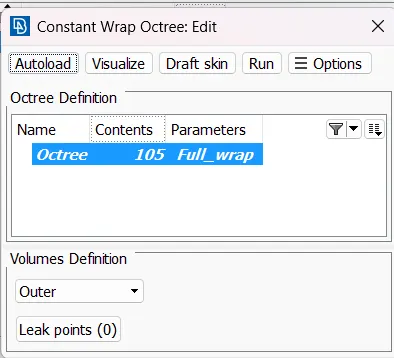
31. We will click on the RUN option and run the wrap.
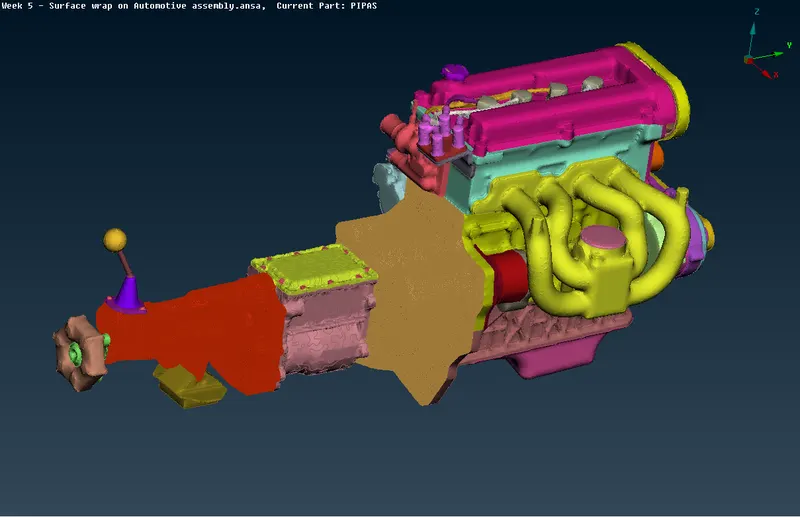
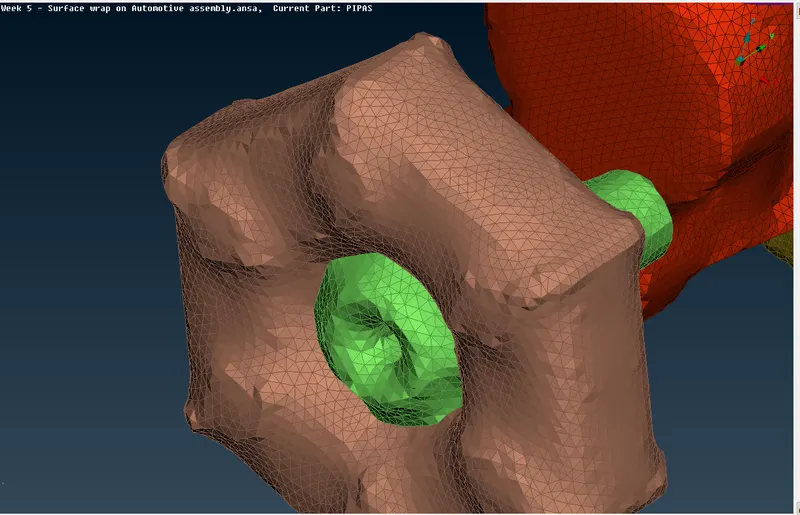
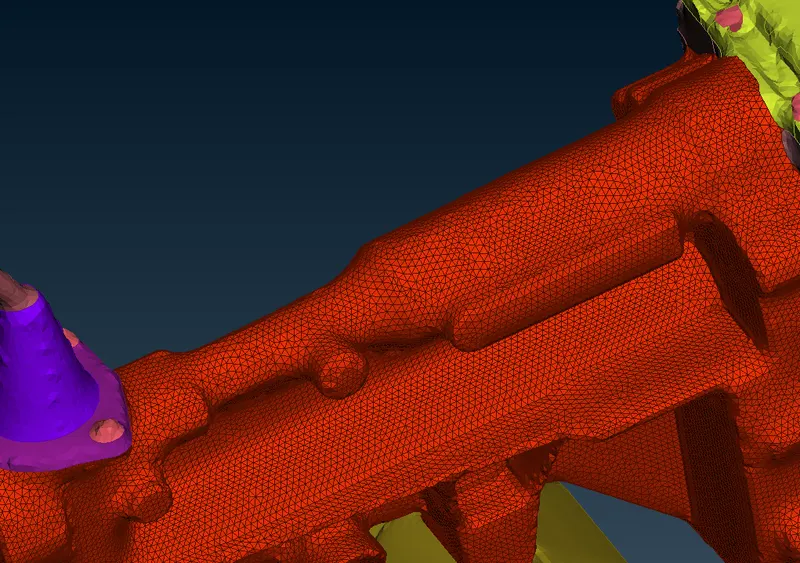
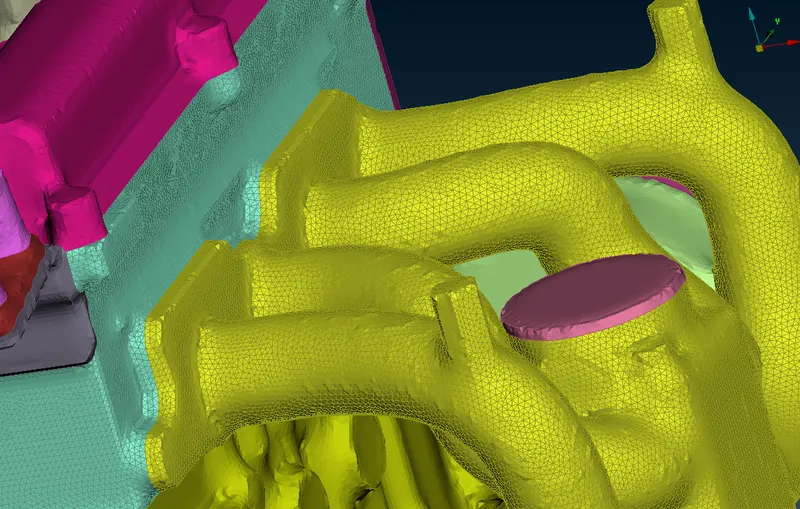
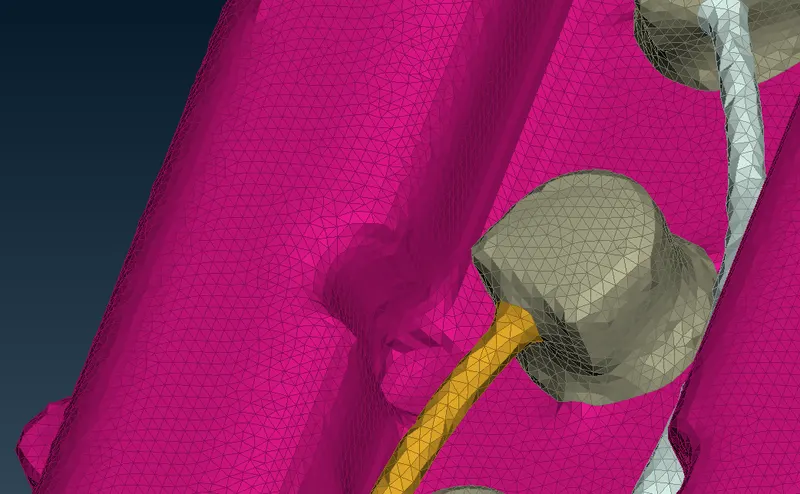
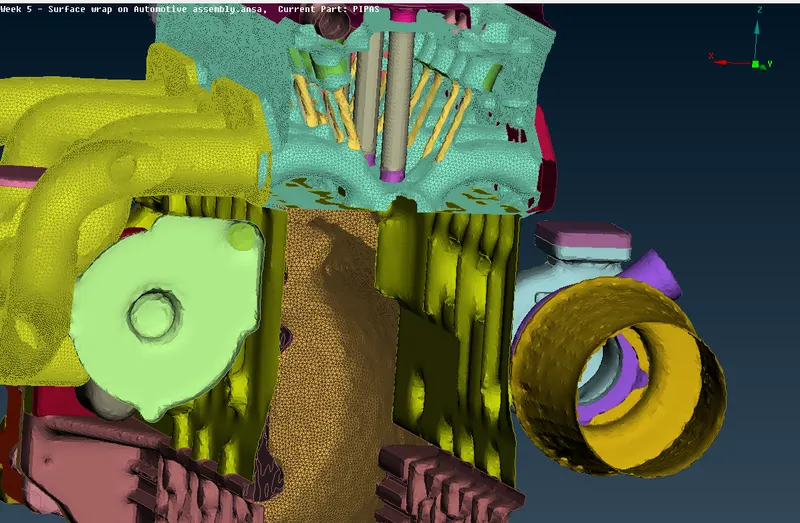
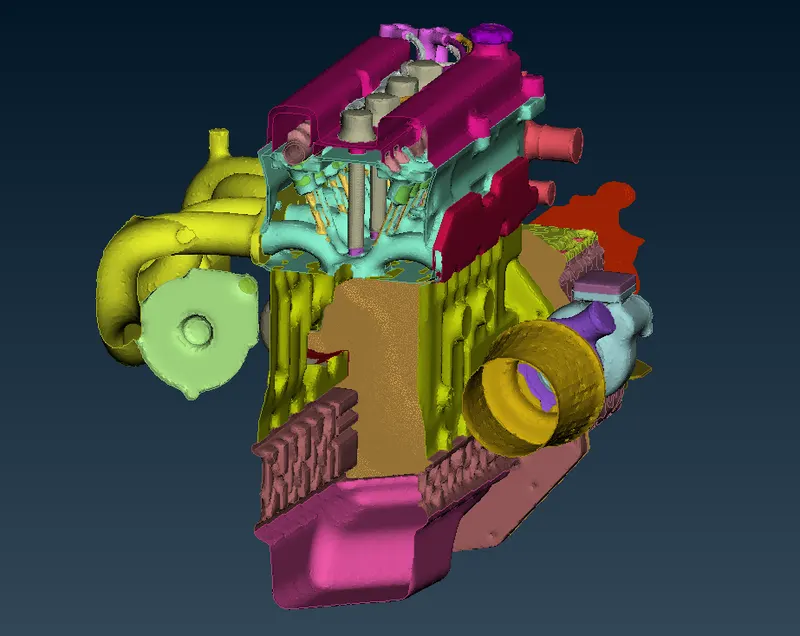
32. The surface has been finished successfully. The images attatched below shows the surface wrap.
33. With this we have succesfully completed the surface wrap on an Automotive assembly.
Learning Outcomes:
- Learned the concept of Surface wrap and why it is used.
- Learned how to create a surface wrap.
- Learned the important points to look out for while creating a surface wrap like closing all openings, ir-regular/floating surfaces etc.
- Learned to use merge feature to create and assembly in ANSA.
Results:
- A surface wrap on automotive assembly was created.
- Improved practical knowledge of TOPO clean-up.
Conclusions:
With the week 5 challenge, we were able to understand the concept of surface wrap and how to use and generate surface wrap for a complex body like the engine, transmission model and the gearbox. We learned how to make an assembly within the ANSA interface. Using all the concepts learned in the videos, we were able to generate a surface wrap around the model given.
Note: Since the model is too large to be attatched, I have uploaded it in Google drive and shared the link.
Google drive: https://drive.google.com/drive/folders/1C9yHL8tsw_cJN5UjRpsKPcWbEkx9WpF3?usp=sharing