Project 1 : CFD Meshing for Tesla Cyber Truck
Aim: CFD meshing for Tesla cyber truck.
Procedure:
1. The first thing to be done is to import the geometry to ANSA.
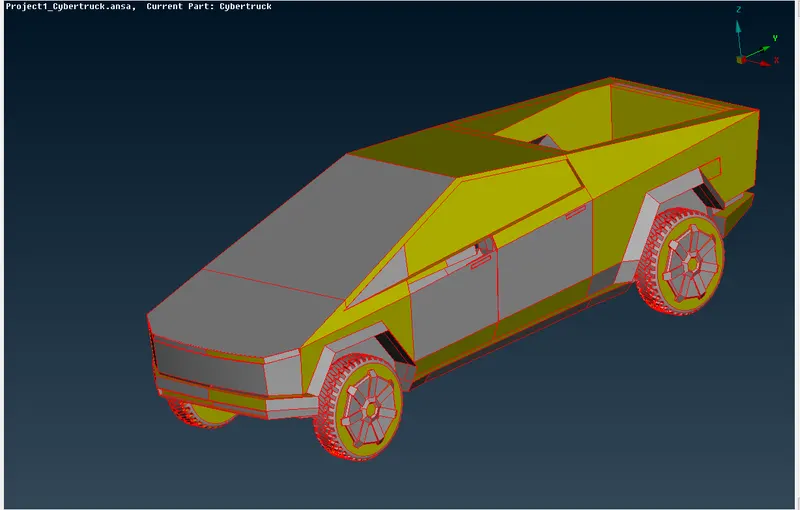
2. As we can see that the entire model is filled with single cons. This indicates that maybe the single cons have not been refreshed. We will use the TOPO feature and select the entire geometry and refresh the surfaces.
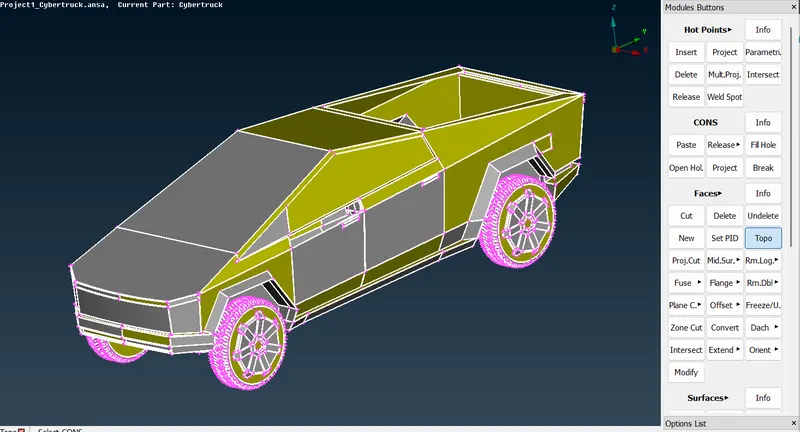
3. From this, we can see that most of the single cons have been converted to triple cons.
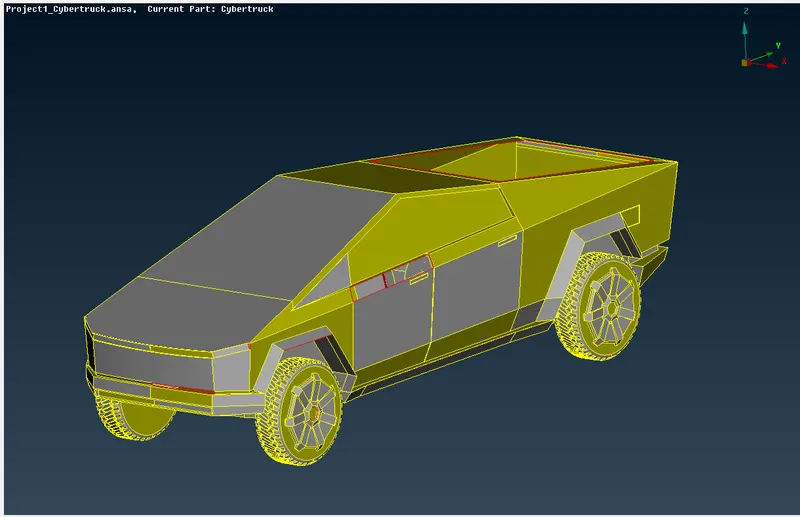
4. We can see that the geometry is symmetric from a plane which passes through the centre of the model.
5. We will select half the model and delete it. The basic idea is to completly clear half surface from all single and triple cons in the model and then copy the model.
6. When trying to delete half the model we realise that the process will get lengthy as we would have to create multiple cuts withing the model to divide the entire surface into 2 halves.
7. Instead, we will try to isolate the PIDs one by one and solve the errors that are being formed.
8. The basic concept to remember while solving the single and triple cons is that we need to make a volumetric mesh out of the model. Thus, we cant have any triple cons present that can create a seperate volume.
9. We will begin with the Body PID.
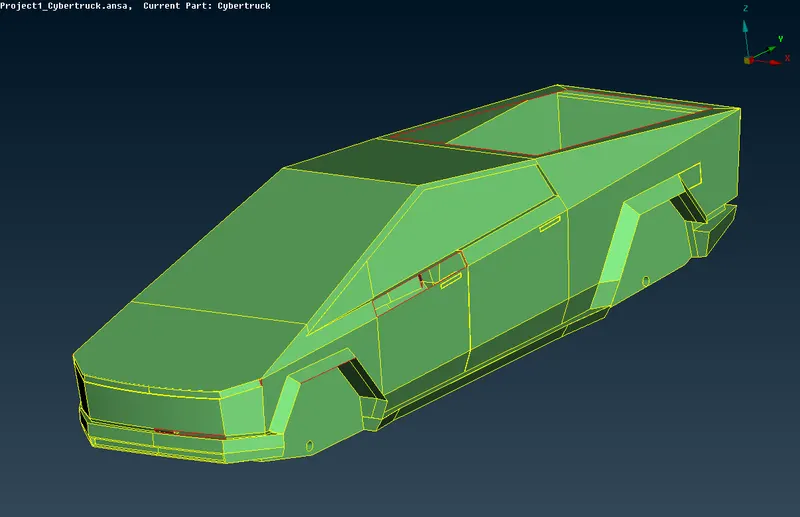
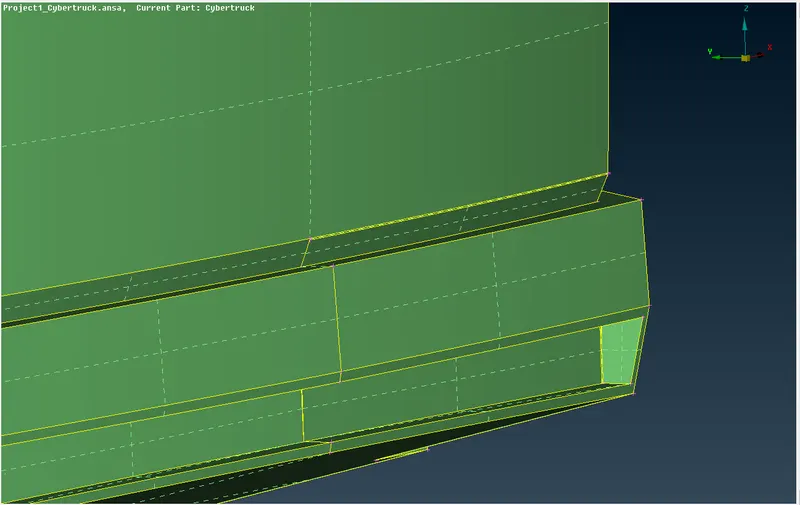
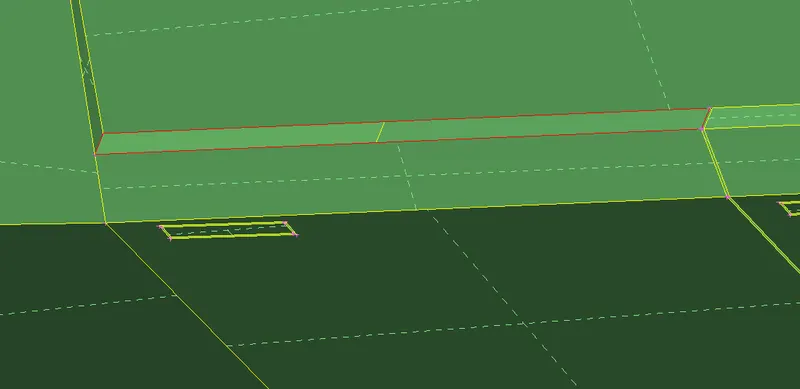
10. We will first solve the surfaces that are present on the outside. There are several single cons that are present on the outer surface of the PID. We will try solving them one by one.
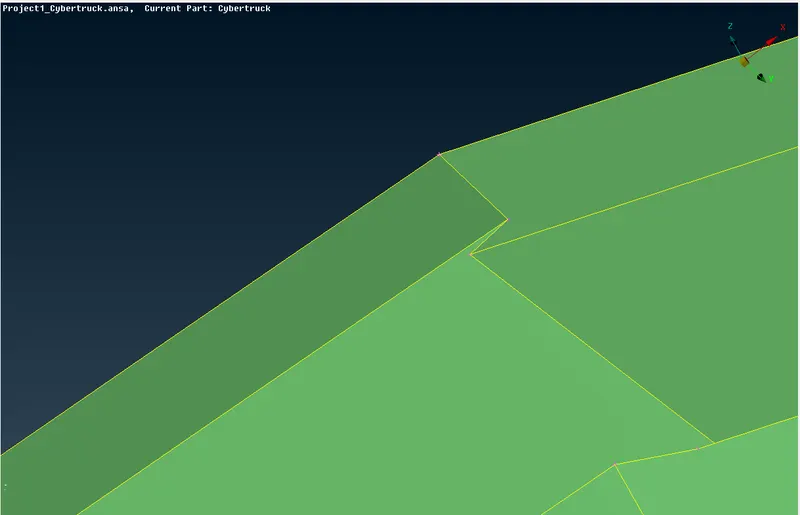
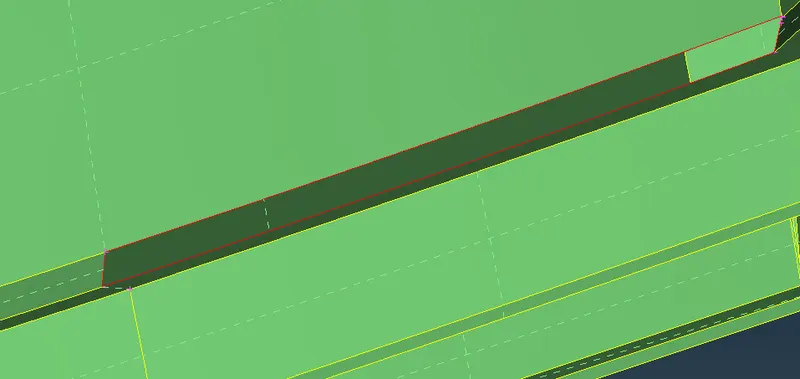
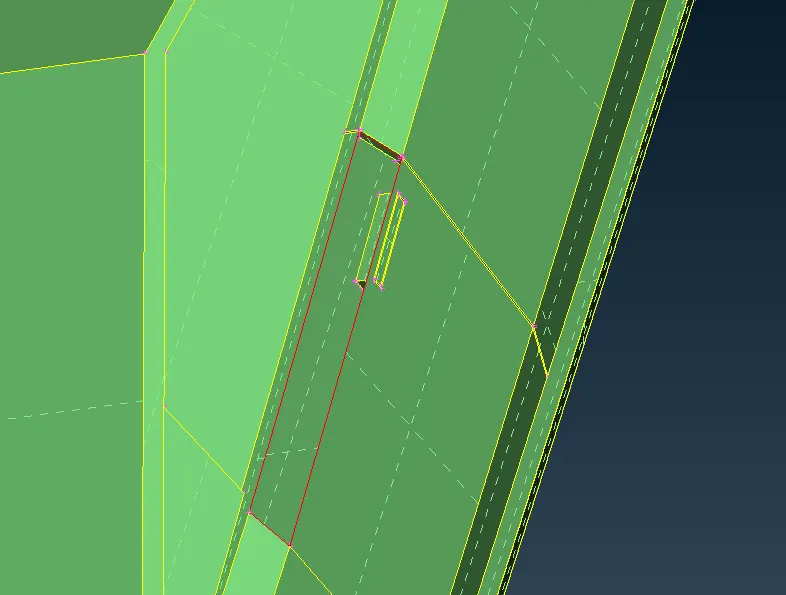
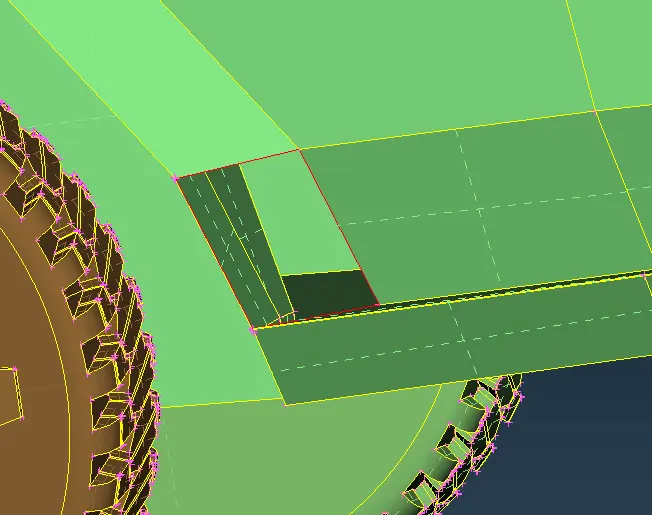
11. The surface that is shown above can create problems while meshing. We will try to create a surface that doesnt have sudden changes within the geometry.
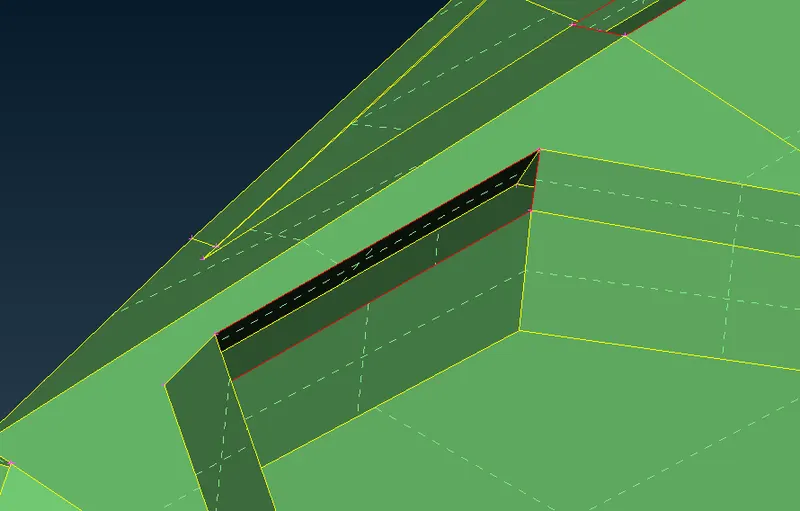
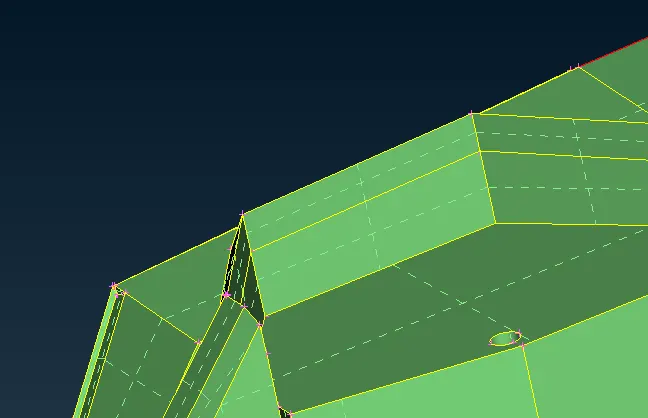
12. To solve the surface, I have created a cut which will allow us to delete the extra surface present.
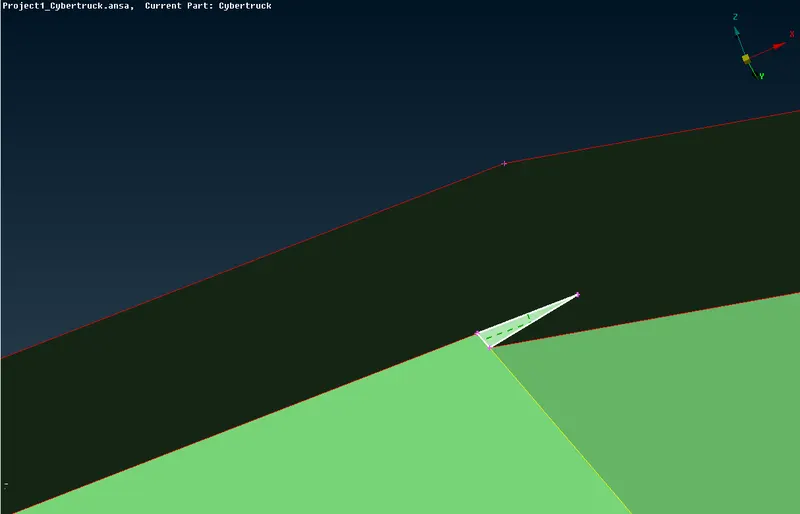
13. The image attatched below shows the proper surface.
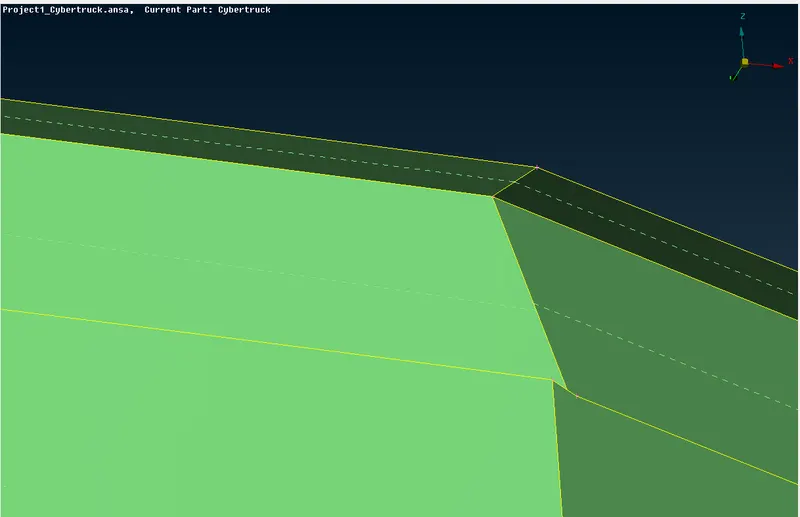
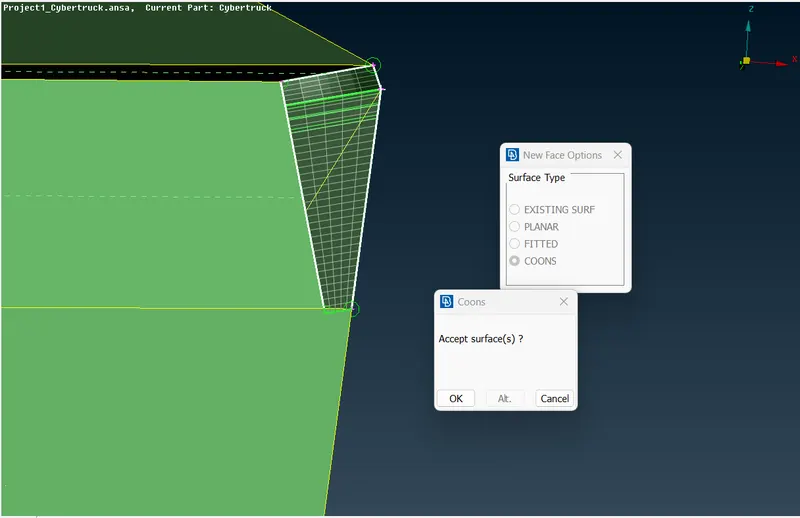
14. Moving on we will now solve the remaining surfaces.
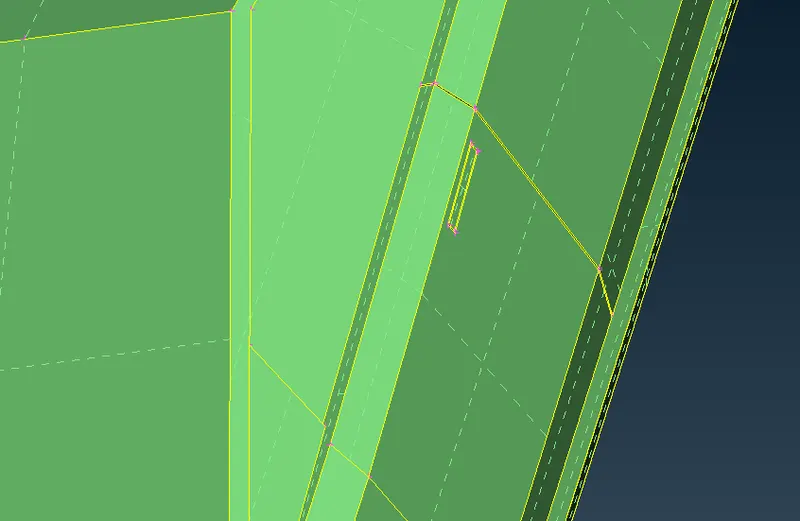
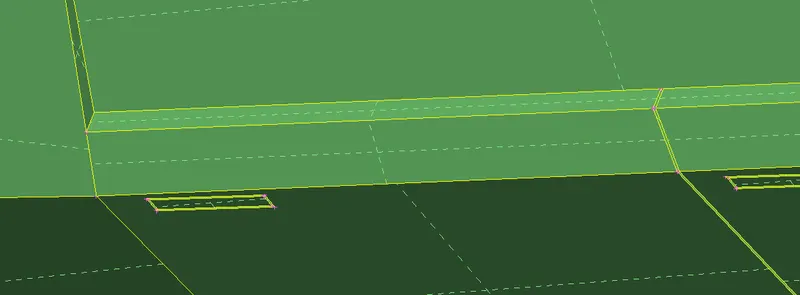
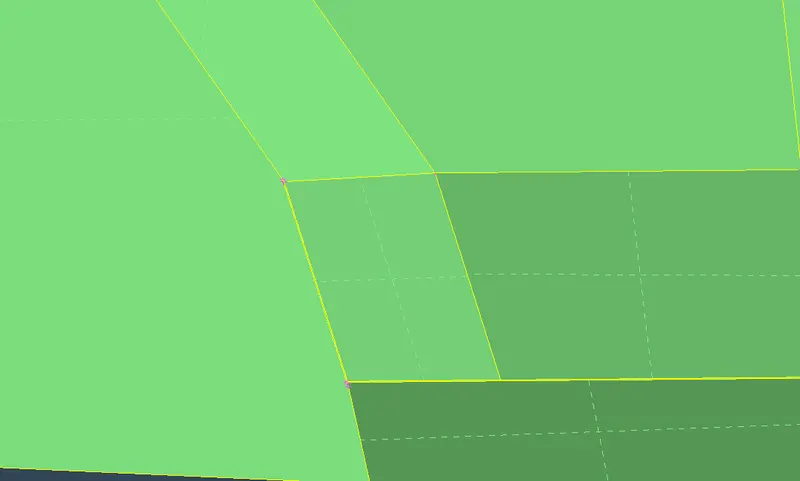
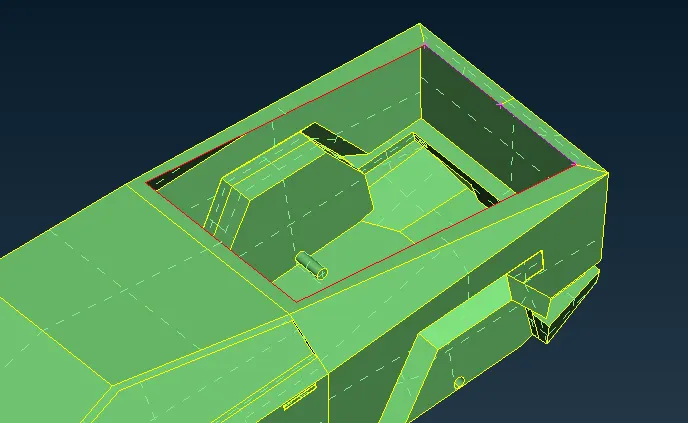
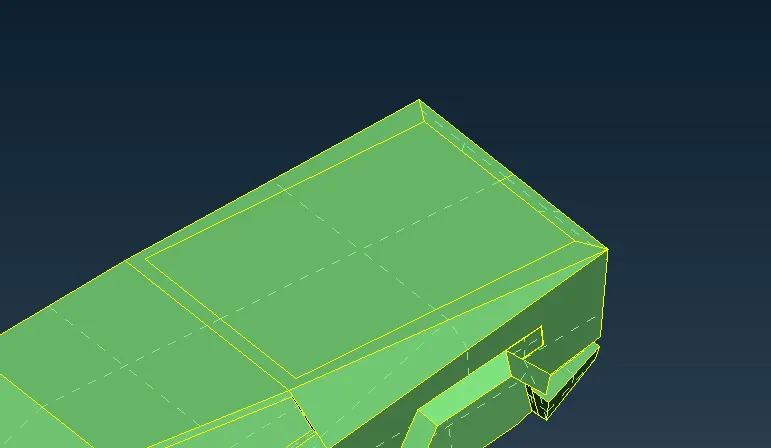
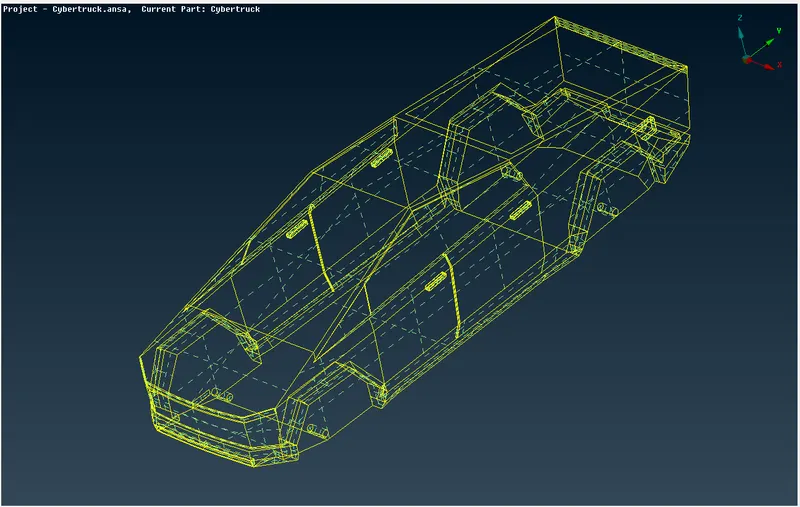
15. From the above image, we can see there are no more single or triple cons that are present within the surface.
16. We will go to the inside portion of the body and remove all the unwanted extra surfaces that are present within the PID.
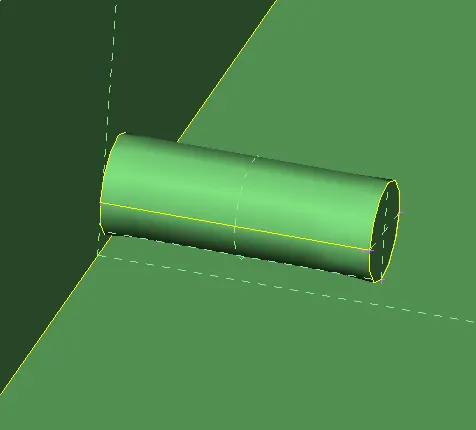
17. The surface shown above is an unwanted surface that is of no use to us. Therefore, we will delete the surface.
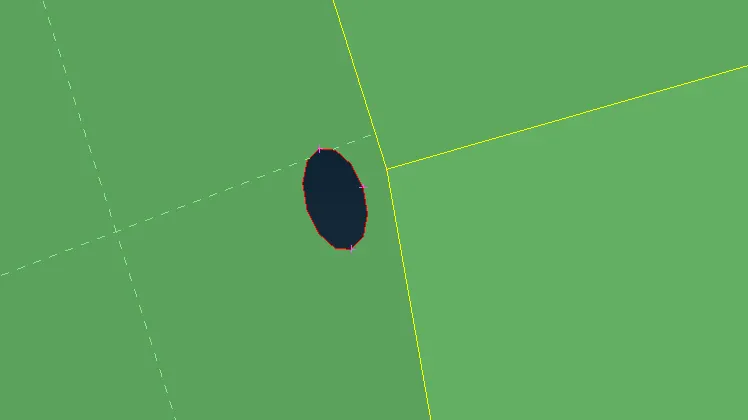
18. We will patch the single con by creating a surface there.
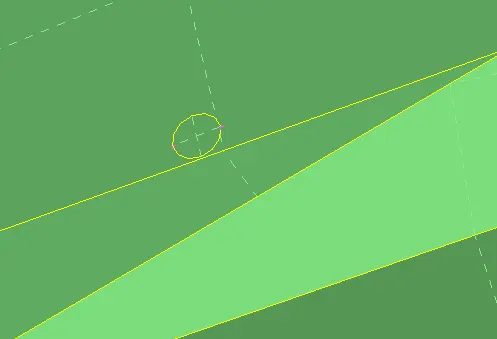
19. We do not need door handles withing the system, therefore we will delete them as well.
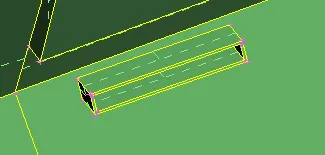
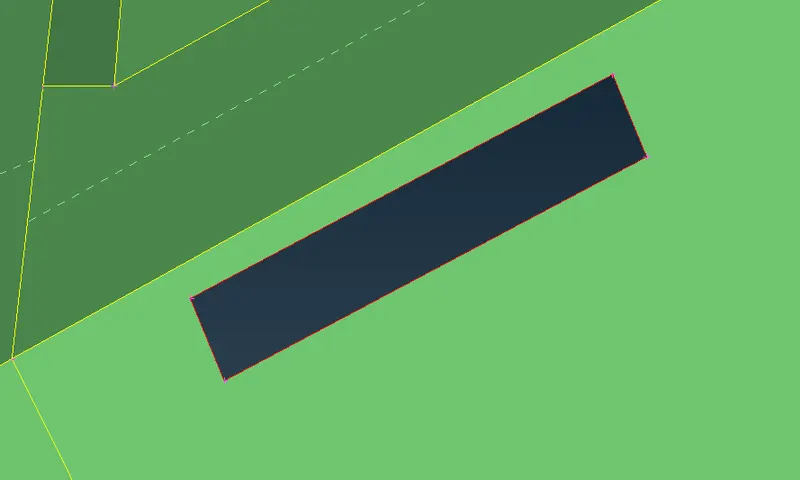
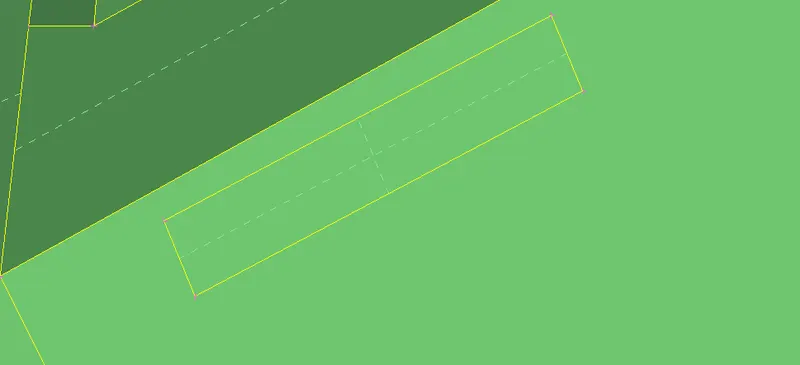
20. We will do this to all the doorhandles.
21. With that all the surfaces related to the Body PID has been solved.
22. Now we can move to the next PID which is tires. There are several single cons that are present on the tire surface. We will solve them one by one.
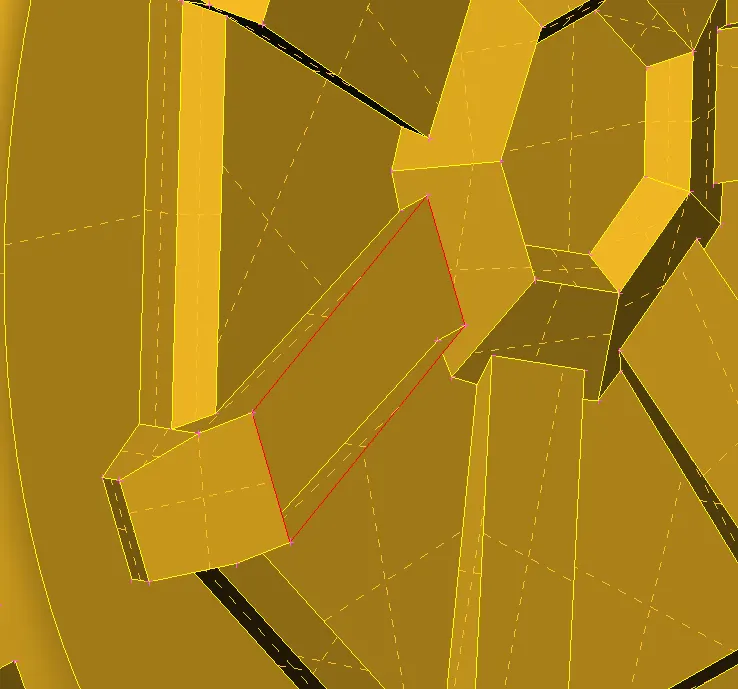
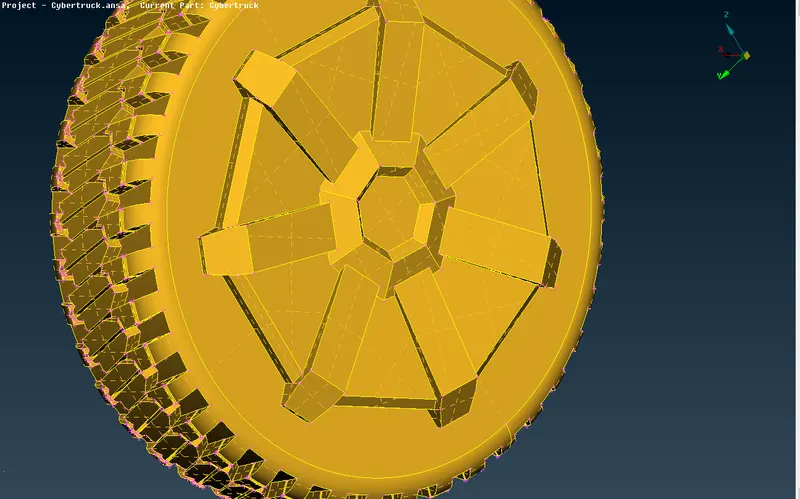
23. The surface that is shown below is of no use to us thus we will delete the surface and patch the single con that is generated over there.
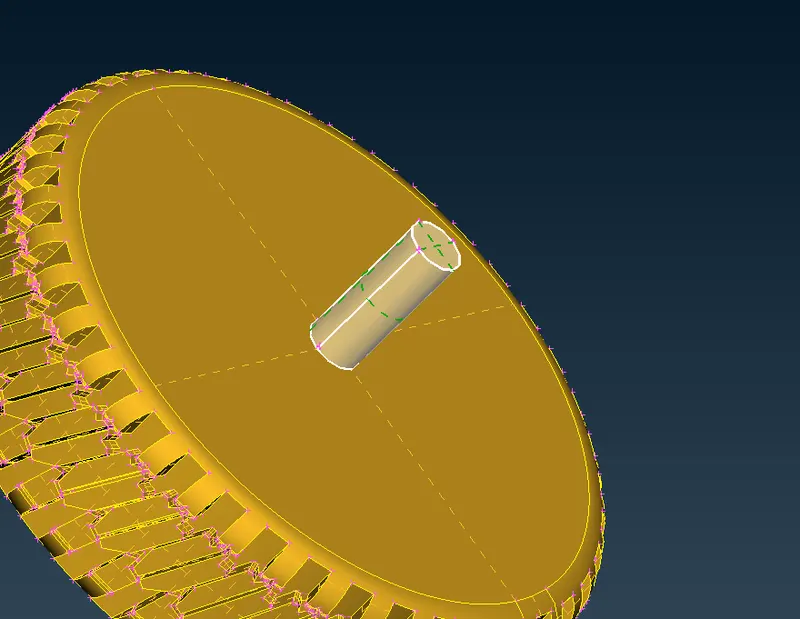
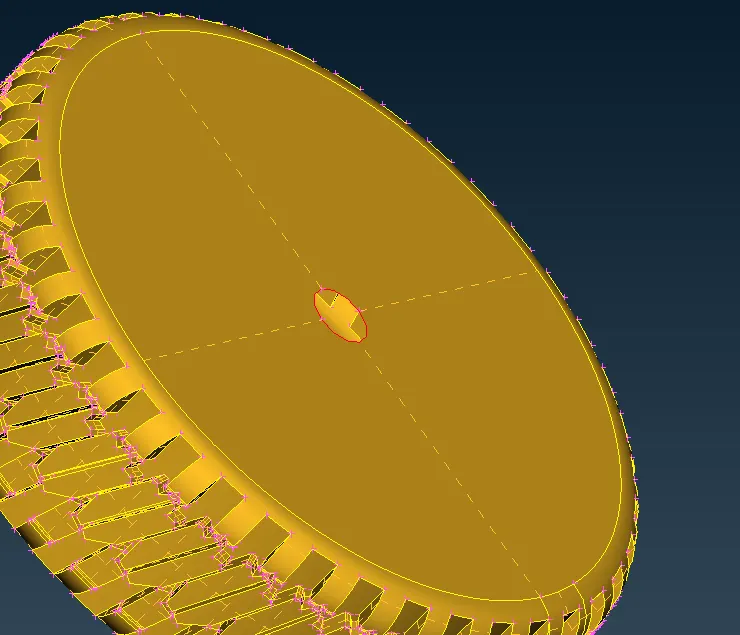
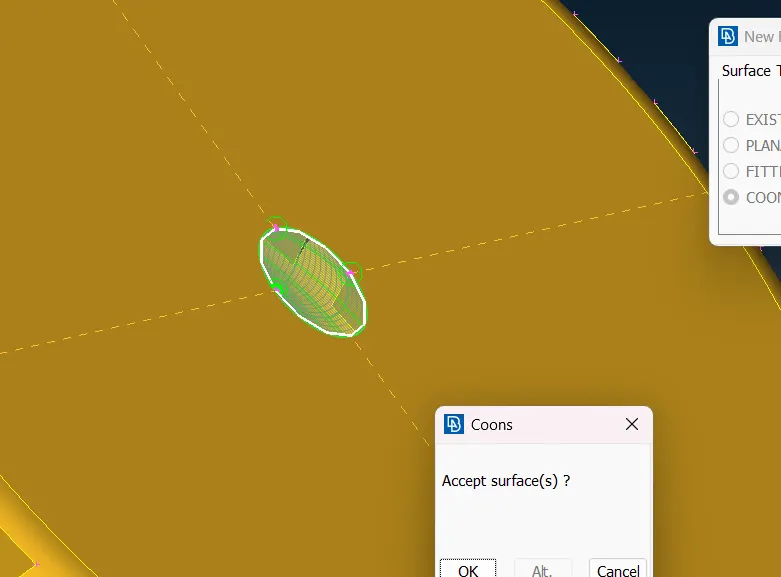
24. We will solve all the other openings that are present in the PID.
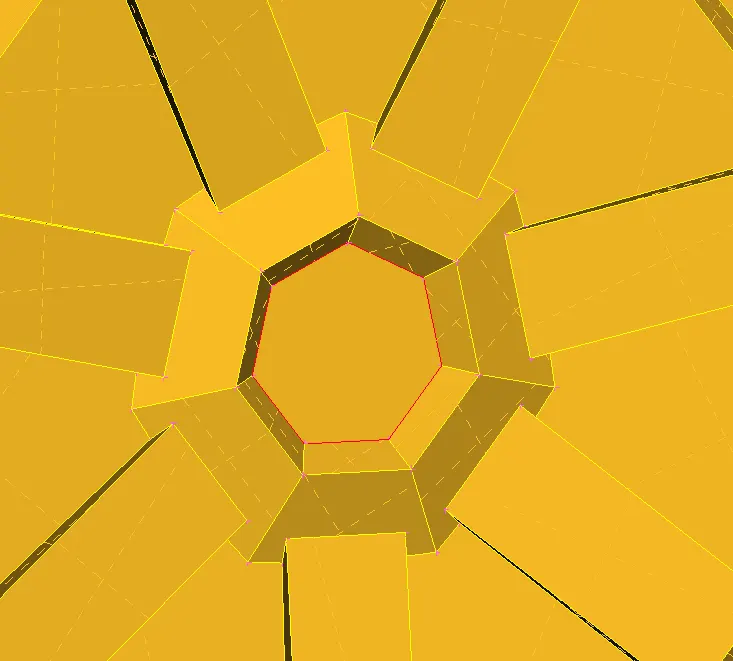
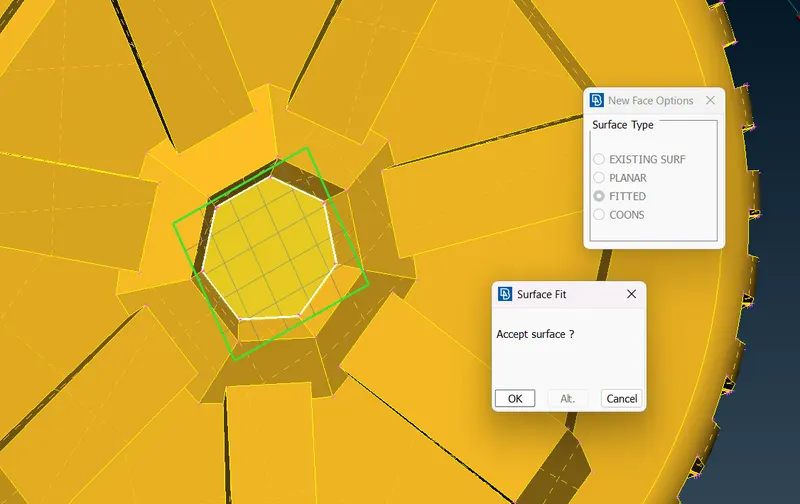
25. With this, we have solved almost all the single cons that were present within the body.
26. In order to model's surface feature, I have not tried to remove all the small surfaces. While meshing we will adjust the minimum target length such that the meshing does not fail there.
27. Now we will move on to the meshing. Before meshing we need to give proper quality criteria to the model. The quality criteria given is attatched below.
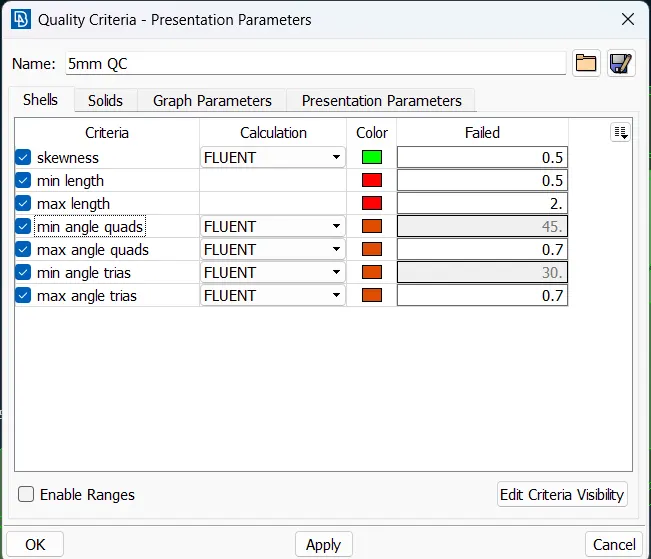
28. The above showed image shows the quality criteria that will be given to the model.
29. Now for meshing, we will mesh the body with the following mesh parameters.
- Mesh length: 10mm.
- Minimum Target length: 0.1mm.
- Maximum Traget length: 11mm.
- Element type: tria
30. We will now select the body PID and give length to it.
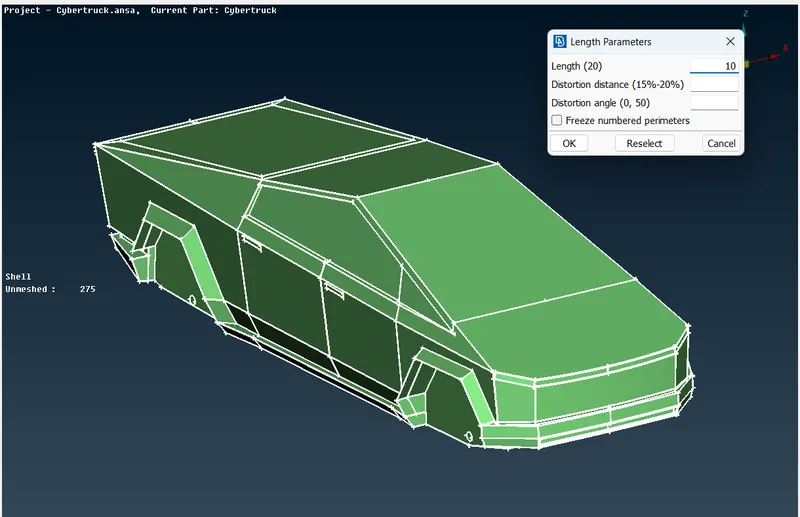
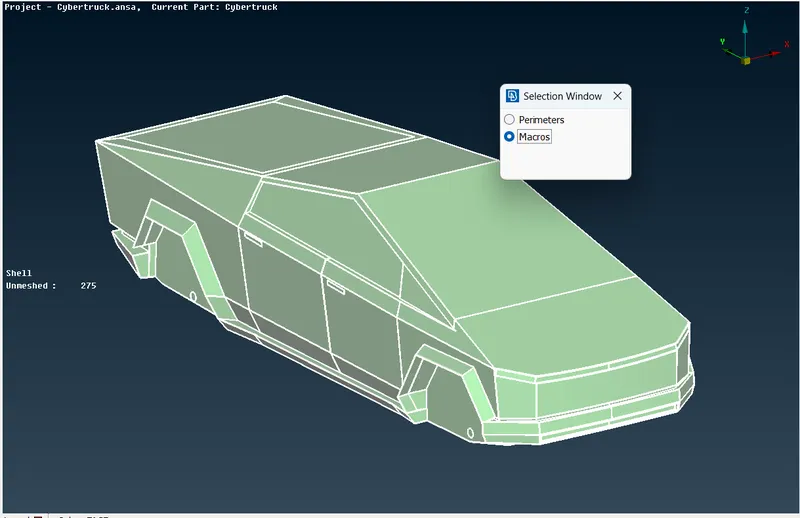
31. We will now use spot mesh : visible to mesh the visible surface.
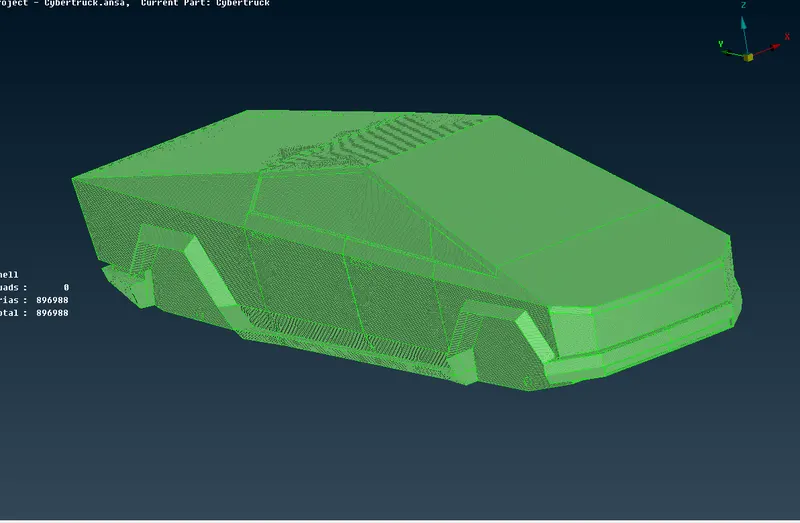
32. As the mesh has been done, we will move to the hidden mode and try to solve the off elements.
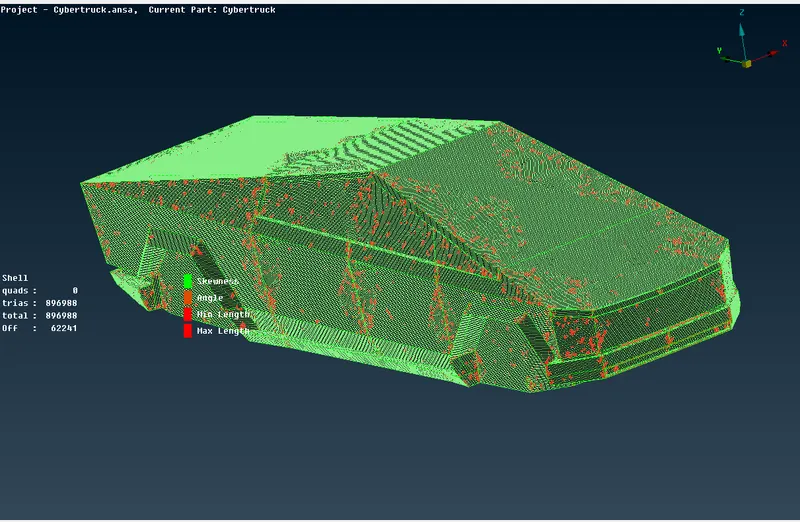
33. As you can see from the image above, there are large number of off-element present within the model. We will try solving them using the re-construct feature.
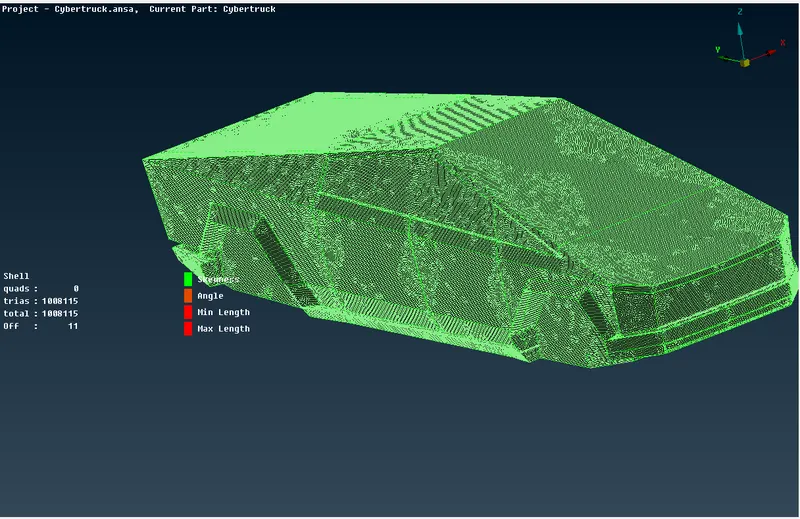
34. Using the re-construct feature we were able to solve a lot of off-elements. We will now solve other elements manually by using move feature.
NOTE: The above image seems dis-oriented due to finite mesh being present.
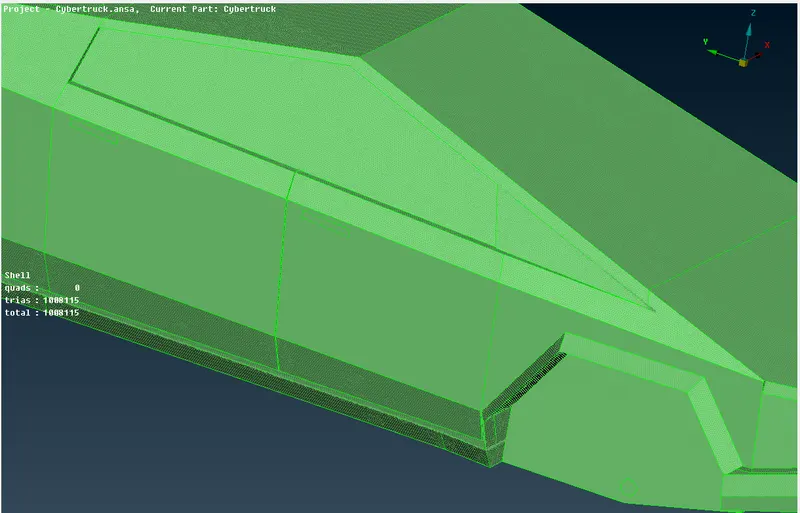
35. Almost all of the off-elements have been solved from the body PID.
36. Now we will switch to the tire PID and mesh the tire model.
37. In case of tire the following are the mesh parameters
- Mesh length: 5mm
- Minimum target length: 0.1mm
- Maximum target length: 7mm
- Element type: tria
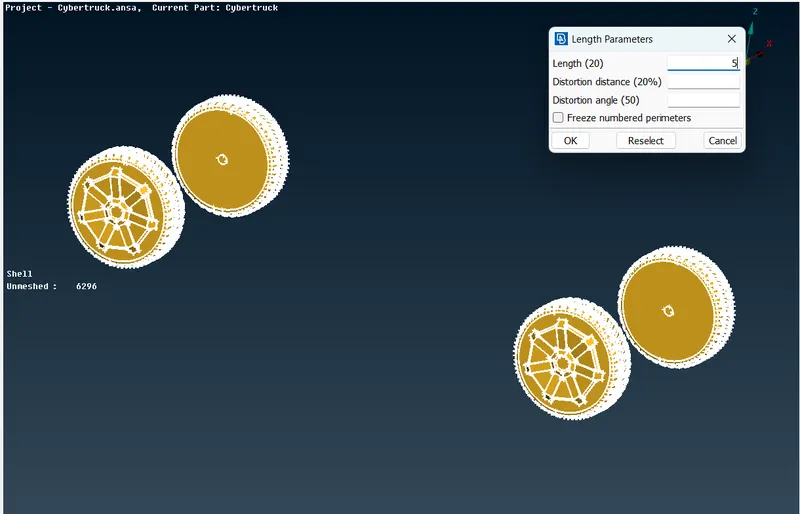
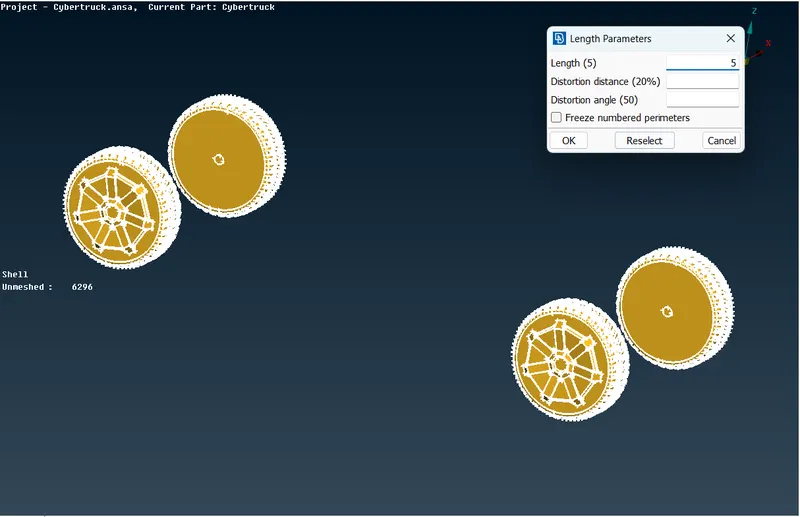
38. The mesh has been generated which is shown in the image below
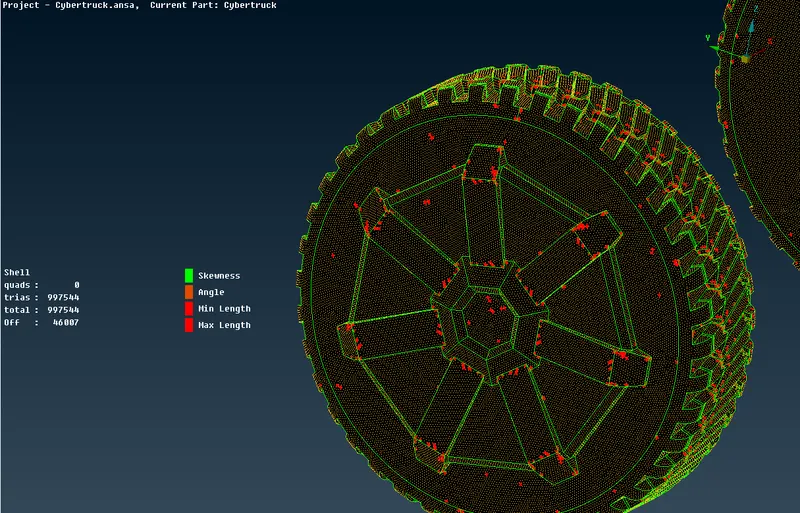
39. As you can see there are a large quantity of off elements that are present within the model.We will try to solve it by using the re-contruct feature.
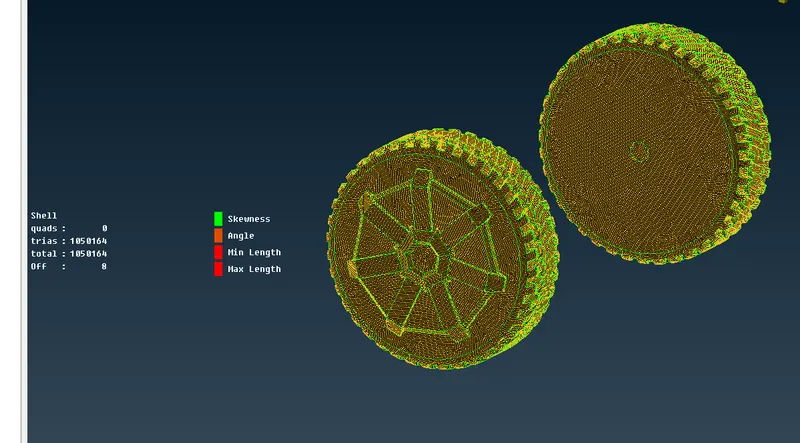
40. Using the re-construct feature we were able to reduce the number of off-elements to a large extend.
41. To solve the remaining off-elements, we will use the move feature.
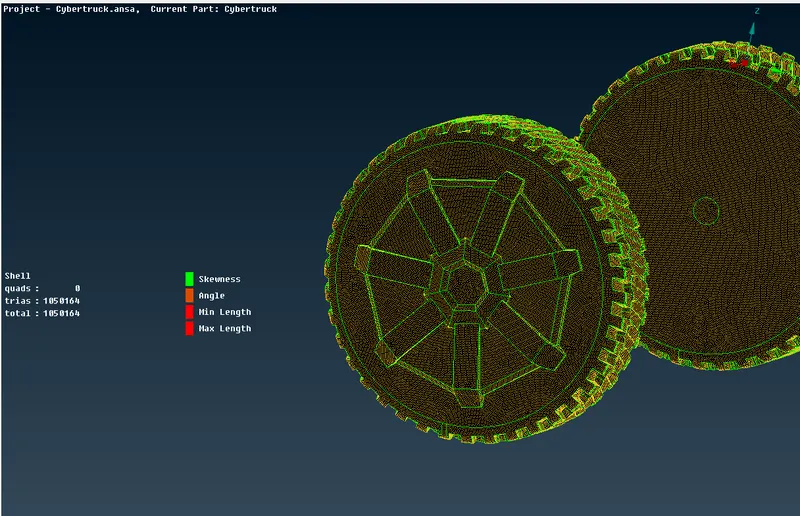
42. All the off-elements from the PID has been solved now.
43. With this, we have meshed all the surfaces/PID that is present within the geometry.
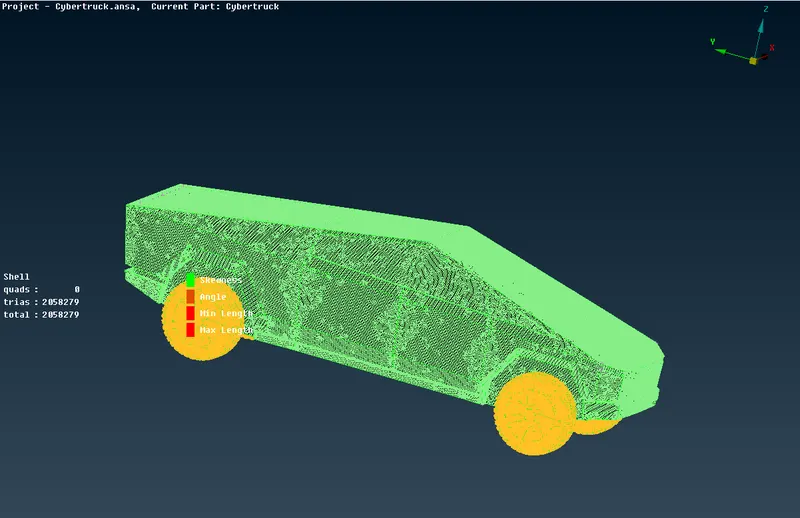
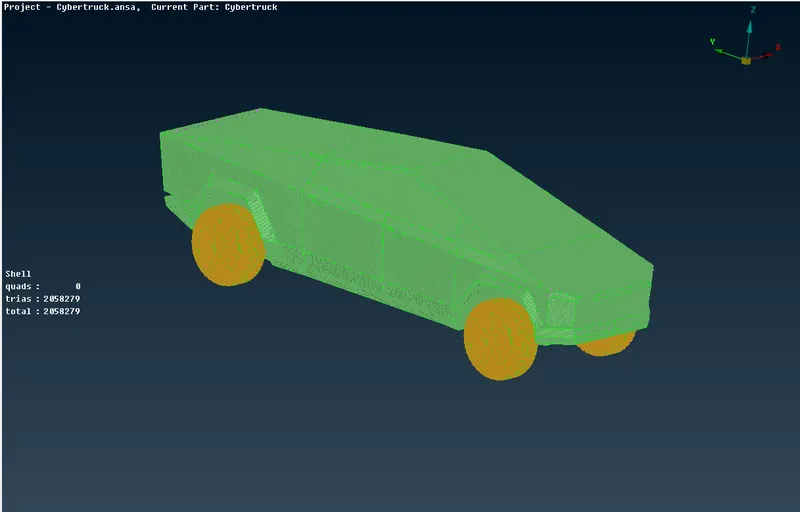
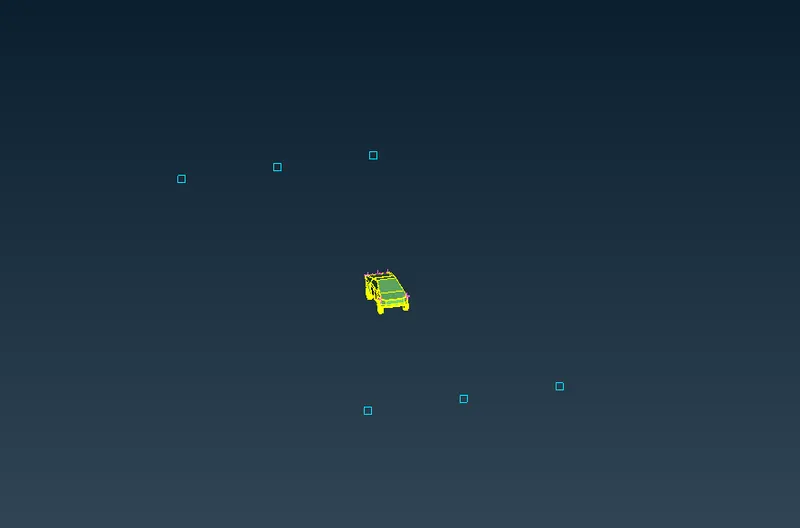
44. We can now move into creating the wind tunnel required for volumetric mesh.
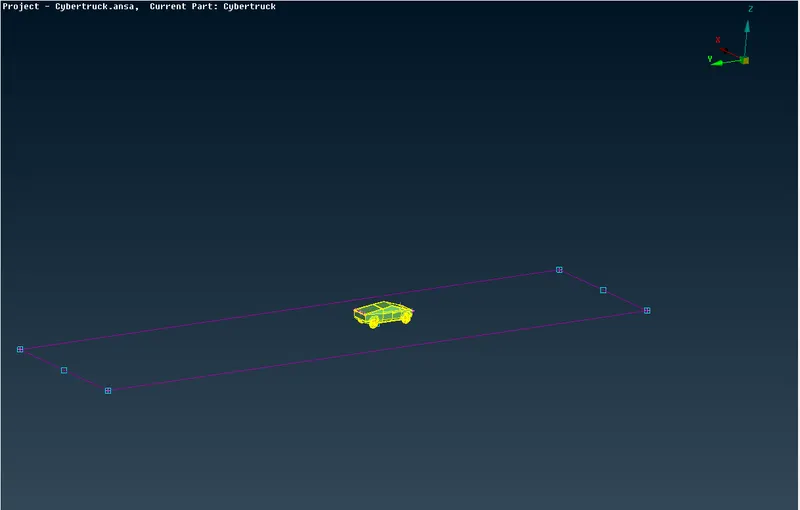
45. For the wind tunnel we need to create a rectangular surface that completly covers the model.
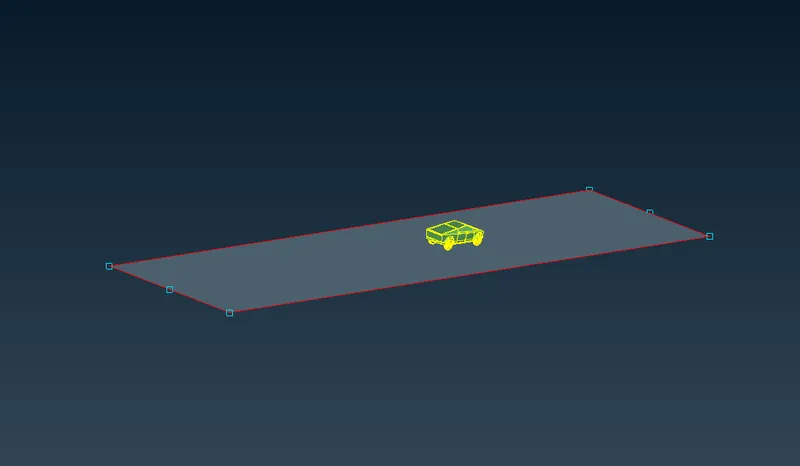
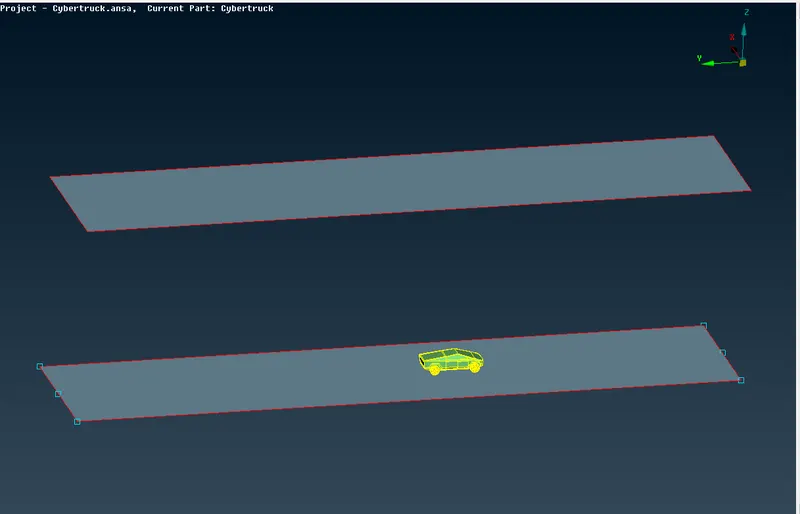
46. The wind tunnel needs to be at a specific distance from the front, side and rear surface of the tesla cyber truck.
47. If the overall length of the vehicle is "X mm", then
- The distance from front should be "4X mm".
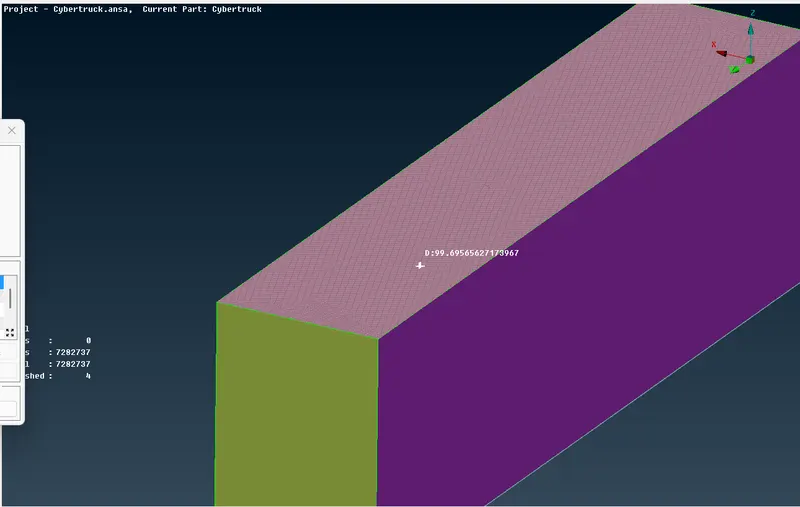
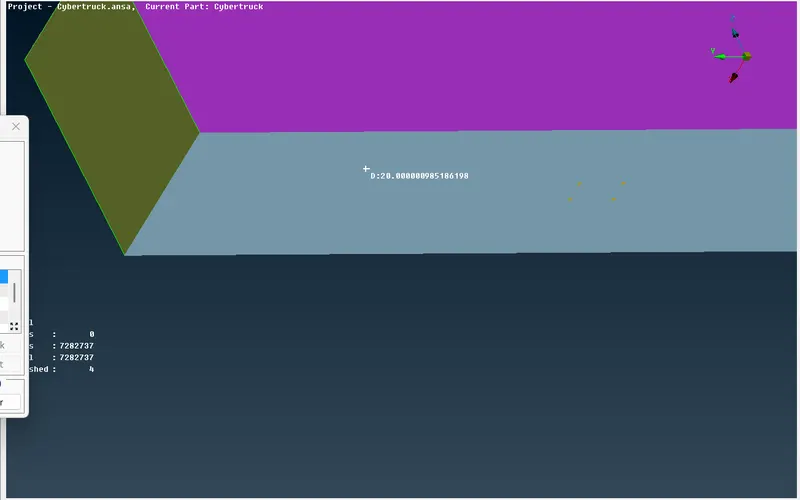
- The distance from each side of the vehicle must be "X mm".
- The distance from the rear end should be "6X mm".
- The distance of the top surface should be "3X mm".
48. In order to create these surface we need to create points at specific distances acting as the reference from which we can crreate curves for the rectangular surface.
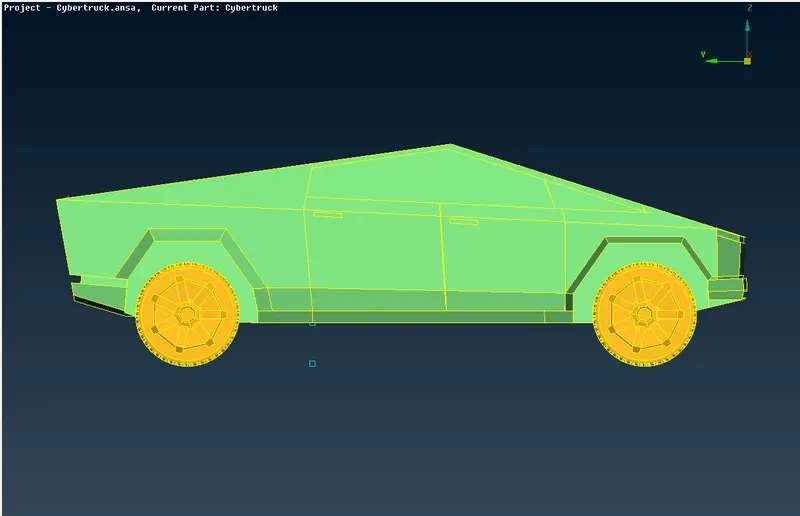
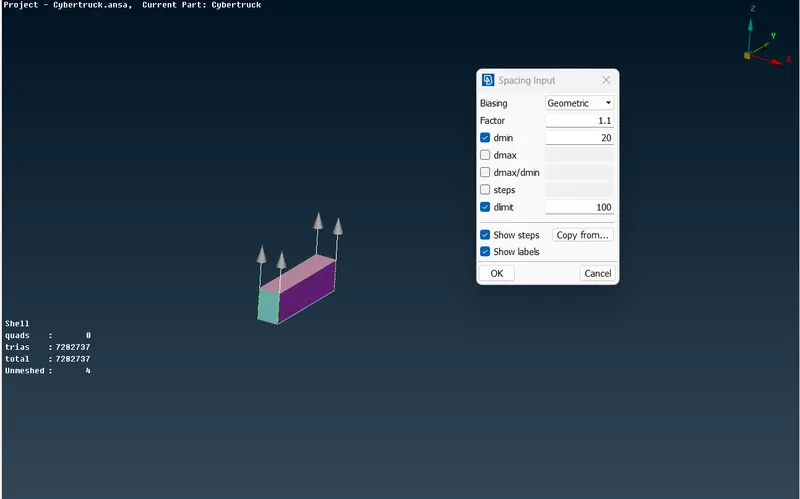
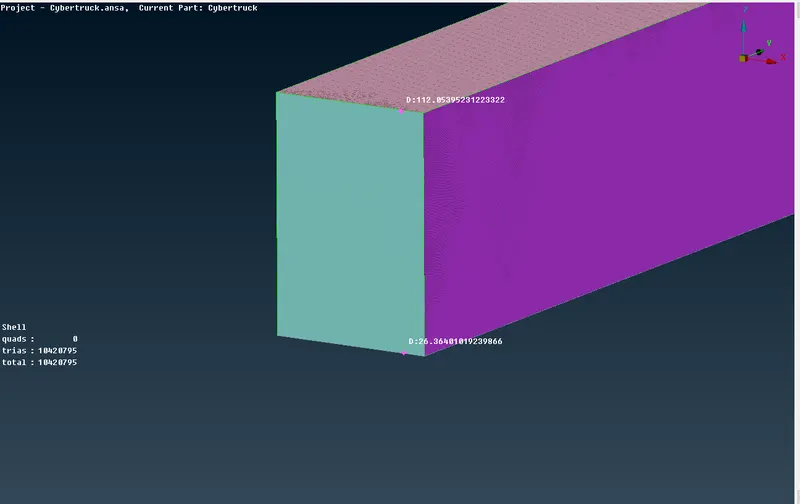
49. The point which is at the same plane as the tires is at a distance of 300mm from the bottom most point of the body PID.
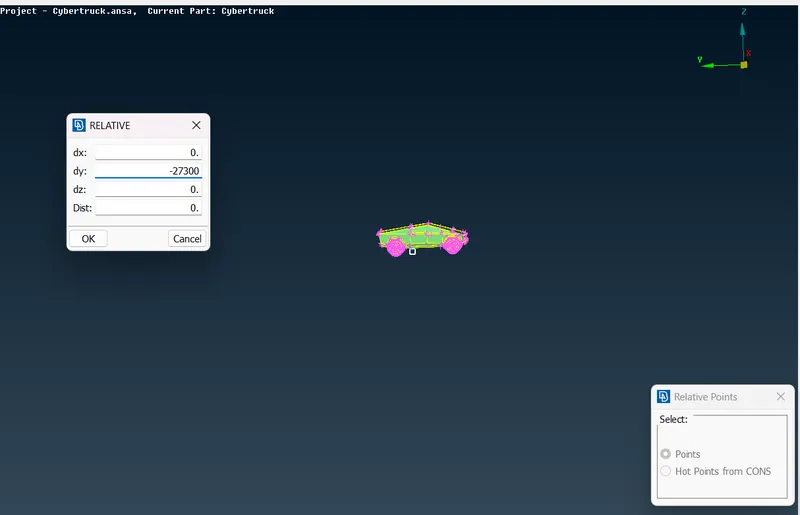
50. From here we will make a point in the negative Y direction at a distance of 4X, where X represents the overall length of the vehicle. We will add the extra distance as well.
51. The overall length of the vehicle is 5900mm.
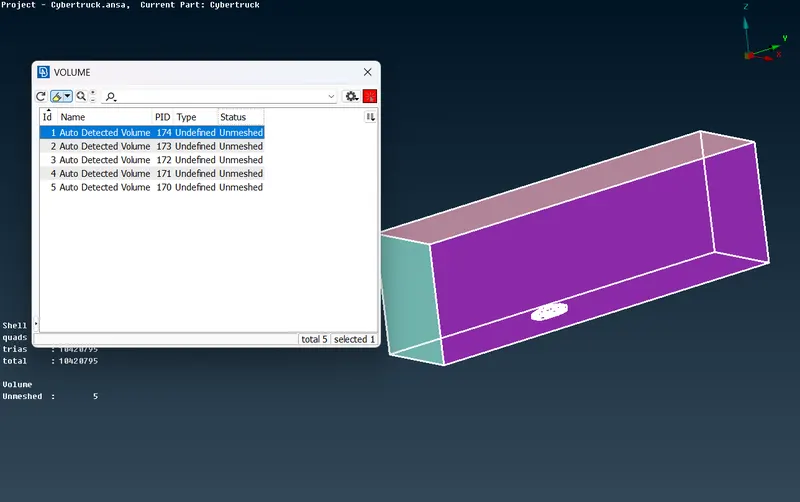
52. The distanc from the center point to the front of the car is 3700mm.
53. Therefore, the distance at which we want our front point is 27,300mm.
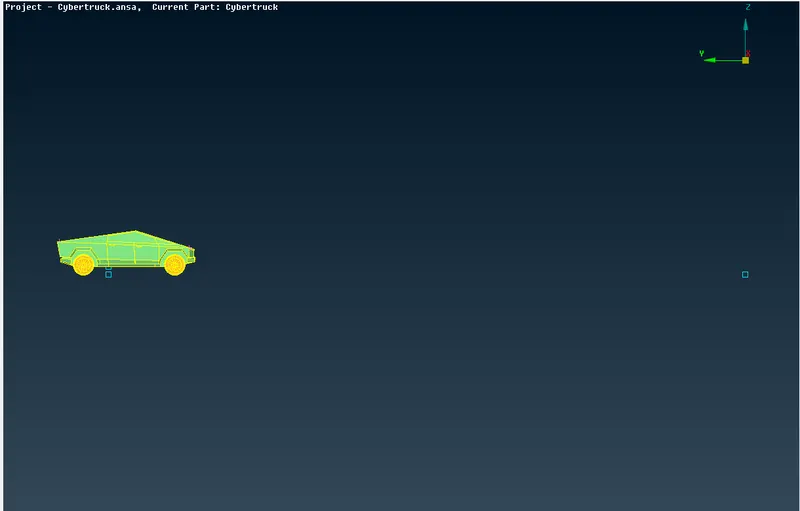
53. Similarly the rear point will be at a distance of 6X added with the extra distance which comes out to be 37,600mm.
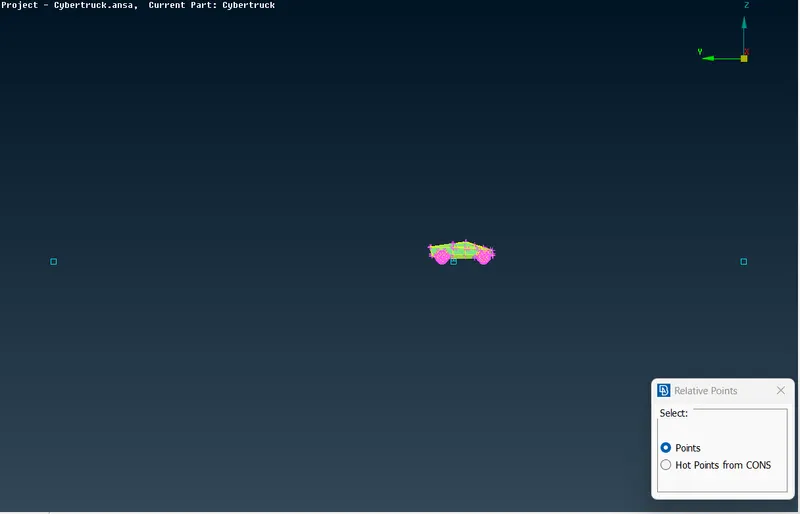
54. The side points are supposed to be X distance from both the sides of the vehicle.
55. The distance of side points from the front and rear points is 6700mm on each side.
56. Now since all the point for the base rectangle has been made, we will create the base of the windtunnel using curves.
57. We can use the offset feature option to create the top surface for windtunnel. The distance at which we have to make the surface from the wind tunnel base is 3X added with the extra length. The length is 19,400mm.
58. We will create all the surfaces of the windtunnel.
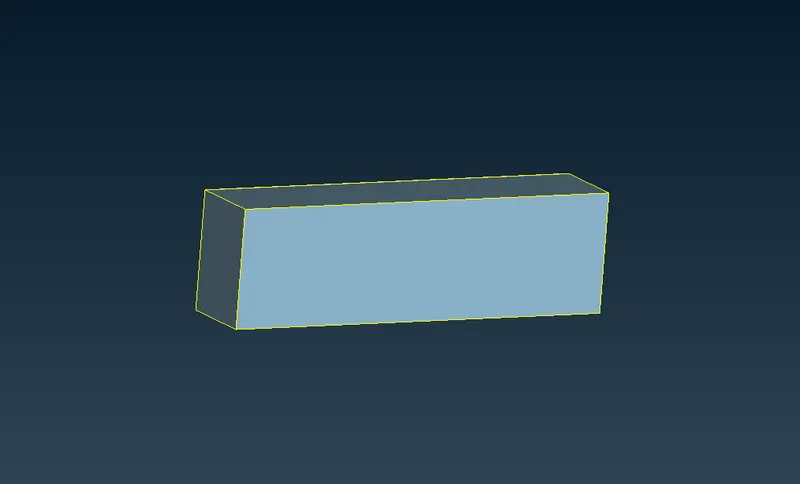
59. We have created the wind tunnel however we need to assign seperate PIDs for seperate windtunnel surfaces.
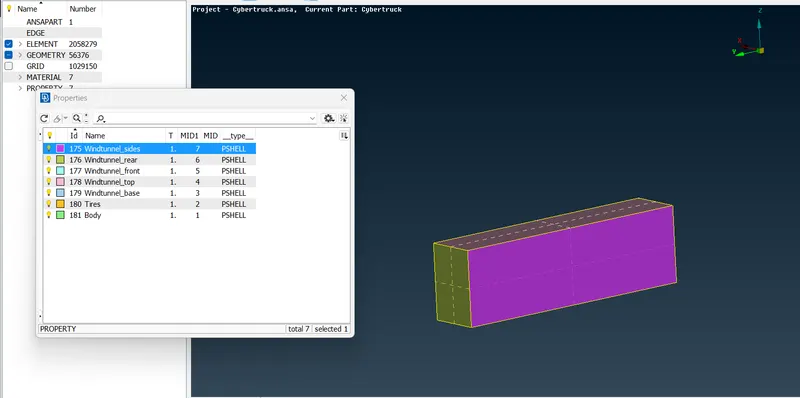
60. To mesh the windtunnel, we need to make sure the surface close to the cybertruck will have finer mesh i.e., the windtunnel_base and the surface away from the cybertruck will have a coarser mesh i.e., windtunnel_top.
61. The sides of the wind tunnel will be having a varying mesh.
62. The top surface
63.The bottom surface
64. For varying the mesh at the side faces, we will use the spacing feature.
65. From the image attatched below, you can see the varying mesh length from bottom to top.
66. With this, we have successfully completed the meshing of Tesla Cybertruck and Wind tunnel.
67. We can now move to the volumetric mesh and remove all the unnecessary that are not needed.
68. This is the only volume we need for volumetric mesh. Therefore, we will delete all other volumes.
69. Since, the volumetric mesh will take a long time we are not going to do it.
70. We have completly meshed the model along with the wind tunnel and then seperated the volume required for Tetra mesh.
Learning Outcomes:
- Better understanding of TOPO clean-up.
- Improved working efficiency with a better understanding of the user interface.
- Improved on checking for off-elements using hidden feature, what they represent and how to solve them.
- Improved on solving off-elements using re-construct feature.
- Improved on using move feature for solving off-elements.
- Improved on making a varying mesh length using spacing feature while working with the wind tunnel.
- Learned how to use curves to trace back a surface.
- Learned to generate curves using cons to curve, create curve feature etc.
- Learned how to generate hot points at different location using the relative feature.
- Learned to use the offset feature to create offset surfaces.
Results:
- Generation of surface mesh on Tesla Cybertruck.
- Designing a wind-tunnel for the volumetric analysis.
- Generating surface mesh on the wind tunnel.
- Generated a volume for volumetric mesh.
Conclusion:
The conclusion of the project is that we learned better understanding of the features used while cleaning up a model and preparing it for volumteric mesh. The conceptual knowledge of how triple cons and single cons effect volumetric mesh was understood. At the end a volume was created for volumetric mesh.
Note: The model given for has been uploaded to the google drive. The link for the drive has been shared below.
Google drive link: https://drive.google.com/drive/folders/1a68xpLB454ExXxDGAkopwRpeCLww42R2?usp=sharing