Week 5 Challenge : Surface wrap on Automotive Assembly
AIM: To clear the geometrical errors and delete surfaces which are unwanted for Surface wrap. After clearing geometry, Merge all the components (Engine, Gearbox and Transmission) and perform surface wrap.
- Target length for Wrap = 3 mm
Take away:
- Cleaning up the geometry.
- Using tool - MERGE.
- Using tool - SURFACE WRAP.
GEOMETRY CLEAN UP:
1) Engine:
- First we have to load the geometry.
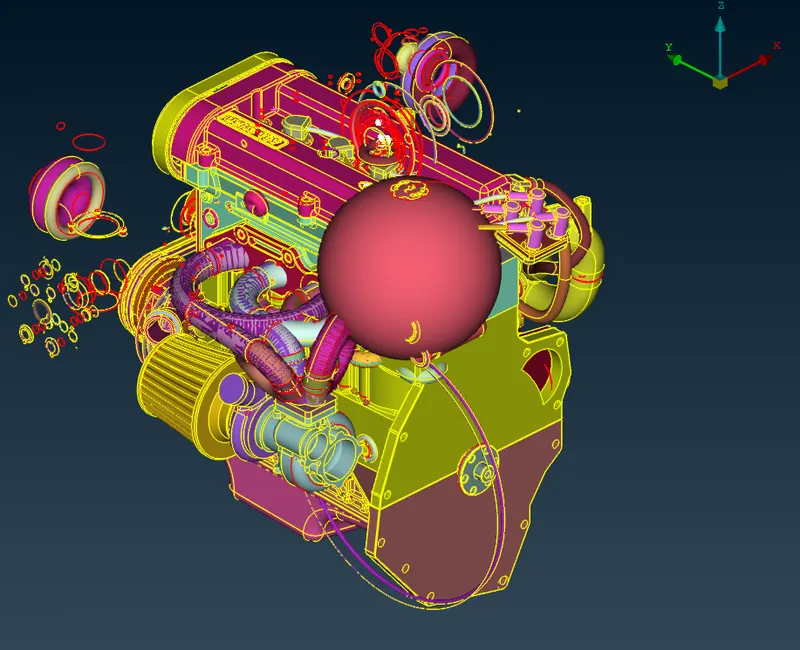
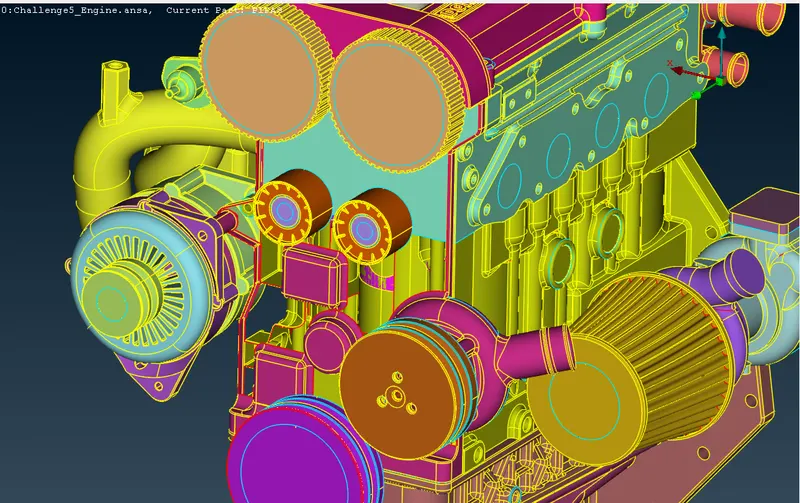
- As seen from the above figure (engine), there are lot of unwanted regions of leat interest.
- This unwanted regions must be removed.
- This can be solved by setting proper view and deleting the unwanted regions by using UNIVERSAL DELETE option.
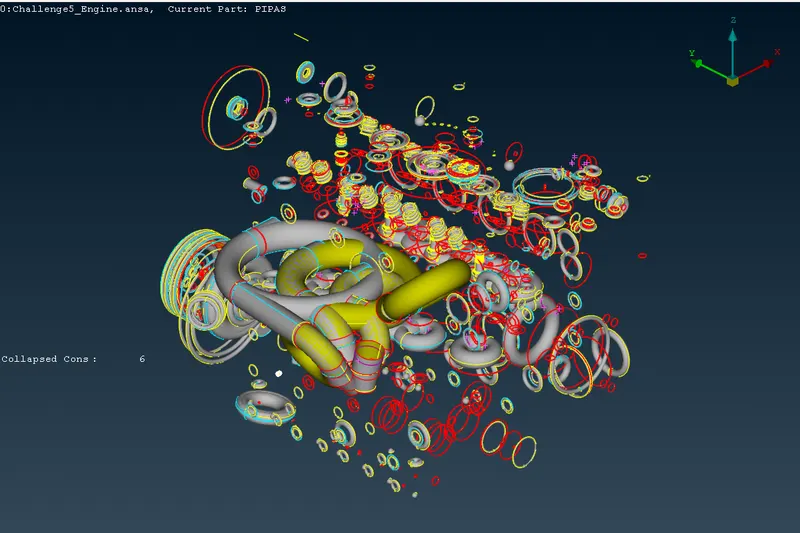
- These errors can be eliminated by setting a view and then delete.
- Best practice is to hide the needed PIDs and then select the unnecessary features.
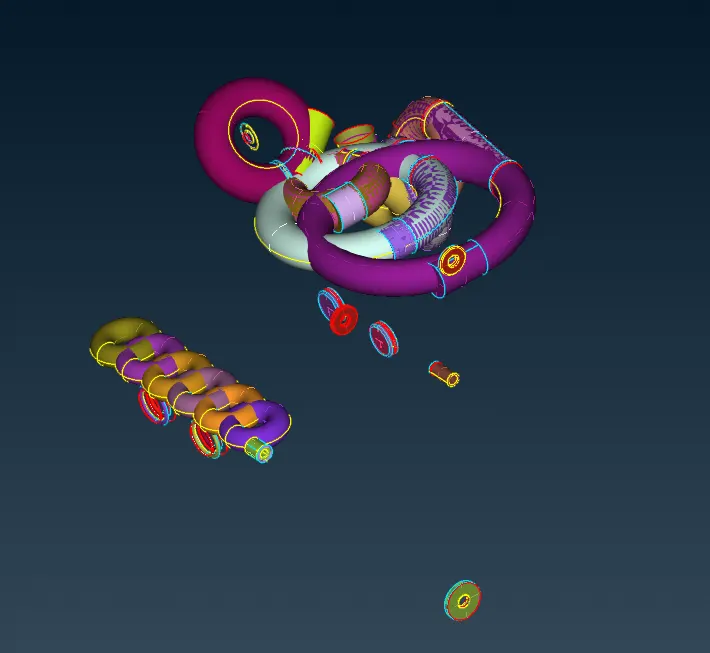
- In this case, triple cons are not considered as an error.
- After removing all the unwanted materials we can display the full geometry.
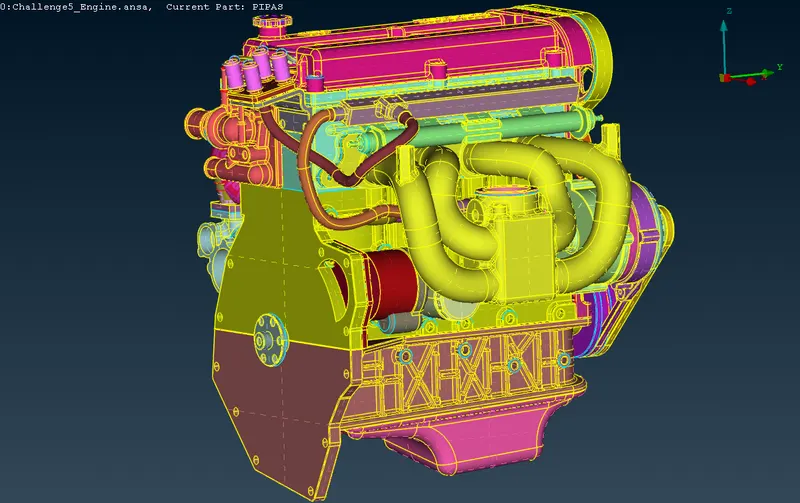
- This looks much more cleaner than before.
- Still got some single cons to remove near the pipe regions.
- We need to delete the all the unwanted surfaces of pipes in the geometry.
- These kind of overlapped surfaces must be removed.
- Care muct be taken while deleting those features.
- Once the clean up is done, try to run a geometry check. You might find few warning or penetration errors.
- Finally the engine geometry looks like as shown below.
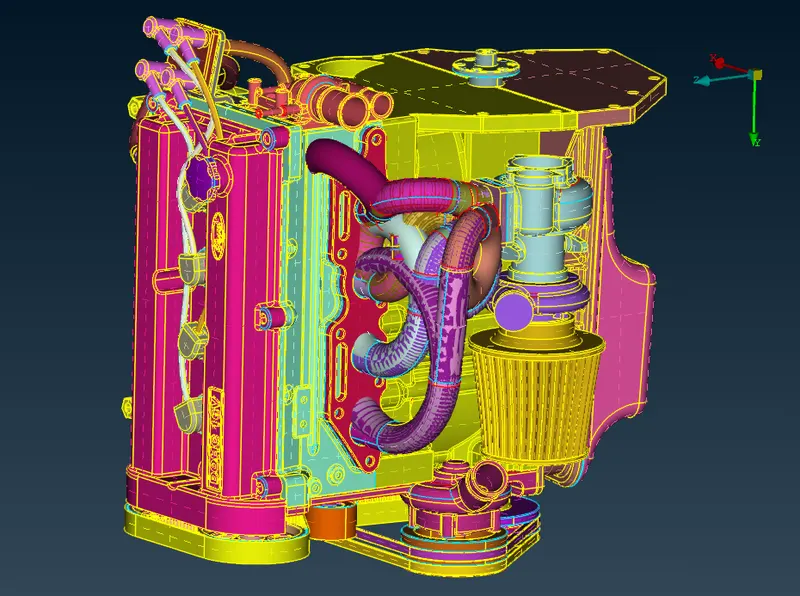
2) Gearbox:
- First we have to load the geometry.
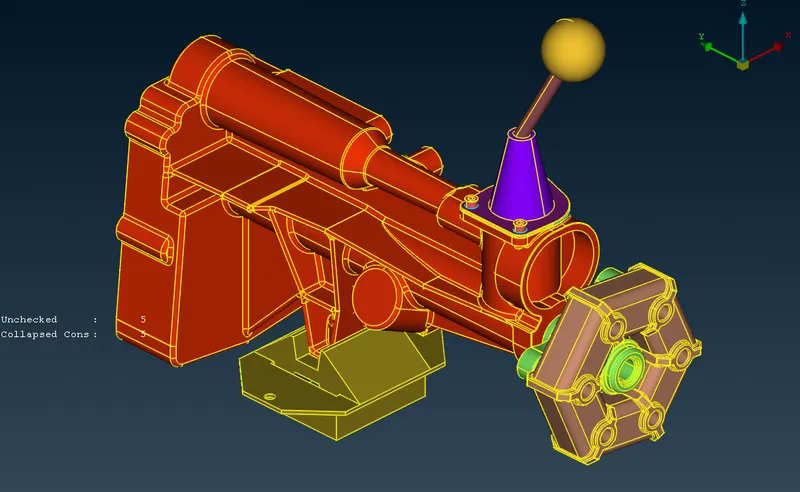
- Compared to Engine it has lot less errors in the geometry.
- Initially, run a topo check.
- Start with hiding necessary PIDs.
- This model does not have many errors.
- Any way we have to clean up the geometry.
3) Transmission:
- First we have to load the geometry.
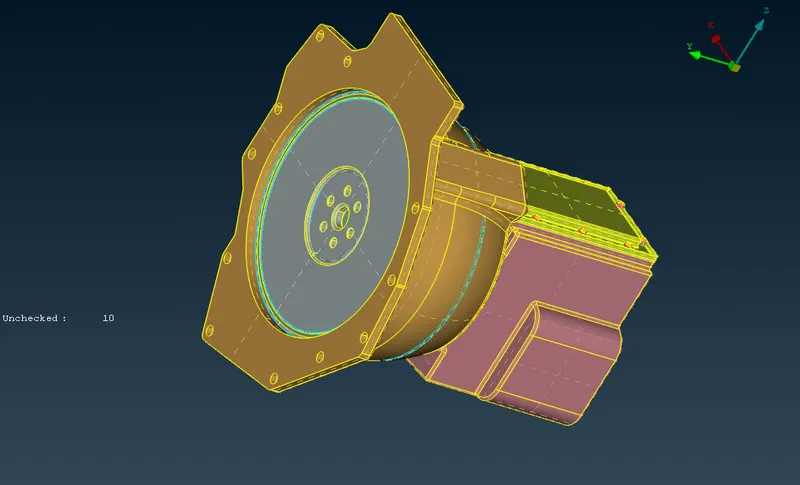
- At the end we will clean up the transmission.
- Run a topo check.
- Start by hiding the required components by PIDs.
- Delete unnecessary features.
MERGING ALL THE THREE COMPONENTS:
- Before performing surface wrap, we need to merge all the three components.
- Navigate to FILE and select MERGE option - select components one by one.
- After merging the geometry looks like.
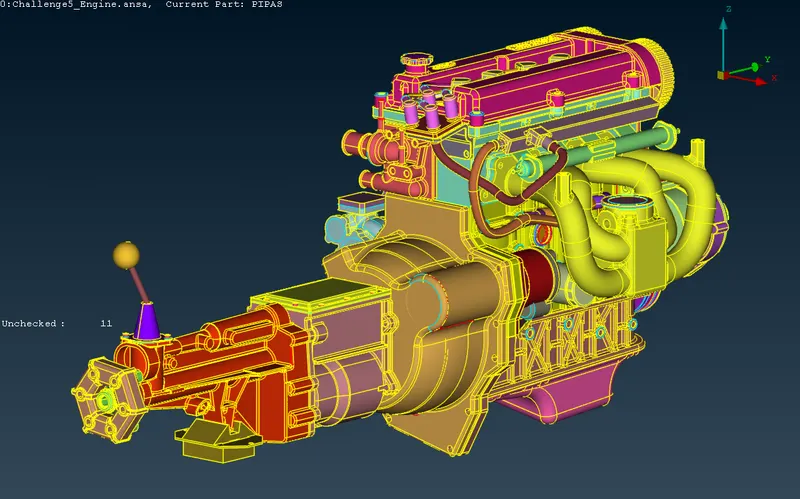
- Then we need to close all the holes of the whole geometry, to perform the surface wrap perfectly.
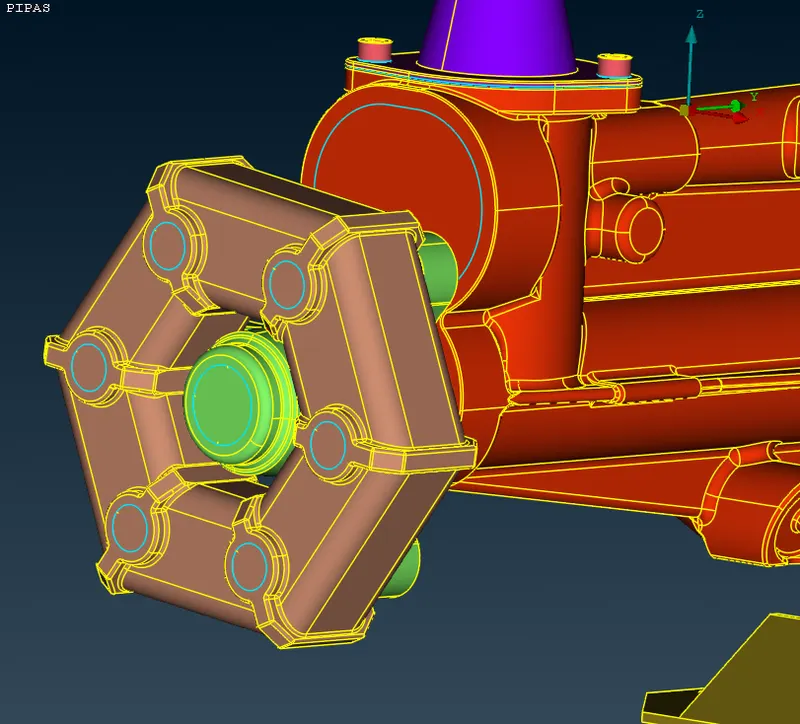
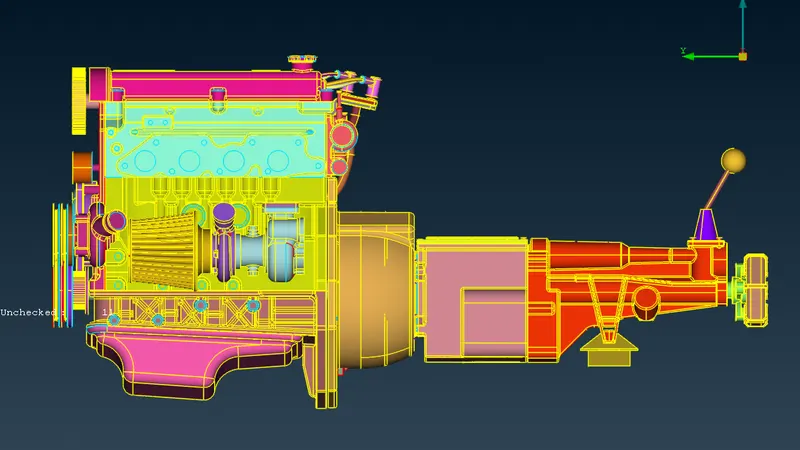
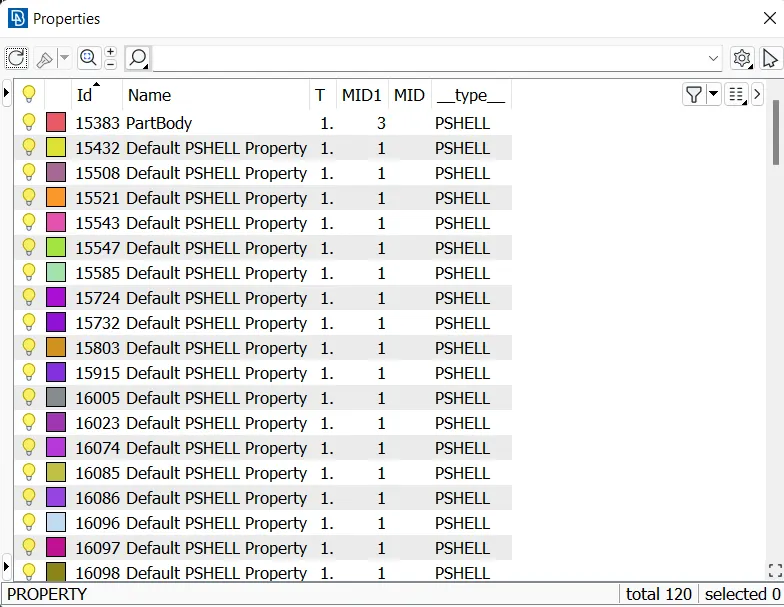
- Go to the properties and delete the unwanted PID'S.
- And we get upto 120 PID's.
SURFACE WRAP:
Surface Wrap:
- Go to mesh deck.
- Navigate to ELEMENTS.
- Select WRAP and select CONSTANT LENGHT.
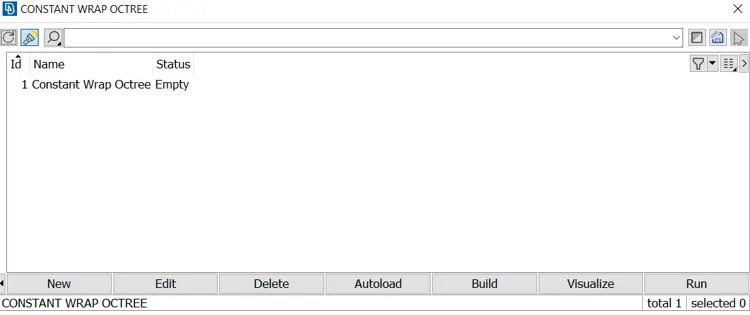
- Double click on empty.
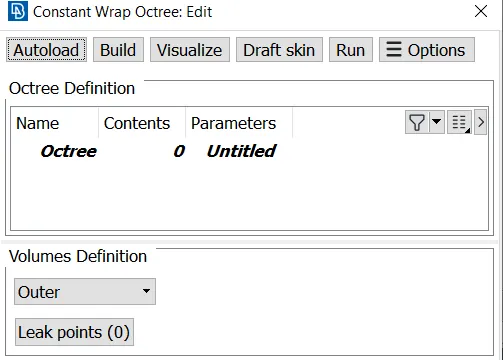
- Click on Untitled.
- Target Length = 3 mm.
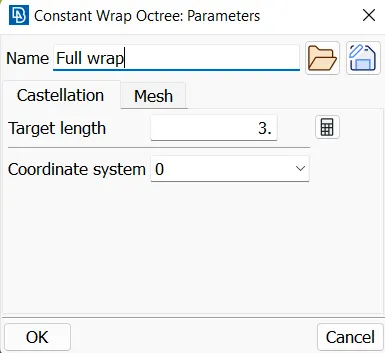
- elect Mesh in the same dialogue box,set the shell elements as trai, wrap mode as node out of structure and proprtiy assignment as Assign properties from structure.
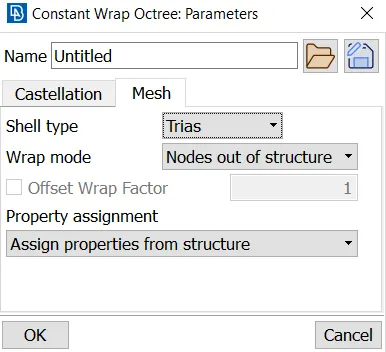
- After clicking on OK, another box will pop up.
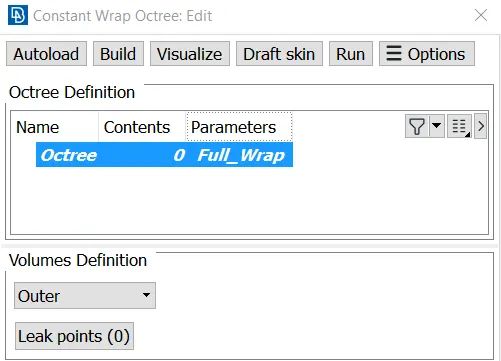
- Double click on CONTENTS 0.
- Select all the PID's.
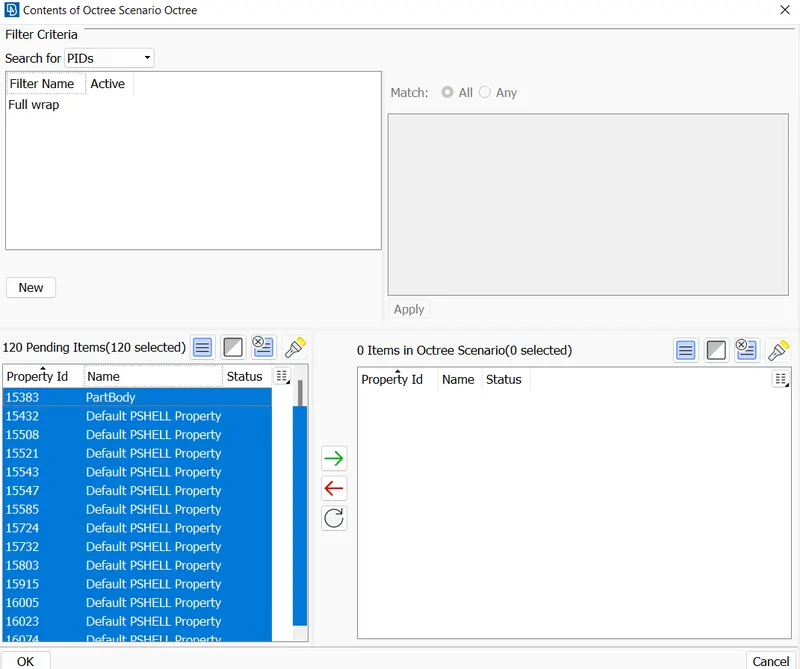
- After selecting the PID's click on the right arrow, so that all the PID's moves to the right side.
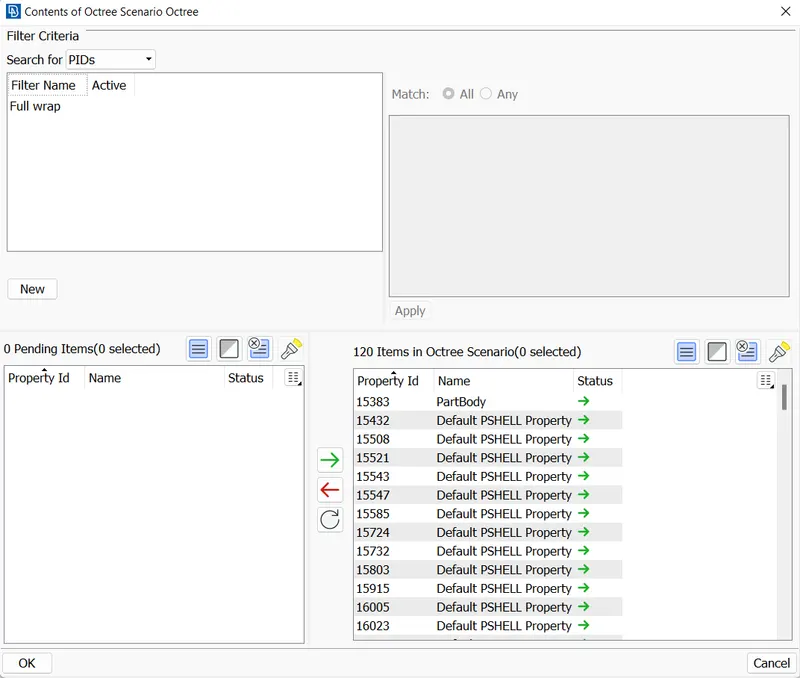
- Then click on ok.
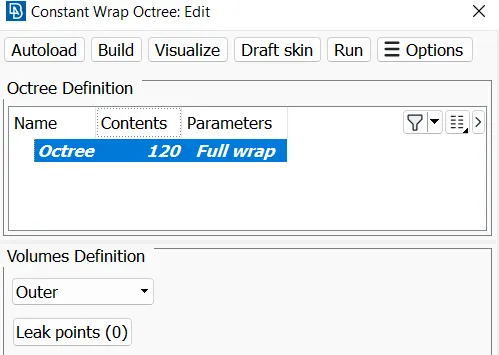
- Finally click on the RUN, so that surface will gets started.
RESULTS:
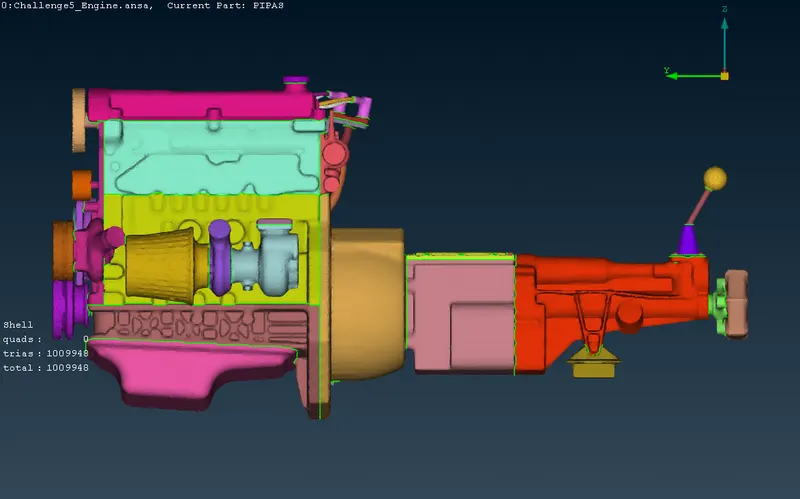
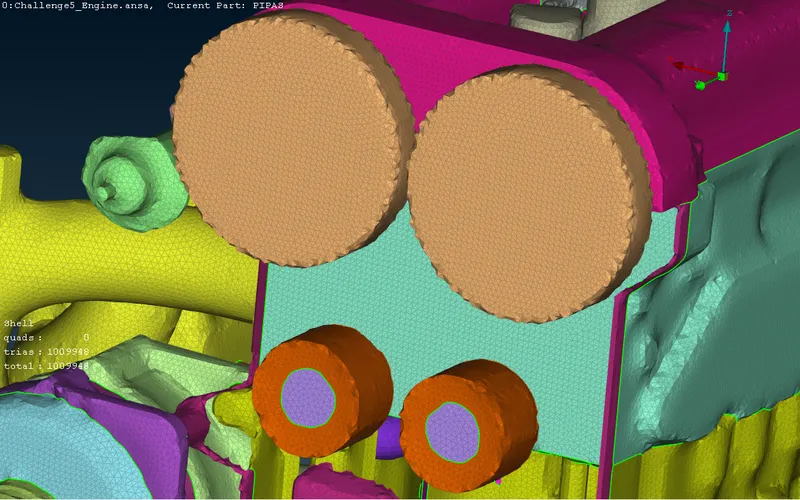
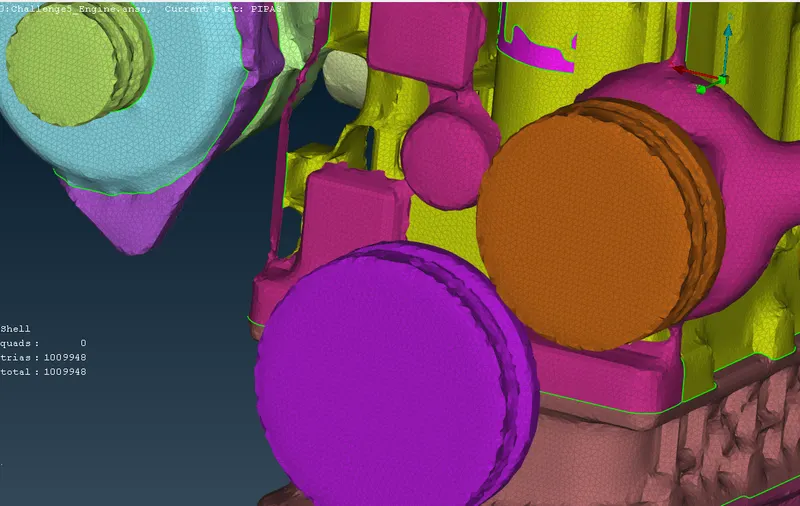
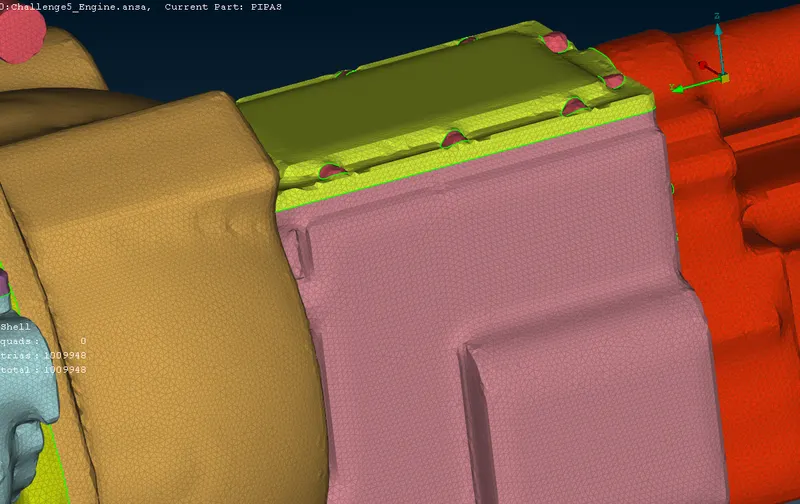
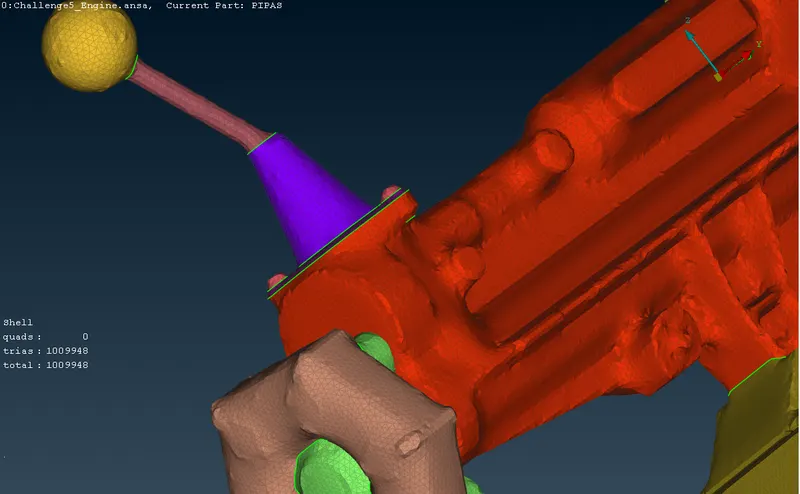
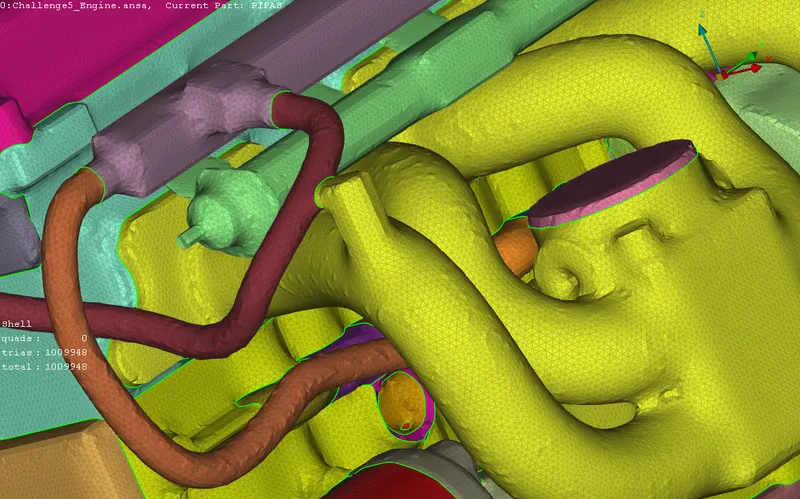
After wrap the geometry look likes as follows.
CONCLUSION:
- Applied tools to remove unnecessary features, surfaces.
- Explored MERGE tool.
- Performed surface wrap on the entire assembly.
GOOGLE DRIVE LINKS:
ZIP file:
https://drive.google.com/file/d/1skM7c9vsWBulPXC_ten86FQr1Gl3ez4a/view?usp=sharing
Normal file:
https://drive.google.com/file/d/18wG20S6ZJzjgdJcEsSg_DzqPmcYZNifd/view?usp=sharing