Week 5 Challenge : Surface wrap on Automotive Assembly
Aim/Objective :
To do surface wrap over assembled parts (engine,transmission and gear box)
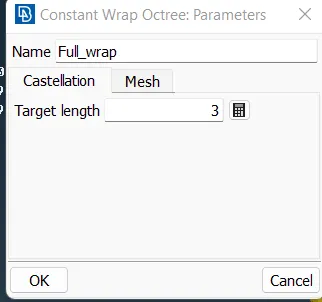
Target length for Wrap = 3mm
Procedure :
- First the model is loaded on to ANSA
- Unwanted surface are deleted without damaging the outer shape of the geometries.
- Single cons are resolved mainly here as it would affect negetively on the surface wrapping.
- After cleaning up the geometry from the unwanted surfaces it is then solved.
- Then whole three geometries are merged together to form the required system.
- Surface wrapping tool with constant length of 3mm is chosen from the meshing interface.
- It is then named and the required parts are selected(all) and the run button is pressed to start the surface wrapping.
Model :
1. Engine :
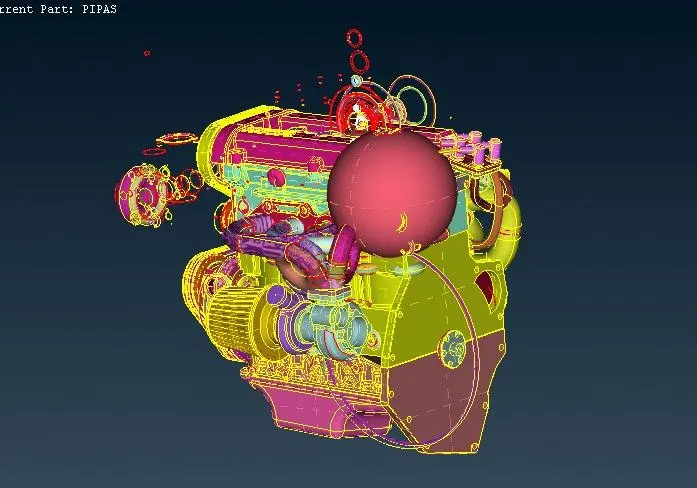
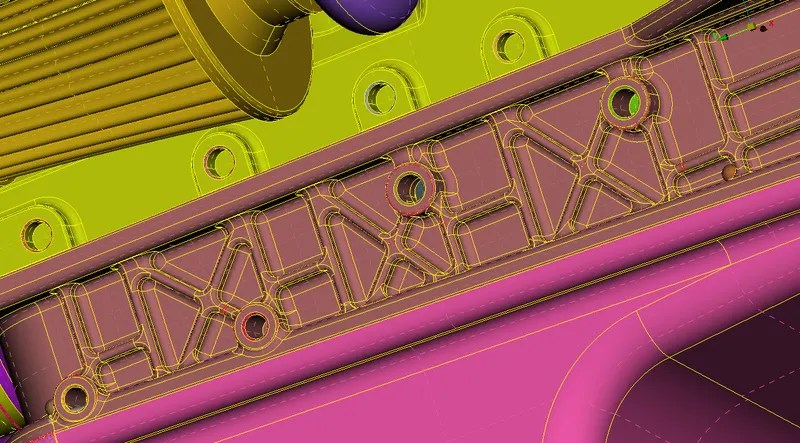
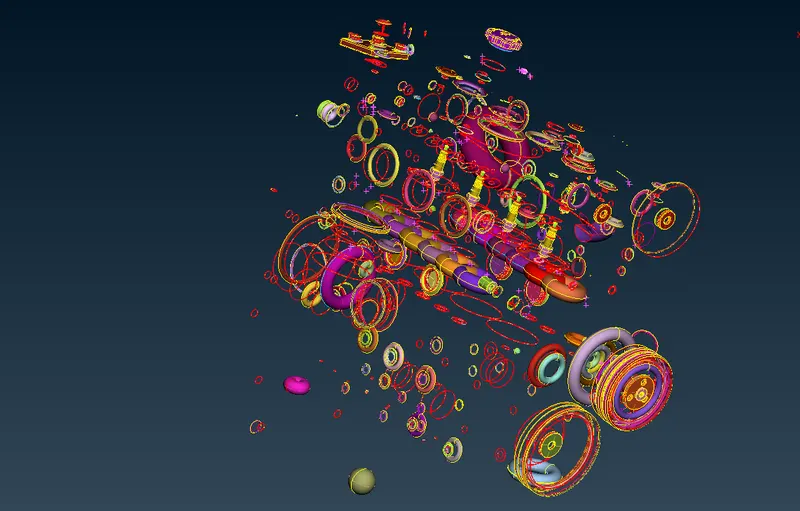
We clean up by deleting unwanted surfaces like donuts shaped and resolve errors only at surface.
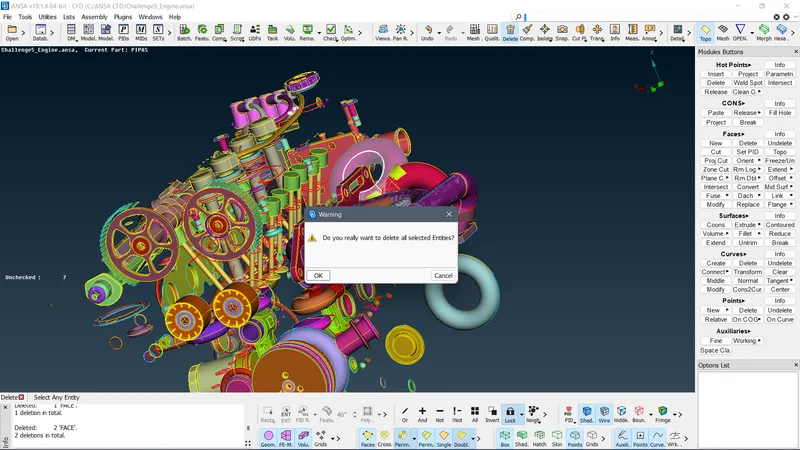
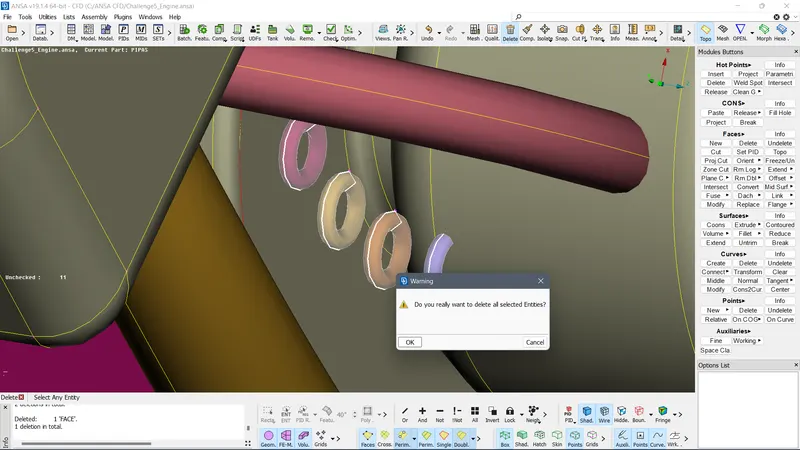
Deleting the unwanted surfaces
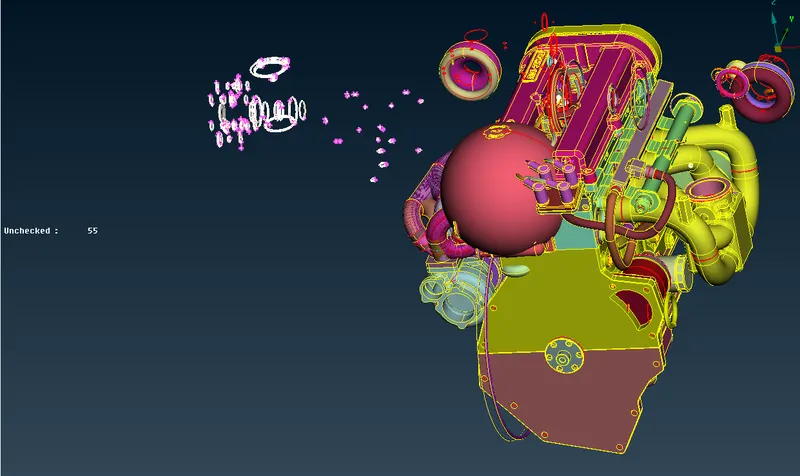
Deleting other surfaces in top view
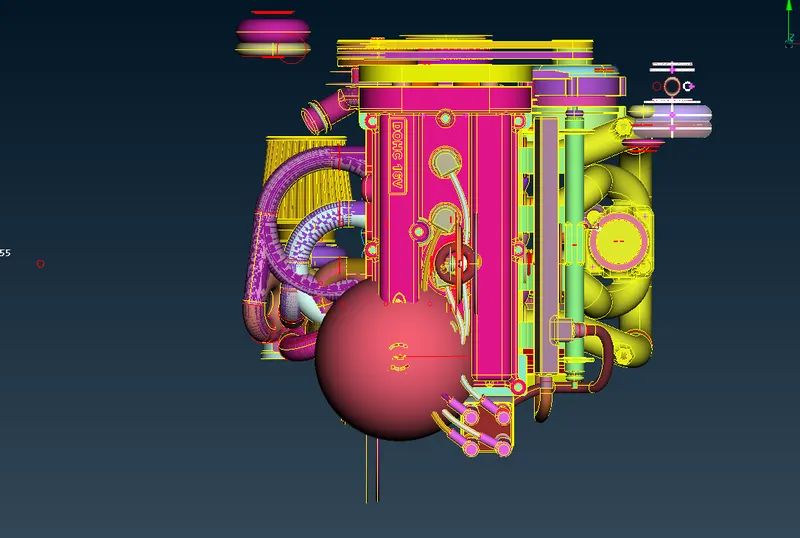
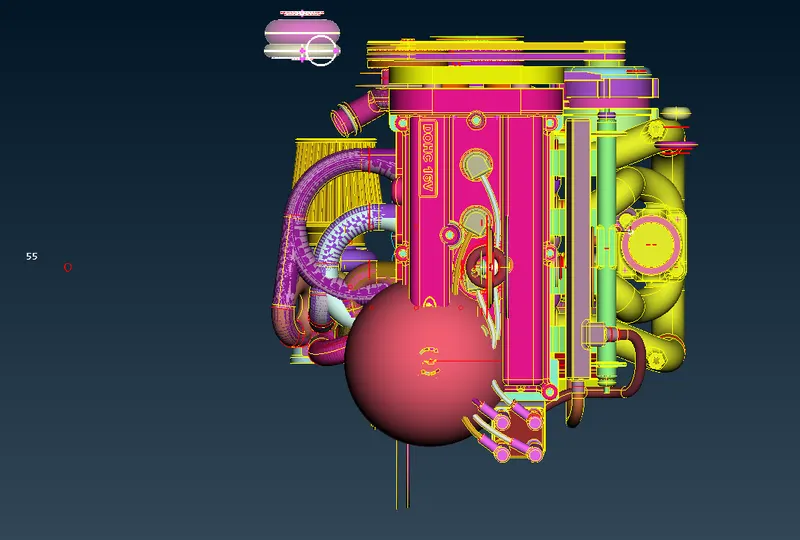
Deleting in back view unwanted surfaces
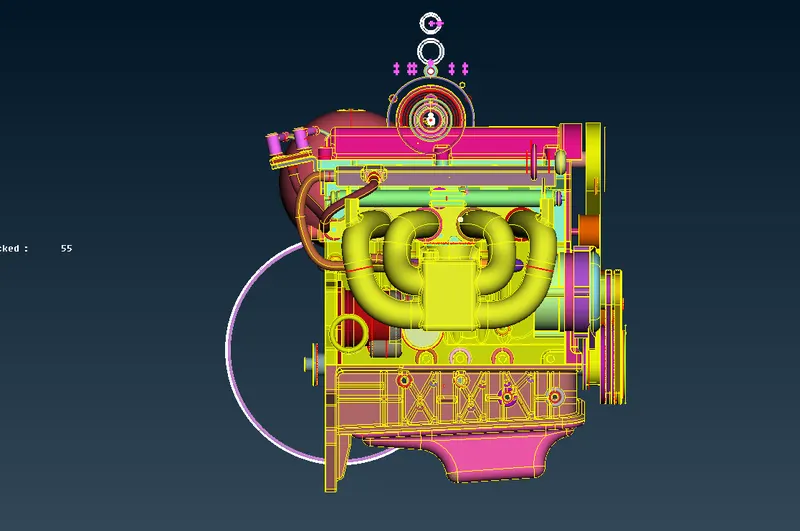
Deleting othe surfaces
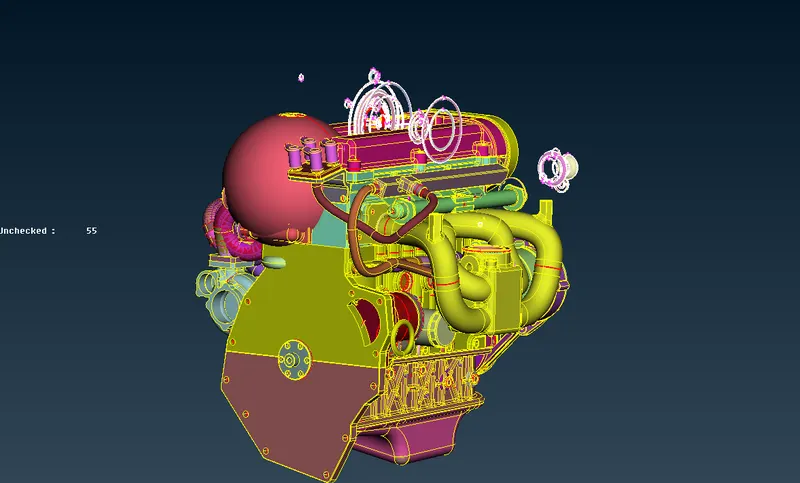
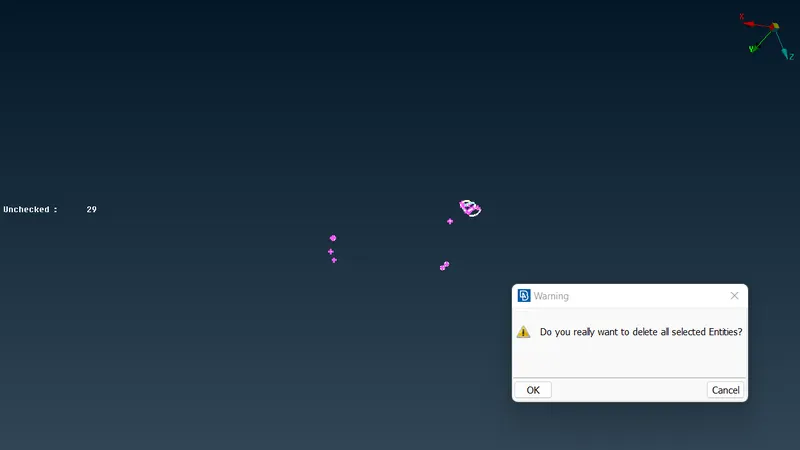
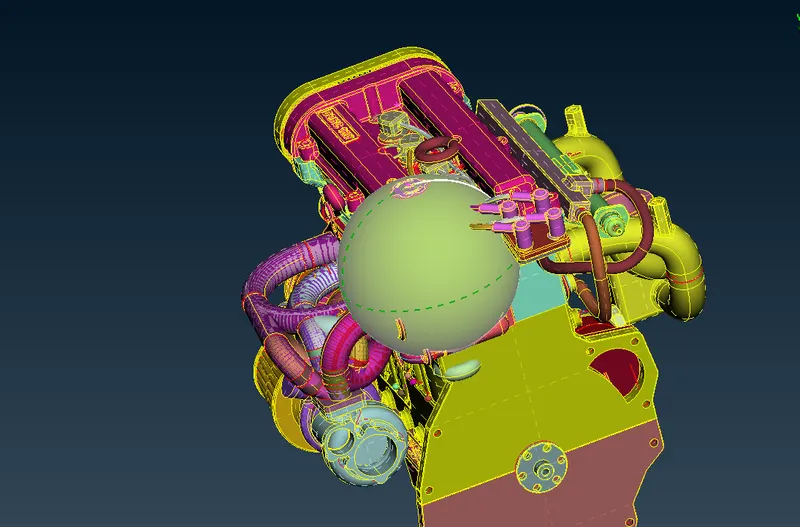
Deleting the rings
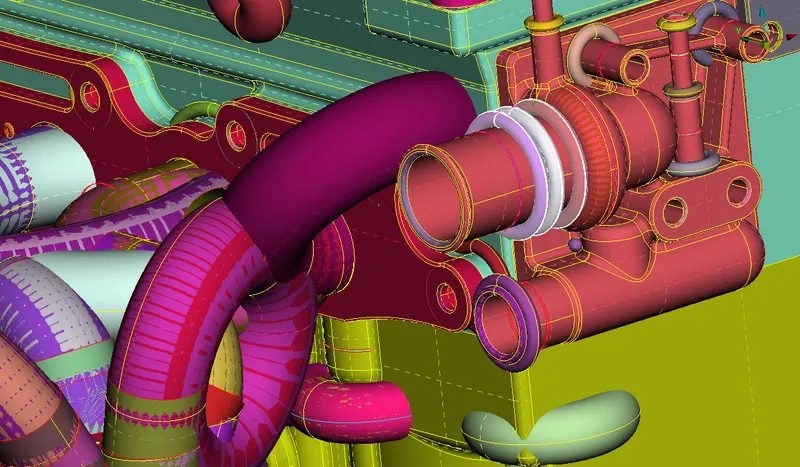
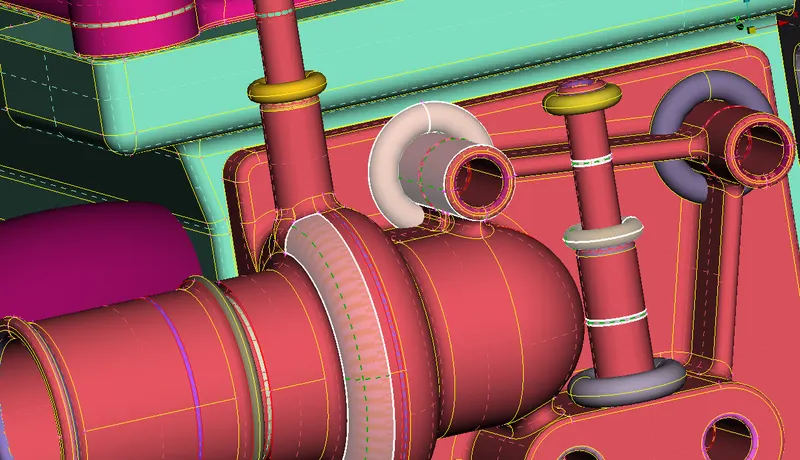
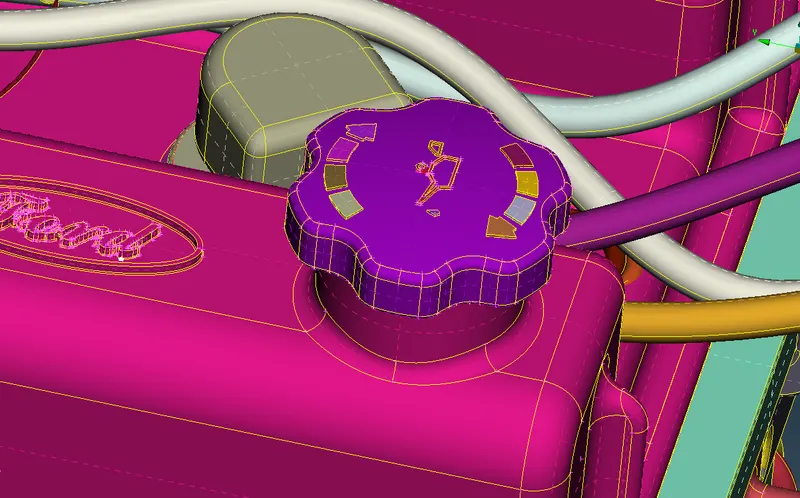
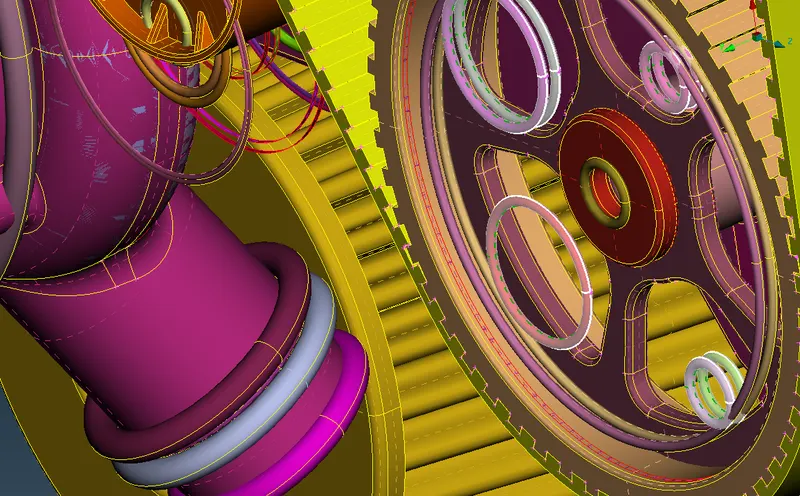
Deleting unnecessary rings
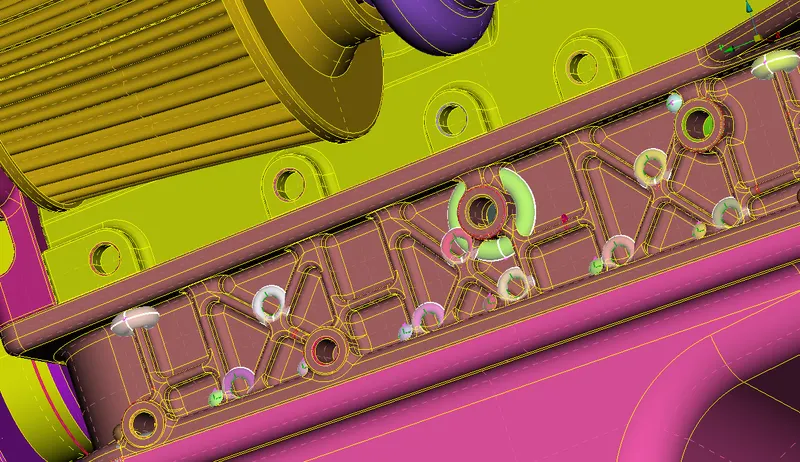
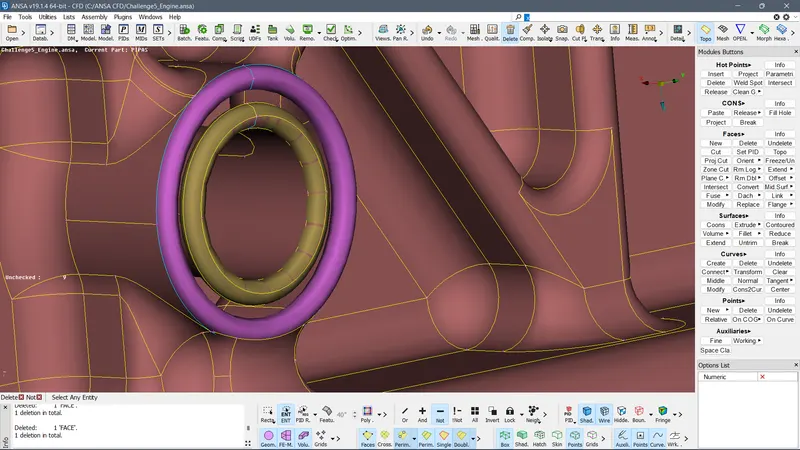
Using NOT boolean with PID selection we see the rings as follows
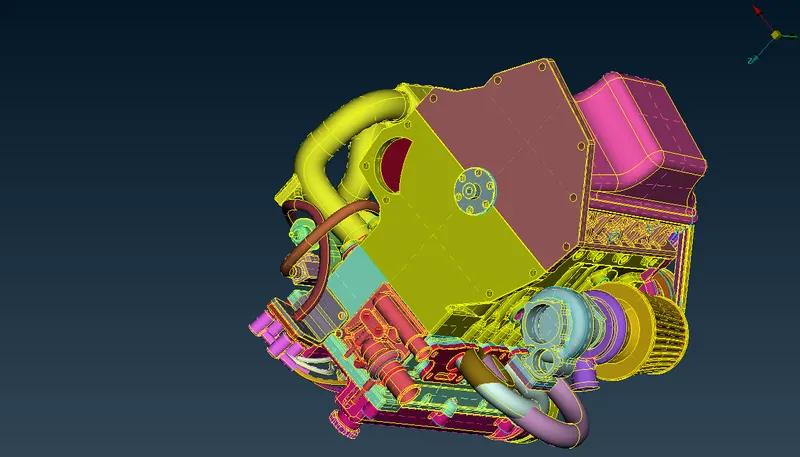
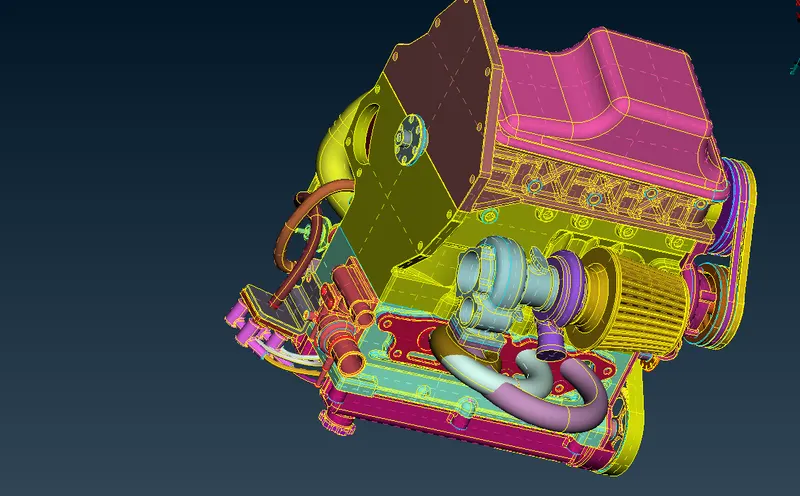
Now we see a clean model as follows
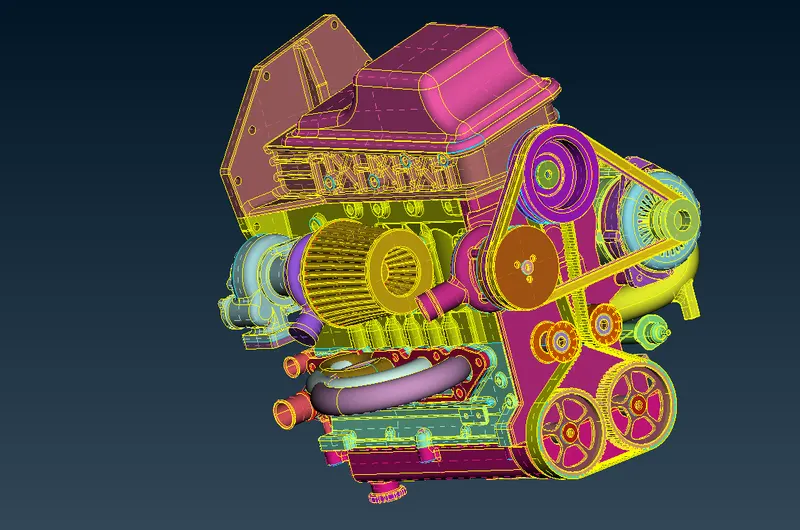
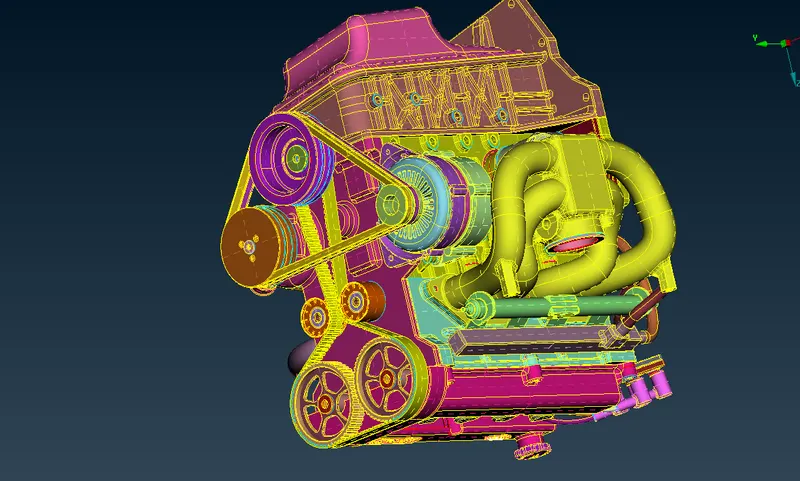
2. Gear box :
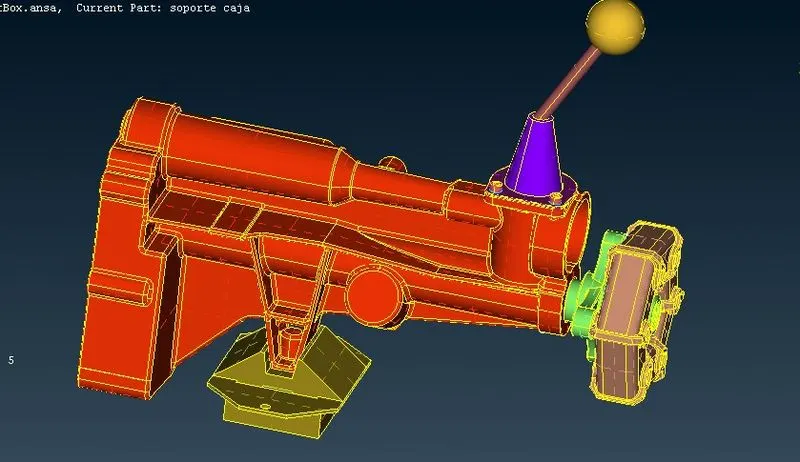
3. Transmission :
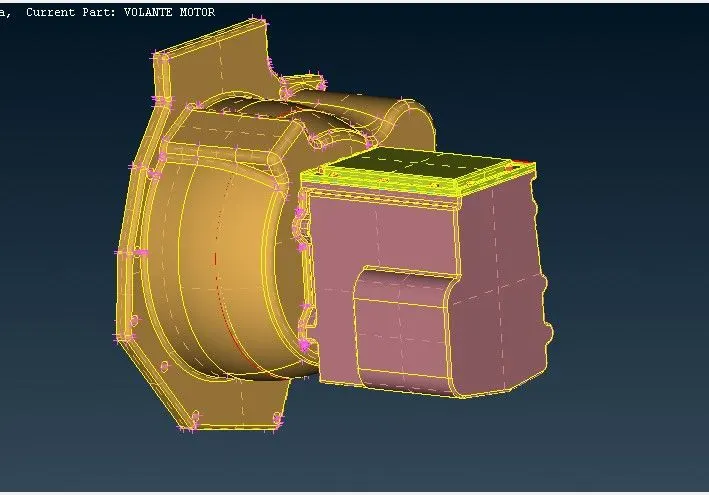
FOR GEAR BOX
Now loading the Gear box and deleting the unwanted surfaces
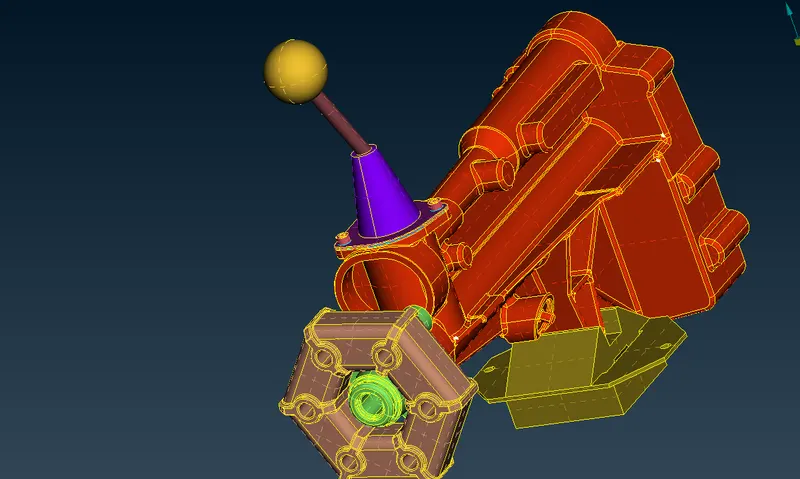
FOR TRANSMISSION MODEL
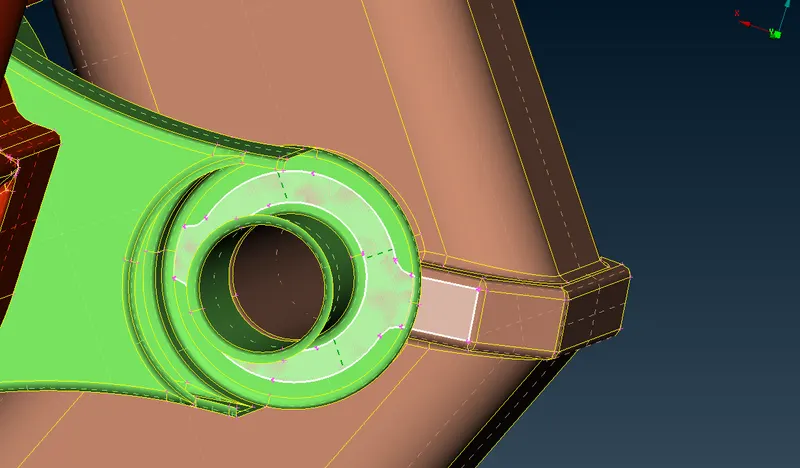
Filling the single cons
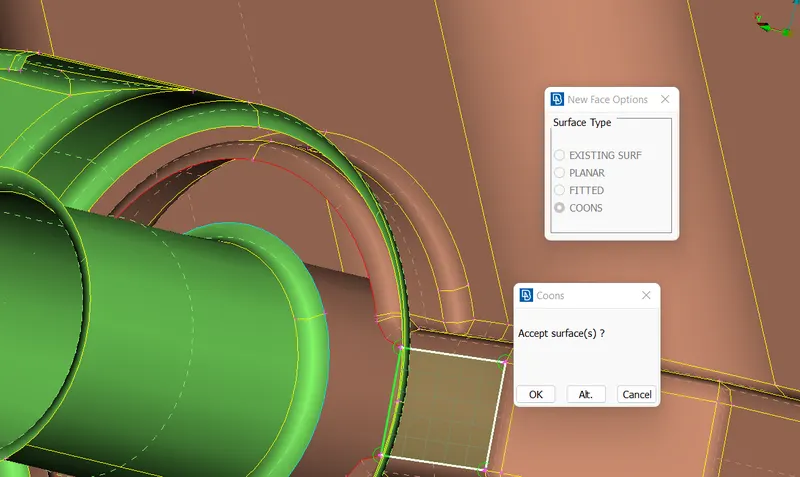
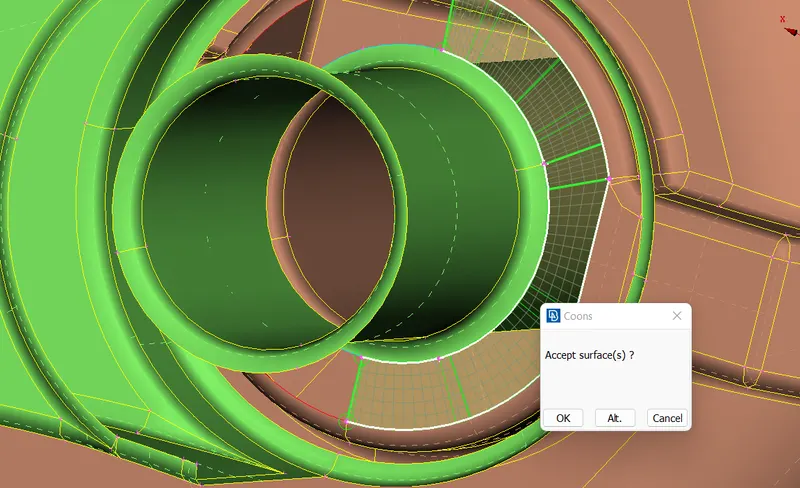
Now opening the transmission
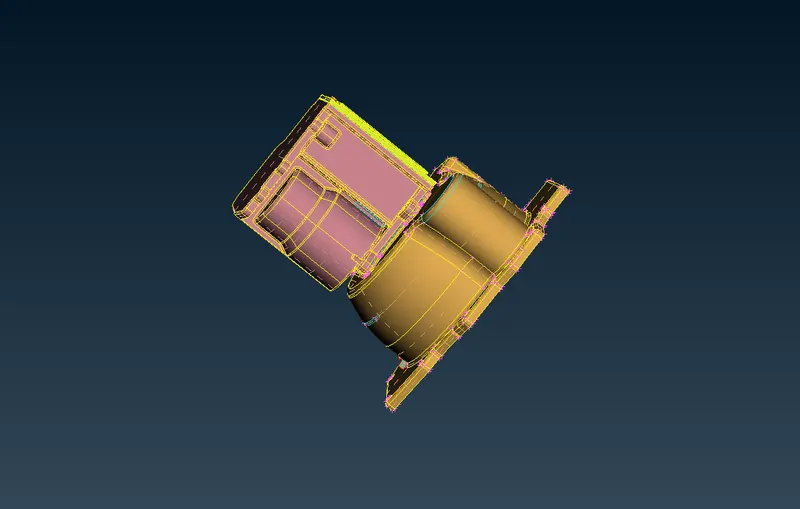
solving triple cons for bolts
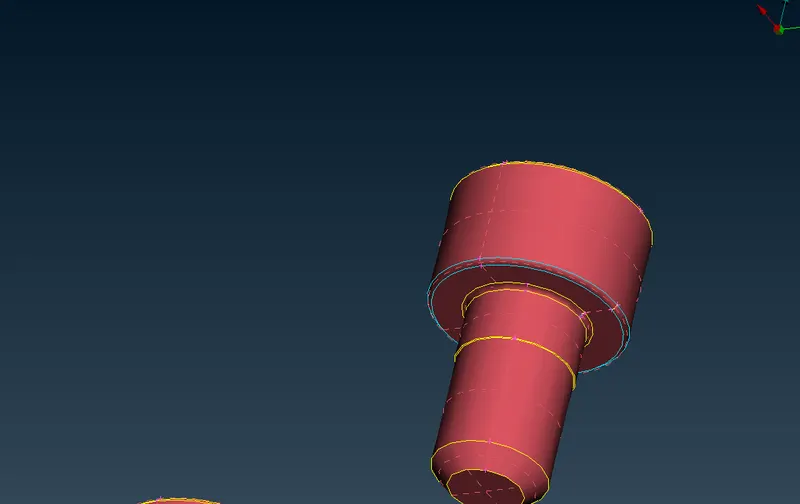
Deleting overlapping surface
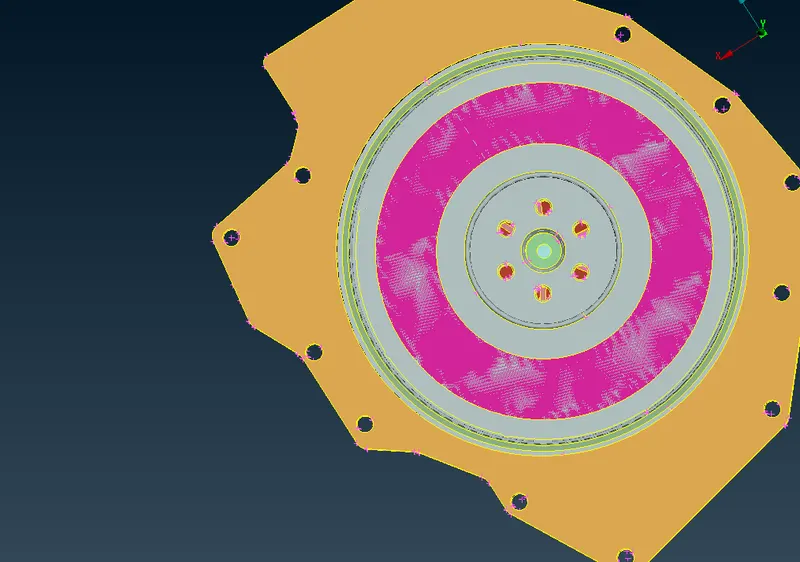
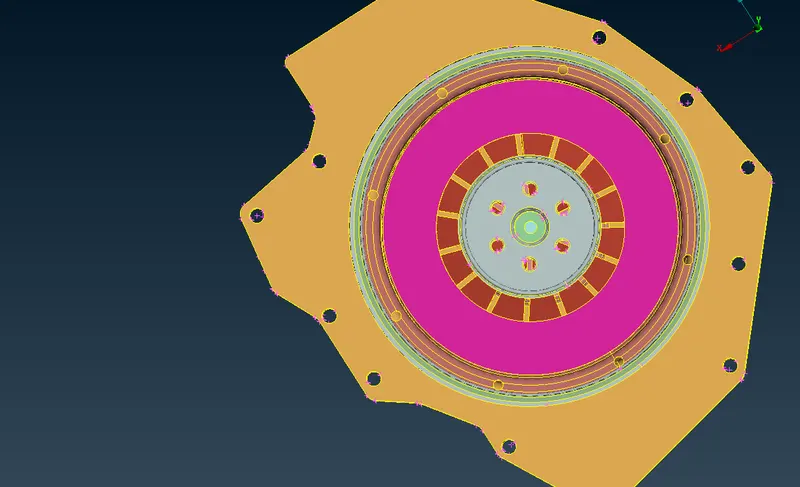
Hiding all PIDs we see some unwanted cones deleting them
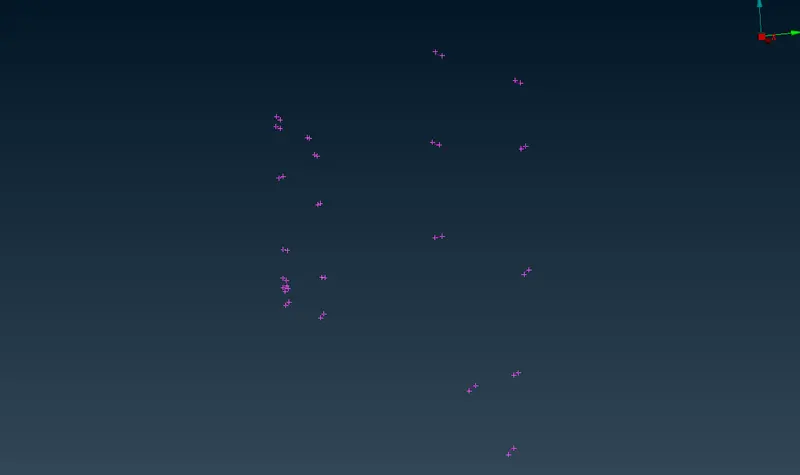
Now surface wrapping
Before that we need to close the open holes using new>coons/fitted as follows
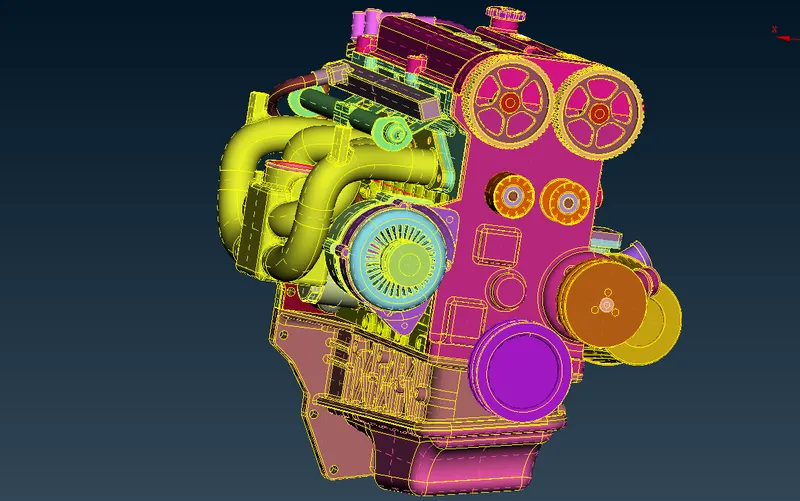
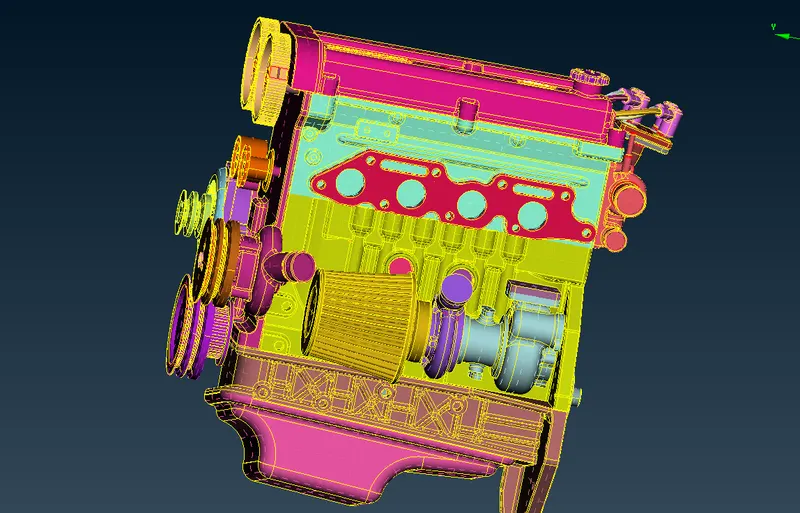
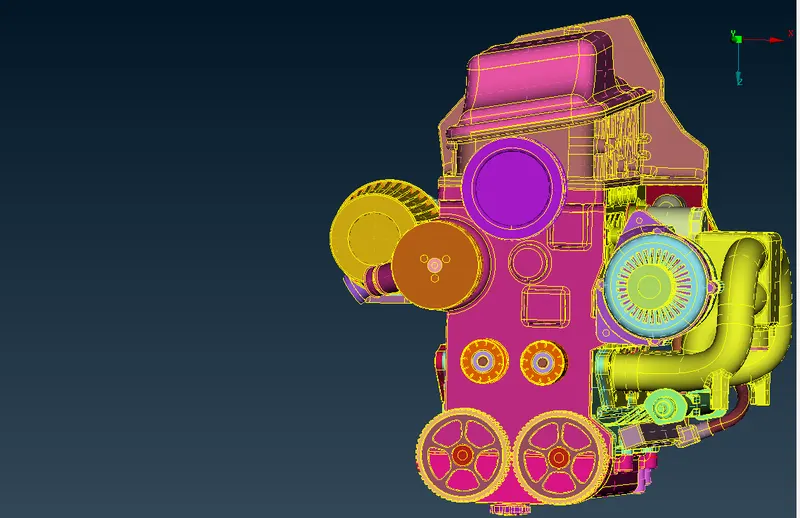
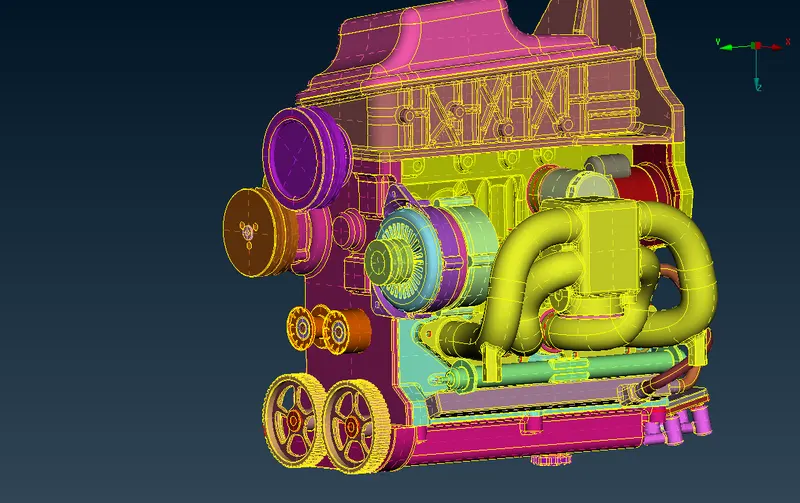
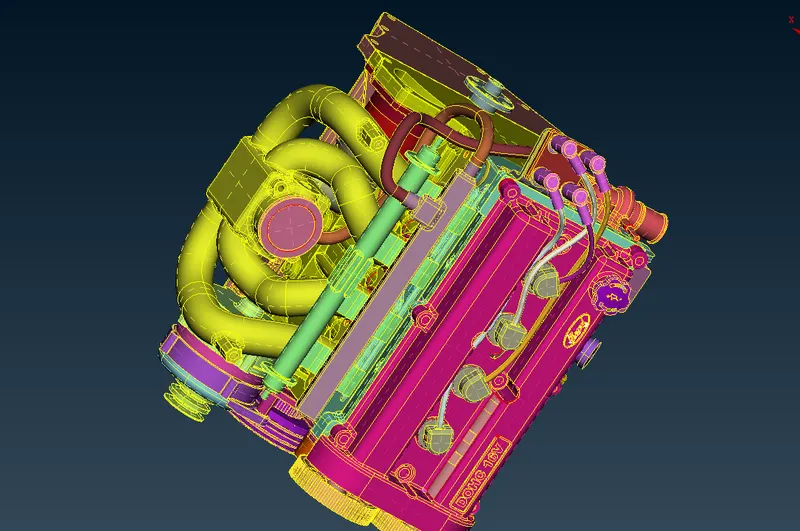
Now before surface wrap we do the assembly of the components as follows
File>merge open
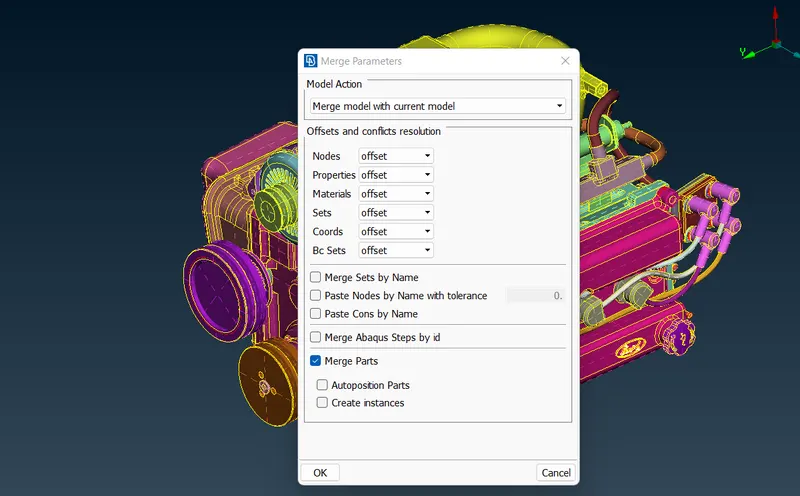
Merge with transmission is as follows
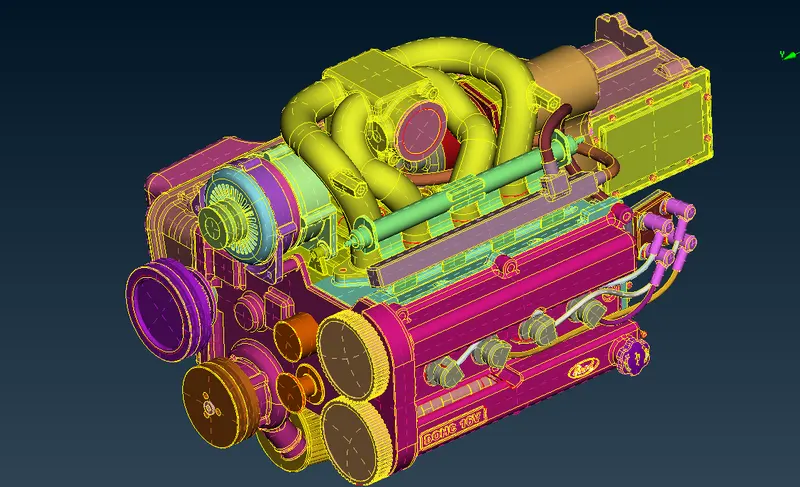
Now merging for gear box as follows
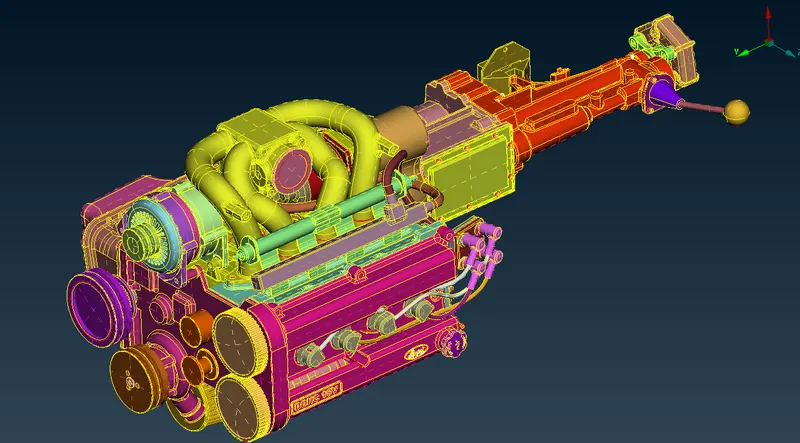
SURFACE WRAP
- Go to Classic Mesh --> Element ---> Wrap ---> Constant Length.
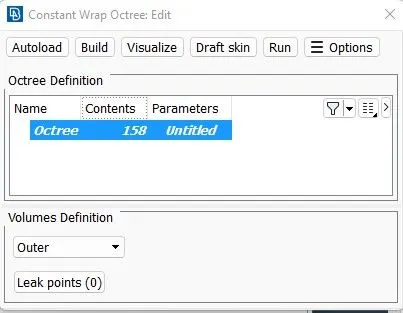
- Double click on 'Constant wrap Octree'.
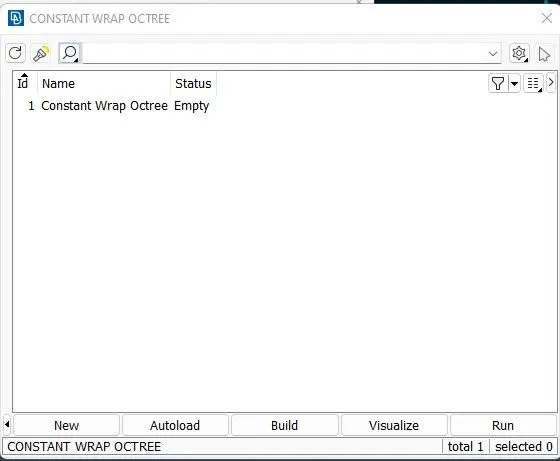
- Double click on 'parameters'.
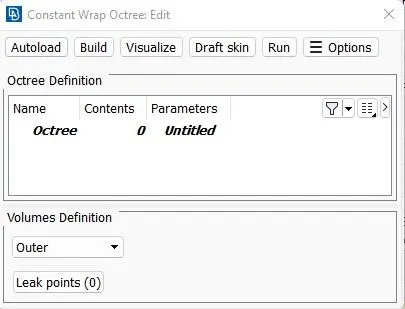
- Castellation - Give target length 3mm
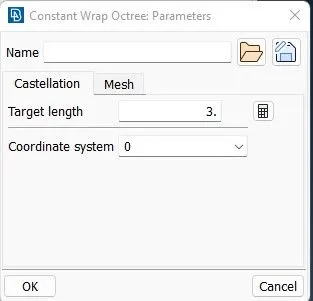
- Enable Nodes out of structures.
- Enable Assign properties from structure.
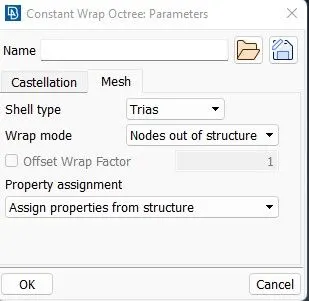
- Provide Any name like 'Full-Wrap' and click on 'OK'
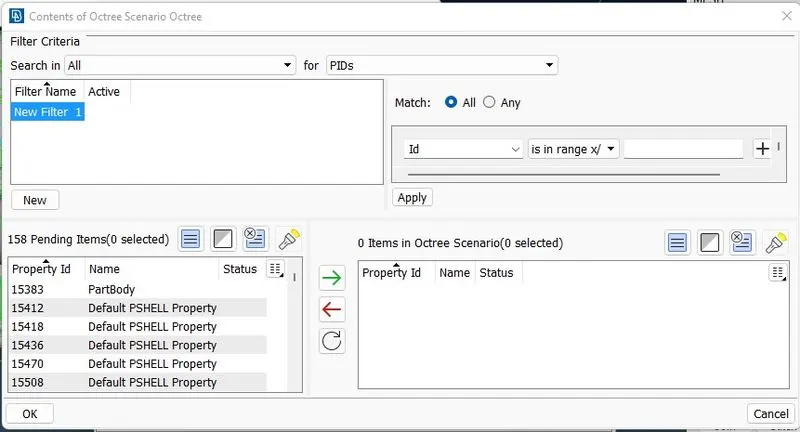
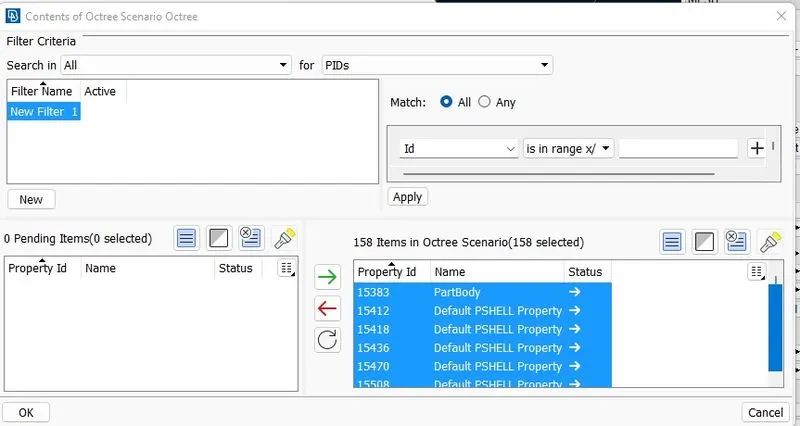
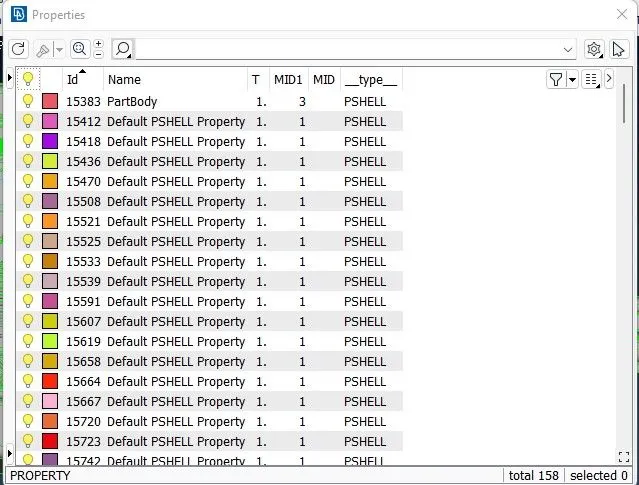
- Now i cancel this pop-up window and Click on properties and we can see the properties and delete the PID's of deleted surfaces.
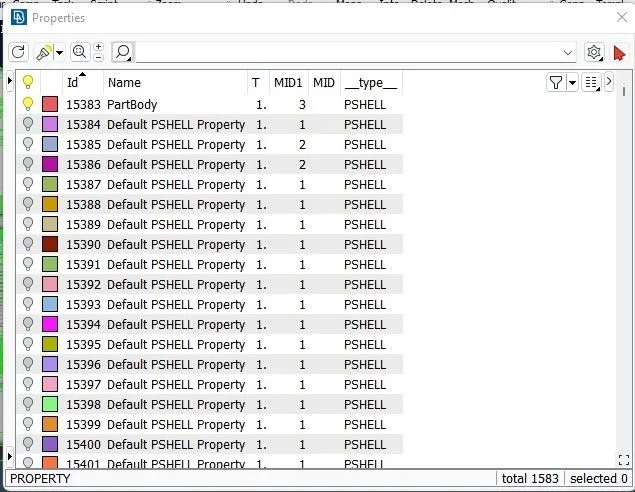
- so in order to see how many PID, go to Compress tool which can be seen right upper of the pop-up window.
- To Delete the PID's go to compress tool and click on OK and all the unnecessary PID's delete.
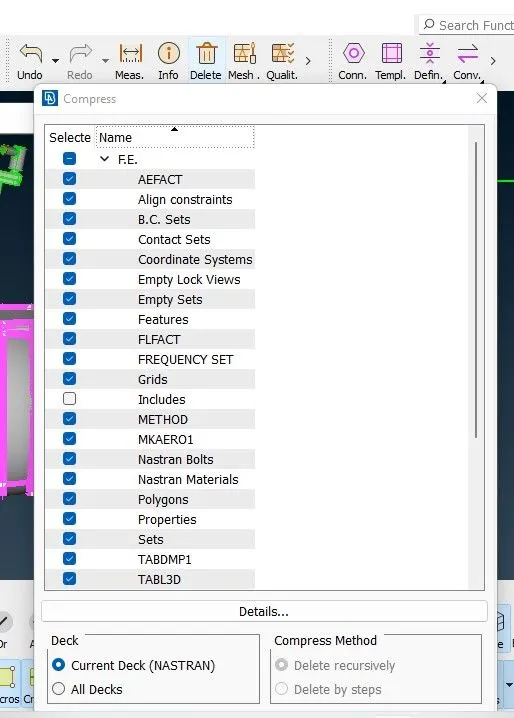
- Click on green button to perform operation and click on OK.
- The one pop-up window will open and hit on RUN button.
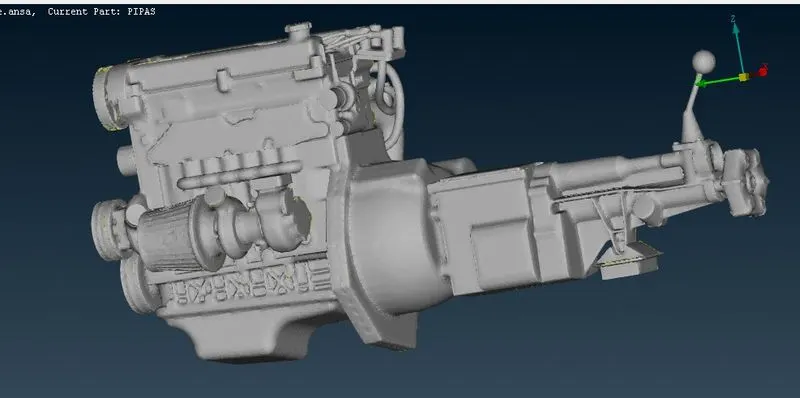
- Then the below model is coming out.
RESULTS
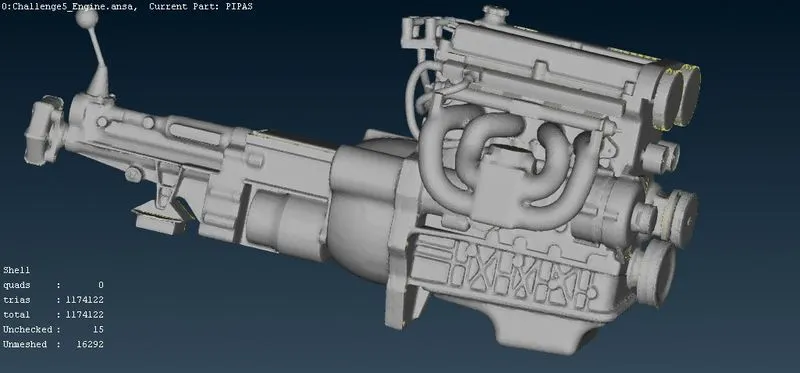
Learning Outcomes
Geometry cleanup
Geometry merging
Surface wrapping
Now going to Mesh window and then Elements>wrap with constant length
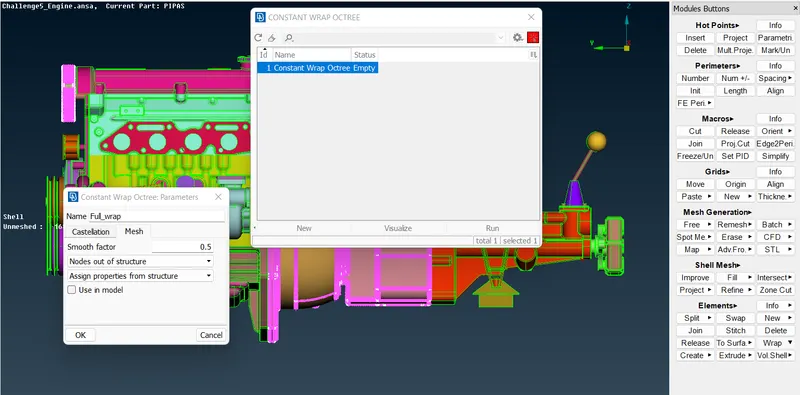
giving mesh length as 3mm
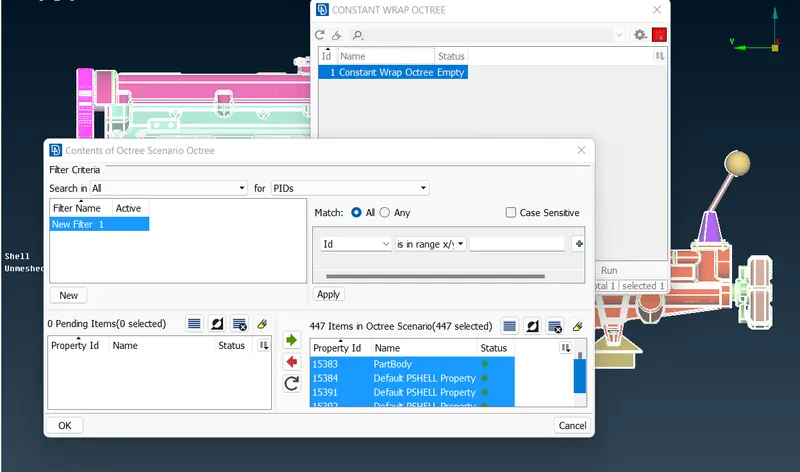
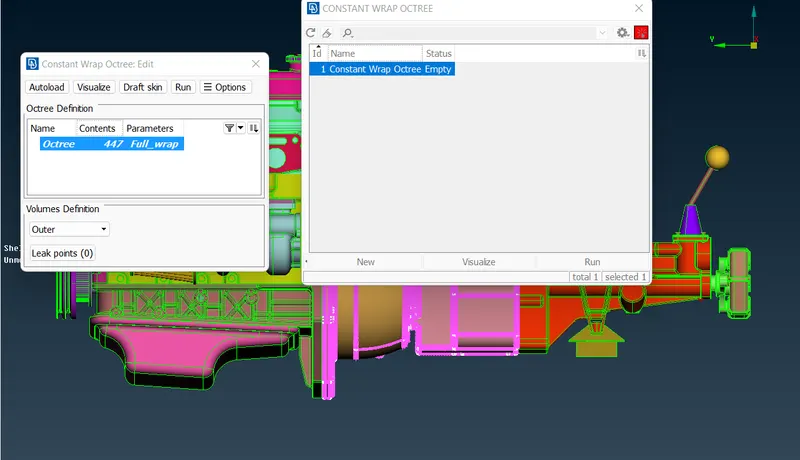
Now to run the wrap
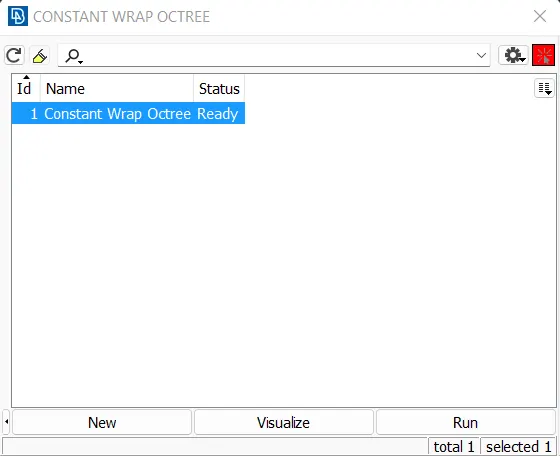
The surface wrap generated is as follows
Front view
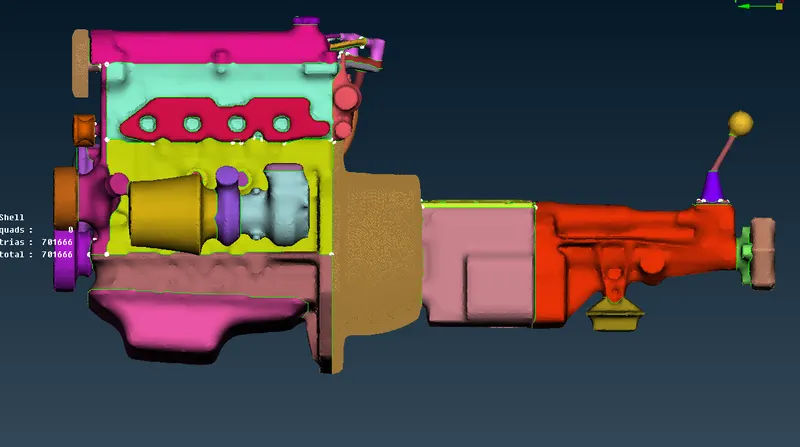
Top view
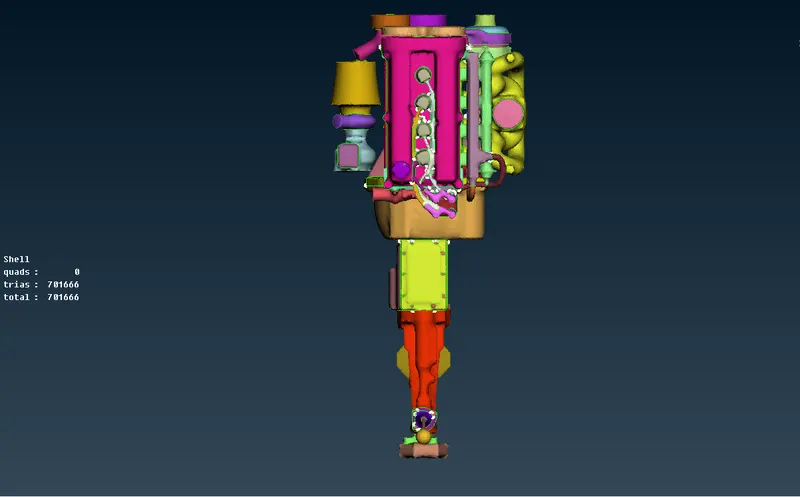
Left view
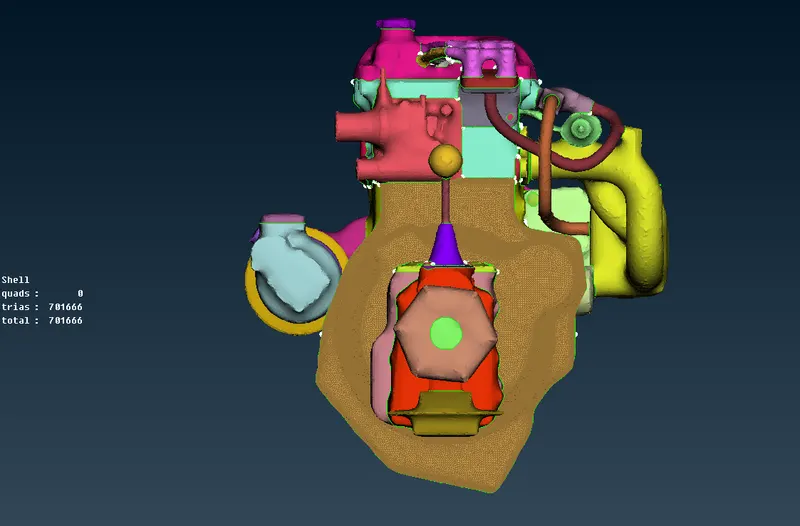
Bottom view
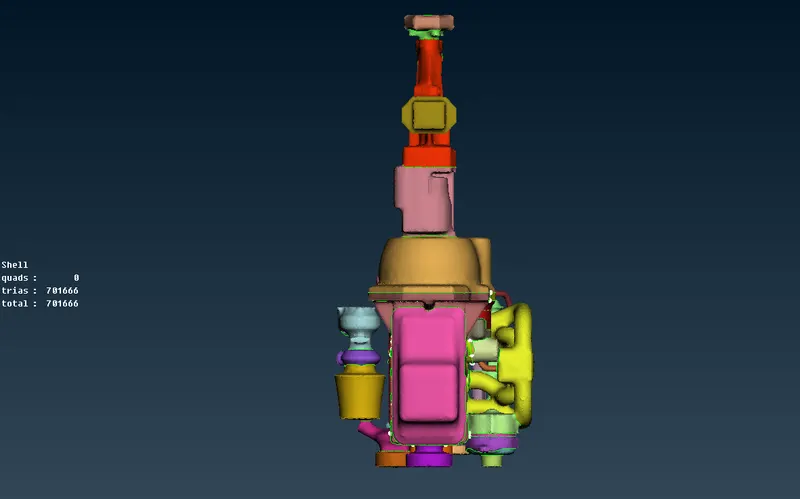
Back view
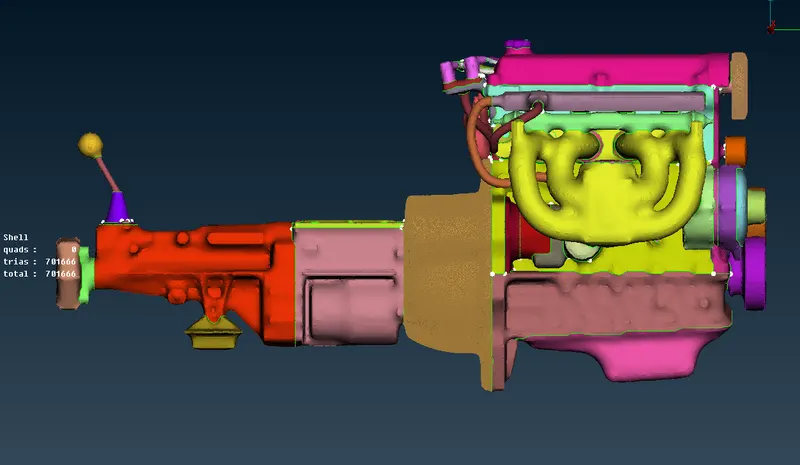
Right view
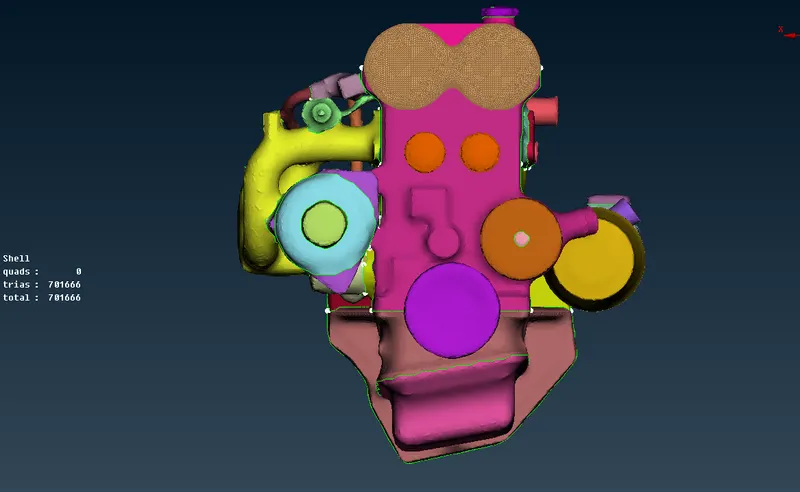
Using not for the front and rear end to see the volume
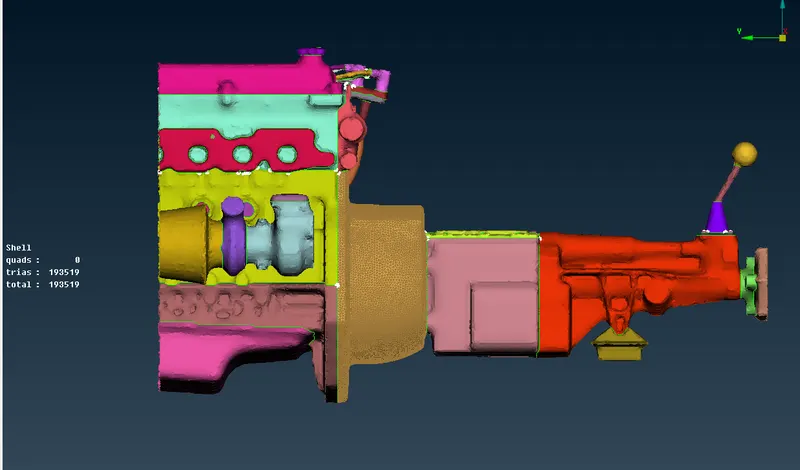
we see as follows
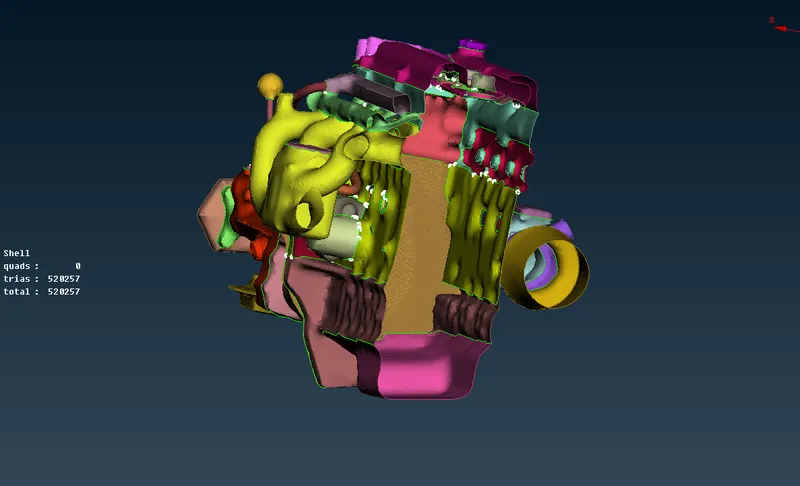
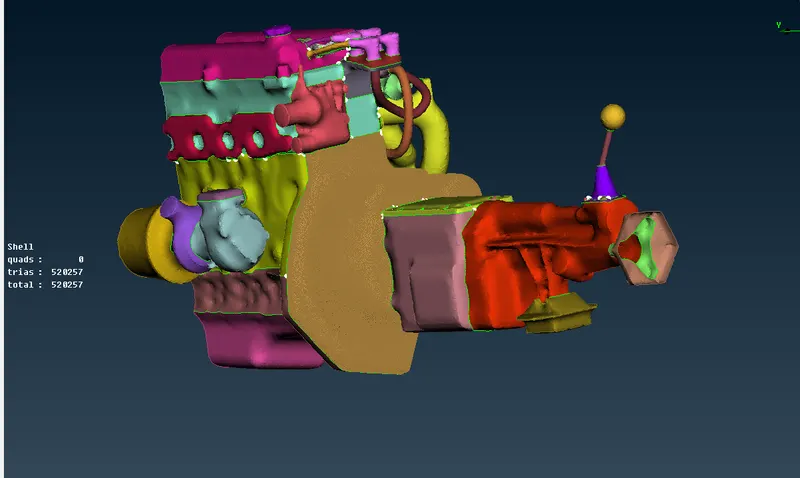
we see the other end from the one end
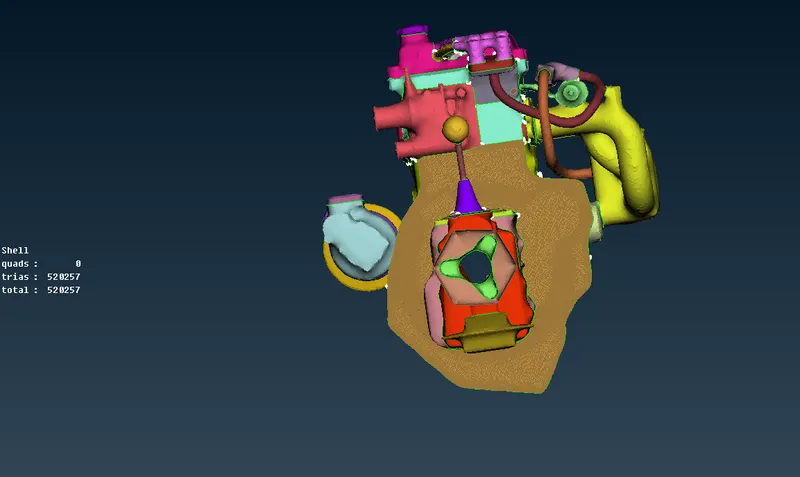
This means the surface wrap is done successfully.
CONCLUSION:
Thus the Surface wrap along with eliminating geometrical errors and topo clean up has been generated successfully.
For it to get the finer surface wrap we need to reduce the mesh size which even takes lot time to generate the surface mesh and consumes time but generates a good geometrical mesh.
1. Surface wrapping was run successfully on the given parts.
2. Surface wrap is effective for outside flow simulations where the volume between the body and wind tunnel is required for flow over the body simulations.
3. Surface is easier to perform since it does not depend on the quality of the wrap on each material as we are not interested in physics in the body.
4. Effective surface wrap is achieved on the given body for a given mesh length of 3mm.
Google drive link: https://drive.google.com/file/d/1q3Dpv7I93i7GHGqfIp9_NuSnm2TNm35G/view?usp=sharing