Week - 5 - 2D meshing for Plastic components
Objective:
The Aim of this project is to do pre-processing of plastic bottle Cap CAD model in ANSA. The steps to be followed in this project are checking the geometrical errors of the CAD file, correcting it, taking the mid surface for the geometry and then creating the mesh for the extracted mid surface.
PID and Thickness assignment has to be done for all the mid surfaces.
Quality criteria
|
S.No |
Quality Criteria |
Value |
|
1 |
Target/Average length |
1 |
|
2 |
Minimum Length |
0.5 |
|
3 |
Maximum Length |
3 |
|
4 |
Aspect |
3 |
|
5 |
Warpage |
15 |
|
6 |
Skewness |
45 |
|
7 |
Jacobian |
0.7 |
|
8 |
Minimum Quad Angle |
45 |
|
9 |
Maximum Quad Angle |
135 |
|
10 |
Minimum Tria Angle |
30 |
|
11 |
Maximum Tria Angle |
120 |
|
12 |
Tria Percentage |
15 |
Procedure:
Following steps are taken to complete the project.
Step 1: The CAD file is first imported into the ANSA software. The perimeter and macro is set to 1 from length tool from classic mesh.
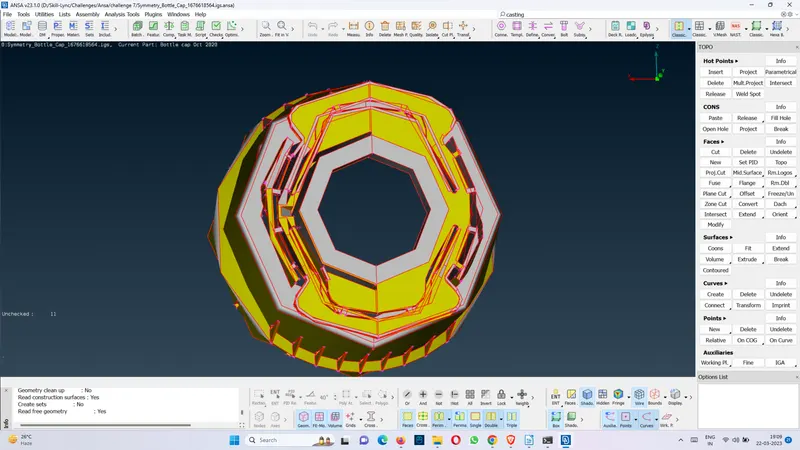
Figure: Imported CAD file
Figure: CAD file after resolution correction and TOPO
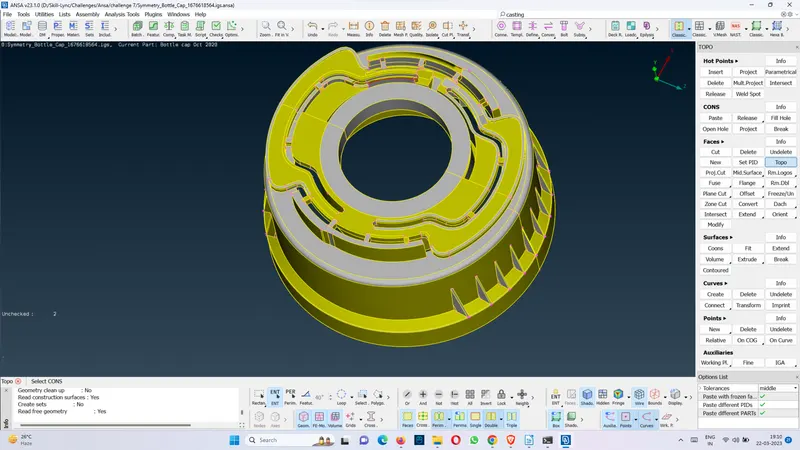
Step 2: TOPO is performed by selecting all the geometry and geometry check-up is performed form the toolbox Check > Geometry. I then performed auto fix from the options to fix the errors.
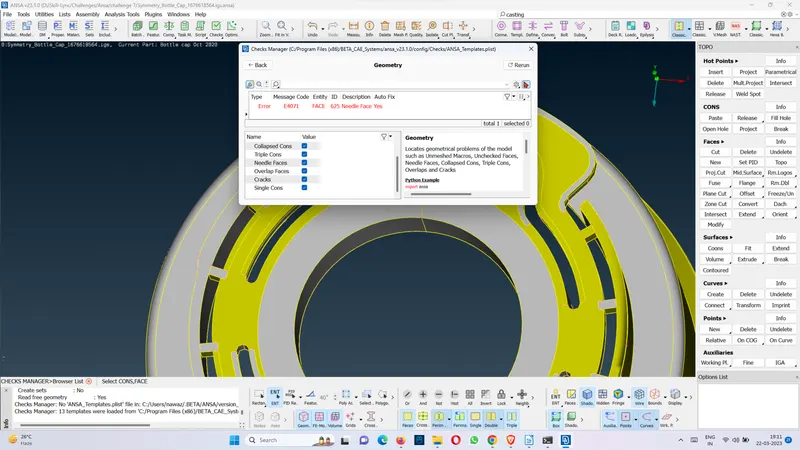
Step 3:
Some of the errors were not fixed while doing the auto-fix. To fix these errors following tasks were performed as required.
1) Deleting unnecessary hot points
2) Releasing Cons and pasting them or doing a TOPO
3) Releasing the Cons and creating a face between them
4) Deleting a face and creating a new face
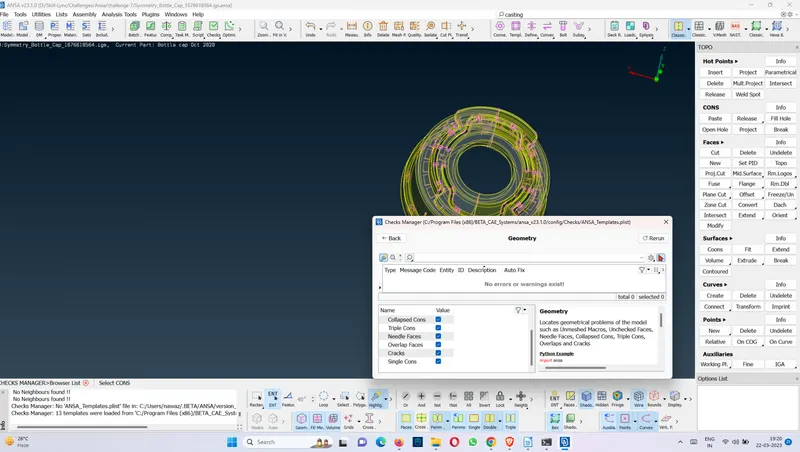
Figure: ANSA file after correction of all the geometrical error
Step 4:
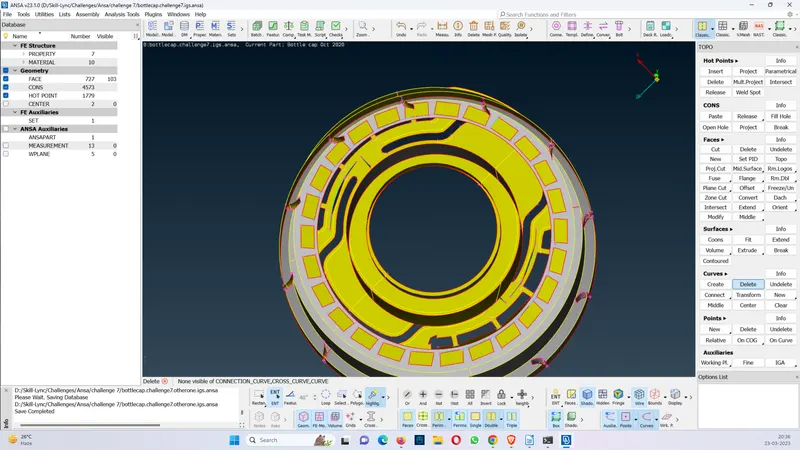
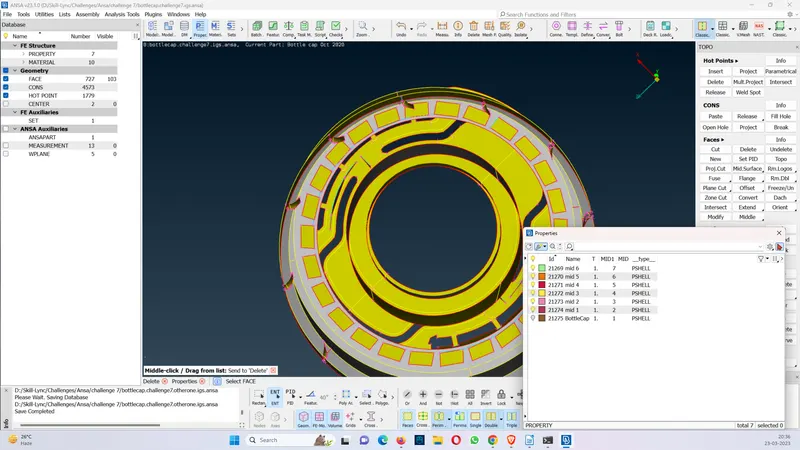
After the geometry is cleaned up, I proceeded to extract mid- surface. The given geometry has faces with variable thickness so, I extracted the mid surface for each surface separately with the tool Offset.
The following tools were also used to join mid surfaces, create new curves and create new faces
a) Curves > create > circle
b) Curves > delete
c) Faces > new
d) Faces > extend
e) Cons > project
f) Cons > delete
Step 5:
After the mid surface is extracted, I used Batch mesh to create mesh as it gives best mesh in shortest amount of time.
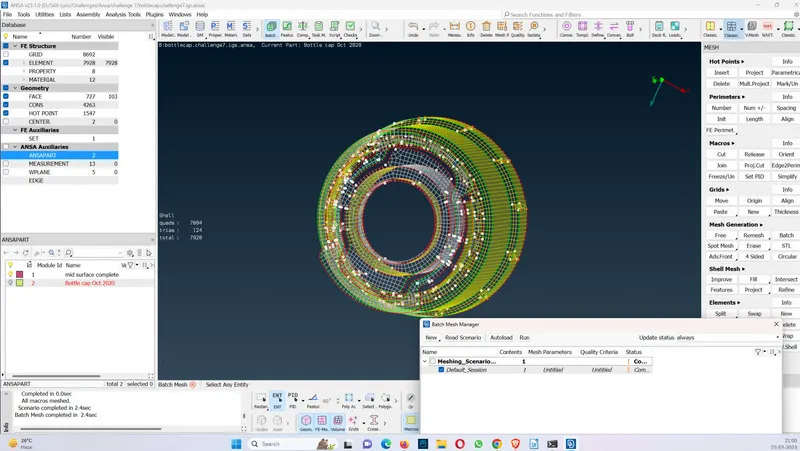
Figure: Mesh for the mid surface of Bottle Cap
Step 5:
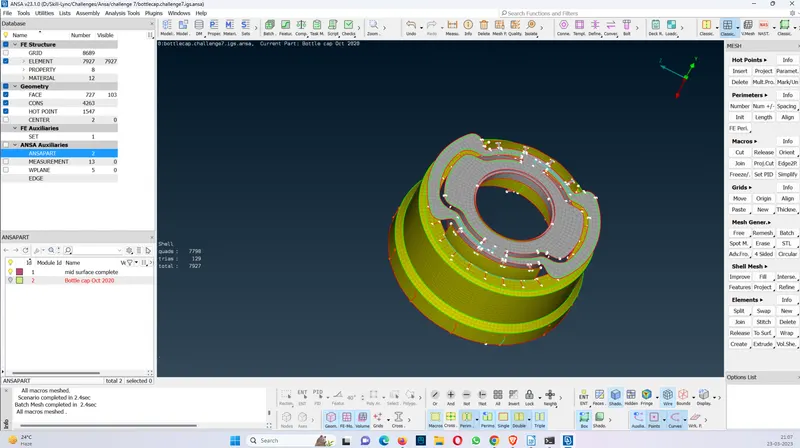
After the mesh is created, the errors are fixed first auto then with the help of following tools.
a) Shell Mesh > Reconstruct
b) Shell mesh > reshape
c) Macro > new
d) Macro > join
e) Shell mesh > fix quality
Conclusion:
The meshing of the bottle cap has been done and following points needs to be noted.
a) The geometry cleanup is slightly easier after adjusting the resolution for this CAD geometry.
b) Time taken for offsetting the all the faces was a lot compared to sheet metal with uniform thickness.
c) Some errors could not be fixed as stated in the challenge because of the geometry constraints.