Week 4 Challenge : CFD Meshing for BMW car
AIM: To Prepare The CFD Meshing For BMW Car.
SOFTWARE USED : ANSA Software.
TOOLS USED IN SOFTWARE : Checks, Topo Deck, Loop, Parameters Tool for length, Mesh Generation Tool for meashing,Fill hole.
PROCEDURE :
1. Downloaded the model from the challeng and saved it in a specified location.
2. Inserting the downloaded model in to ANSA Software.
3. Learining the given question and understanding it.
4. Go to checks option to check the Geomentry Errors in the model.
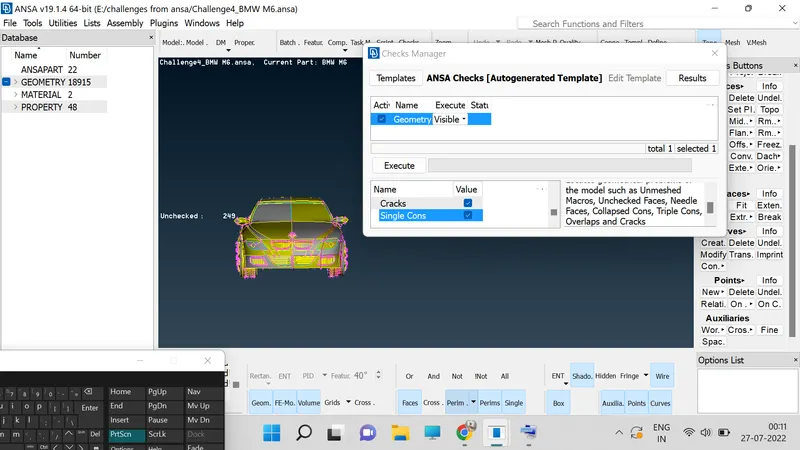
5. In the checks we have an option "Geomentry", click on it and then we will get option like (i.e : sharp edgs, unmeshed macros, uncracked surfaces, colopased cones, triple cones, nedial faces, over laped faces, cracks, single cones.) out of which select all the required items to get your required output.
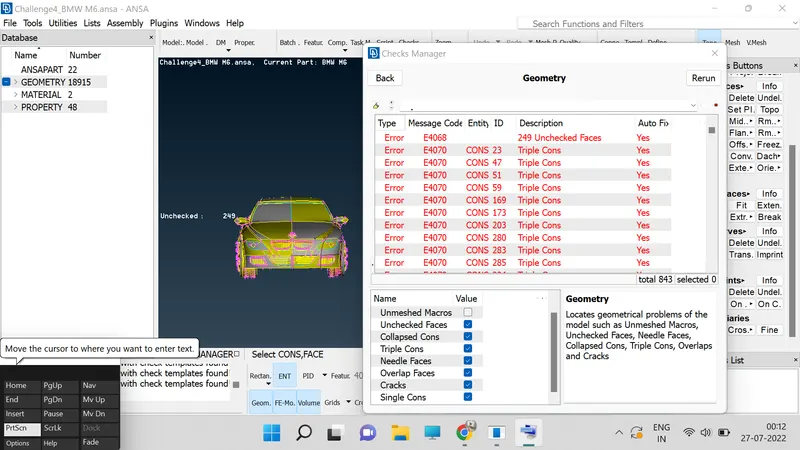
6. After doing checks we will get the clear information of "cracks" and "single cones" and "tirple cones" on over model and we need to resolve each and every error using different tools in ANSA.
7. Go to "Topo deck" for future oparetion.
8. In Topo deck we have an tool called "Faces", in which we have "New" click in it then a window will be popup over their in which we have four option like (i.e : existing surface, planner, conns, fitter.) by using those we can clearly complete the filling operation of missing surface in model.
9. In cones we have a option called fill hole use it to fill the holes in the model.
10. Use control and shift kee to see the wire fram mode of ur model to select the hidden surfaces during the oparetion.
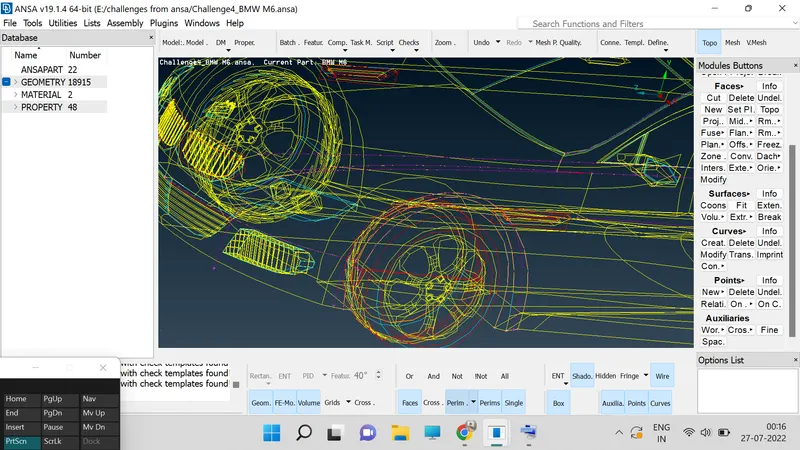
11.To get the perfect shapes of resolution on the curves and on the cross edges we need to use the 'Auxiliaries', in which we have an option 'Fine', we need to use it.
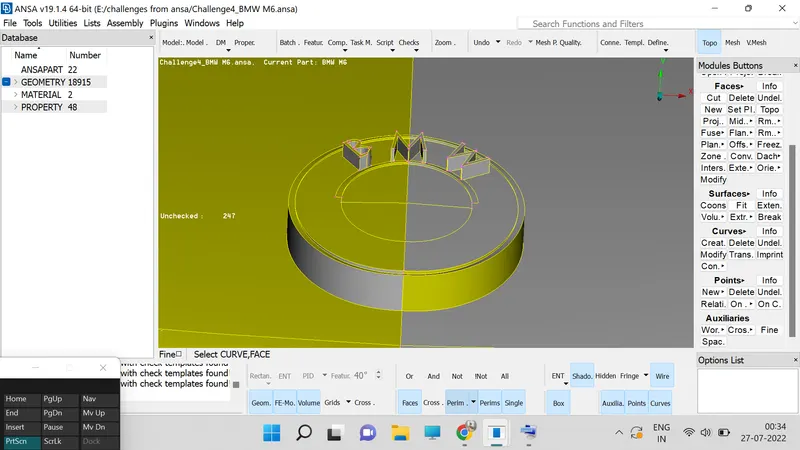
12. Do click on the object for multiple times in which you find the missing of resolution and shape to regain it original shape.
13. Infact using the fine option and clicking on the objectes repeating the multiple operation on it really comsumes lots of time because of that we have another option for that is using mesh option.
14. In mesh option we have 'Paremeters', in which we have 'Length', click on that then a window will be popup in the screen in which we have two items that is 'parameter' and 'Macros'.
15. Click on the 'Parameter', option and select the modal set the length as 1mm.
16. Do the same for 'Macros', option too and set the length as 1mm.
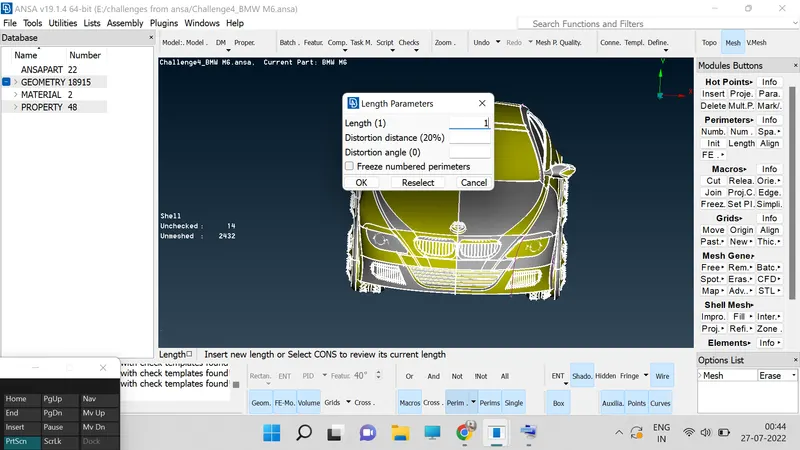
17. Go back to the 'Topo Mode' to see the inprovement in model resolution and as well change 'ENT', mode to 'PID', mode for better resolution.
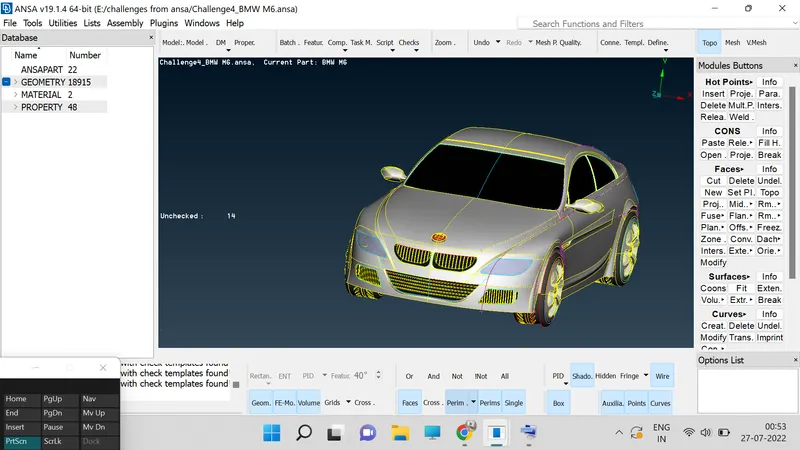
18. So far the entire car modal is a replica any one side so we can make changes in side the we can extend it to another side using ANSA tools.
19. Go for the 'Delete', option which will be present at the top of the screen and select the half portion car and delect it.
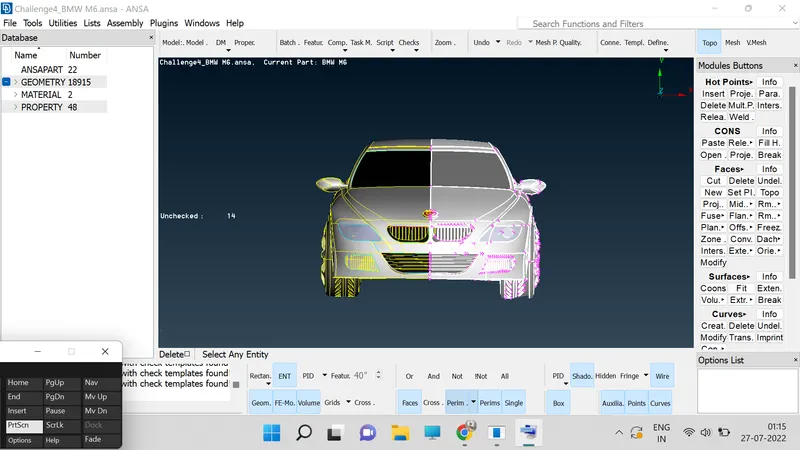
20. Check entire surface that you have selected the right portion or not. After confriming click on middle button of ur mouse to delet the selected portion.
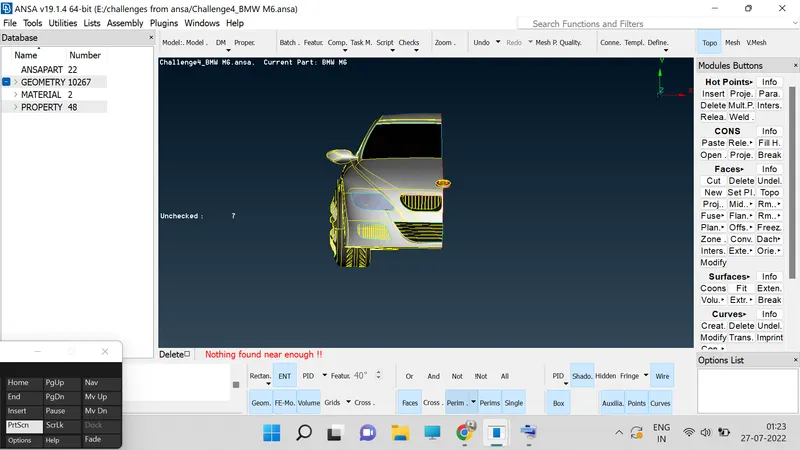
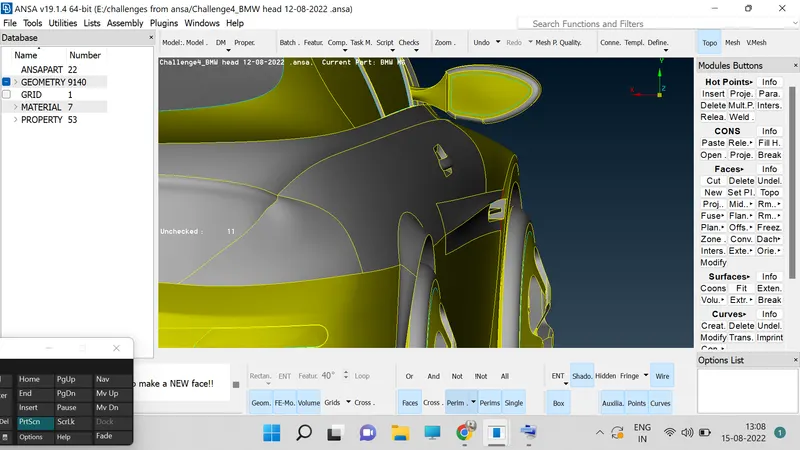
21. select the headlamp of the car and start delecting unwanted inner surfaces and parts one by one.
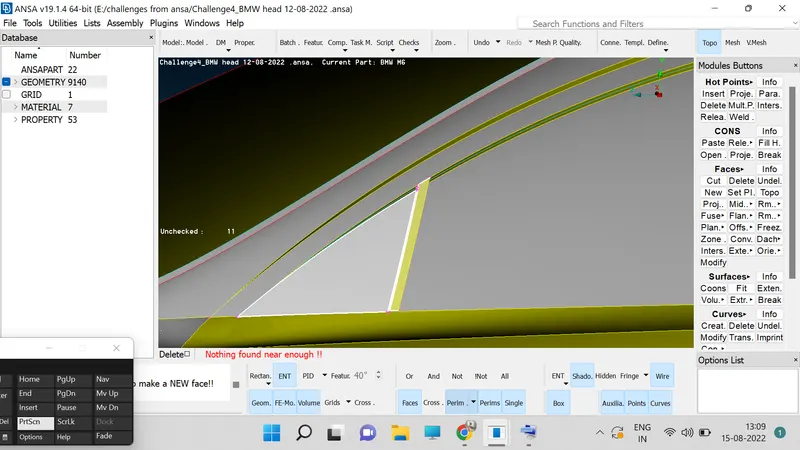
22. Go to inner portion of the car headlamp and click on delete option and delete the unwanted parts.
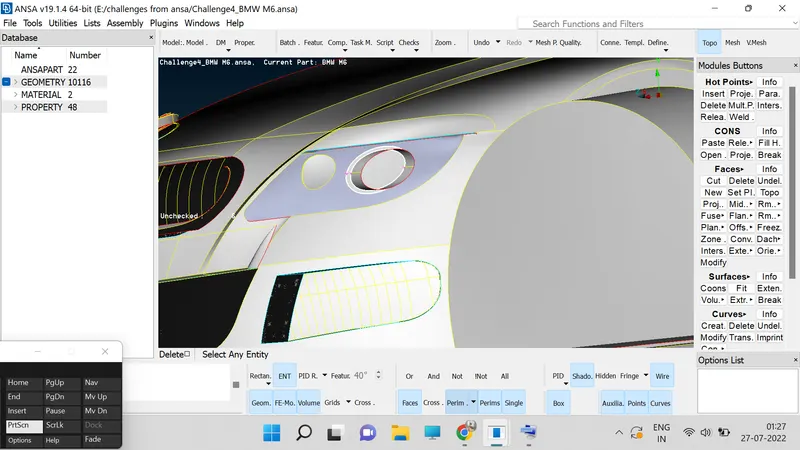
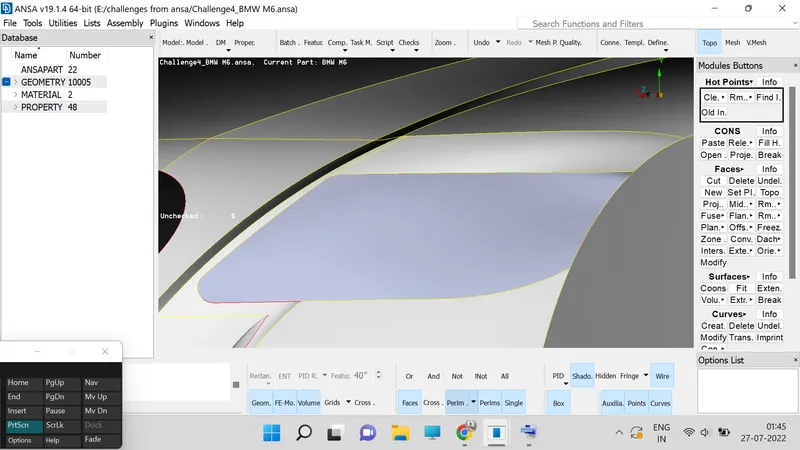
23. We have a gap between two faces at the front bottom of the headlamp we need to fix it by using 'Cons', in which we have paste use it to join two phases.
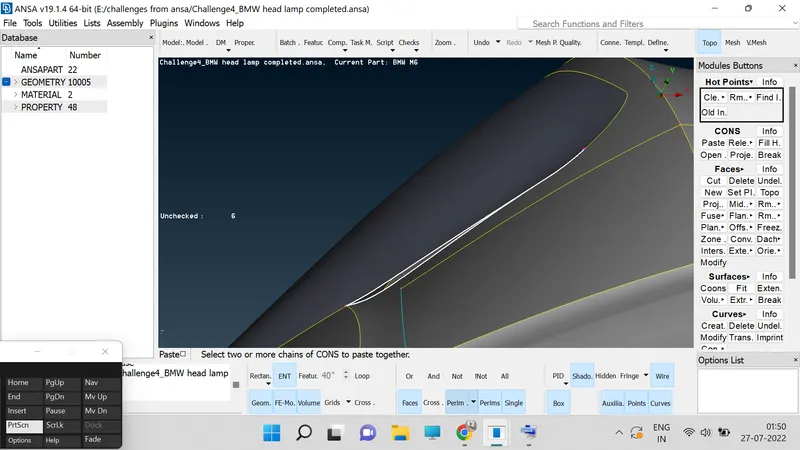
23. Now work on fins and delete the inner parts.
24. Delete the unnessary small and larger parts on the inner surface of the fins by using delete option.
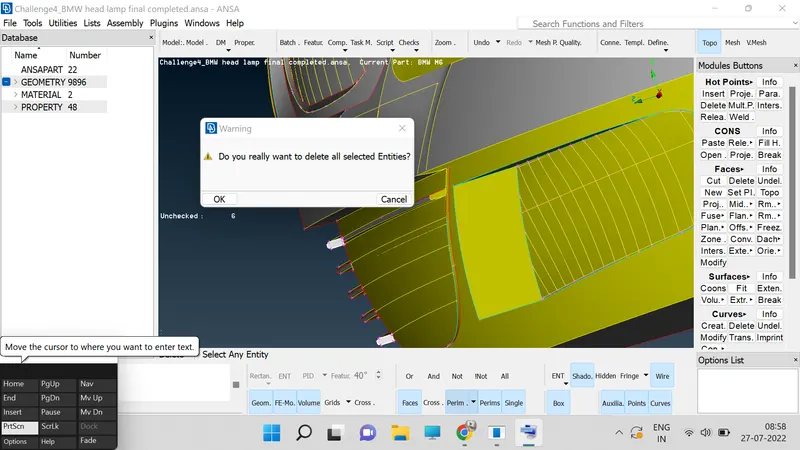
25. To delete the small face which is present at the first fin we are using 'Cons', in which we have 'Project', option separete the two faces and then deleting it.
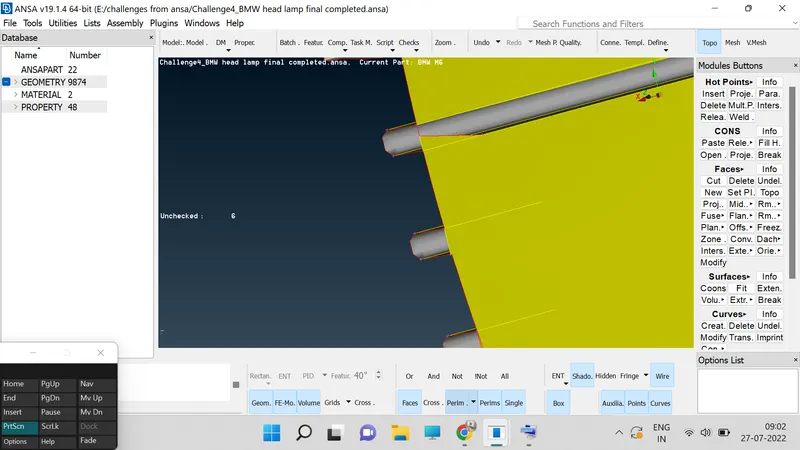
26. Repeat the step no:25 for next all fins to make fins free from the inner parts and surfaces.
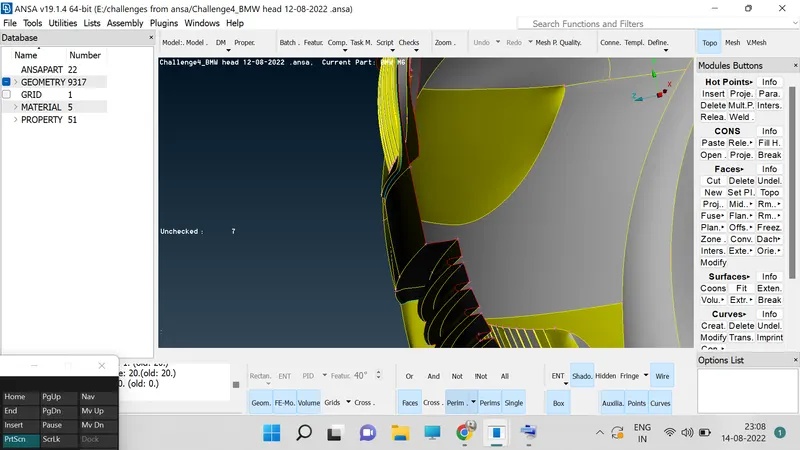
27. Above is the screen short for the finished cleaning up of a fins part.
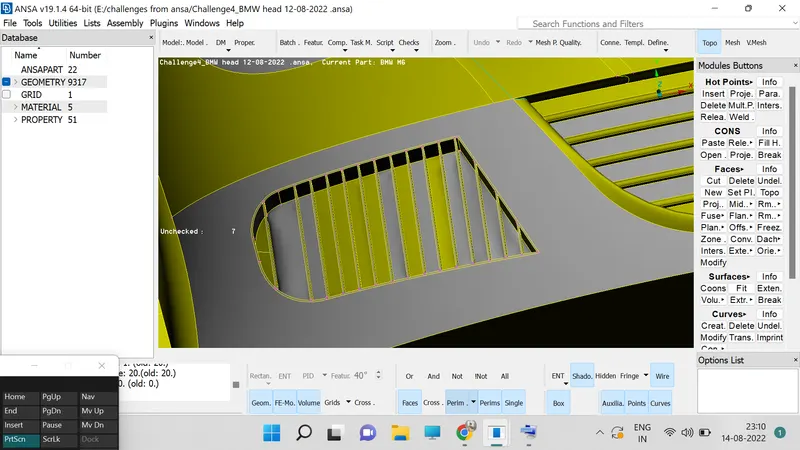
28. In above we have worked on the side fins in which we cleared the inner parts and then we created the face using fill hole option.
29.Next we work on side glasses in which we clear the excess of the material present in it.
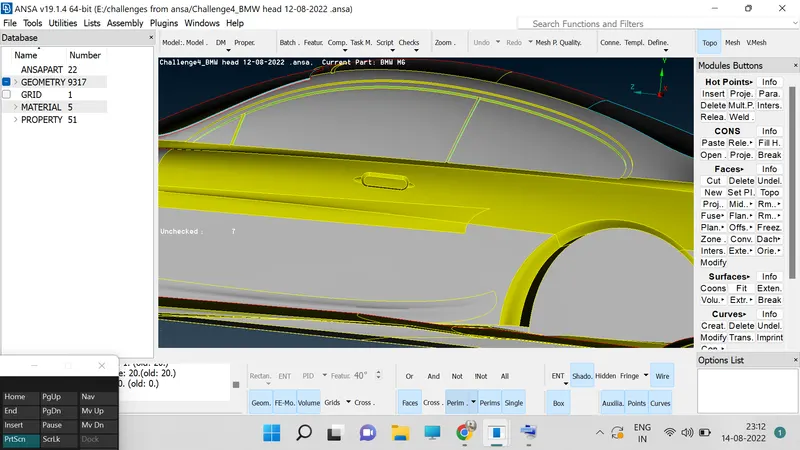
30. Now we cleared the bottom surface of the logo BMW part and cleared the excess material from it.
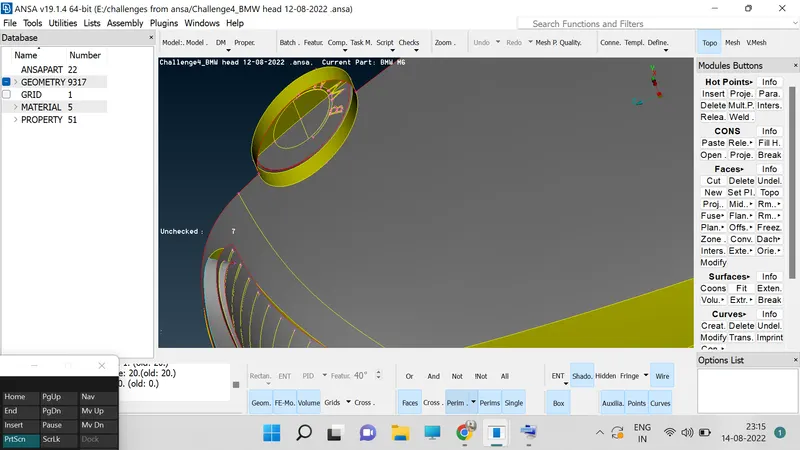
31. Nlow we will work on the back mirror and deleting the excess material on it.
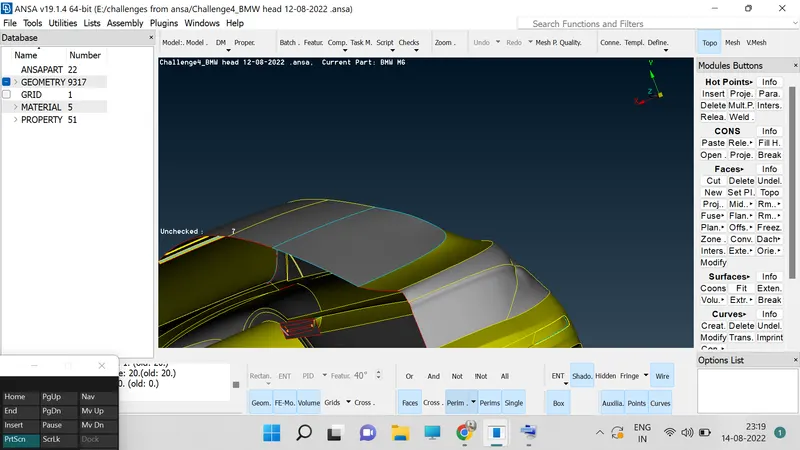
32. Now we will be working on red light limp by deleting the excesses mateiral on it.
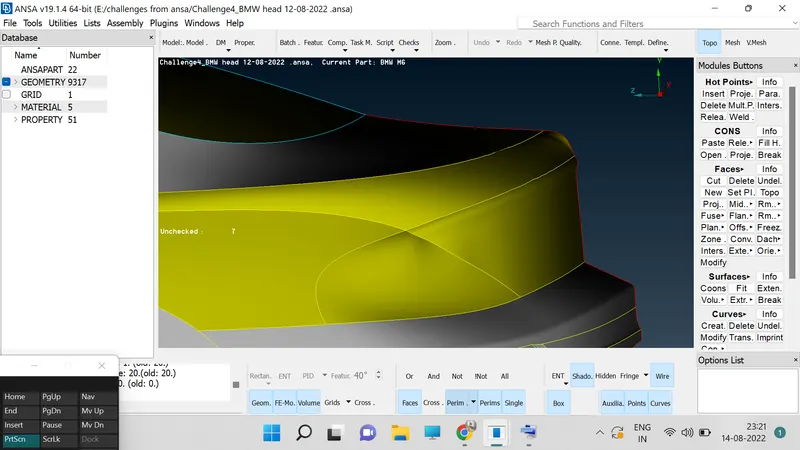
33. Now we will work on the front side fin design and clear the unwanted material from it.
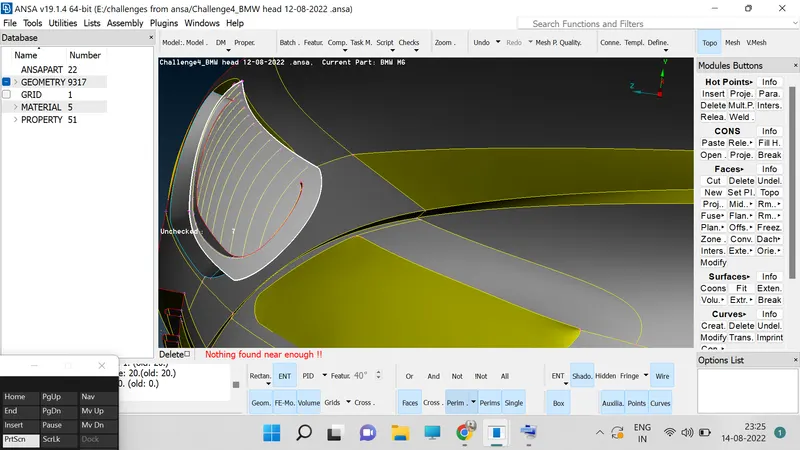
34. Deleting the surfaces on the fins and inner sides of the fins.
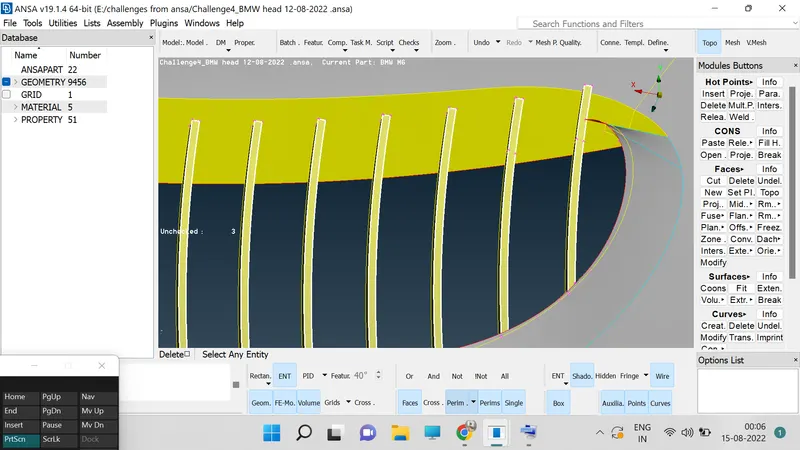
35. Creating the cuts on the fins.
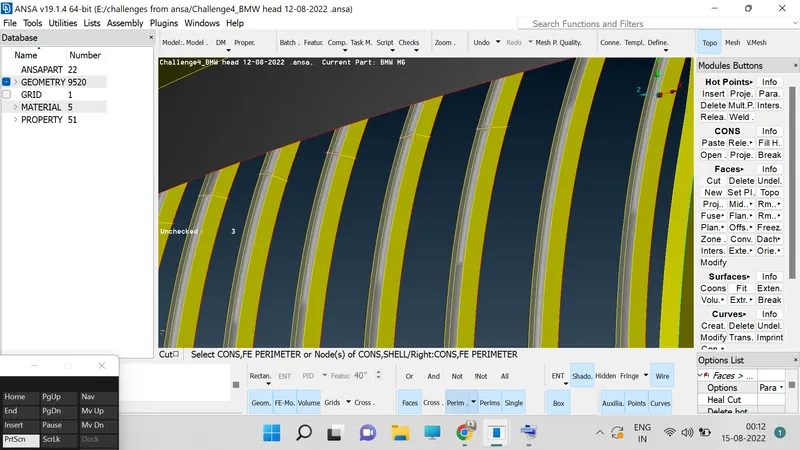
36. After inserting the surface between fins and above suaface.
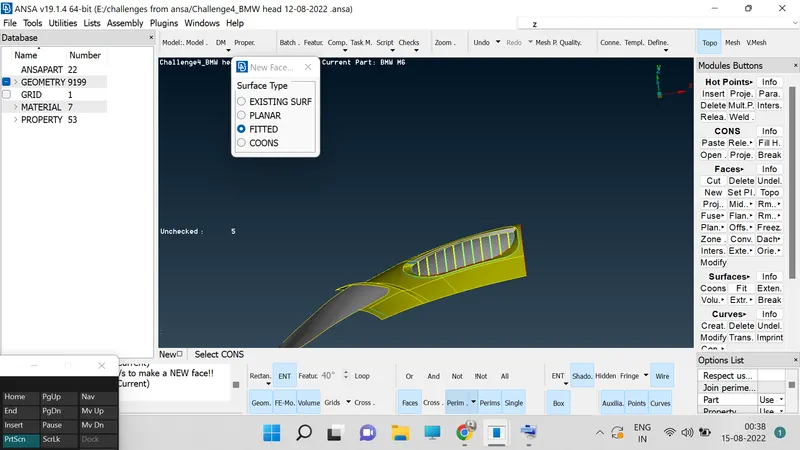
37. Remove the excess martials in inner surface of the parts.
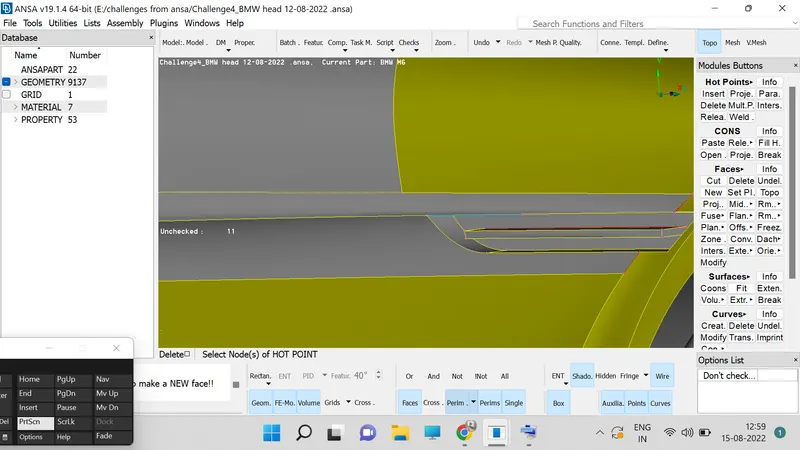
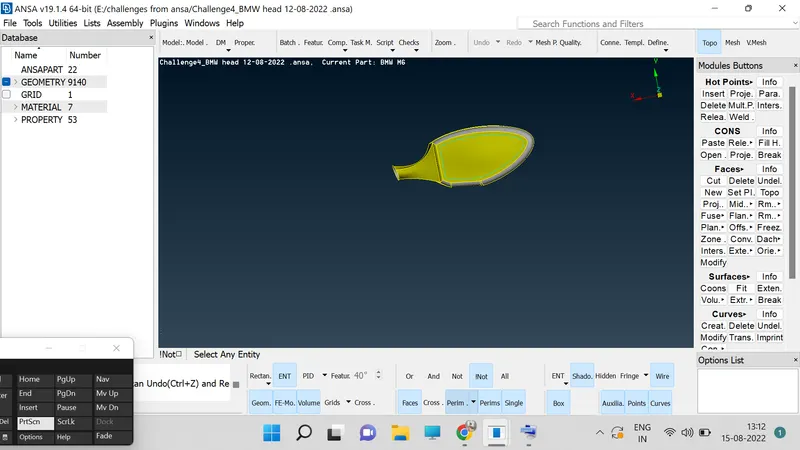
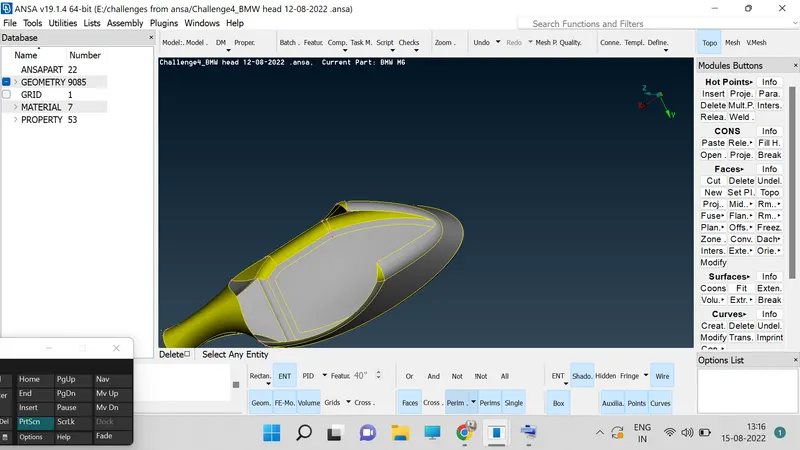
38. We are working on the side mirror now.
39. Now we will work on wheels part.
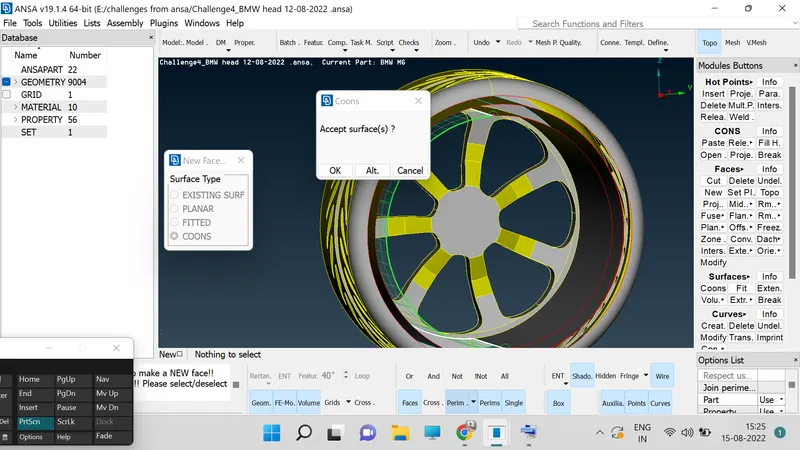
40. Now we will be working on the bottom parts and clear the excess parts
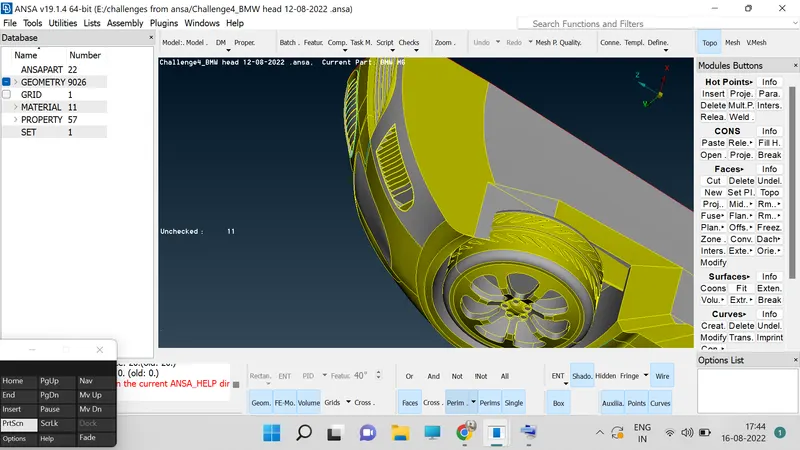
41.Now assign the PIDs through the 'Properties', selection and going through the naming opetion to each and every part.
42.Go to parameters Tool click on it then a window will be popup in which two stes will be visible one is PARAMETER and secound is MACROS.
43. Go to PARAMETER and click on middle botton then a window will be popup then set the dimensions as desired dimensions and do the same for the MACROS and set the dimension.
44. Go to MESH PARAMETER and set the target length and selecte the tira option over their.
45. Define the meshelement type us a tria in the MESH PARAMETER.
46. Go to MESH GENERATION tool in which we have SPORT MESH click on the option and then select the entire model then the model will be turned in to mesh.
47. Now go to MESUREMENTS option at the top of the screen and then click on it then window will be popuped then select the nodes option.
48. After selecting the nodes option we need to measure the distance between to nodes on the model by selecting two nodes.
49. Repeat the step no 42 to 48 for different dimesions and different parts.
50. The created module is to be saved in the spefied location in computer.
RESULTS :
Hence the surface meshing on The CFD Meshing For BMW Car with desired length completed using the tools in ANSA software.