Week 4 Challenge : CFD Meshing for BMW car
AIM- To Topo cleanup of BMW car model , 2-D meshing & Check its quality criteria, Improve failed meshes, Create fluid domain for 3-D meshing and volumetric mesh if possible .
ALGORITHMS USED
1. TOPO- Used to clean up geometry.
- Delete- Used to delete the unwanted surfaces or overlapping surfaces.
- Cut- Used to Created cones between two hot points .
- Project Cut- Used for projecting cones or hotpoints at 90 degree.
- Project- Used to projectt cons and hotpoints to surface or cons.
- Paste- Used to merge two single cons into one.
- Relative- Used to Create new 3-d points respective to surface or nodes.
- New- Used to create new surface using coons,fitted,planner etc.
- Topo- Used to clean up refined geometry .
- Create - Used to create curves for creating surfaces.
2. Meshing- To creates 2-d meshes
- Meshing parameters- used to give limits like min & maximum lengths for mesh and its element type in this case its TRIA.
- Mesh Quality- Used for determining quality of meshes using aspects like skewness,min & max. length etc.
- Length- Used to give parameter of length for differnet PID's.
- Move - Used to move nodes for manualy reducing mesh errors.
- Split- Used to split the tria mesh into smallers to reduce max. length errors.
- Join- Used to join tria elements for reducing min. length errors.
- Freeze/Unfreeze- Used to Freeze the PID's so changing mesh length won't affect the frozen PID.
- CFD Mesh- Used to create CFD mesh for assigned PID's
STEPS & MODEL
1. Geometry cleanup
Orignal geometry
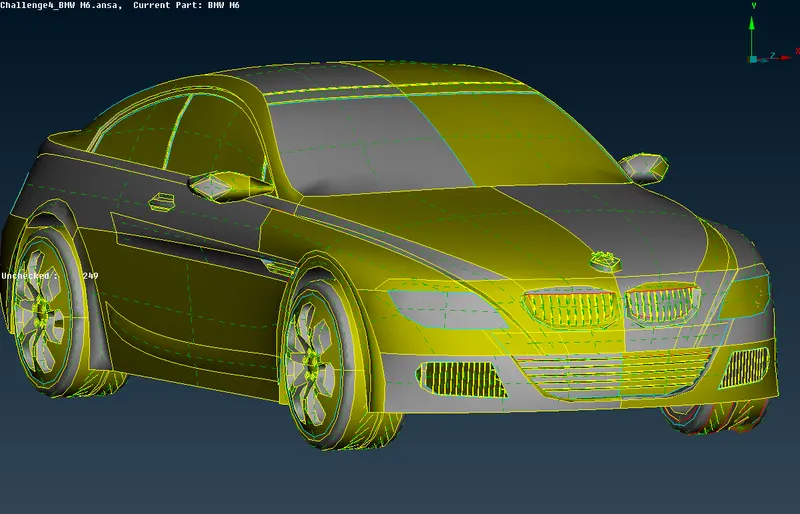
triple cons single cons error
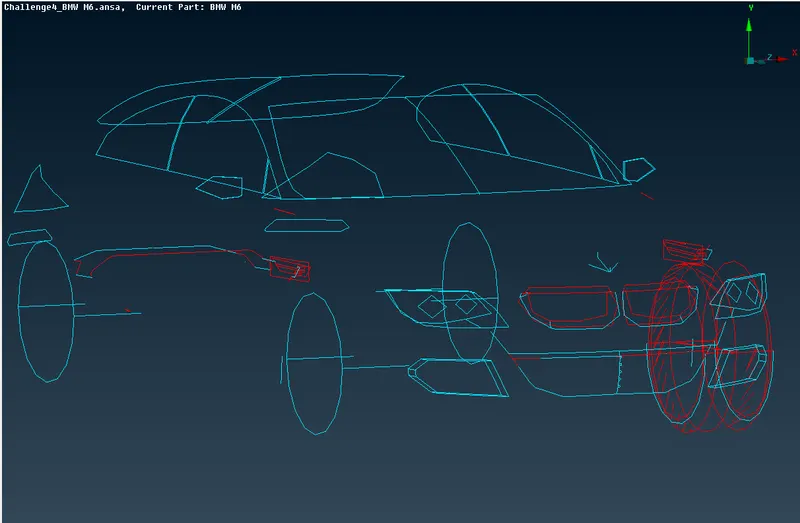
As we can see there are many errors according to model.To clean it we need to go step wise and efficiently.
Rather than cleaning for whole parts we delete half of car body as it is symmetrical and can be created using Transform command . This way we reduce our work to half.
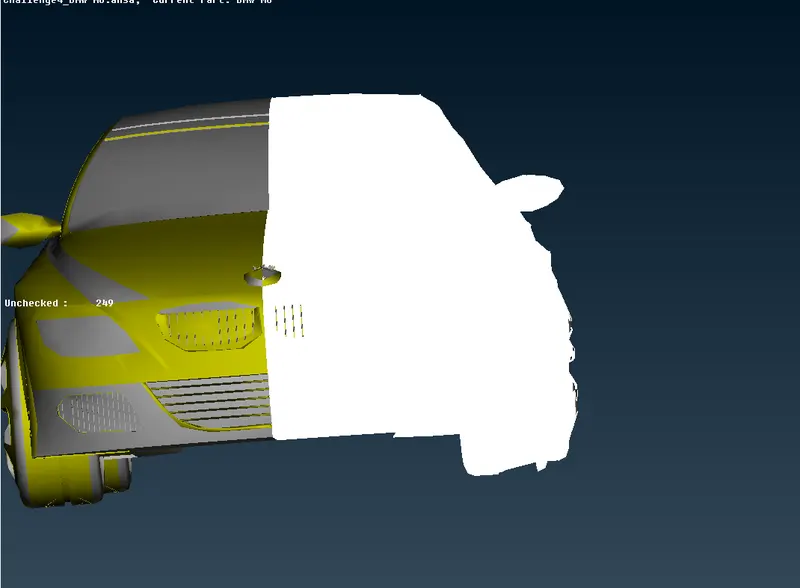
Half geometry
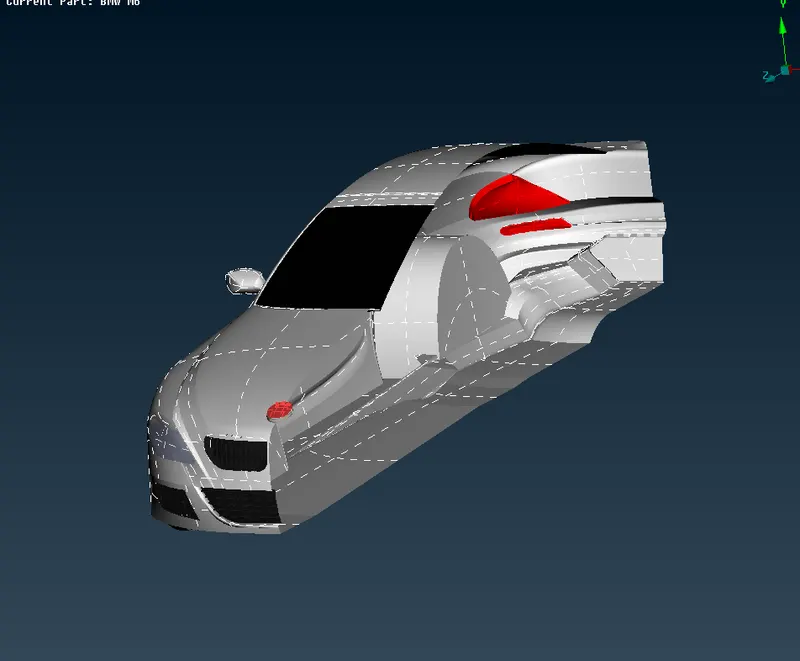
WE will solve geometry usings parts we assigned
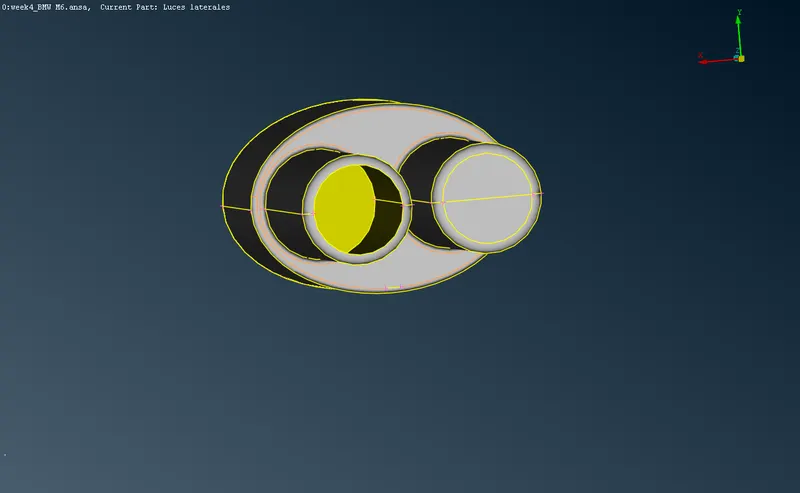
Side mirrors, grills, tyres, body, lights, LOGO
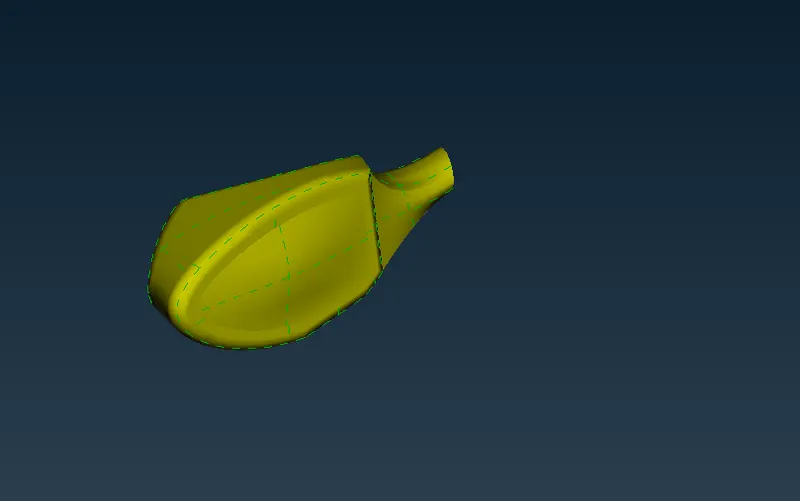
* Side Mirrors
Here we first isoate the mirror using inot tool, Remove all overlaping surfaces and innner surfaces not needed which are creating triple cons. Finaly use paste option if needed.
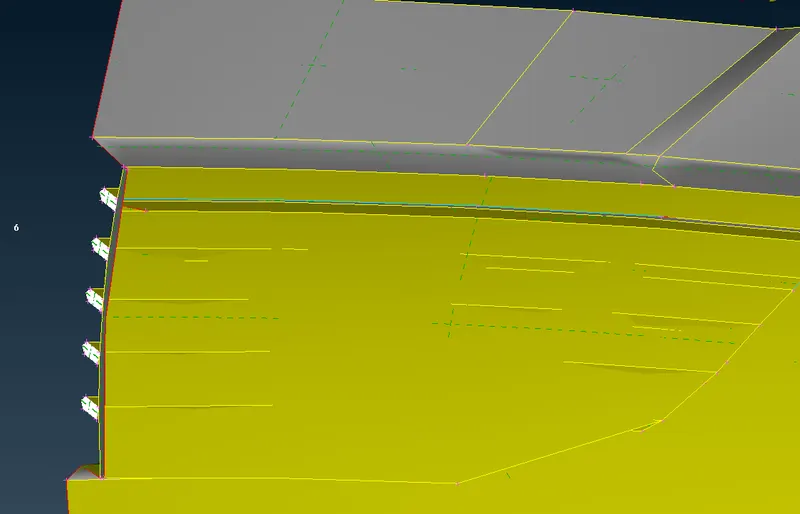
* Grill-1
# Firstly we delete all overlaping surfaces and extra surfaces.
# We need to delete all triple cons as we dont need volume to be created.
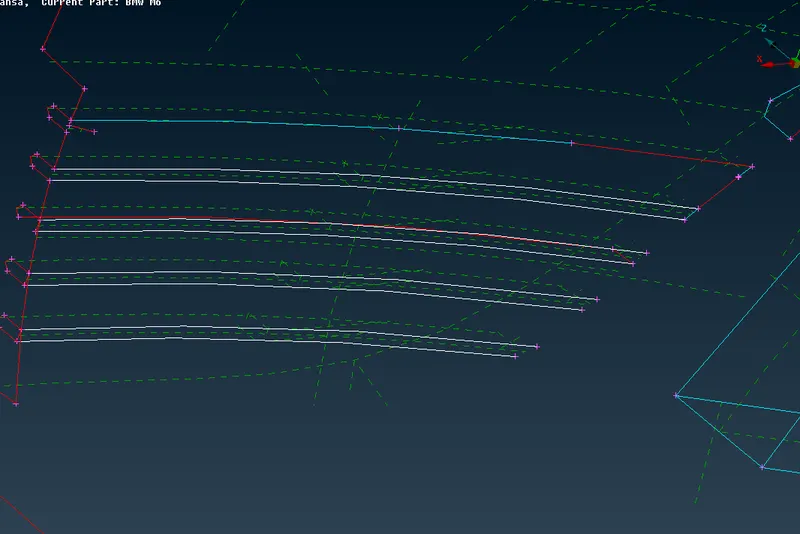
# After deleting overlaped surfaces ,there is another surface behind it ,project cons of grills on surface so we can delete those surface
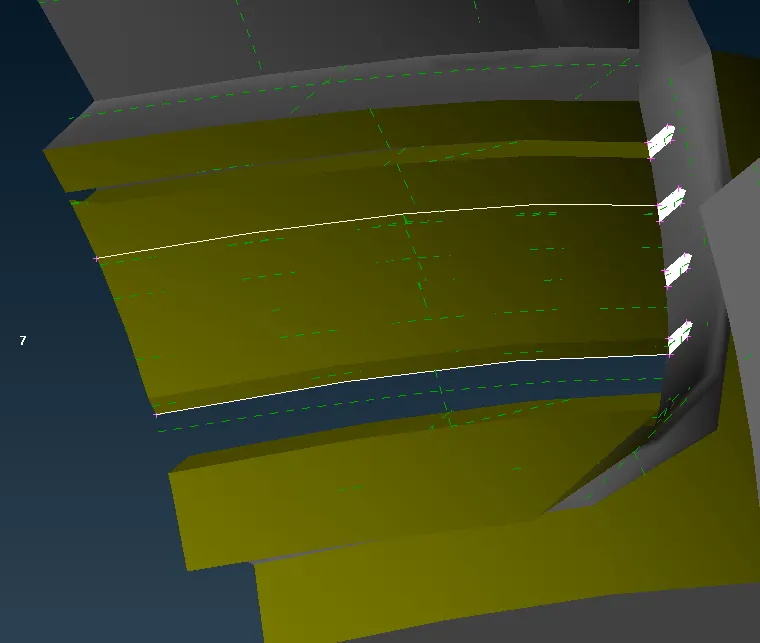
# After all irrelevant surface delete we create new surfaces using new--> coons or fitted to fill all holes deirably so we get no single cons or triple cones
# Also we delete needle faces & intersecting spaces by projecting for smooth geometry.
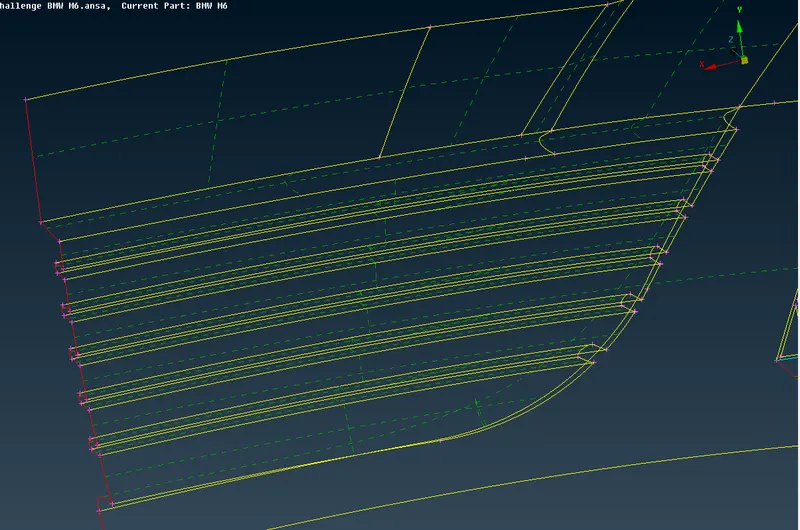
* Grill -2
# We start by delteing extra surfaces that are overlapping.
# We delete the extra hot points after deleteing of surfaces.
# We use cut to refine sharp edges surfaces and delete the irrelevant surface.
# After we reate surfaces using new tool and fitted option.
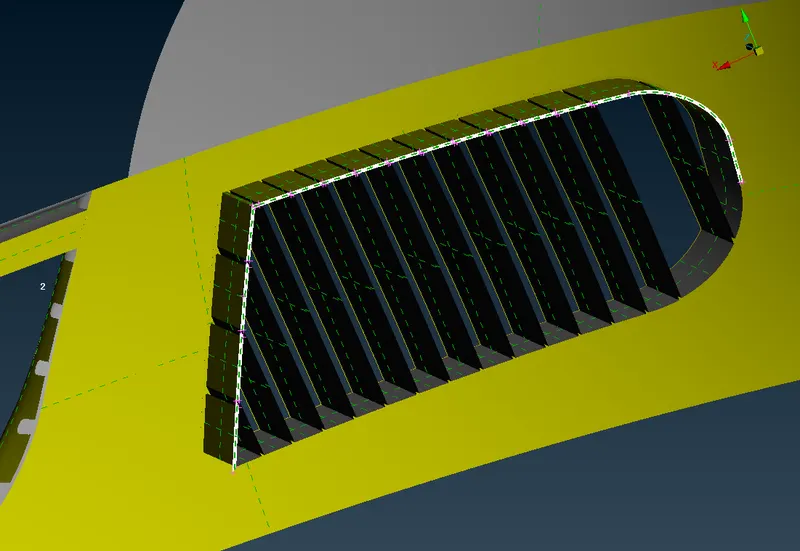
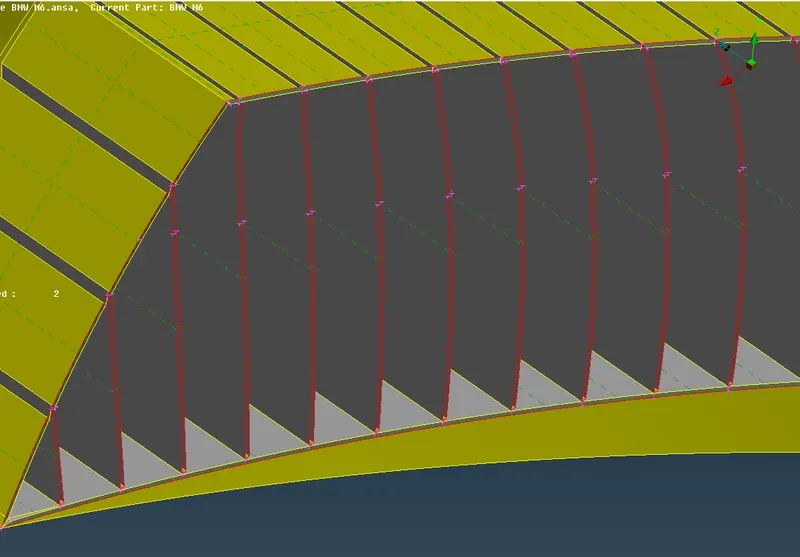
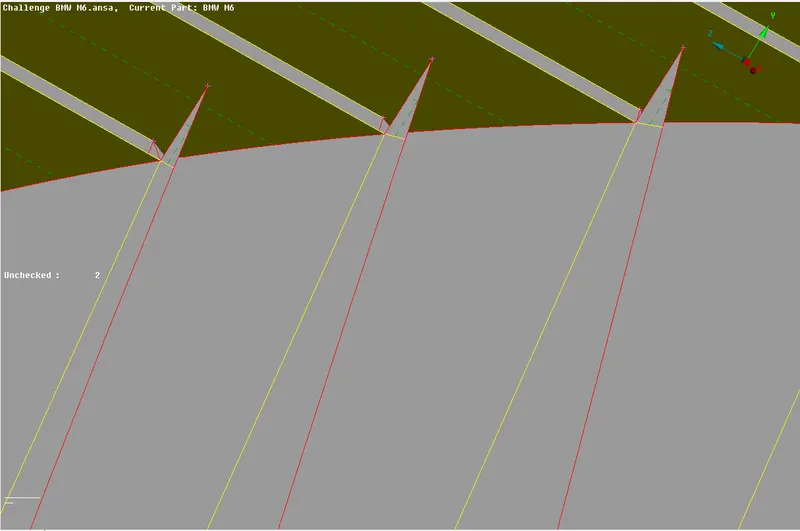
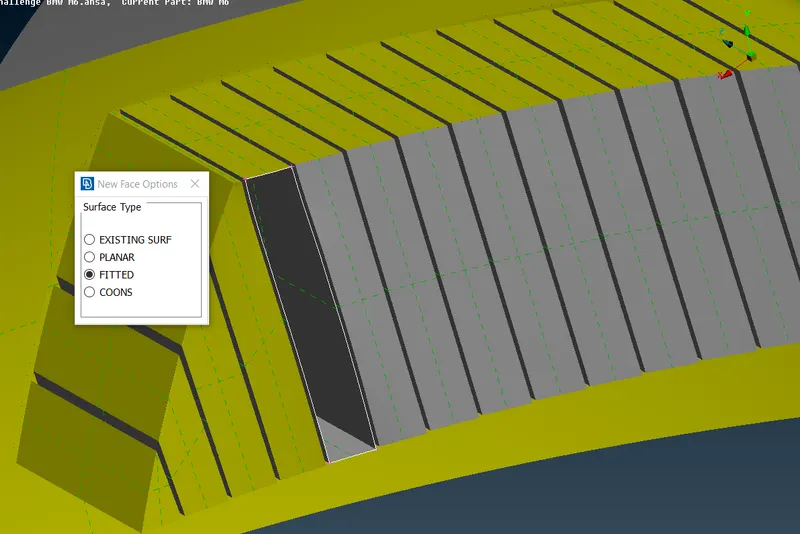
* Grill -3
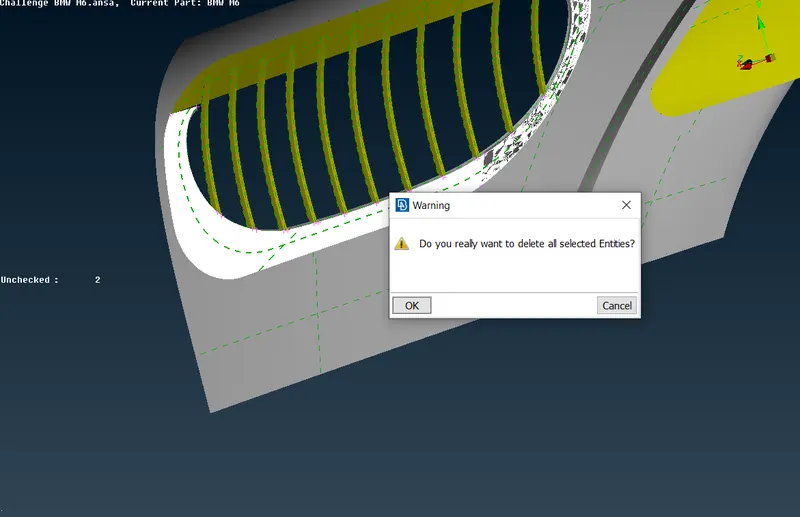
# First we delete all ovelrlapping surfaces and delete triple cons surfaces and needle surfaces .
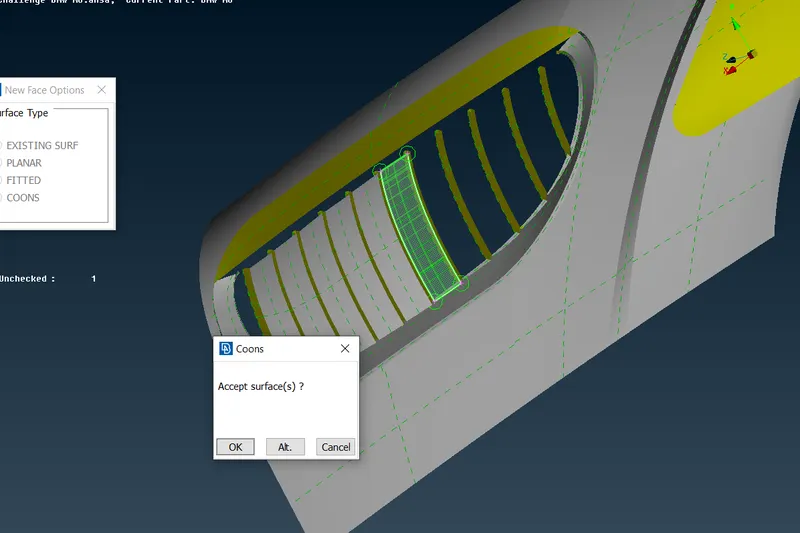
# Then we use project cut tool to project cons to grills so we and create new surface to close the open surface .
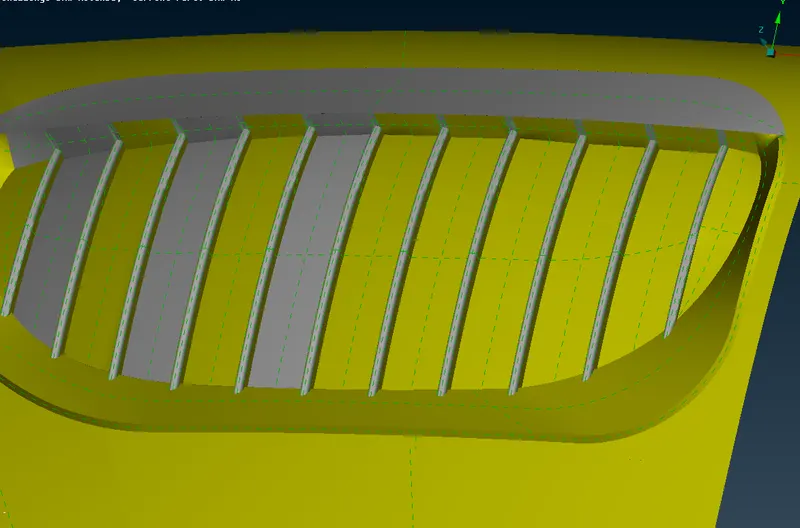
# We delete grills attached unwanted surface and crreate new surface using new tool.
# Then we create surface between front surface and grill and check if any errors.
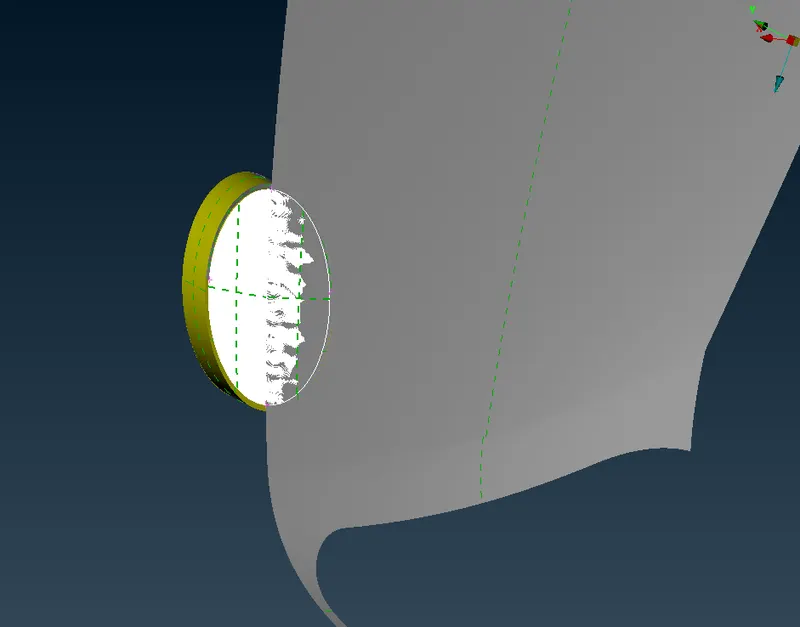
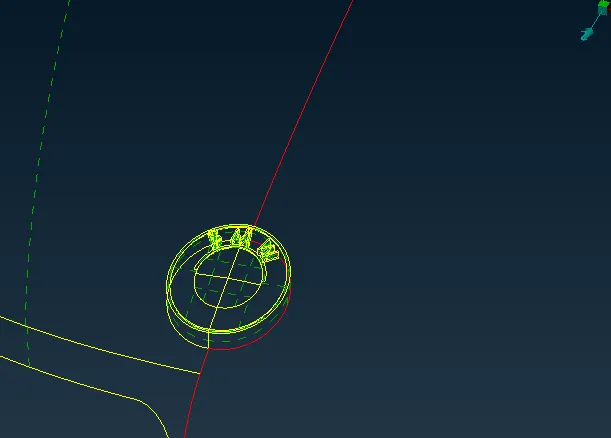
LOGO
# First clean below surfaces & overlapped surfaces You will se logo hollow from bottom.
# Use not tool for hiding and see other overlapped surface and delete it .
# YOu will see some gaps in surface fill using either fill hole or new tool.
# You will also see ectended surface to top where BMW is written delete and create new surface
# Finaly clear all fine edges of written BMW in logo as size is much smaller than asked in mesh so it wont create hinderence
* Windows and Lights
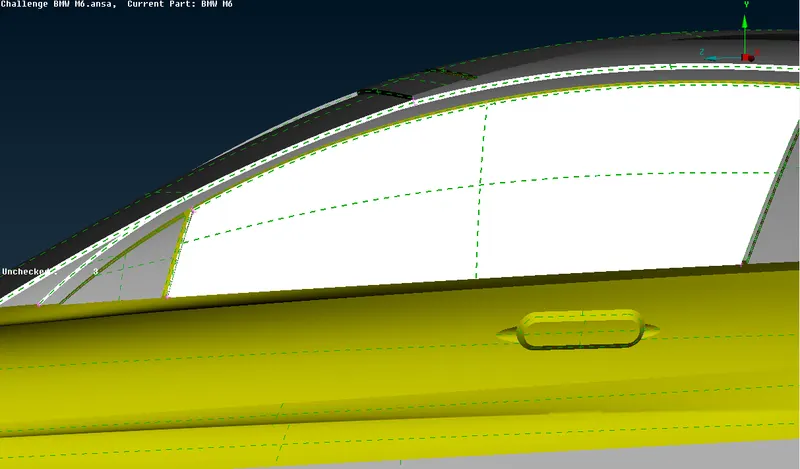
# Windows and lights doesnt have much error just triple cons created by ovelepping surface or volume surface , We delete all surfaces till all triple cons dissaper and double cons is only shown.
* Body
# We start first with handle where we have triple cones , which we delete and also overlaping surgaces.
# Then we refine geometry by filling back surfaces to resolve single cons & we get needle surface which we delete
# Then we use paste for adjacent red cons problem and geometry is resolved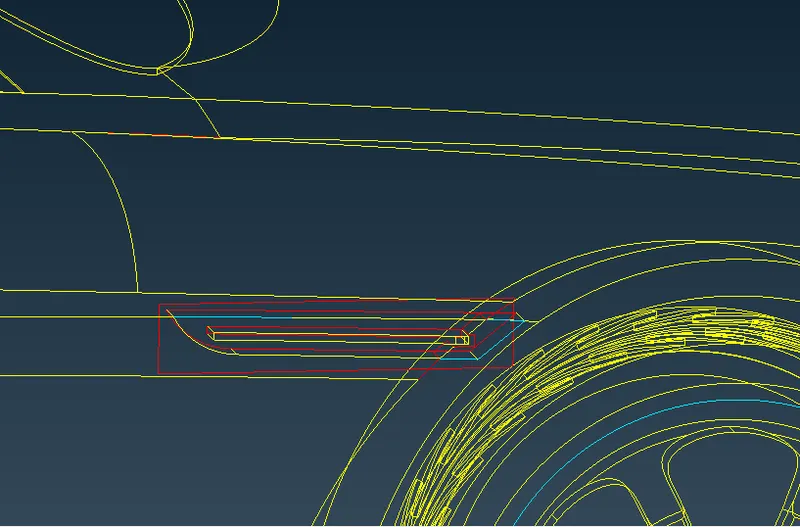
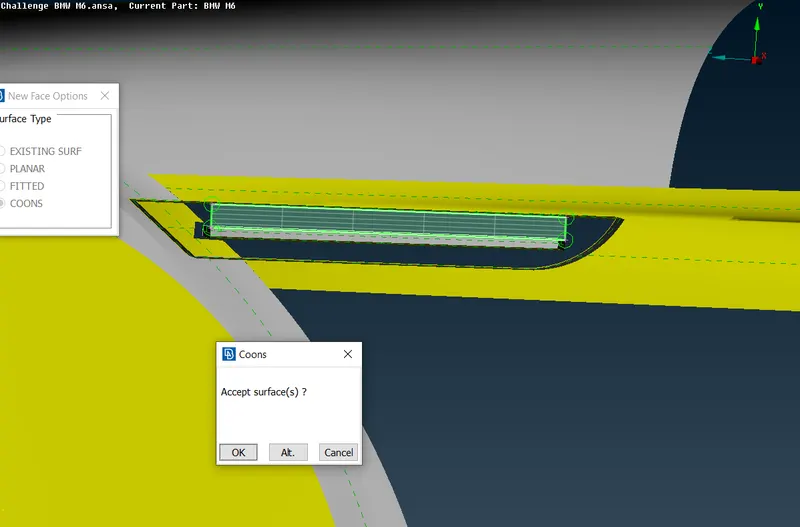
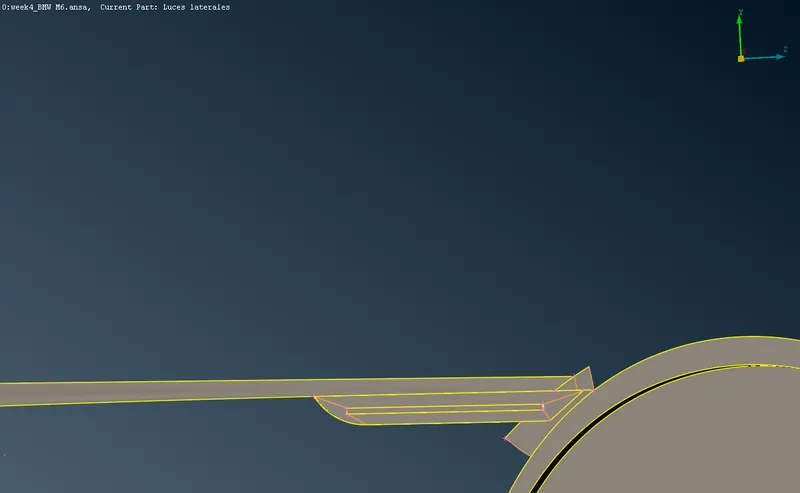
Next we gave overlaping surface with tires area
# We create curves with half body red cones area so we can create new surface even if we delete .
# We delete surfaces and create new area according to basic given shape and check in geometry checkup to avoid any intersection or overlaping surfaces .
# If we get any we delete untill we get double cones .
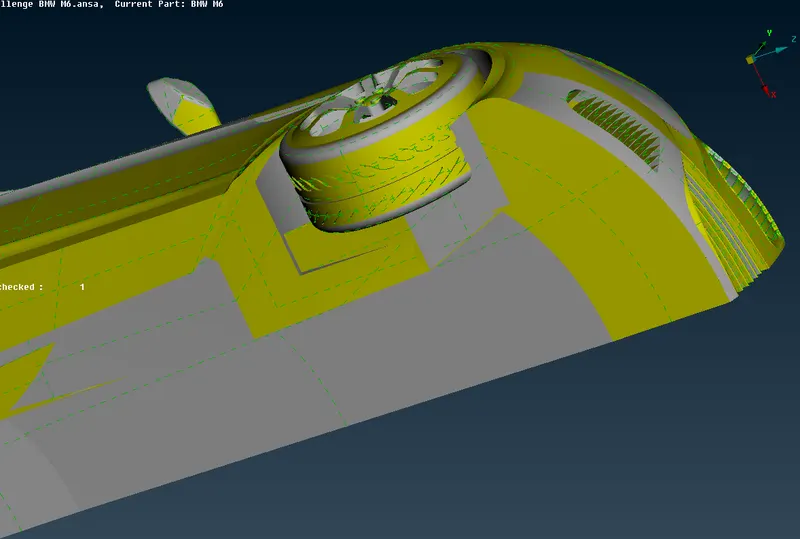
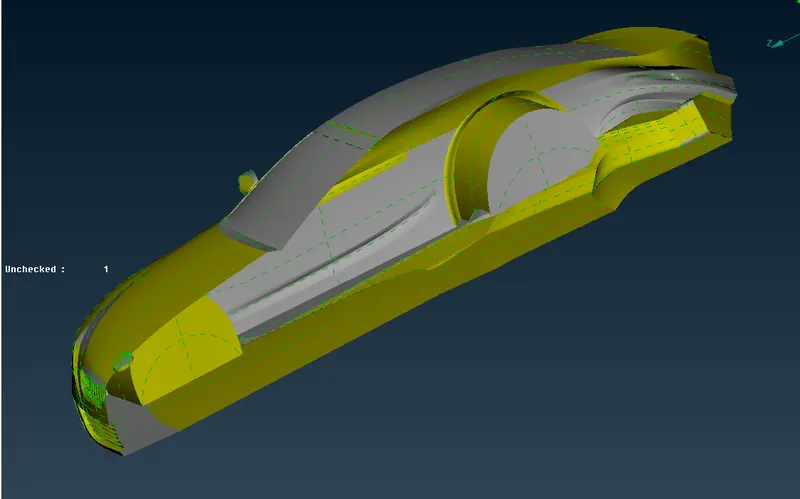
* Silencers
# First we relase cons at end and delete inner surface so we get no multiple volumes during 3-d mesh and fill holes using fill hole tool.
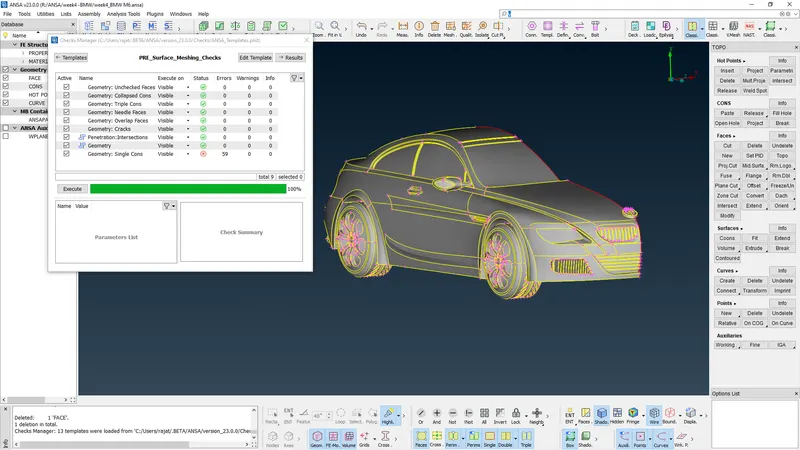
2. Geometry check
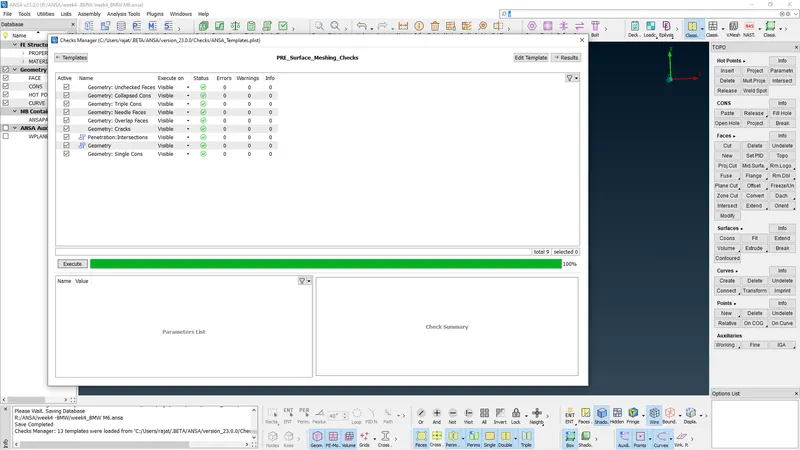
The red cons are only eroors shown which will be cleared hwn we transform half into full body.
(3)After the check is done we transform so full body is made we can also do this after meshing but i did early as my pc can handle surface meshing for full body with less time.
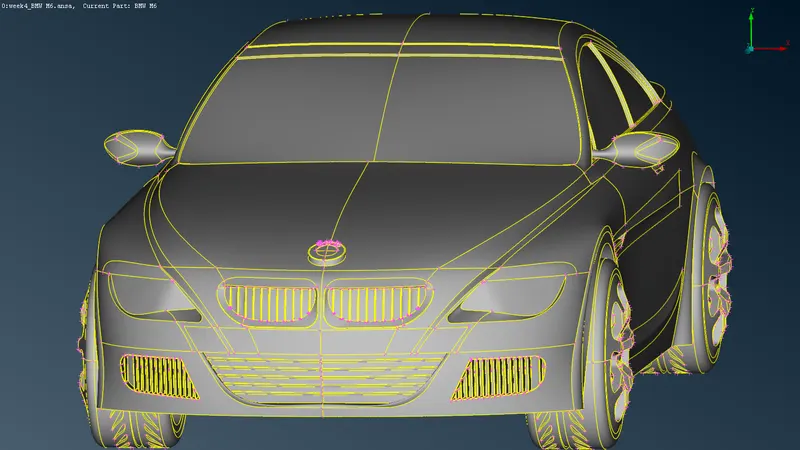
4. We asiign PID's
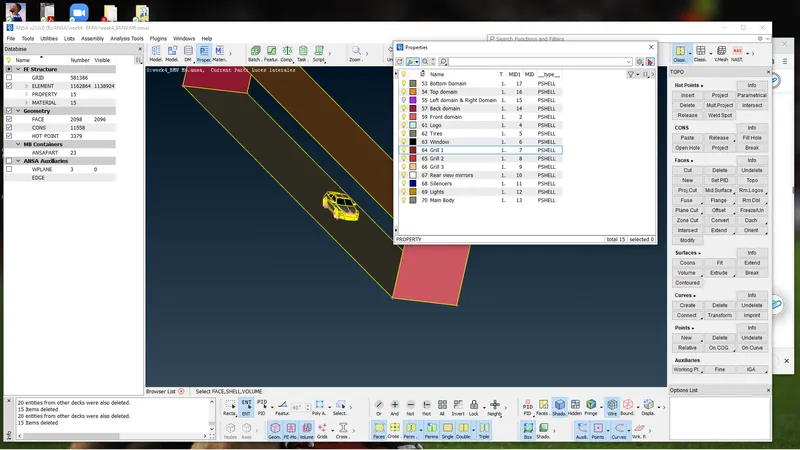
5. we craete mesh for all PId's according to challenge 4.
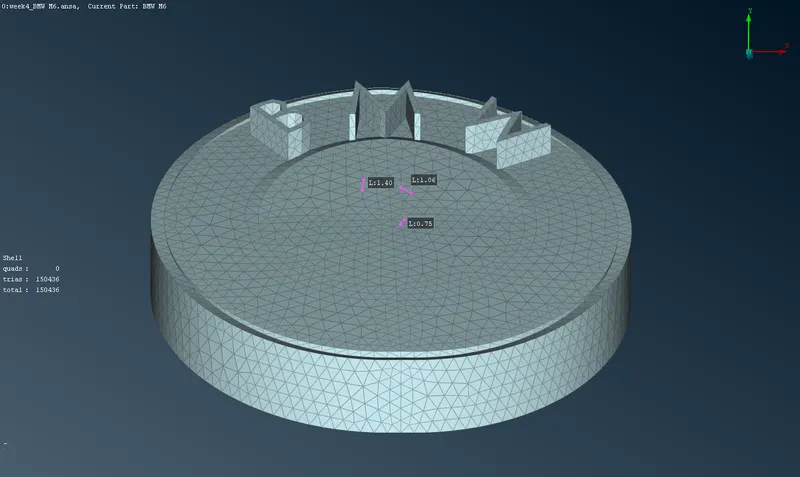
(a) Grills & logo 1mm
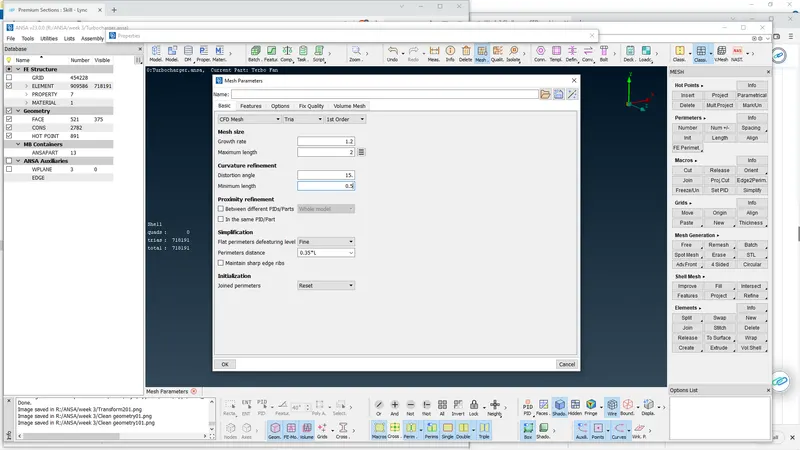
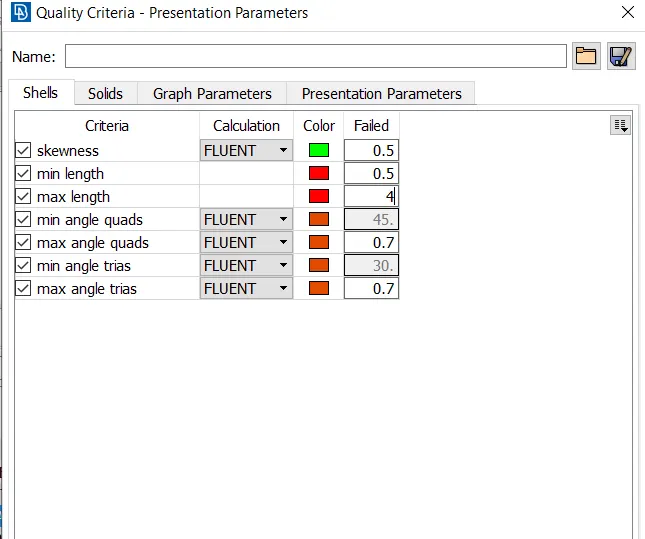
we choose CFD Mesh & give limits accordingly to mesh size and give actuall size in parameters & assign quality aspects.example as shown below.
After the meshing is done we use hidden tool to find off elements which we reduce by using Imrove by right clicking in it or we want to do manually we do by using Split,Join,Move grid command etc as mentioned in algorithms and tools.
Final mesh 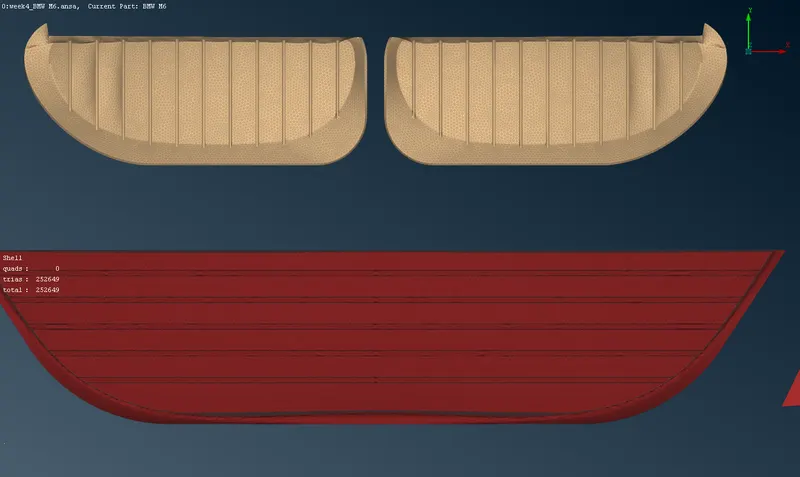
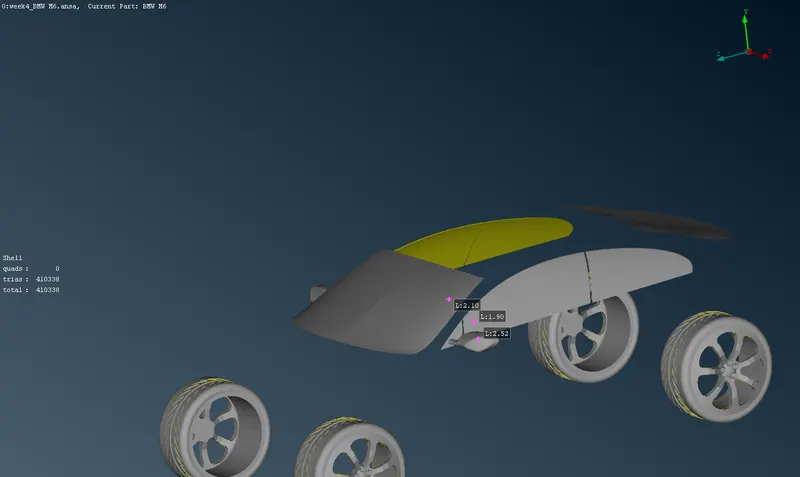
(b) Windows ,tyres & Rear view mirror = 2mm
We so similar process as above and freeze the parts we mesh and imrove quality by going to hidden if any off elements we right click and use improve to reduce off elemnets .
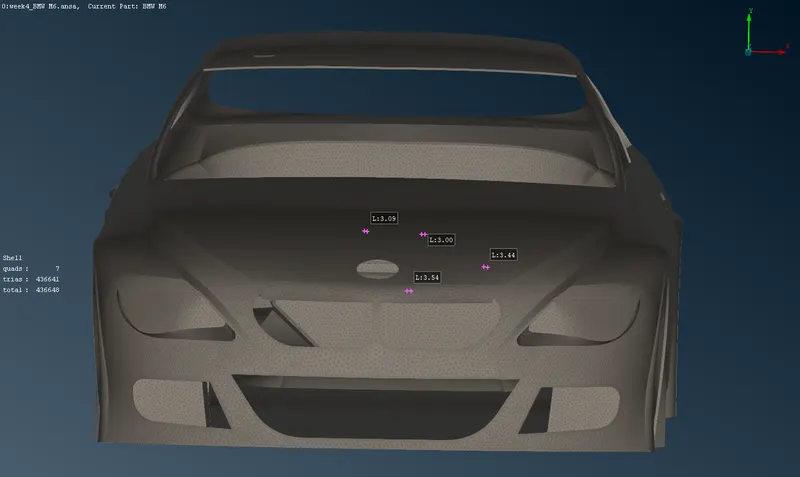
(c) Body,Silencer = 3mm
(d) Similarly we do for lights =4mm
FUll body 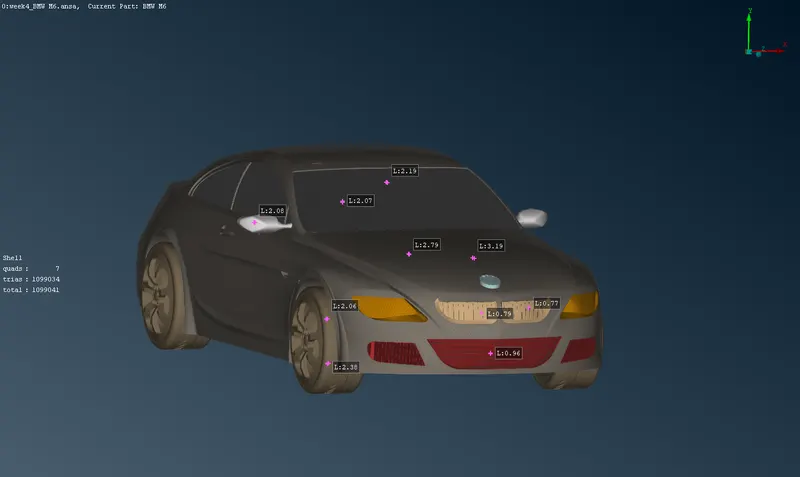
6. We create wind tunnel and 3-d mesh
# We create wind tunnel using Relative command which is mentioned in algorithm and tools at top by using this we create the 3-D points refrence to nodes of surface and offset them in x,y,z dirction accordingly as mentioned the front size should be 4 times to car size, back side should be 6 times of car size, Height should be eualt to 3 times of car height and width should 1 times more than car width .
# we measure the car size height and width and offset points accordingly and create surface
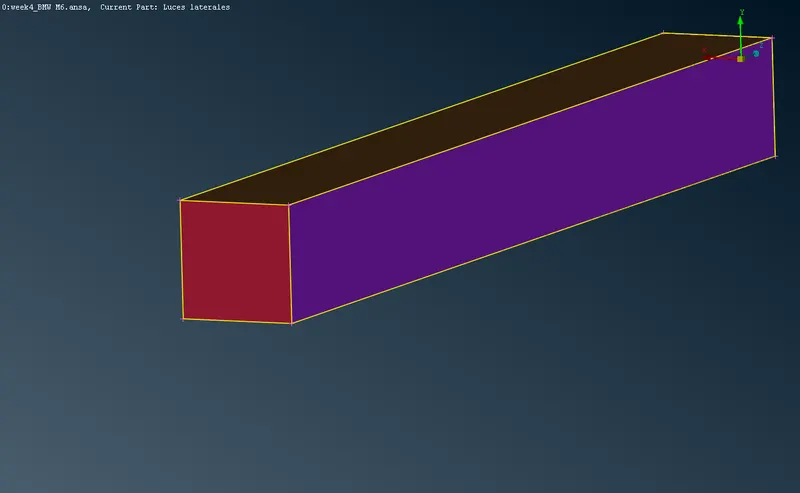
# After we create the tunnel we surface mesh it at bottom we assign 20mm mesh length and at top we assign 100mm mesh length .
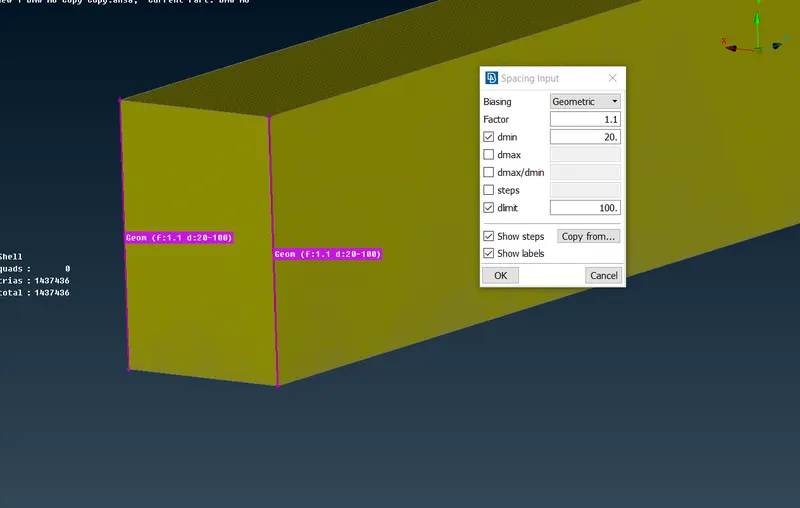
for front bottom and side walls we use Spacing option which is used to change the distance between nodes of mesh accodingly so we us geometric and assign 20mm at bottom and 100mm at top for matching top and bottom surface mesh.
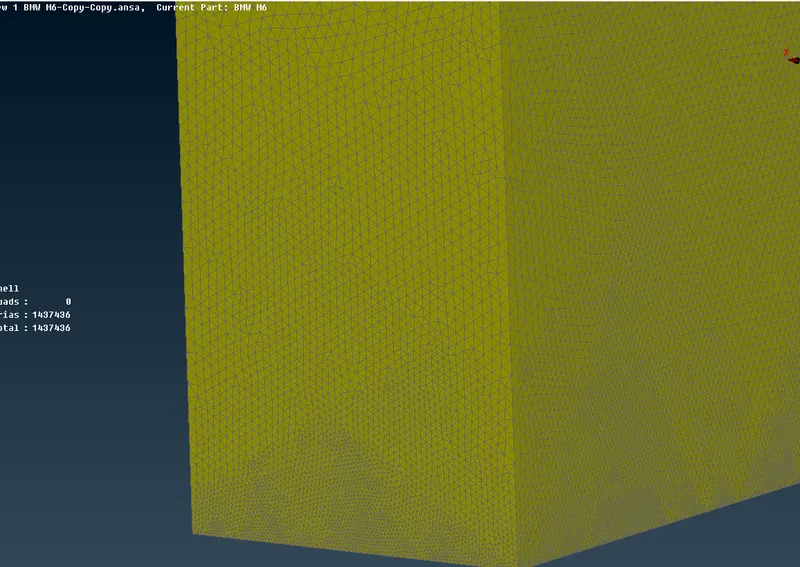
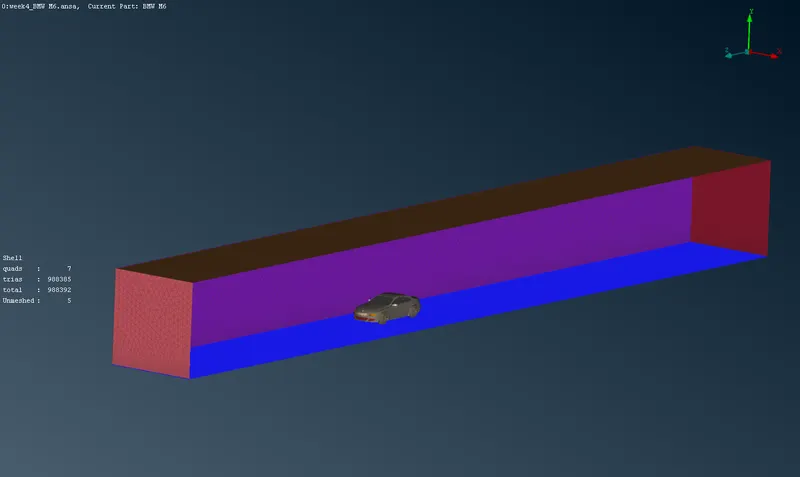
# Then we use volume mesh and define to find all volumetric mesh.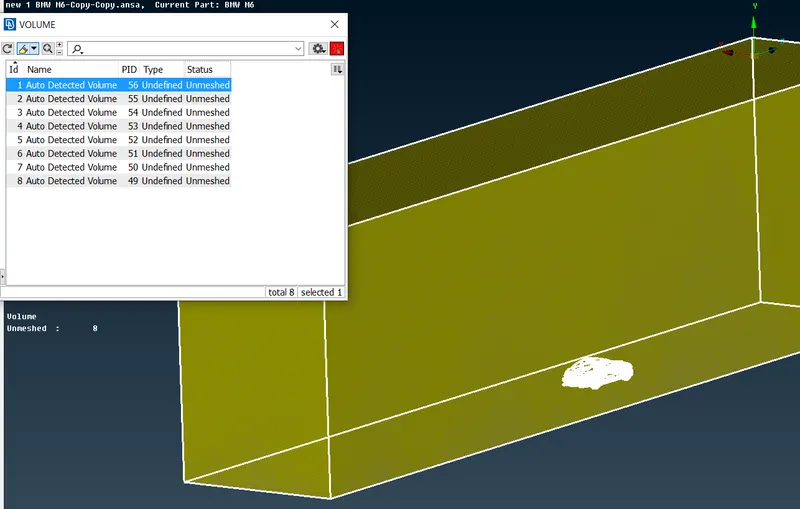
# As volume is very large pc was not able to complete volume finding proceess and had to cancel it before.
Link:https://drive.google.com/file/d/1QaKdeb_yPwtK1E0ZYsYpEmIENLUCYqUX/view?usp=sharing
Conclusion
- Working on BMW model has cleared more concepts regarding meshing and geometry cleanup .
- Also got to learn new tools like curve creating for 3-d surface creation.
- Got more familiar with meshing for differnt PID's.
- Advance topo cleanup.