Week 4 Challenge : CFD Meshing for BMW car
CFD Meshing for BMW Car
Aim:
For the given model, check and solve all geometrical errors on half portion and Assign appropriate PIDs. Perform meshing with the given Target length and element Quality criteria. After meshing the half model, do symmetry to the other side.
Objective:
Target lengths for the different parts of a model are as follow:
- Body – 3mm.
- Silencer – 3mm.
- Lights – 4mm.
- Grills – 1mm.
- Logo – 1mm.
- Tyres – 2mm.
- Mirror – 2mm.
- Window – 2mm.
Procedure:
Geometry clean up:
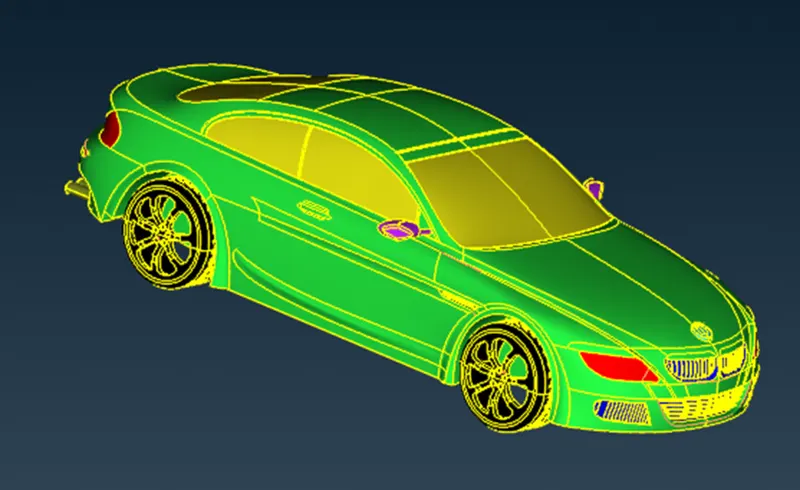
Open the given file in ANSA software and the model will be as shown in fig.
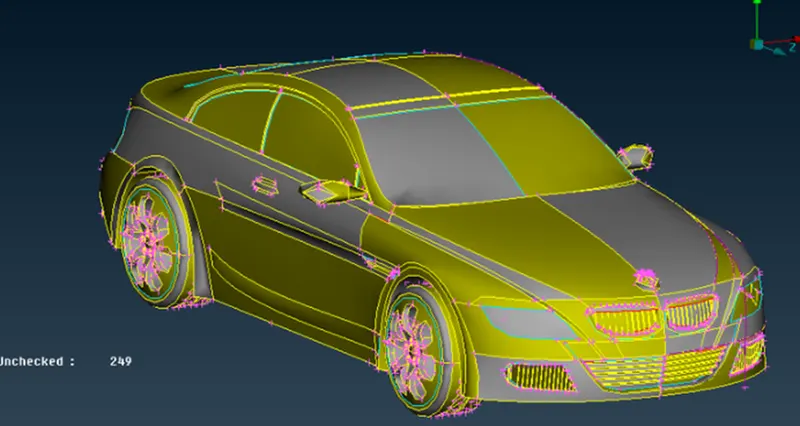
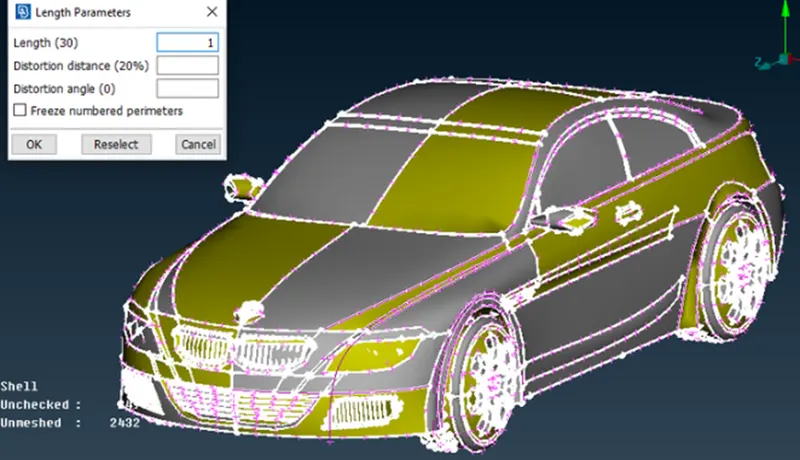
- Go to mesh and choose length and set to 1mm under perimeter to smooth the sharp curves of the car and give it a fine look.
- Since the car is symmetry from the middle to any end, we can delete one side of the car and perform the necessary operation on the car and use symmetry option to produce the complete car.
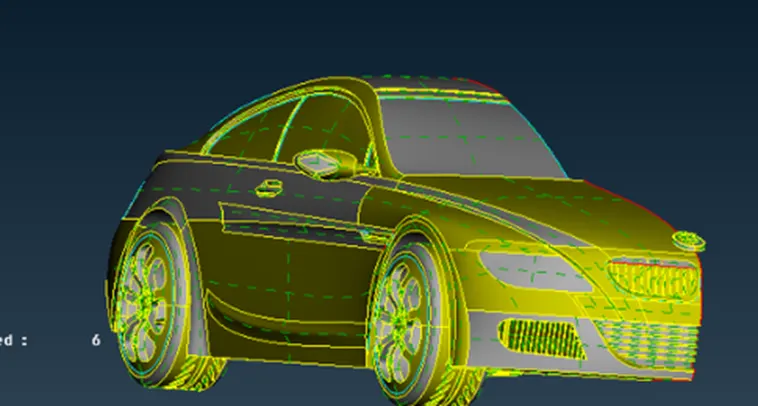
- We can now start with the topo clean up by removing the single and unnecessary triple cons. First click on topo and box select the entire to identity or joins any unjoined singles cons or triple cons so that we can identify the required clean up accordingly.
Grill:
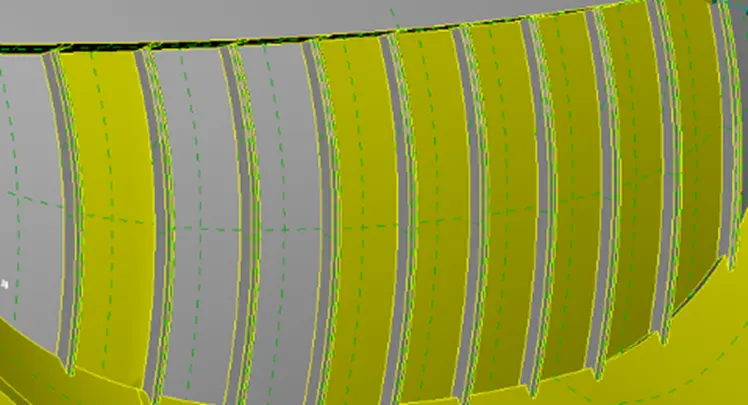
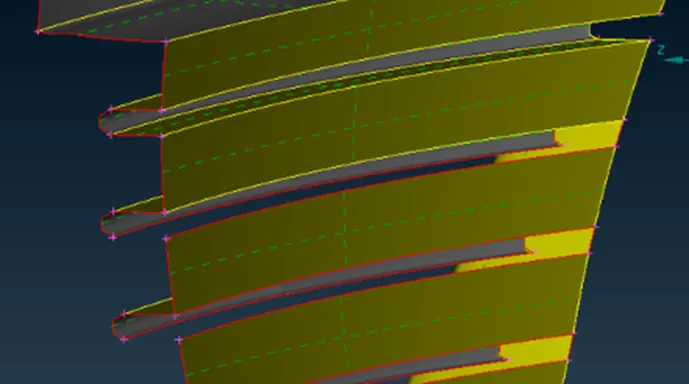
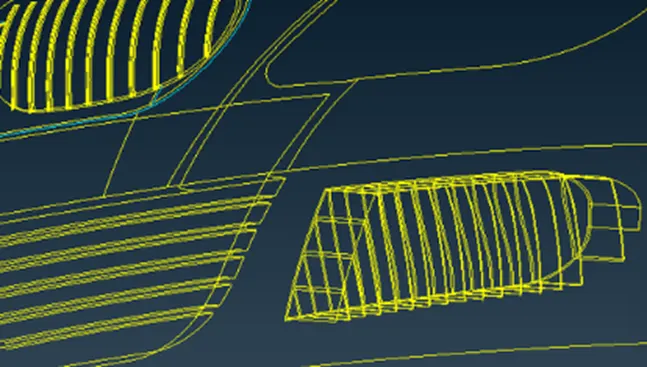
- Begin with the front side grill, delete all the extra parts to have a single volume throughout the car.
- Now to remove the single and triple cons and to maintain single volume, to create a single volume we need to have double cons everywhere, to do this we need to perform few cuts and re-surfacing of parts to maintain a single volume.
Logo, Lights, Windows:
- Do the same for windows, rear lights and roof area where extra internal parts are present which is of no use to create surface or volumetric mesh.
- The logo of the car is under a single surface, therefore using project cons, create a separate surface and delete the extra surfaces to maintain a single volume.
Body, Tyres, Mirror:
- The logo of the car is under a single surface, therefore using project cons, create a separate surface and delete the extra surfaces to maintain a single volume.
- Create larger surfaces after deleting smaller surfaces which are parallel to each other.
- The base of the car is intersecting with the tyre, therefore we need to delete the excess surface and also delete the extra design surfaces which cause smaller edges, and this causes problems while creating mesh.
- Therefore we need to clean the entire base and create new surfaces accordingly having smooth edges.
- After making the surface changes, we need to check if the base surfaces has no intersection with the tyre region.
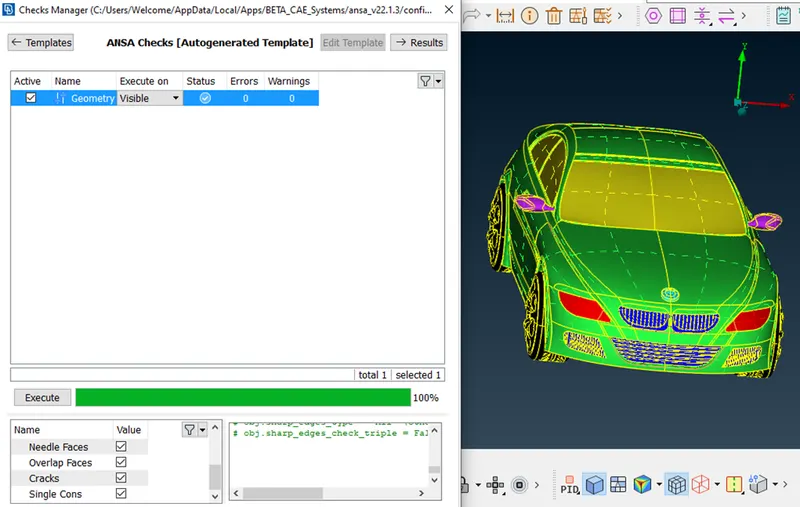
- After checking and performing topo-clean up for the entire half car model. We need to perform geometry checks to find small cracks are unchecked faces extra which is not good for the geometry, therefore we need to perform checks and clean the geometry accordingly.
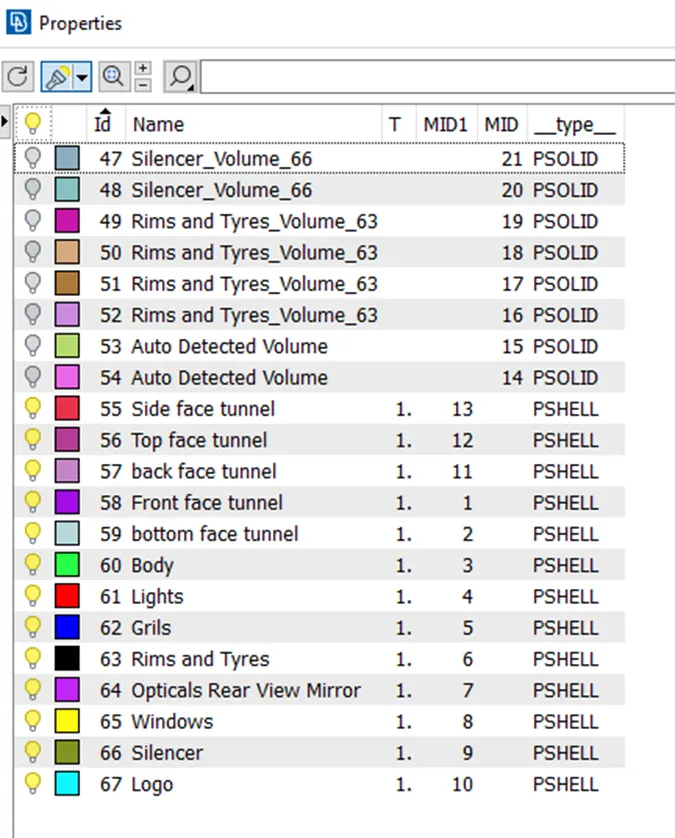
- Once the geometry is checked and has no errors, we can now assign names to different components using PID.
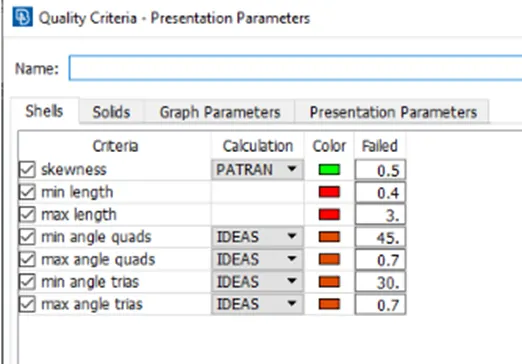
- After assigning the names, we now to choose the quality criteria method. Choose openFOAM solver next to volumetric mesh and choose the given quality criteria below.
Surface Meshing:
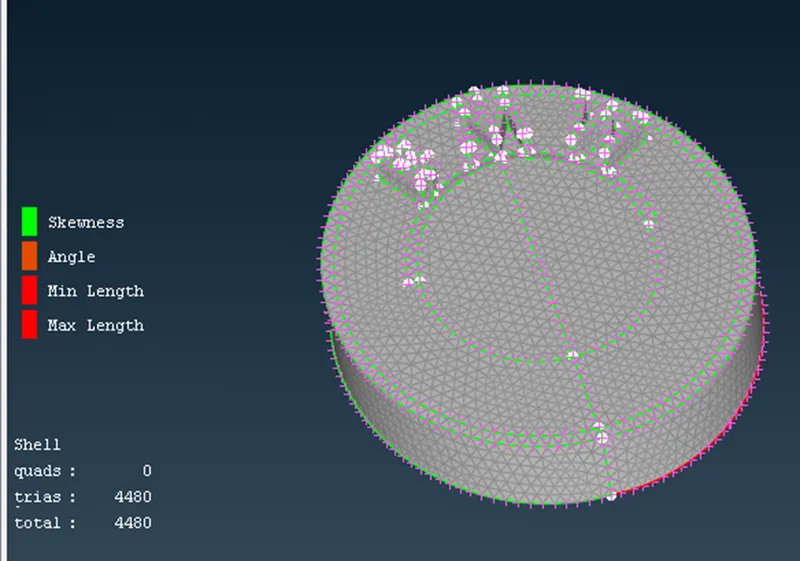
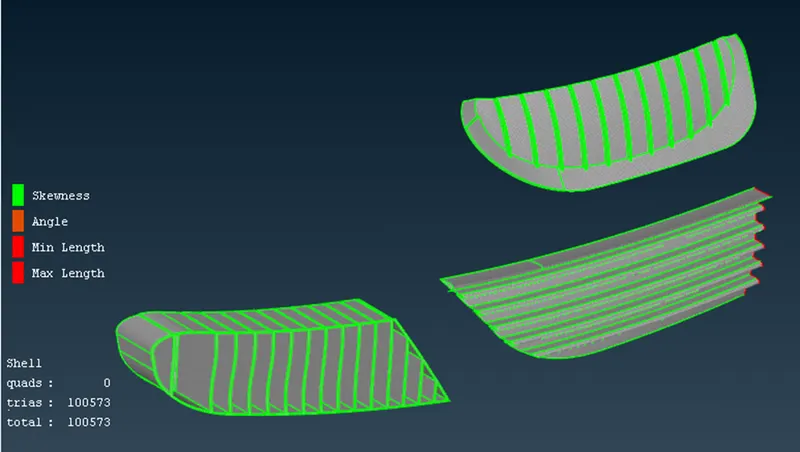
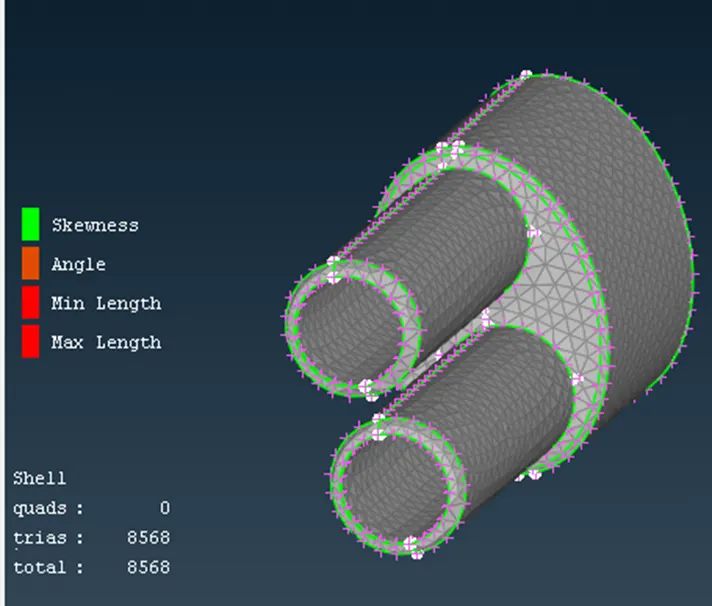
We need to mesh the components individually since the give mesh targets are different for each PID regions.
Assign the mesh parameters and quality parameters for each PID accordingly, assigning the correct min and max length will reduce mesh failure and off elements.
Grill and Logo:
Mesh target length – 1mm.
Min length – (0.3mm, 0.4mm)
Max length – 2mm.
Tyres, Mirror and Windows:
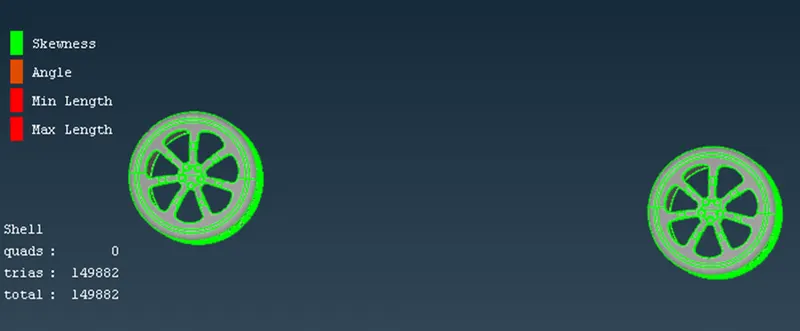
Mesh target length – 2mm.
Min length – 1mm
Max length – 3mm.
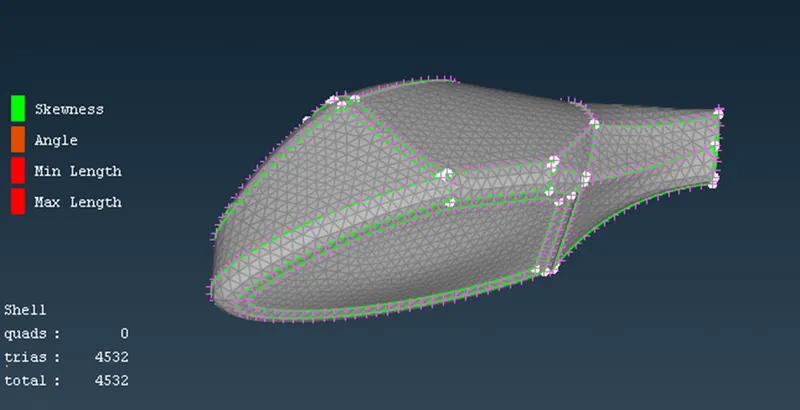
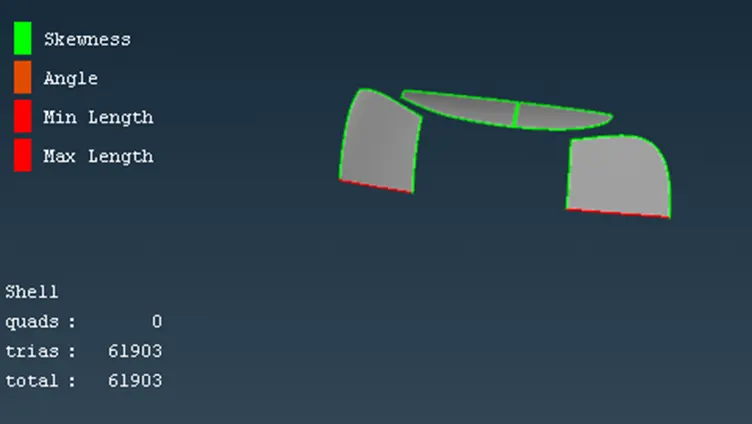
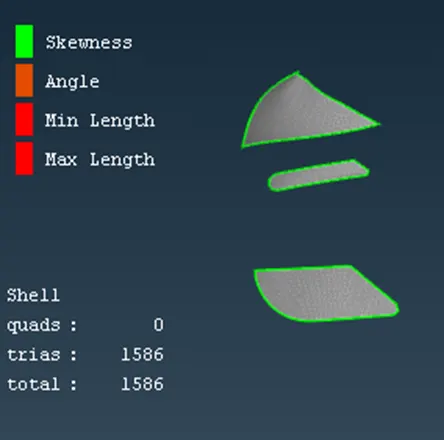
Lights:
Mesh target length – 4mm.
Min length – 3mm
Max length – 5mm.
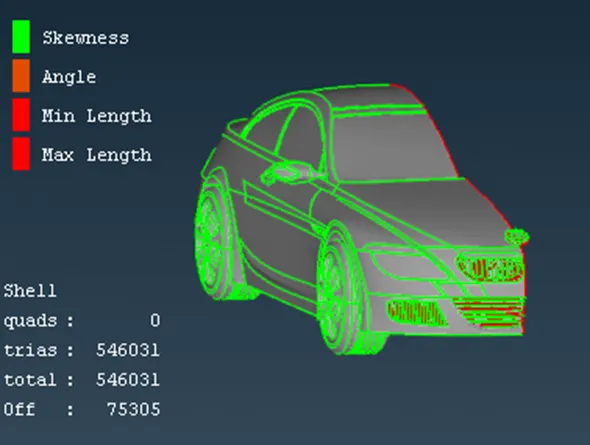
Body and silencer:
Mesh target length – 3mm.
Min length – 1mm
Max length – 4mm.
Performing symmetry on the car model:
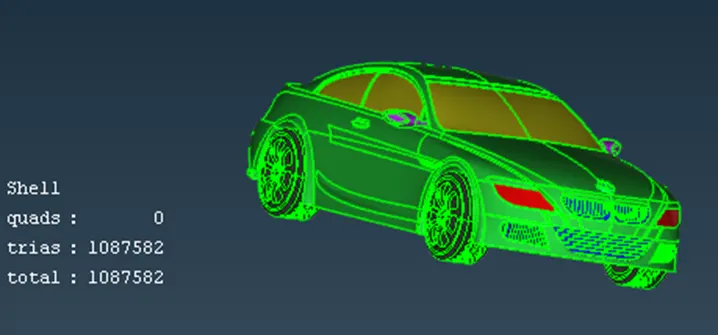
- Perform symmetry under transform option to create to a exact same opposite body of the car to create a full body car.
- Use the copy option and select the half of body and deselect the logo.
- After choosing the model, middle click mouse, we get a window, choose symmetry and choose mirror 3 points plane and choose 3 points on the edge to be performed symmetry.
- There will be few single cons present near the middle section, use paste or other tools to solve the problem.
Creation of wind tunnel:
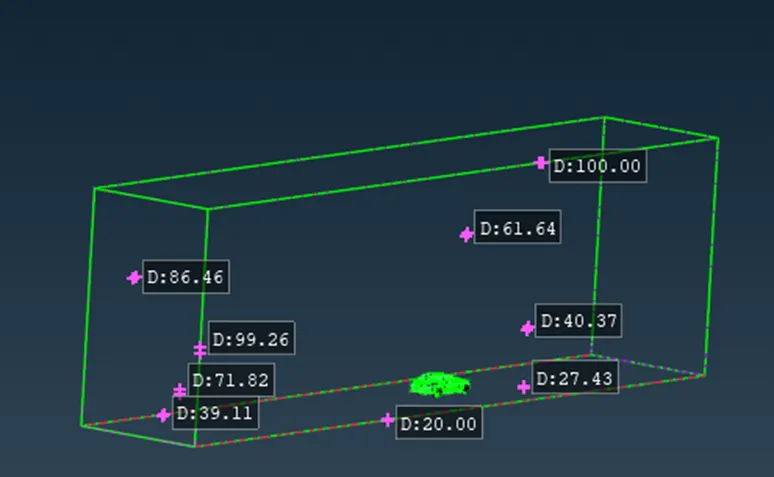
- To create the wind tunnel first calculation the length of the car.
- Then go to > POINTS > NEW and create points in all directions according to the directions of the wind tunnel
- Create three nodes that are responsible to draw a plane
- Go to surfaces > PLANE and draw a plane using those three nodes and replicate the same plane using translation symmetry
- Go to CONS > INTERSECT to intersect all planes and delete the unwanted surfaces
- Thus wind tunnel is created and assign PID's to differentiate INLET and
Surface meshing of wind tunnel:
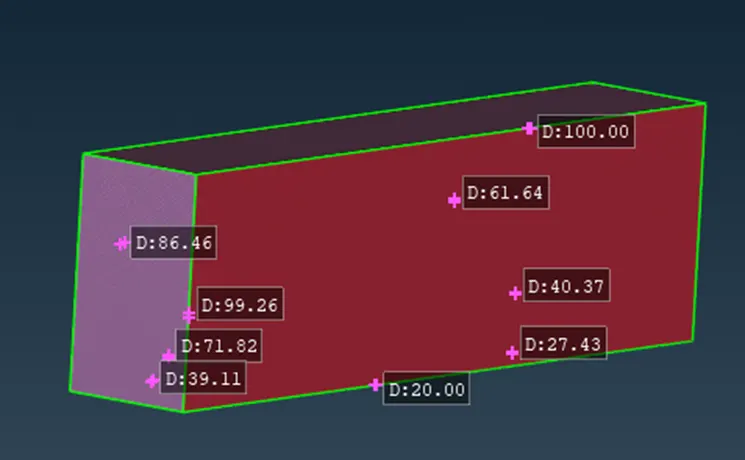
- We need to apply surface meshing depending the mesh length near the car and regions far away from it.
- Therefore we need to apply different mesh lengths at the bottom and top wind tunnel surfaces.
- We need to use spacing option to have a mesh length varying from the small mesh length size to larger mesh length.
- Surface meshing can be achieved by doing this accordingly.
Volumetric mesh of wind tunnel:
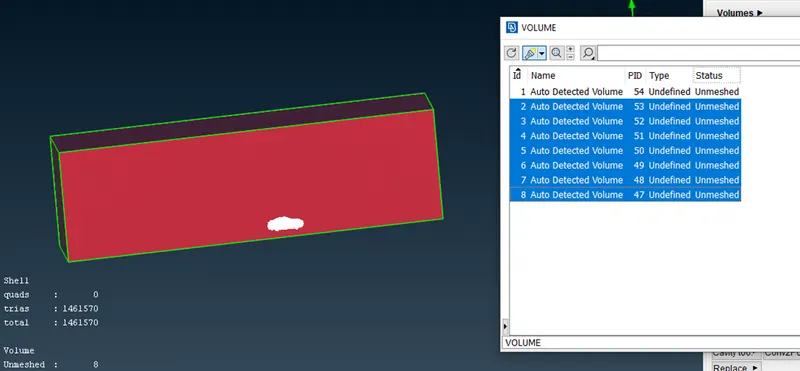
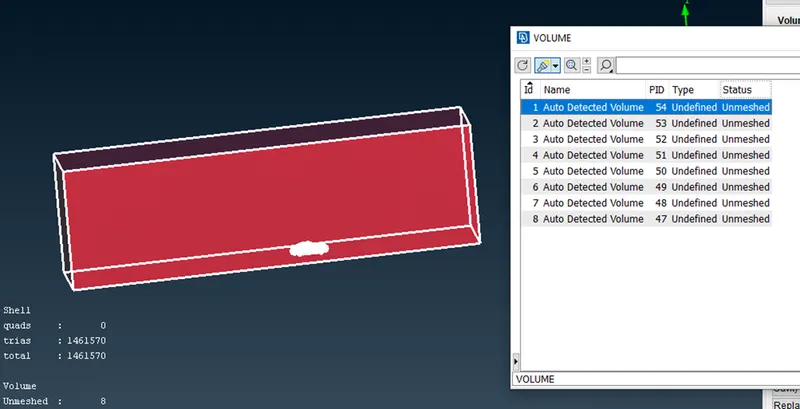
- Since we are interested only the volume between the car model and wind tunnel, we can delete other volumes of the car model which is not necessary.
- Since performing the volumetric mesh takes 2-3 days, volumetric mesh is not performed as given by the challenge question.
Conclusion:
- BMW car model is topo-cleaned and surface meshed appropriately.
- Wind tunnel is created and surface meshed with reference to the car model size.
- Single volume is created of the car body so that it can be avoided at one go when creating a volumetric mesh.
- Different volumes of the car model is created since th silencer and tyres are not connected to the car body.
- Required physics tests can be performed on the wind tunnel volume model after volumetric meshing successfully.
Results:
Complete car model with wind tunnel ANSA file.
https://drive.google.com/file/d/1ervrciseMzyKBwq7qyyhkHdseiNPa12P/view?usp=sharing