Week 4 Challenge : CFD Meshing for BMW car
Aim :-
To deploy the CFD mesh for BMW car according to given target lengths.
Steps :-
i. Import the CAD file.
ii. Display setup.
iii. Geometry clean up/Repair.
iv. Assigning the PID
v. Generate surface mesh.
Procedure :-
i. Importing CAD file -
Go to file > Open > Browse the location of the model > Select it and click enter.
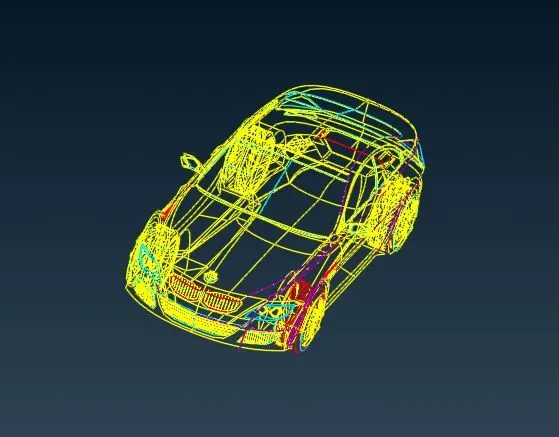
ii. Display setup -
As we can see the imported CAD file is in wire frame. We need to set it right for use.
Bottom tool bar > Shadow.
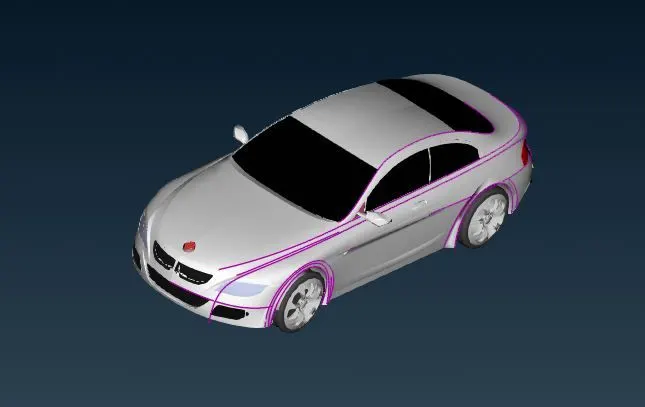
iii. Geometry clean up/Repair -
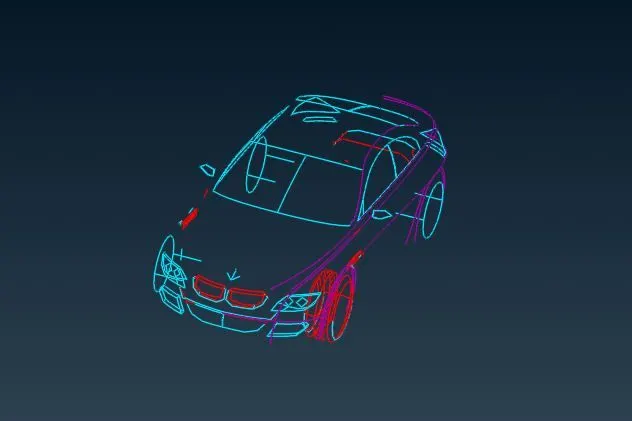
As we can see there are several single cons and triple cons present. Single cons means there is only one surface. So we can turn the single cons into double cons by adding new surfaces over there by doing some operations. And triple cons means there are more than two surfaces , so we need to delete the extra surfaces.
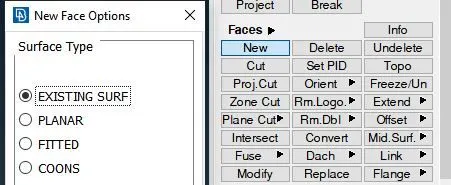
There are four options in the 'New' option, so we can use them appropriate to add new face over there ( at single cone). 'Fill Hole' option is used to fill the holes or fill the gaps or cracks.
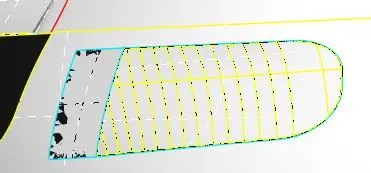
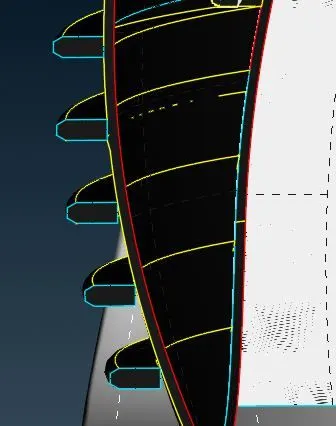
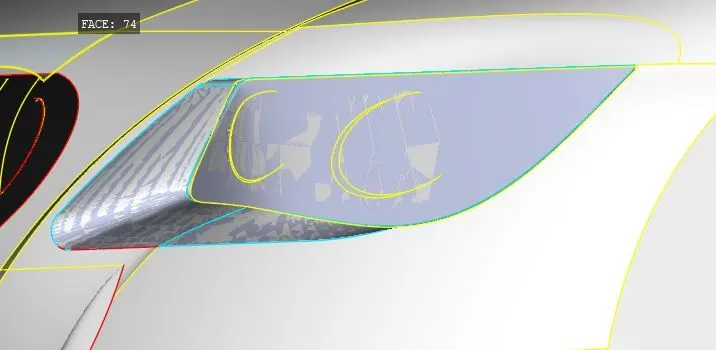
Here, below I have shown some images of bad resolutions at some parts of the car.
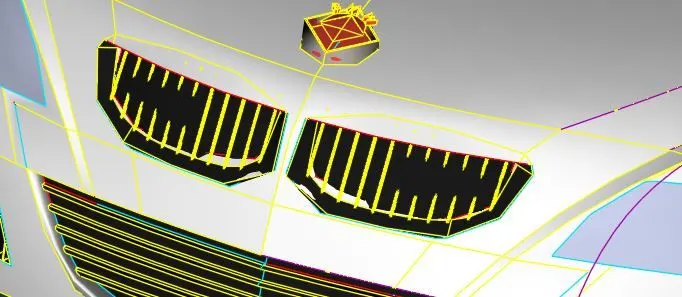
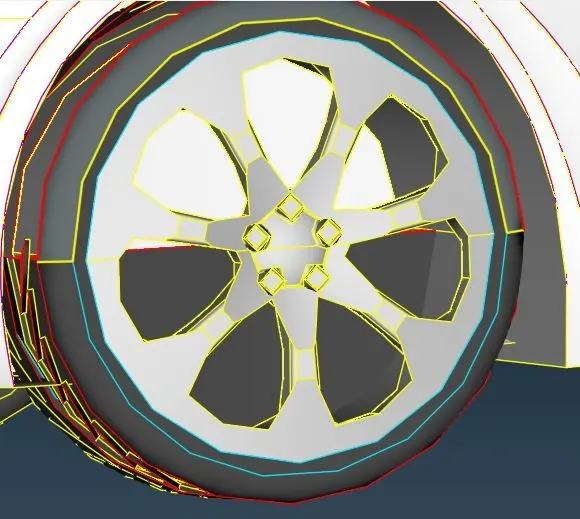
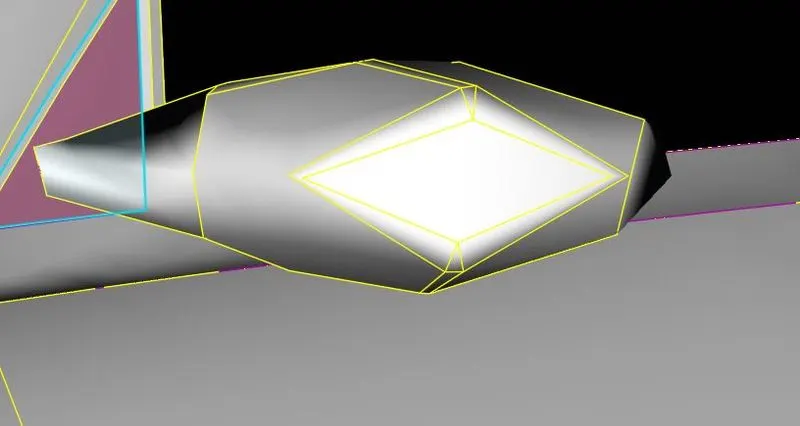
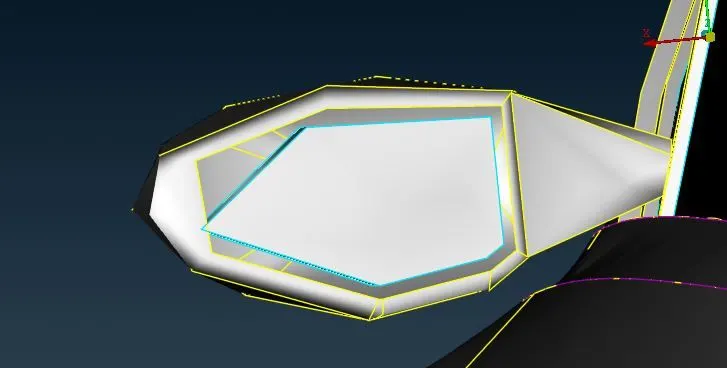
So we will improve the resolutions of the geometry we shift to mesh deck and giving perimeters > length equal to 1 mm and we get the highly resoluted car as shown below
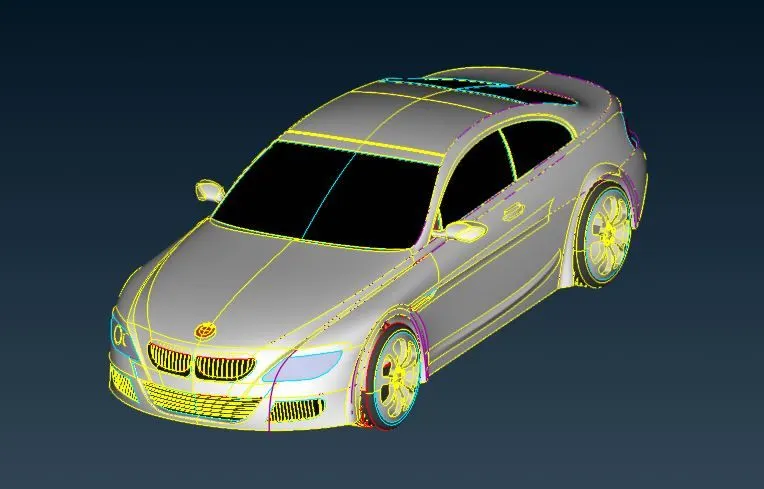
The car is symmetric so we can cut the half portion of the car and will do operations on it and we will do mirror of that half body for getting car.
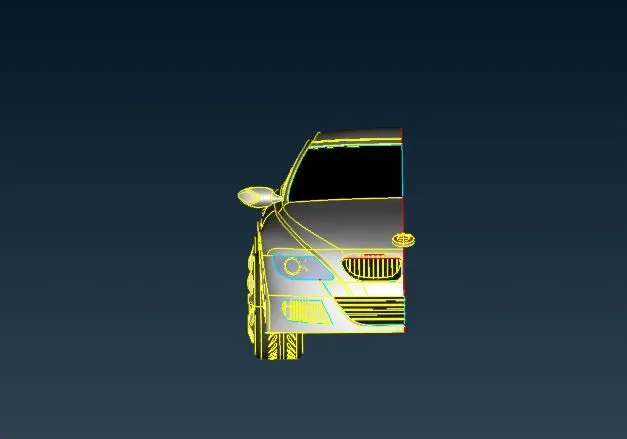
Half part wire frame mode
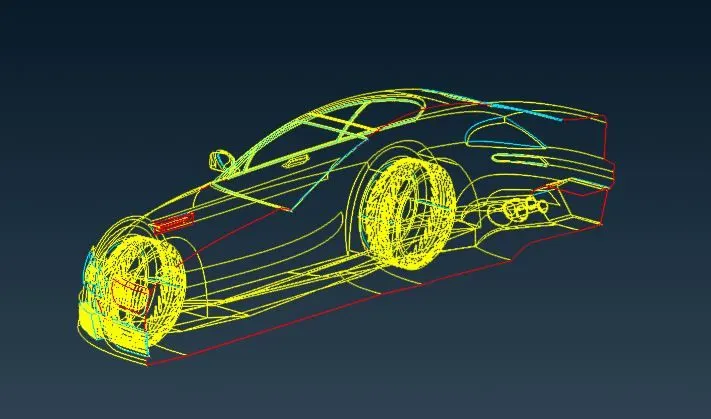
After getting half body we need to delete extra unwaned surfaces.
We should get six volumes i. wind tunnel volume, ii. 4 wheels volume, iii. One single volume inside the car. So we can delete unwanted surface which will create different volume in the car. So we are going to delete them.
As we can see in the above image we delete the extra surfaces and project the cons on the surface looks like shown below by using project command In this command we select the cons which we want to project and then do middle click and select the face where we want to project and do middle click.
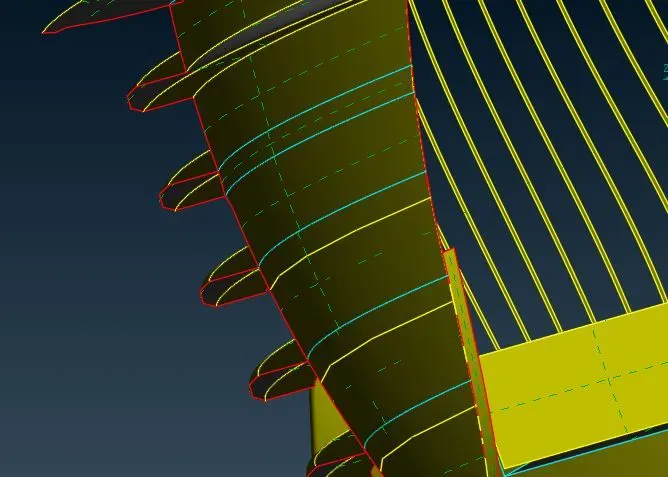
We can see breaked cons over there so for fixing we need to use extend command. in command we select the single con present between the two given cons and do middle click and select the both face and do middle click.
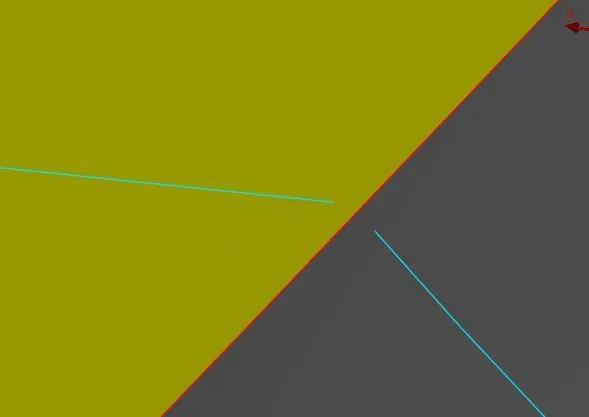
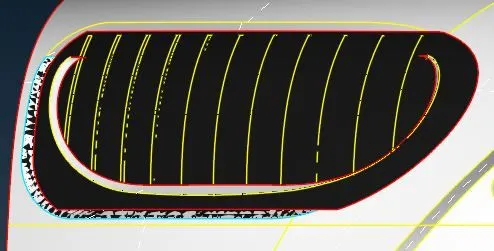
After projecting and deleteing surfaces which will create extra volumes , we get the grills like shown below.
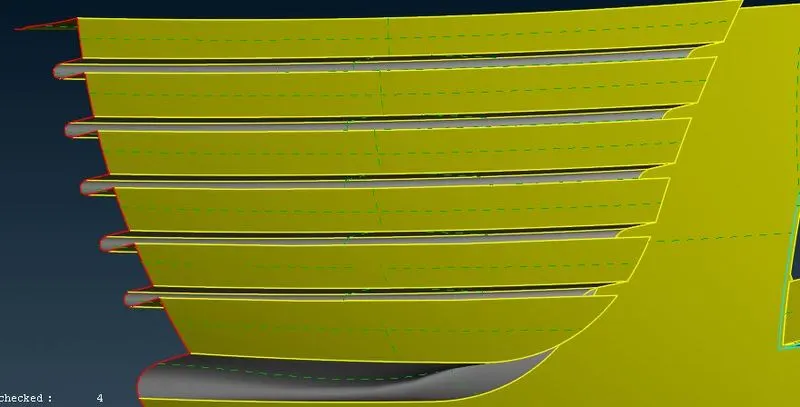
It needs to fix. Delete surafces and follow next step shown in next images.
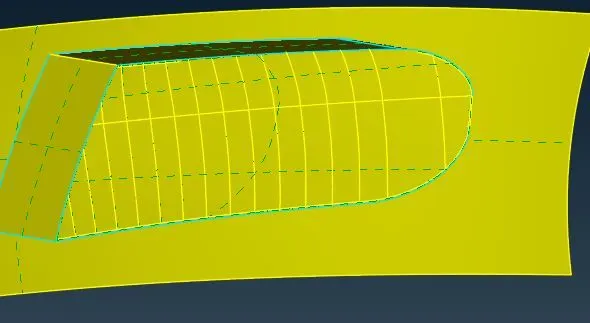
Highlighted surfaces need to delete.
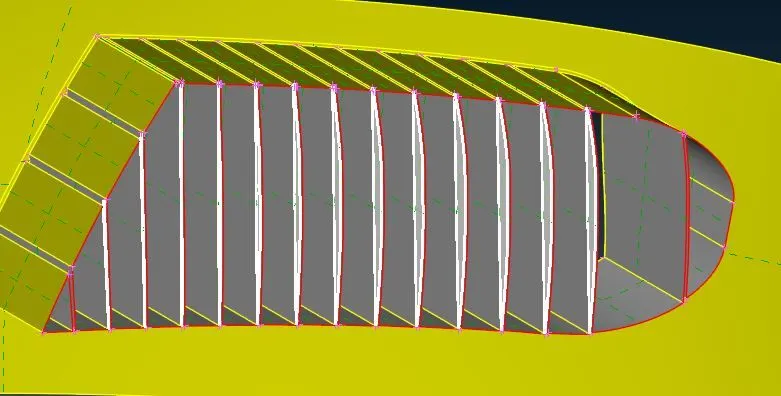
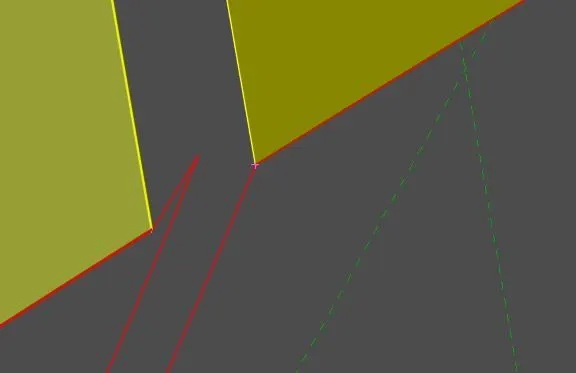
We need to take care of the extra edge or single cons . It should be removed.
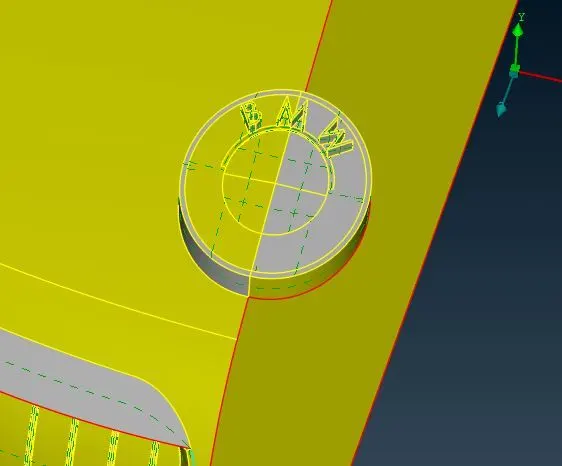
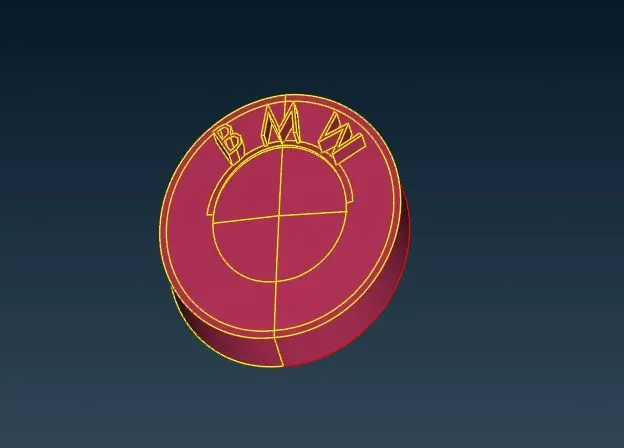
Logo needs to be fixed. Delete extra surfaces and single cons and generate new surface over there and it looks like shown below.
We can see there are some triple cons so we will remove them.
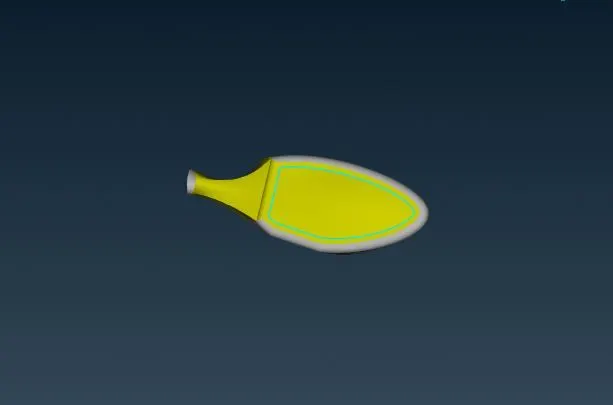
It looks like shown below after doing operations.
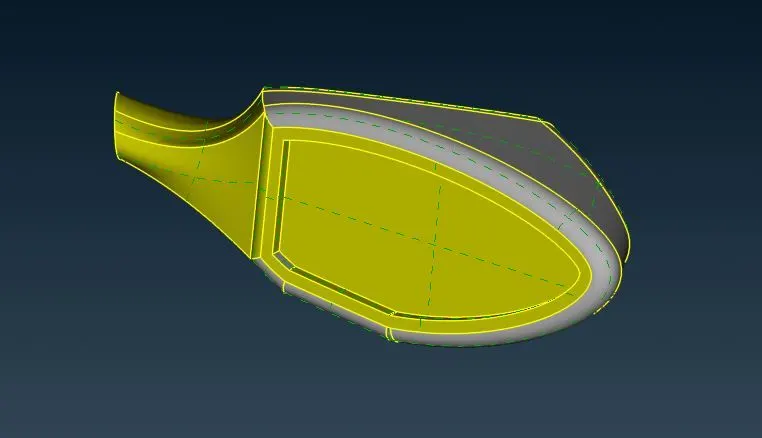
For making single volume we are deleting this surface to make it hollow.
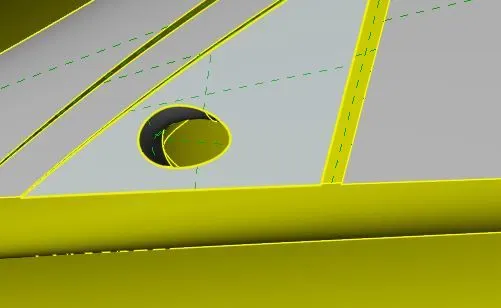
There are several single cons and triple cons to delete.
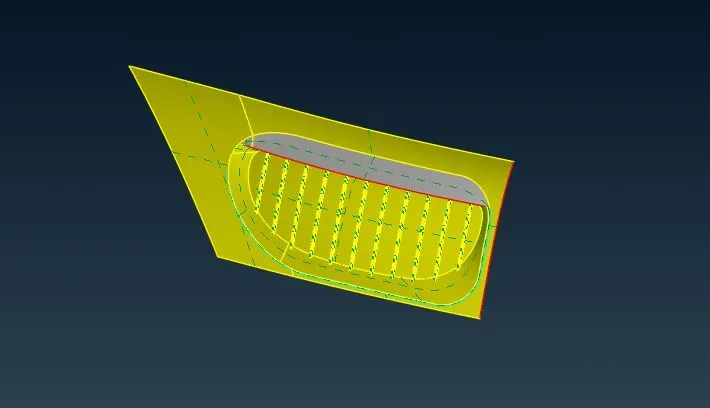
Project the single cons on the surface stays behind it.
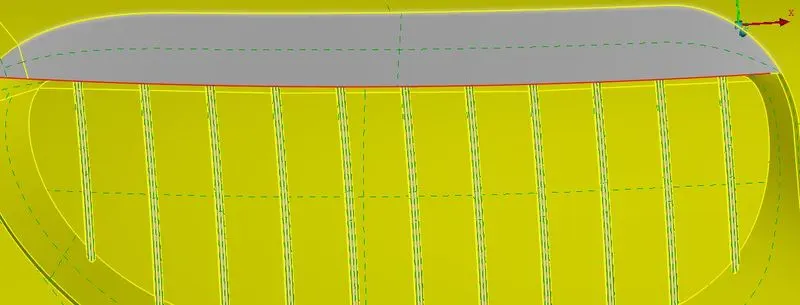
Project cut command is used to make the perpendicular cons on the double cons.
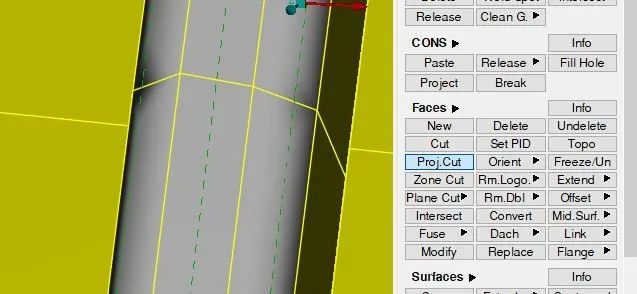
Cut the surfaces lies on the grills to make it in line with outer casing of body.
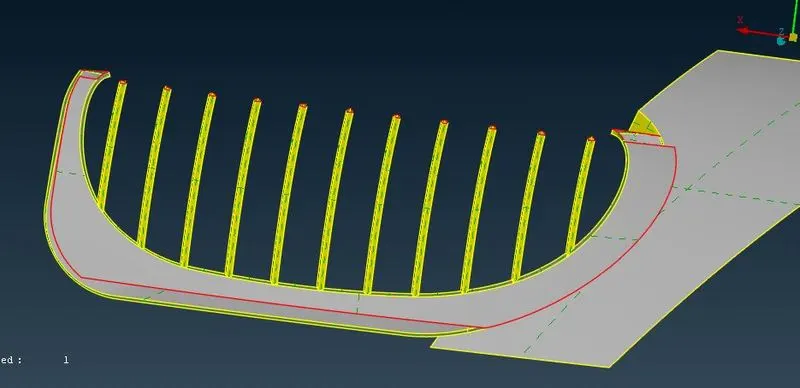
Close them by projecting all hot points and add new surface.
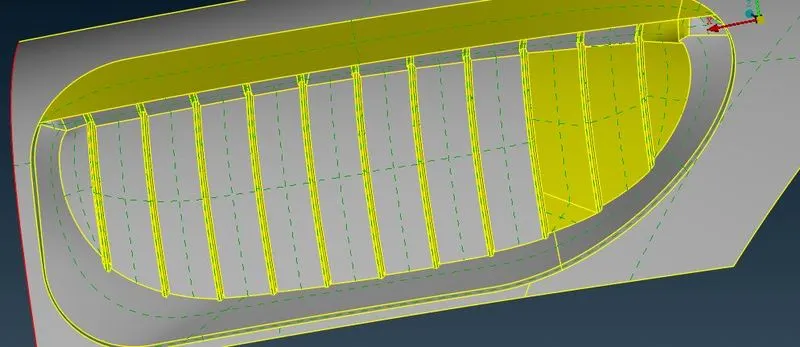
Single cons, triple cons and penetrations need to fix as shown below.
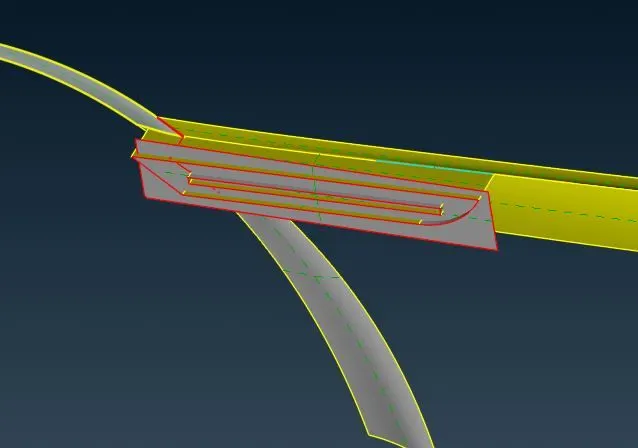
To separate the two surfaces by using intersection command. In this command we select both surface as face 1 and face 2.
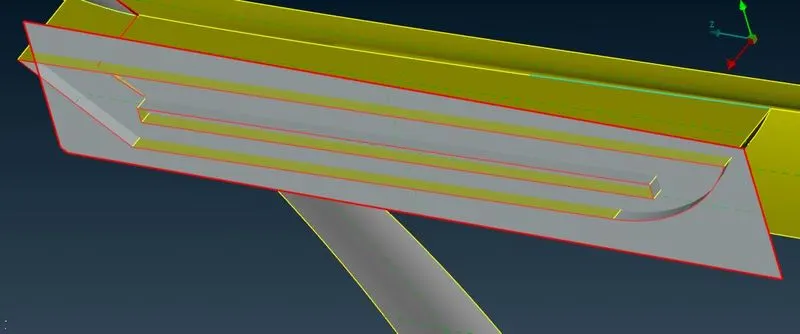
Now use extend command and it will make extended surfaces.
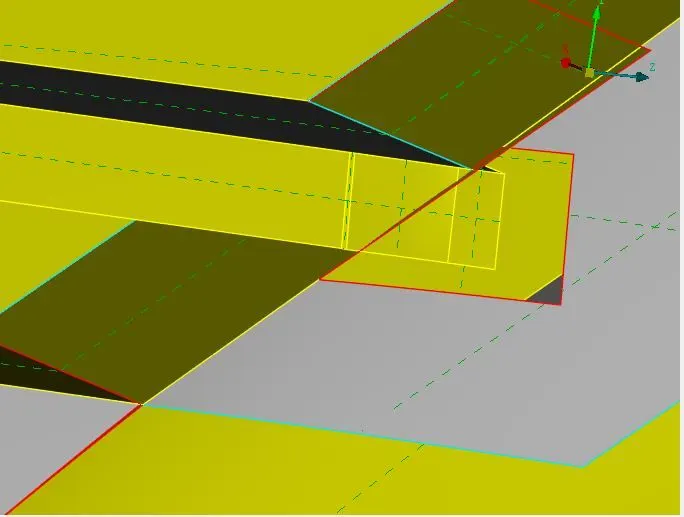
It is getting fixed by deleting extra surfaces and single cons and make a new surface to fix.
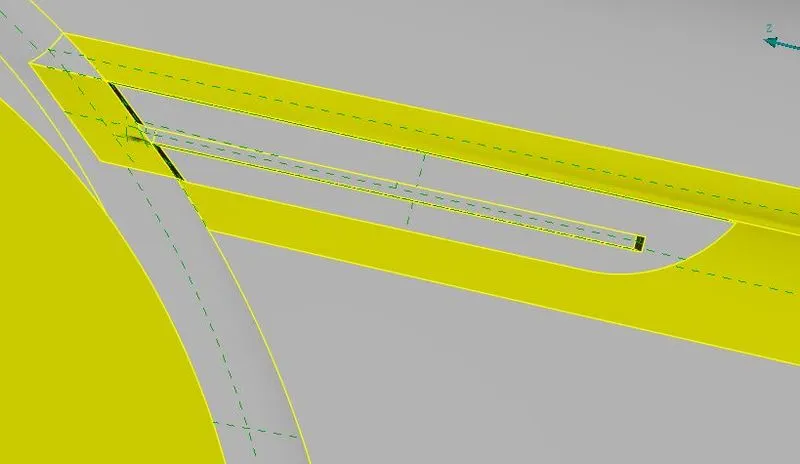
There are some triple cons and single cons.
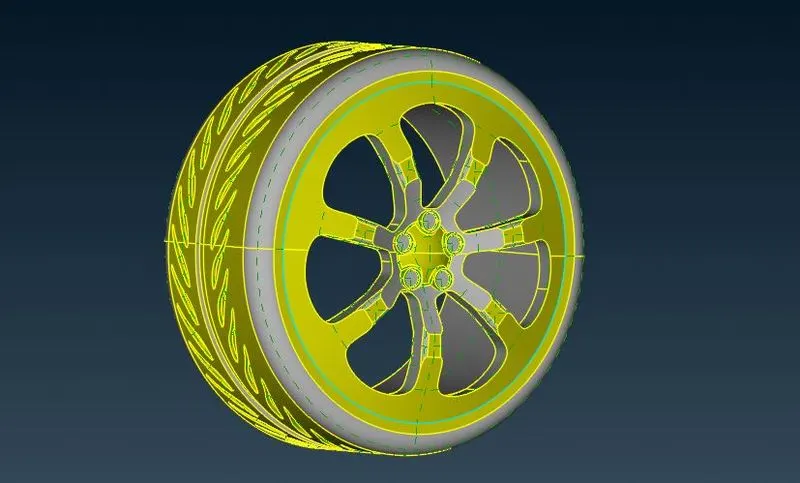
Triple cons can be removing by deleting two surfaces.
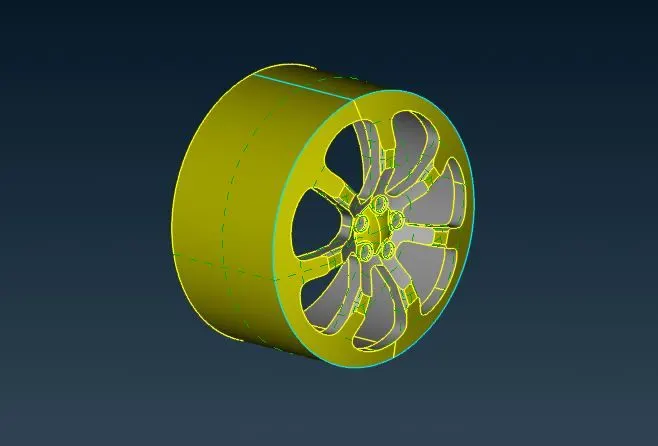
Single cons are fixed by removing surface and making a new surface over there.
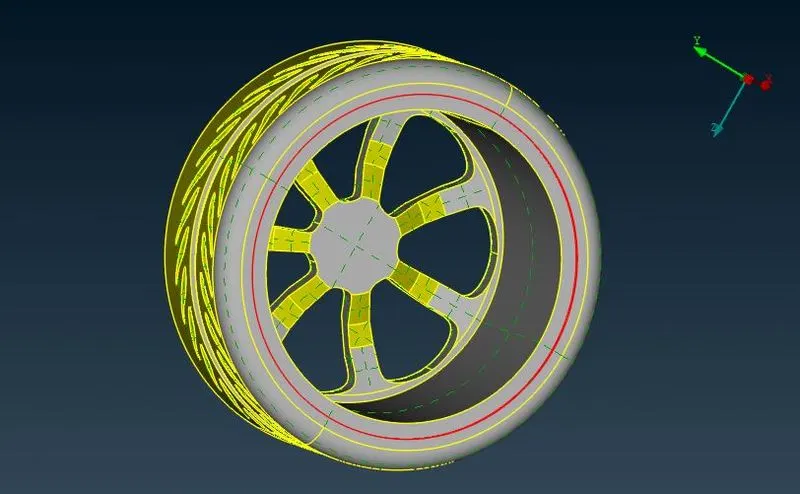
After doing these operations it looks like shown below.
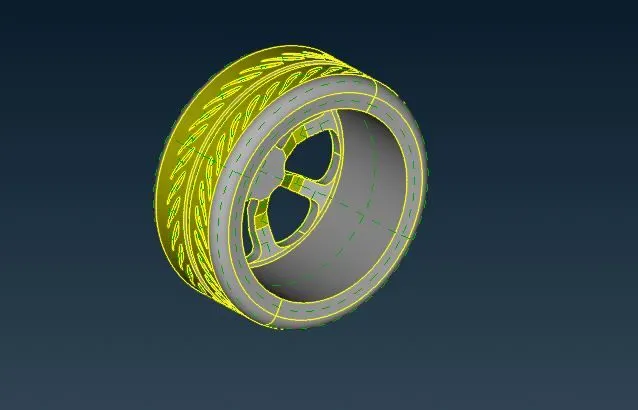
As we can see there are some intersection surfaces need to delete.
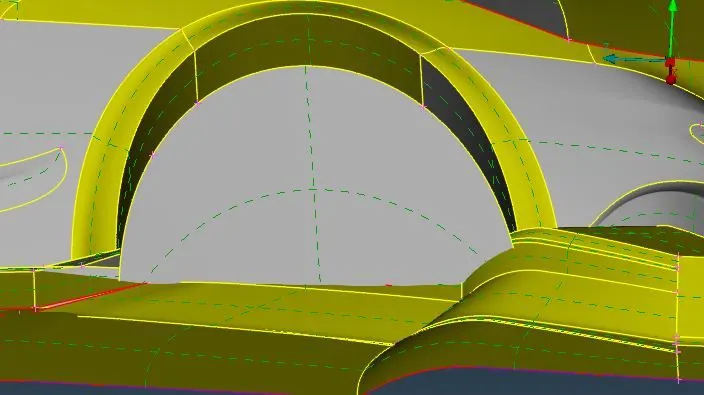
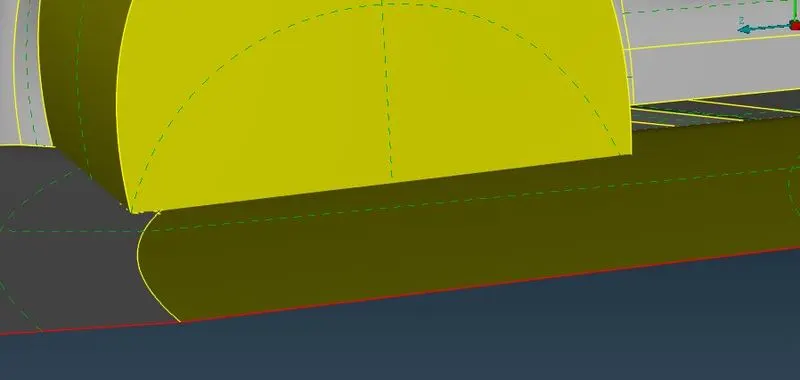
Thses penetrating surface and single cons are getting deleted by making new surfaces.
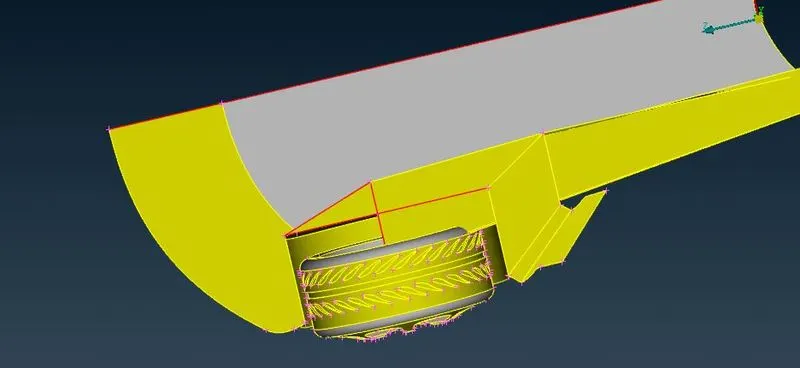
Here we have used new command called Cons2curves. It will help to make a new surfaces.
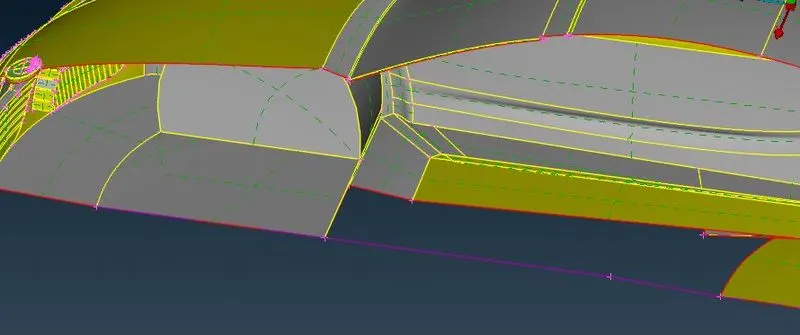
All penetrating surfaces are getting solved and fixed all surfaces and cons.
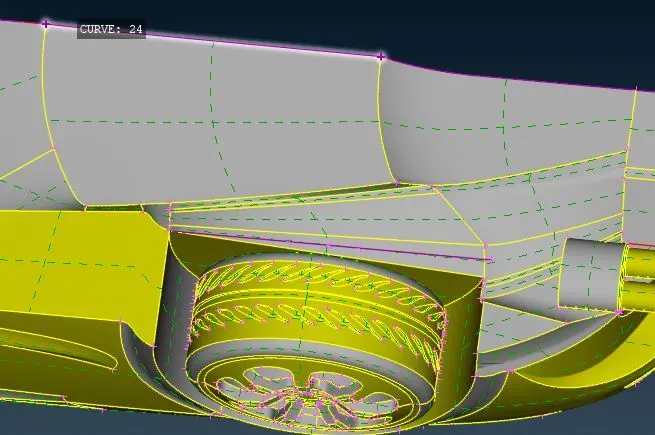
After doing all these things we need to delete unnecessary surfaces and triple cons from the car.
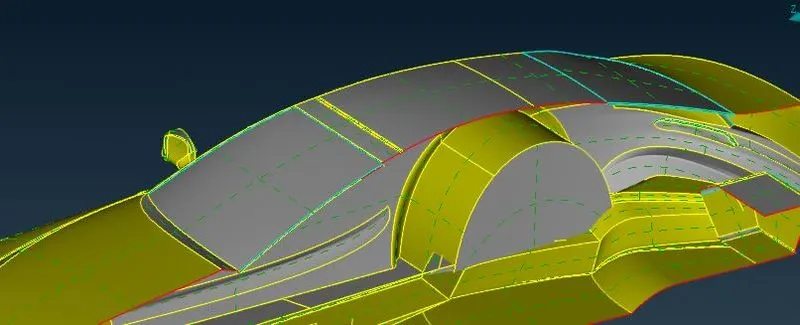
As we can see in the image below , no triple cons and errors are present. These single cons are those where we cut the body from symmetry and makes single cons. So it is not error. We can procced for further surface meshing.
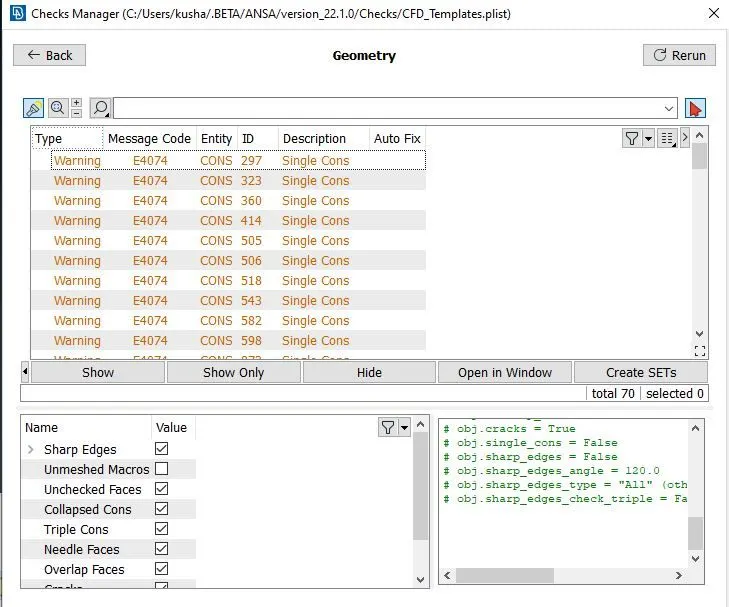
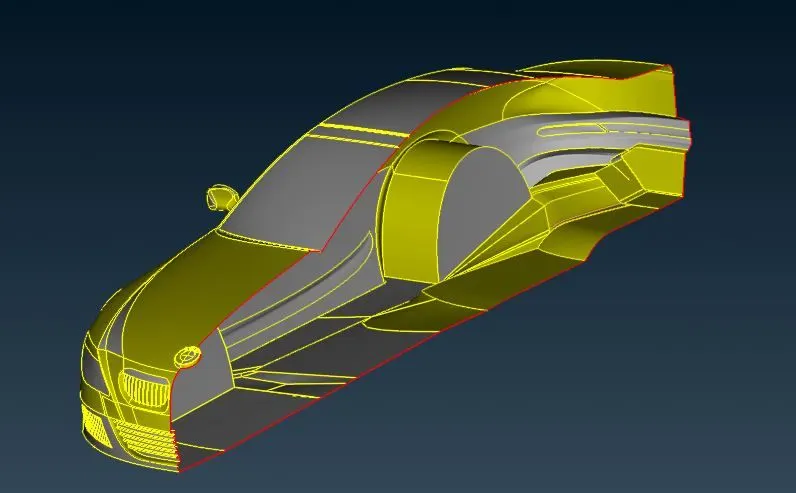
iv. Assigning the PIDs
Create the PIDs as shown below in PID mode.
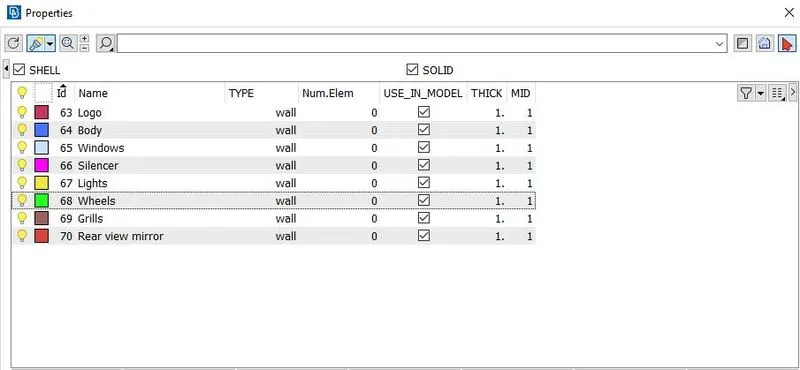
Logo
Body
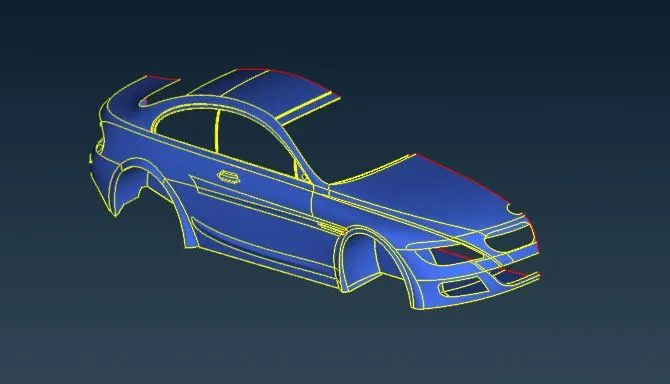
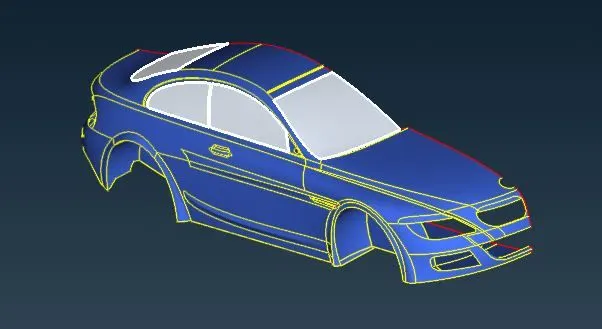
Windows
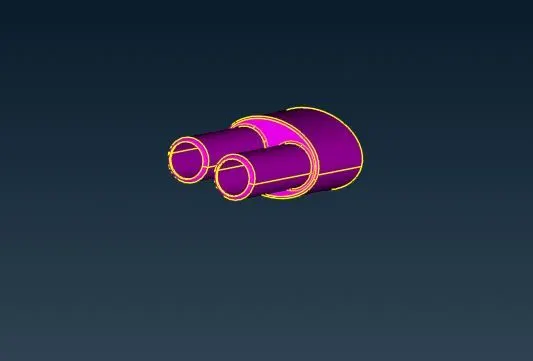
Silencer
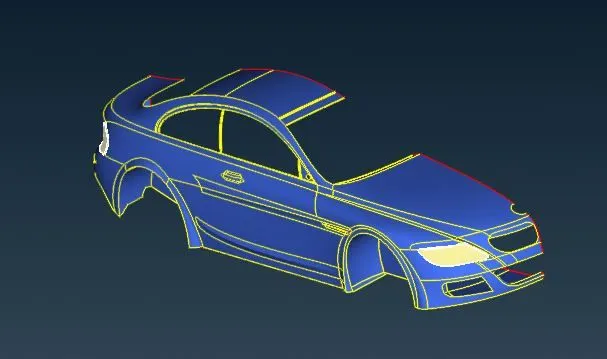
Lights
Wheels
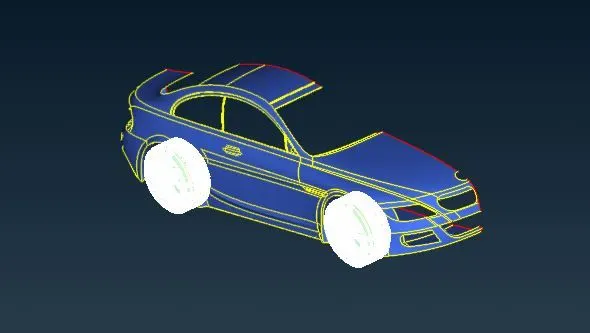
Grills
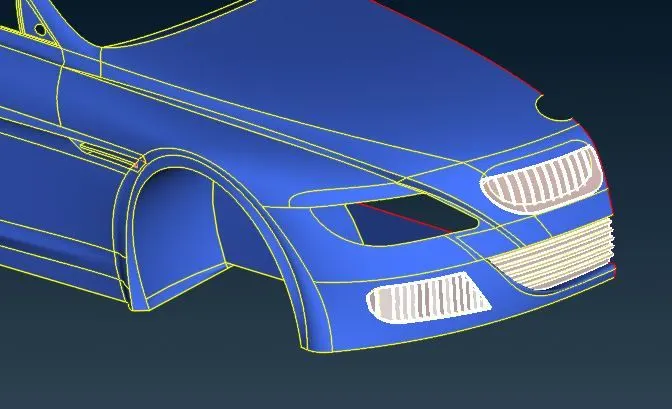
Rear view mirror
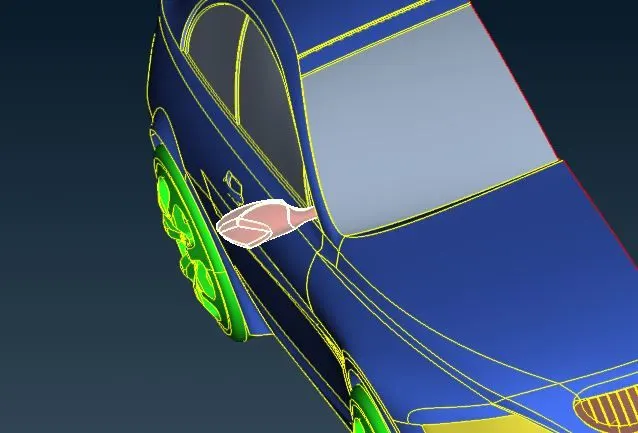
v. Generating the surface mesh
- Target lengths for the different parts of a model are as follow:
- Body - 3 mm
- Lights - 4 mm
- Grills - 1 mm
- Rims and Tyres - 2 mm
- Optical Rear view mirror - 2 mm
- Window - 2 mm
- Silencer - 3 mm
- Logo - 1 mm
Delete unwanted cons according to the target lengths of the respective parts.
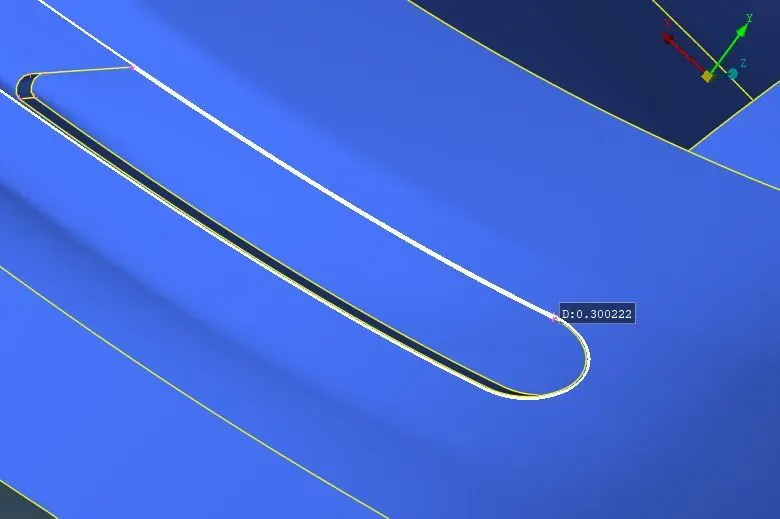
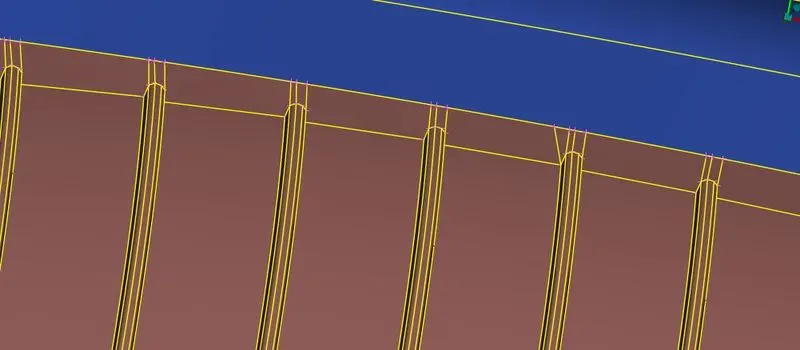
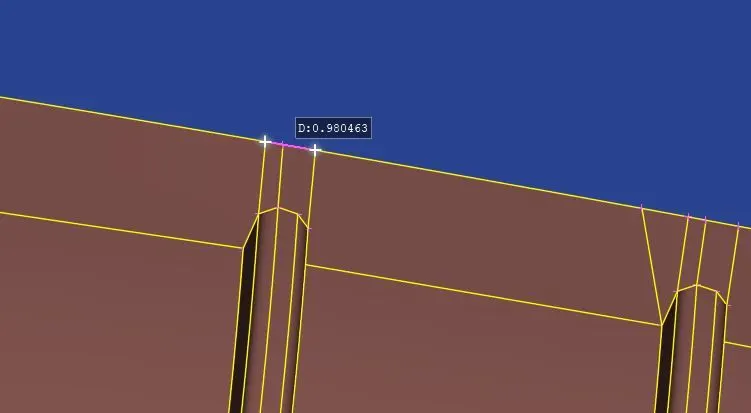
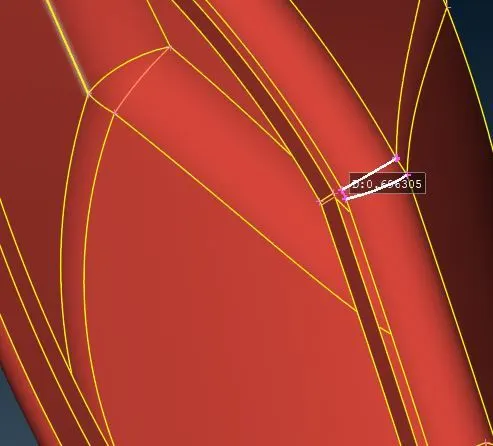
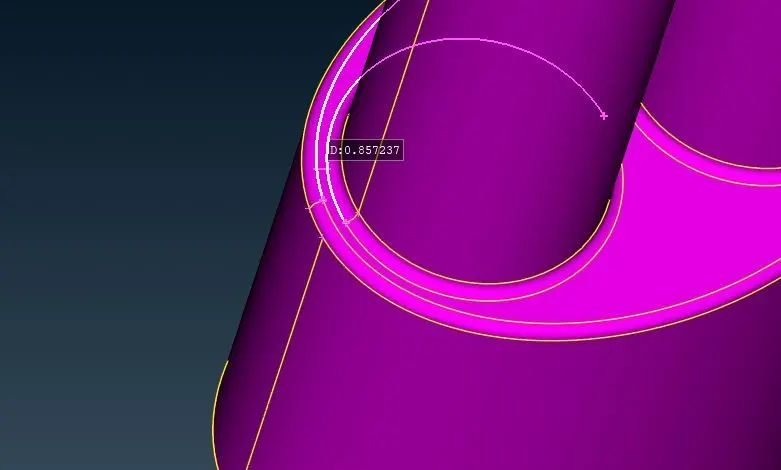
Delete unwanted surface
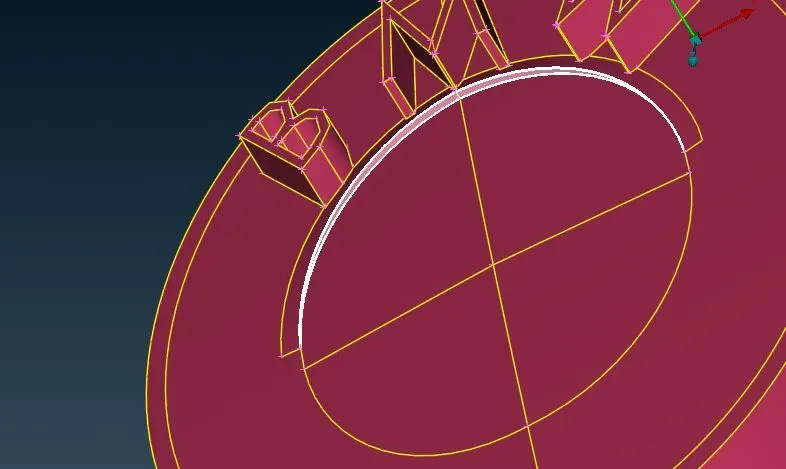
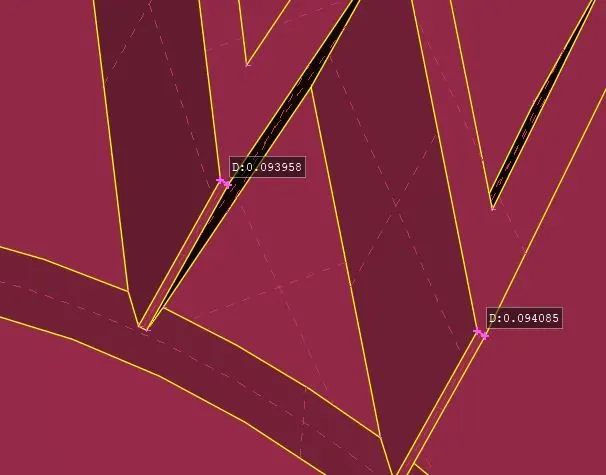
Nodes are too close to each other so we are gonna delete the surfaces and make a new surface over there.
Grills - Target length = 1 mm
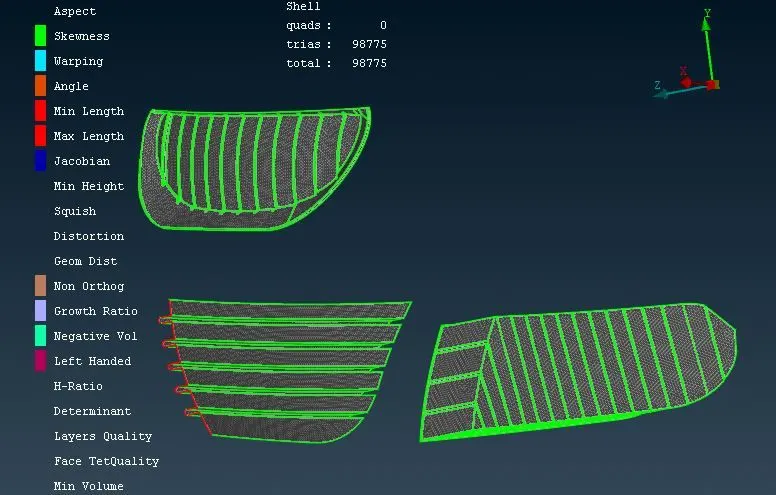
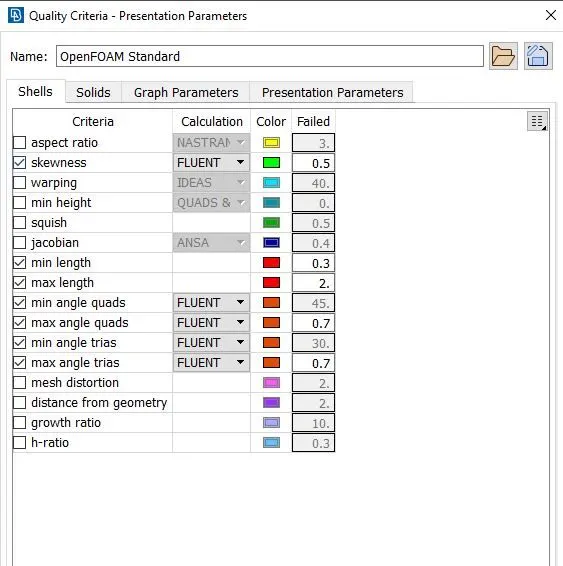
Lights - Target length = 4 mm
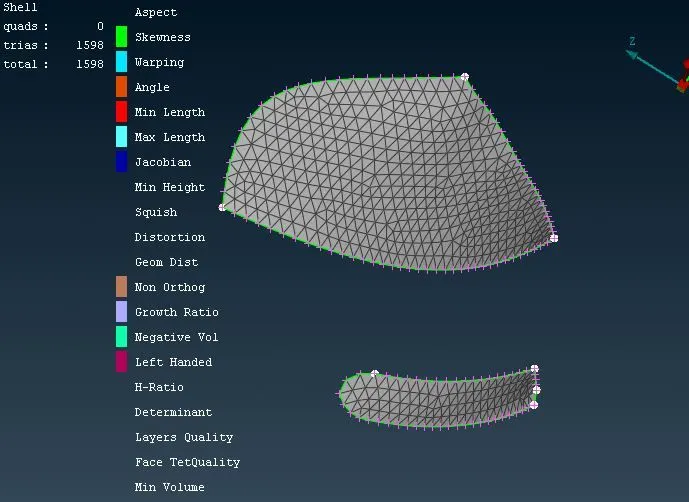
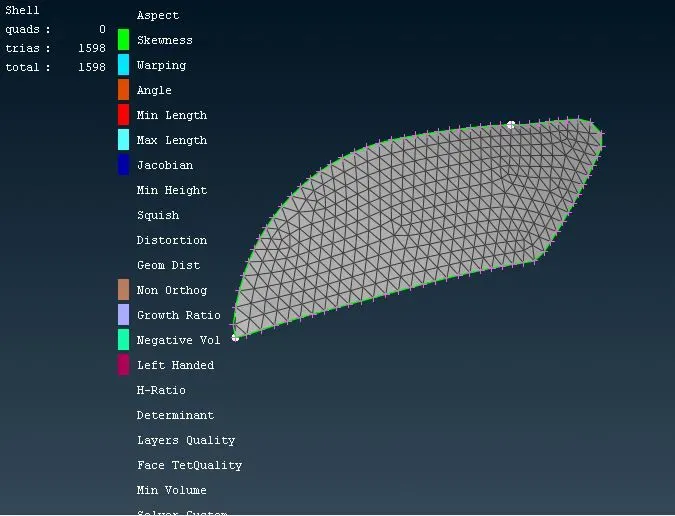
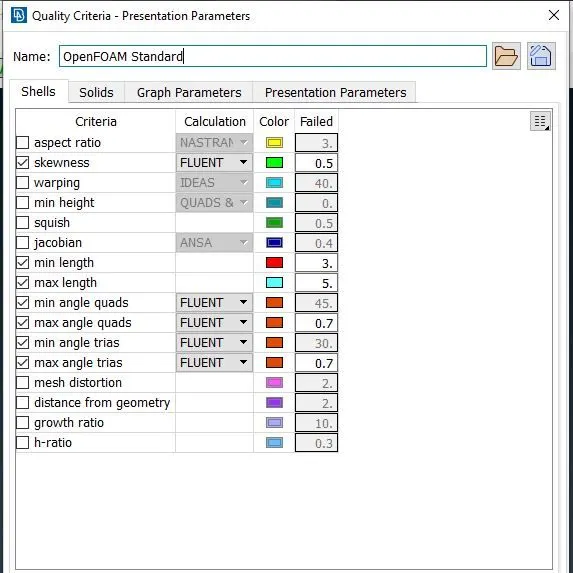
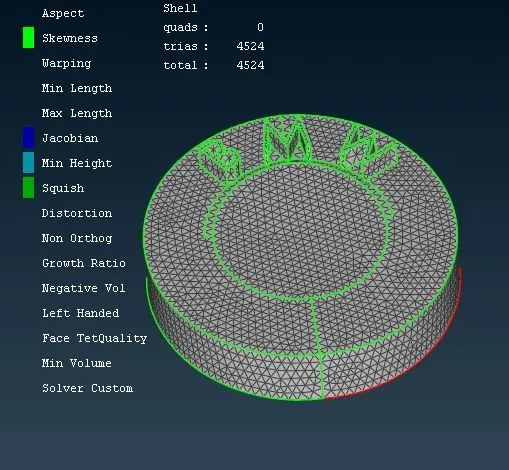
Logo - Target length = 1 mm
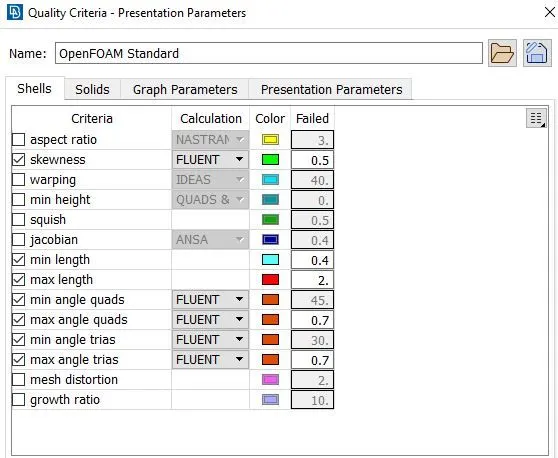
Rear view mirror - Target length = 2 mm
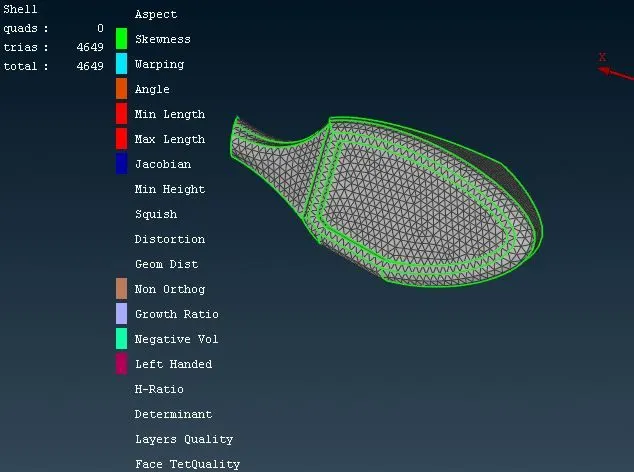
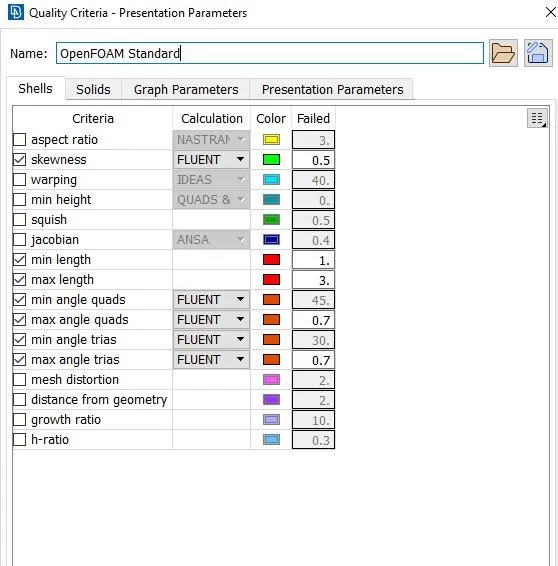
Silencer - Target length = 3 mm
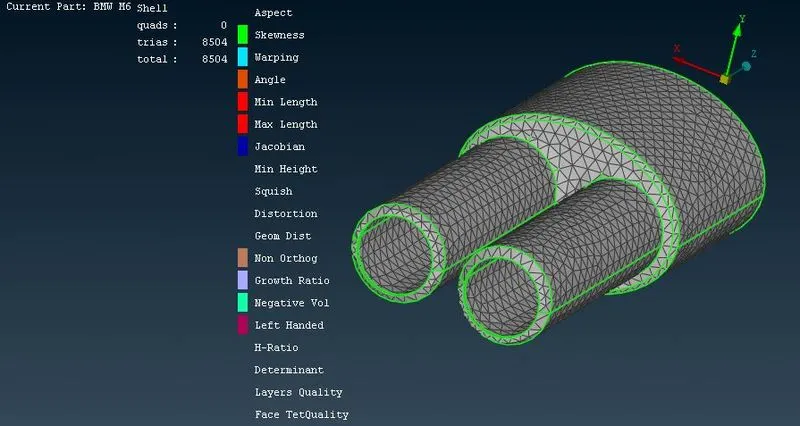
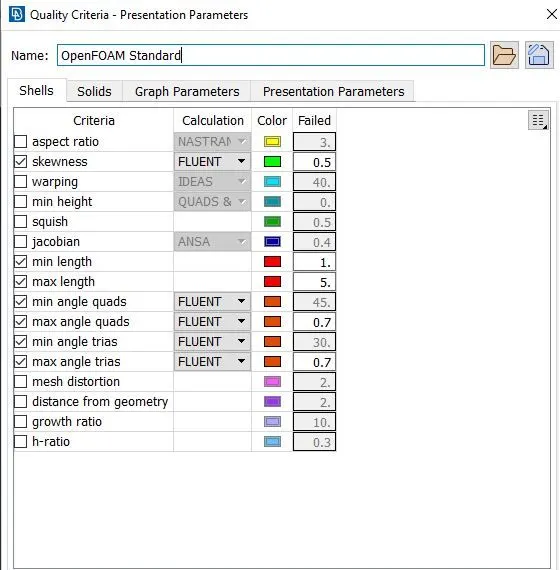
Wheels - Target length = 2 mm
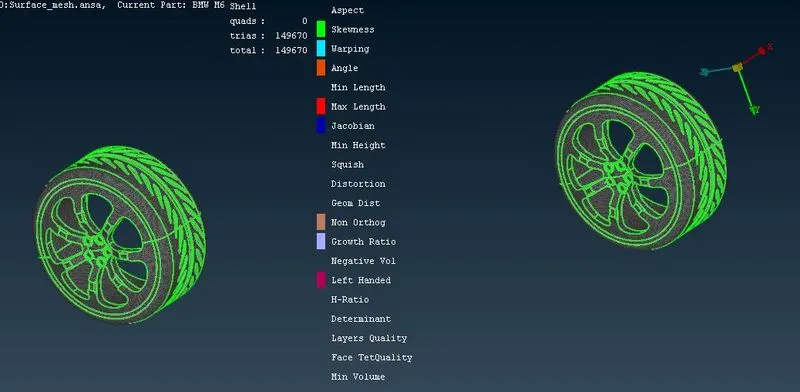
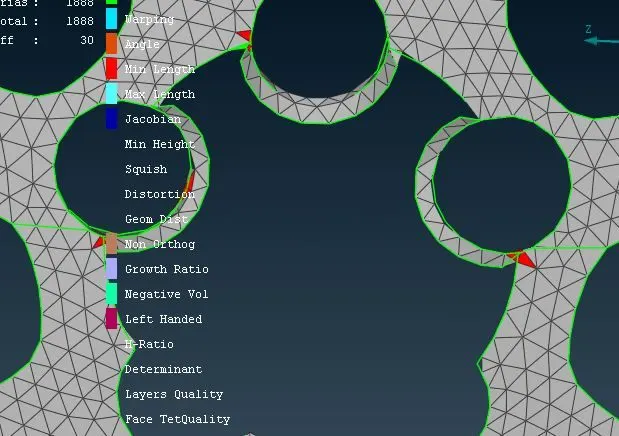
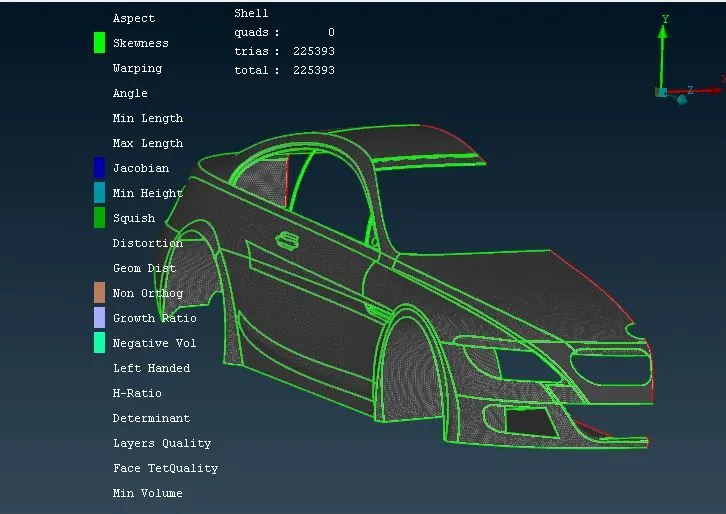
This kind of off mesh elements are detected so we need to fix them.
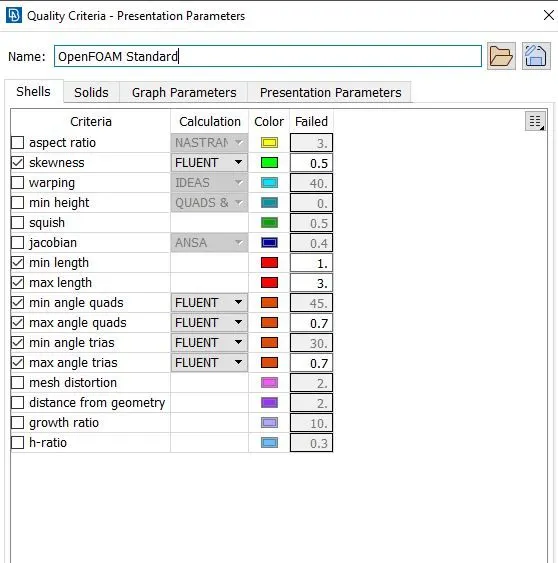
Body - Target length = 3 mm
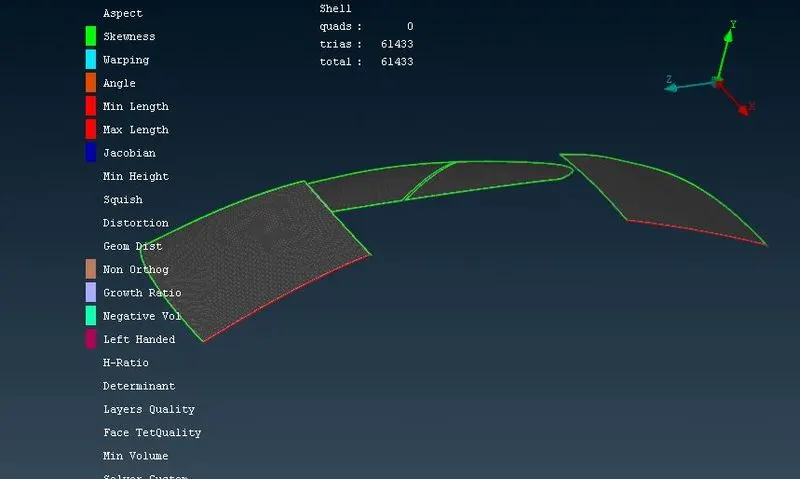
Windows - Target length = 2 mm
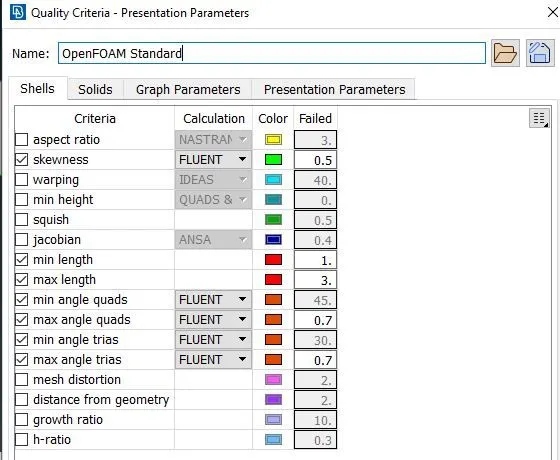
Now we are gonna copy half part of the geometry from transform and select entity which needs to mirror
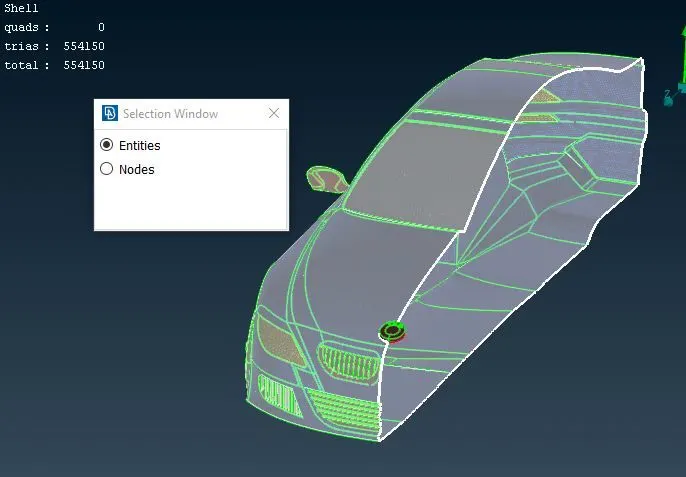
Select mirror 3 points plane and select three points.
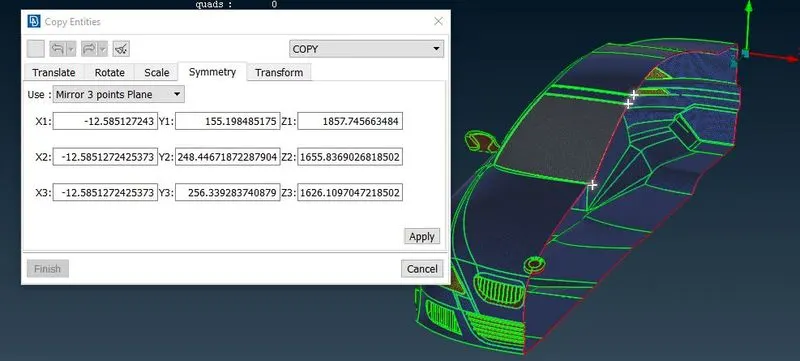
We get the full car meshed as shown below.
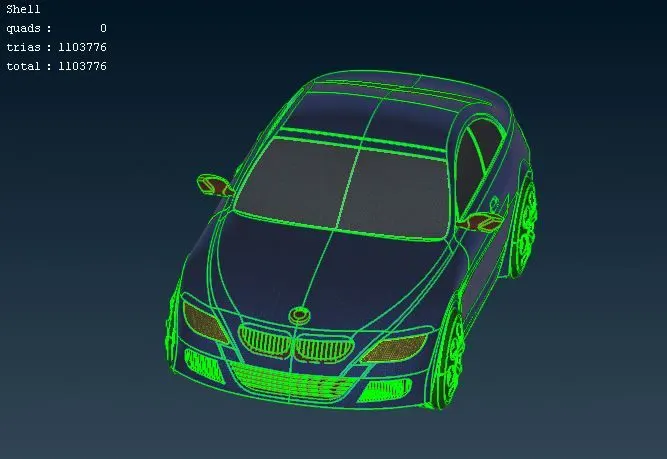
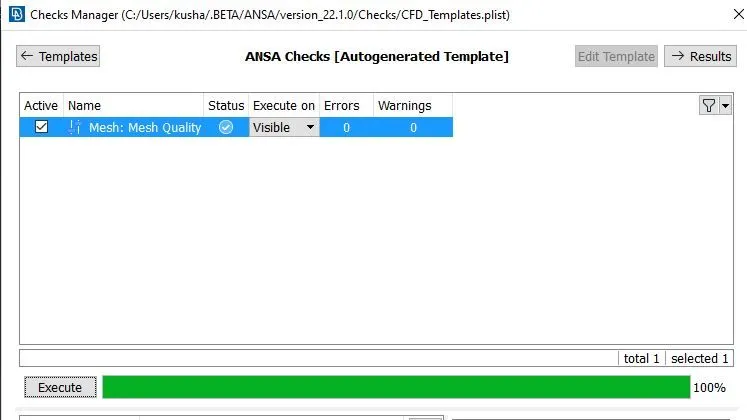
As we can see green tick there means generated mesh is perfect.
Now we want make a wind tunnel for simulations.
For making wind tunnel we use pints > Relative. It generates point at some distance from one relative point.
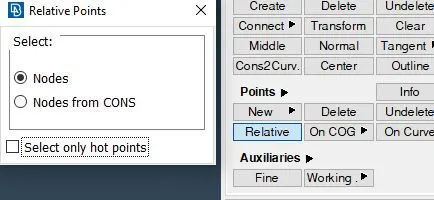
This point is generated from relative point lies under the car.
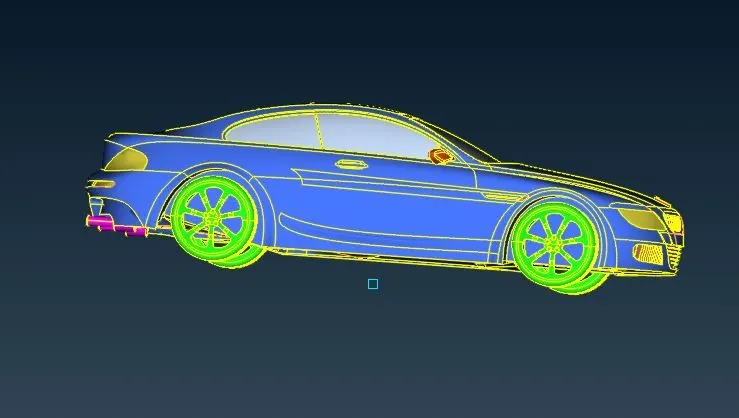
To make a wind tunnel the size of wind tunnel is like let say length of car is 'x' then front face of the tunnel is at '4x', rear face of the tunnel is at '6x', top face of the tunnel is at '3x', side faces of the tunnel is at 'x' from the point respectively.
here the length of the car is 1300 mm.
Front face is at from point shown in the above image is 5850 mm
Rear face is at from point shown in the above image is 8450 mm
Side face is at from point shown in the above image is 1300 mm
Top face is at from point shown in the above image is 4275 mm
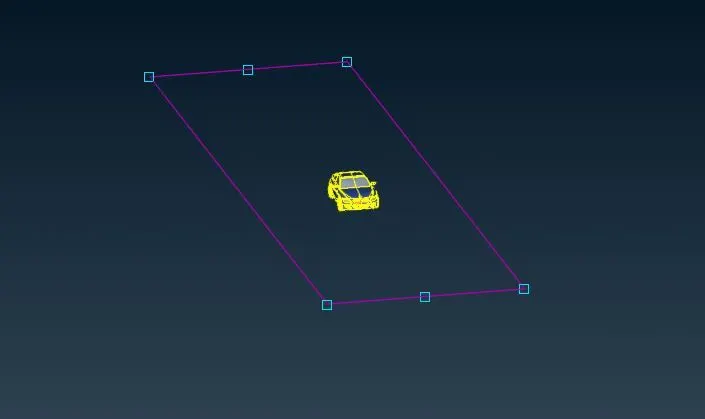
Join the points by using curves. Make a new face there using fitted option.
Create the PIDs for all the surfaces and apply them.
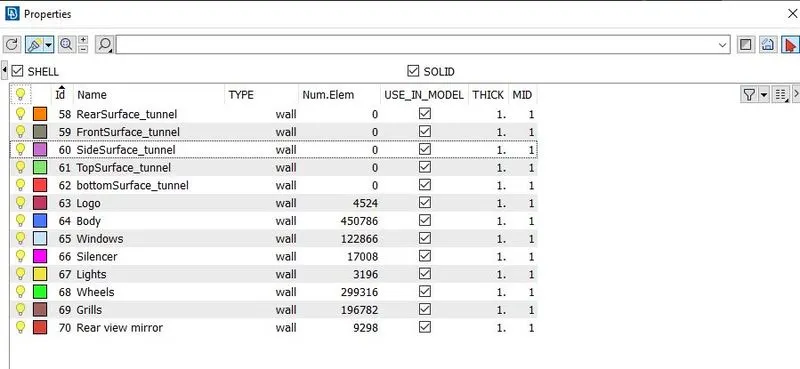
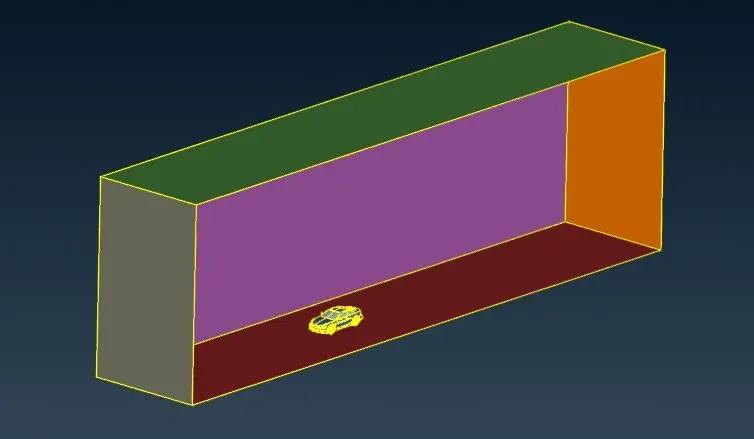
Now If we want to craete the volume mesh then we should make surface mesh for the wind tunnel and further proceed for volume meshing.
Conclusion :-
We have learned so many different operations and by using them we make one volume for entire car and additional 4 volumes for wheels and one volume for wind tunnel.
After this we delete the volume inside the car and wheels and then we have only one volume mesh as wind tunnel. We have generated surface mesh for BMW car.