Week 4 Challenge : CFD Meshing for BMW car
For the given model, check and solve all geometrical errors on half portion and Assign appropriate PIDs. Perform meshing with the given Target length and element Quality criteria. After meshing the half model, Do symmetry to the other side.
- Target lengths for the different parts of a model are as follow:
- Body - 3 mm
- Lights - 4 mm
- Grills - 1 mm
- Rims and Tyres - 2 mm
- Optical Rear view mirror - 2 mm
- Window - 2 mm
- Silencer - 3 mm
- Logo - 1 mm
(Note: Kindly take reference of videos for other Quality Criterias)
Meshing Wind tunnel volume with tetra elements may take upto 2 days of time. So that is not compulsory to perform. i.e. Model can be submitted after performing surface mesh to Wind tunnel surfaces. Write a detailed report for the same.
Aim: CFD meshing in BMW car
Procedure:
To perform CFD meshing in BMW car by following steps:
1) Clear the geometrical errors/topo clean up
2)Assign PIDs
3)Surface meshing
4) Create Wind tunnel
5) Volumetric meshing
Step 1: Topo cleanup
- Open the BMW car in ANSA window; file---->Open
- Once the object is open check the resolution of the object; to change the smooth object we will go for Auxillary---> fine option and then click all the parts separately for smoothing otherwise select Mesh--> Length--->perimeter--->give as 1 mm
- As we noted, the given model BMW car looks symmetry other than logo.
- Select one side of the car and deselect the logo then delete that for easy operations.
- To perform the topo cleanup, isolate each parts and remove the single and double COONS.
- Initially we isolate the front grills parts, remove the errors using delete option, then making new faces wherever we need finally make it into a single volume.
- Following by front grills, will remove the geometrical errors in headlight section, logo, mirror, window, and tyres.
- Remove all the single and triple coons and clear the small sections, extra available parts which is not needed for meshing.
- While clearing the errors remove the unwanted hotpoints by hotpoints---->delete
- Finally to check all the parts are in double COONS with single volume.
- Check with all parts by check---> Geometry-->visible
- If any errors like sharp edges, triple COONS, intersection surfaces, clear all the errors.
- Once finish the topo cleanup in each parts geometry check should be done to check the hiding errors.
- Finally will do the topo cleanup in bottom of the car.
- Remove all the intersection errors, overlapping surfaces, extra surfaces, sharp edges in the floor.
- To create the new surface, we have to make one reference line by clicking curves-->Cons2Curves option.
- Then create small faces by creating hot points, then click Faces---> new; if there is any small holes use fill hole option to create the surface.
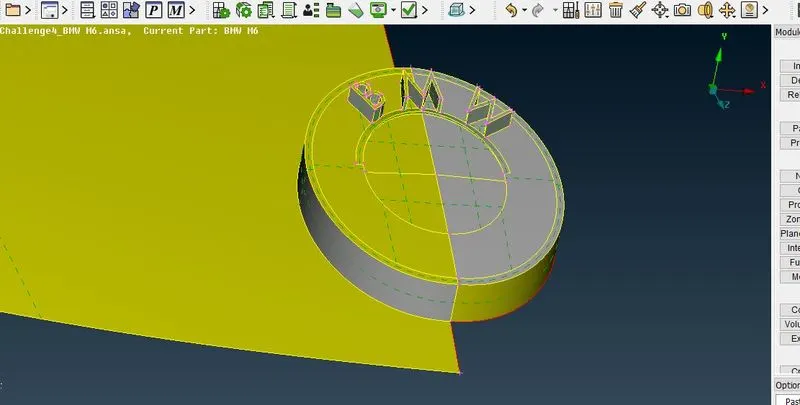
Fig 1 (a) Logo
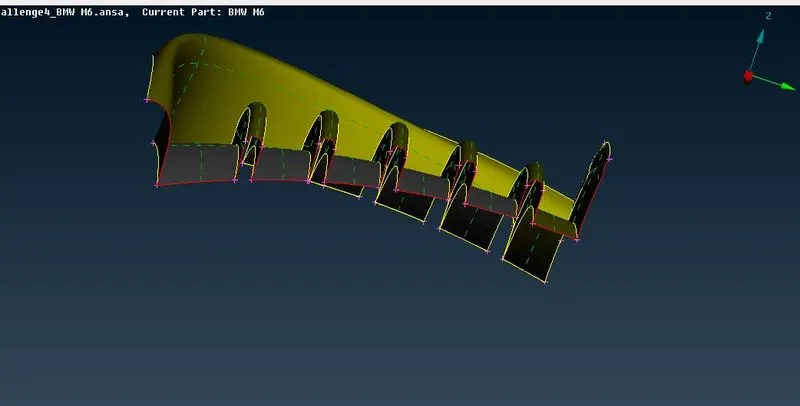
Fig 1 (b) (i) Grills
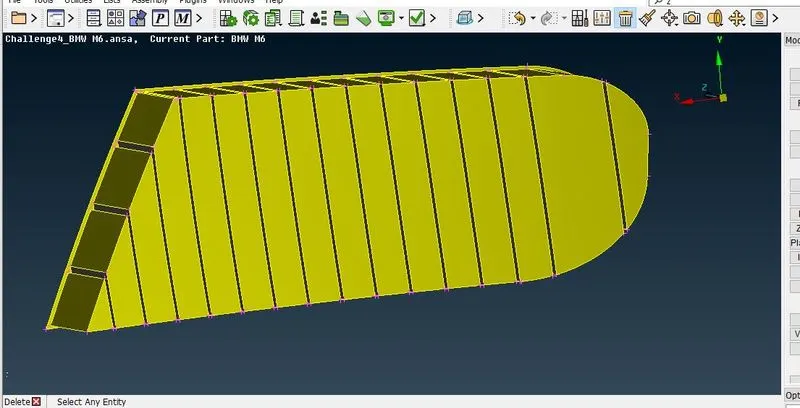
Fig 1 (b) (ii) Grills
Fig 1 (b) (iii) grills
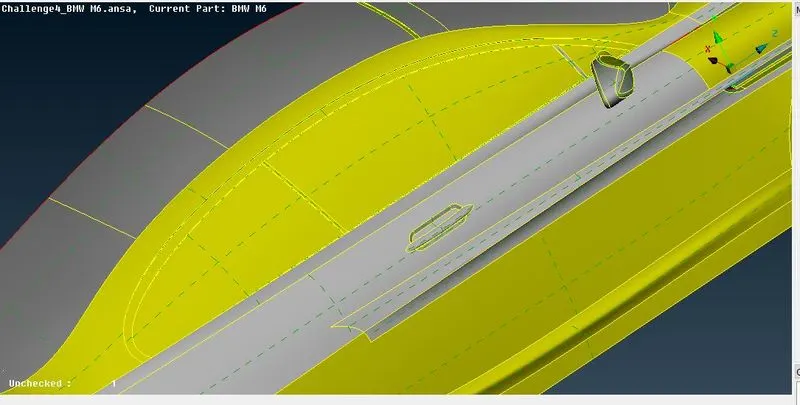
Fig 1 (c) (i) Mirror
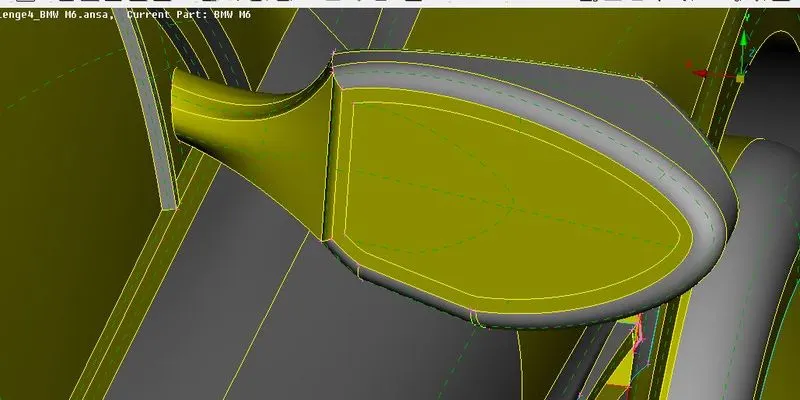
Fig 1 (c) (ii) Rear Side mirror
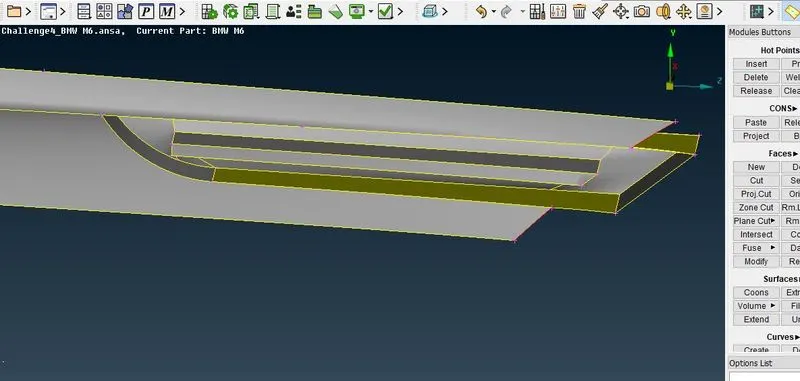
Fig 1 (d) Door Lock
Step 2: Assign PID:
- After finishing the topo cleanup, will generate PID assign the parts in the model (body, mirror, tyre, grills, window, silencer, logo, lights)
- Remaining PIDs will be deleted by using Compress tool
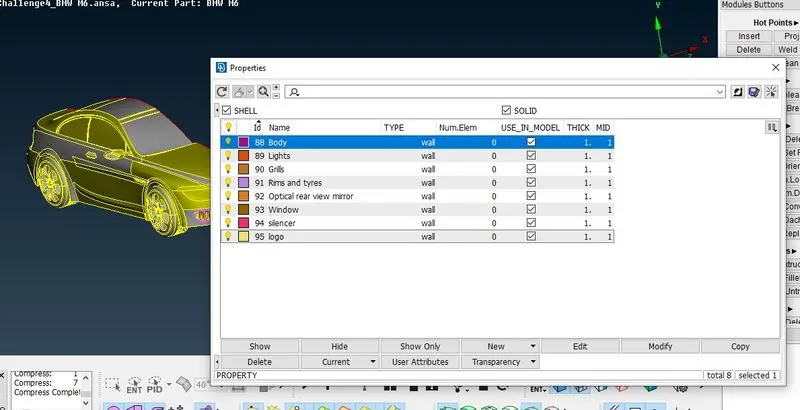
Fig 2: Assigning PID
Step 3: Surface meshing:
- Before meshing we will check the distance of the small parts, if it is smaller than 1 mm, hide the part by cut option.
- Then isolate each part and assign the quality criteria; mesh parameters i.e. skewness, minimum and maximum target length as per the given data.
- Mesh type as Tria
- Make sure to remove the unwanted options in criteria
- Give the perimeter, and macros length by selecting the parts
- Then click mesh--->CFD mesh--> visible
- select the hidden mode while doing meshing to check the off elements.
- After meshing each part check the off elements and clear it by selecting mesh --->shell mesh-->reconstruct or left click near to off then select the improve option ---->reconstruct/reshape/smooth/fix quality to reduce the error
- If it is a small error then select grids-->move option to move the modes and clear it.
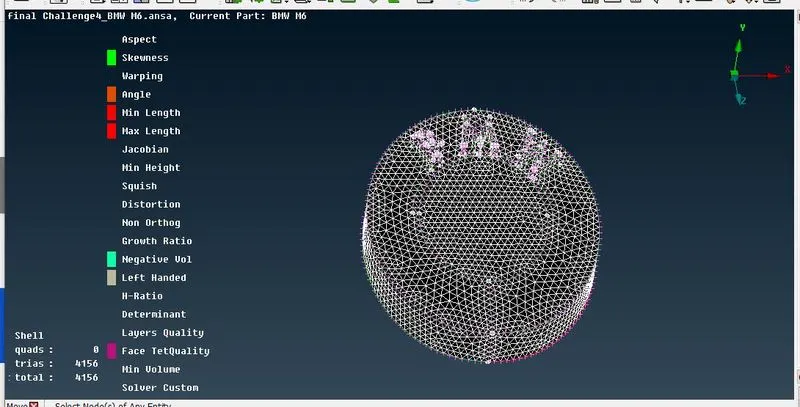
Fig 3 (a) After meshing: Logo
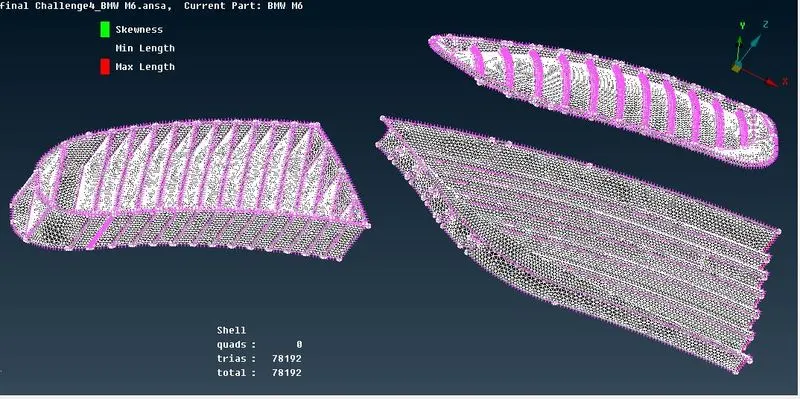
Fig 3 (b) After Meshing: Grills
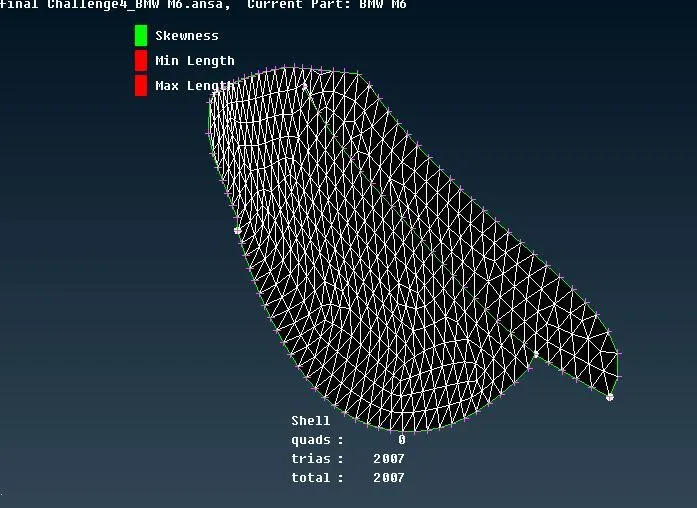
Fig 3 (c) (i) After meshing: Lights back
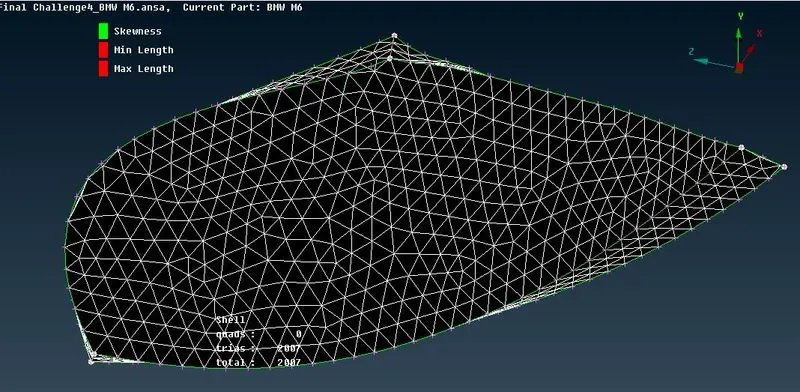
Fig 3 (c) (ii) After meshing: Lights Front side
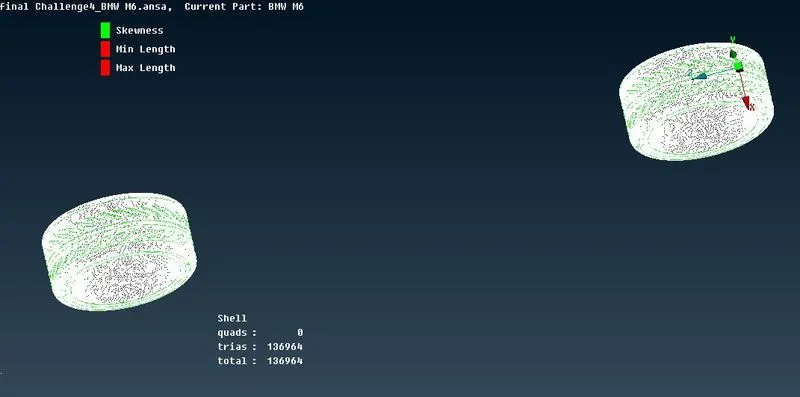
Fig 3 (d) (i) After Meshing: tyres
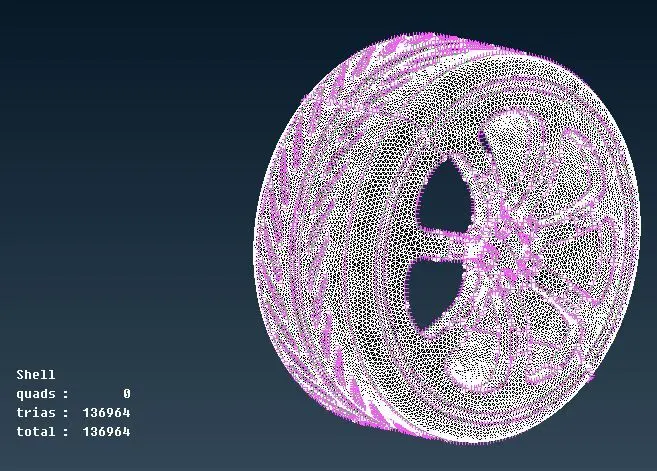
Fig 3 (d) (ii) After Meshing: tyres-clear view
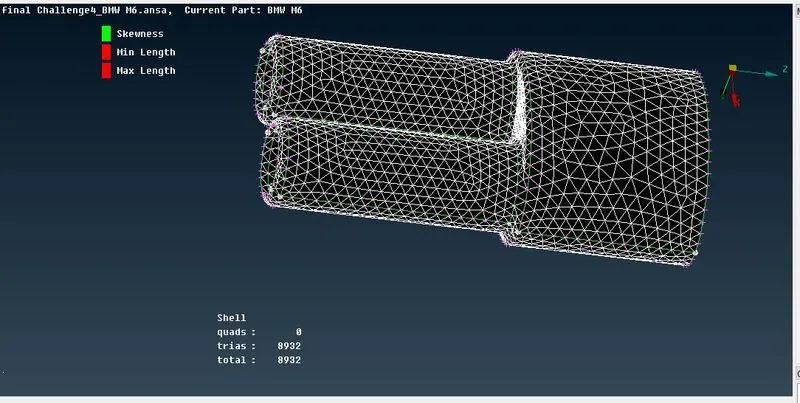
Fig 3 (e) Silencer: After meshing
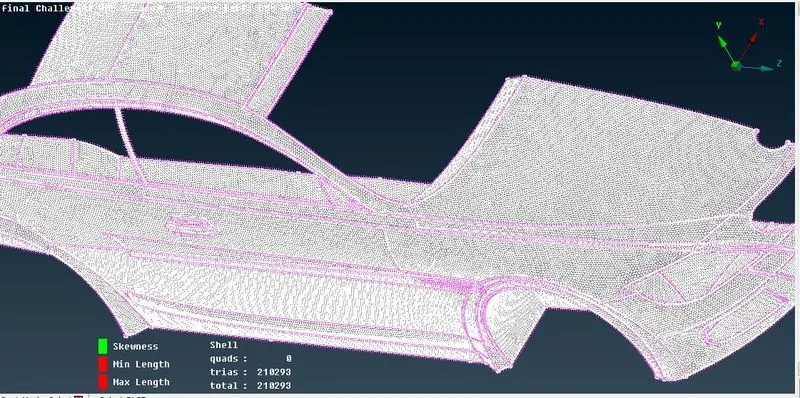
Fig 3 (f) Body
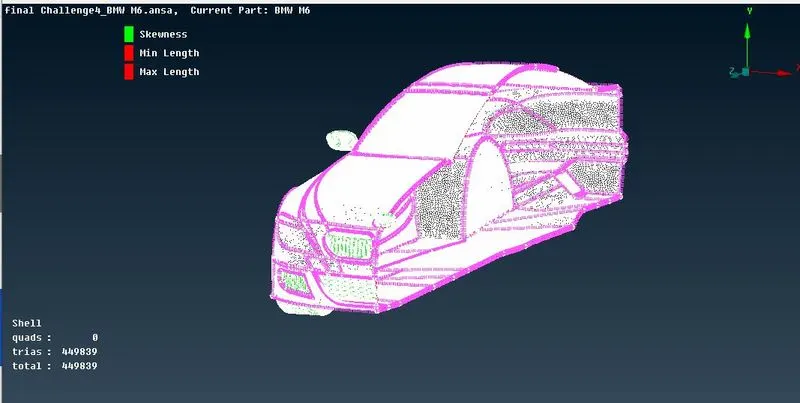
Fig 3 (g) Final Model After surface meshing
Perform Symmetry
- After finishing the meshing without off elements will do the symmetry option.
- Select the Transform---> copy--->Entities--> select obeject--> select the three axis---> finish
- The half of the car should be placed symmetrically
- check the single coons and remove it by paste option.
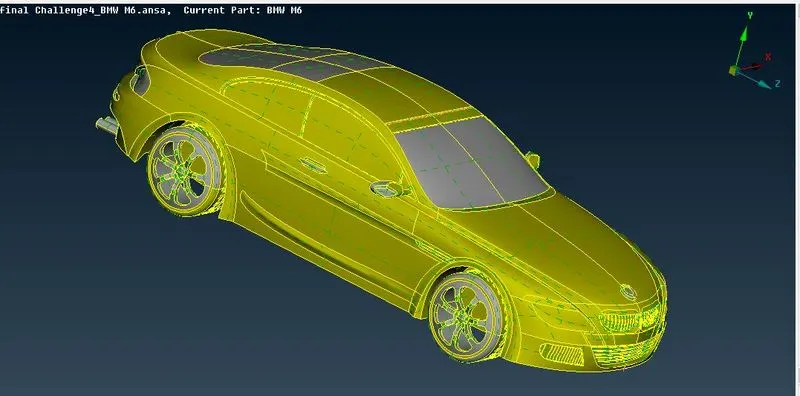
Fig 3 (h) Model after Symmetry
Step 4: Generating wind tunnel
- To generate the wind tunnel select the reference point select points--> relative and give the points as per the given data
- Create the new faces of the wind tunnel
- Generate the PIDs of the new faces
- Create the meshing by giving quality criteria and meshing parameters
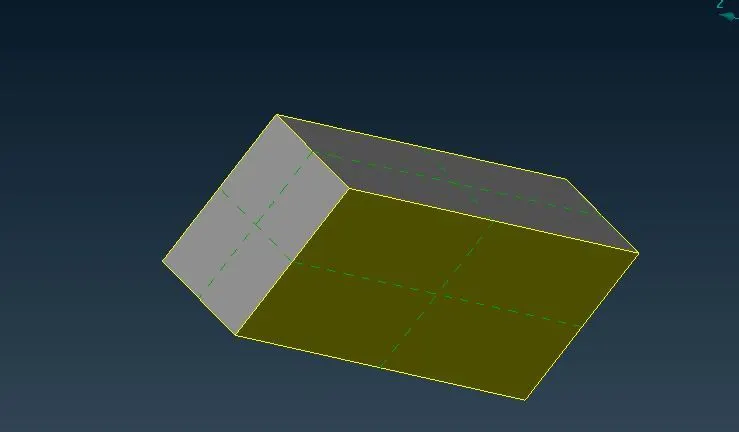
Fig 4 (a): Wind tunnel
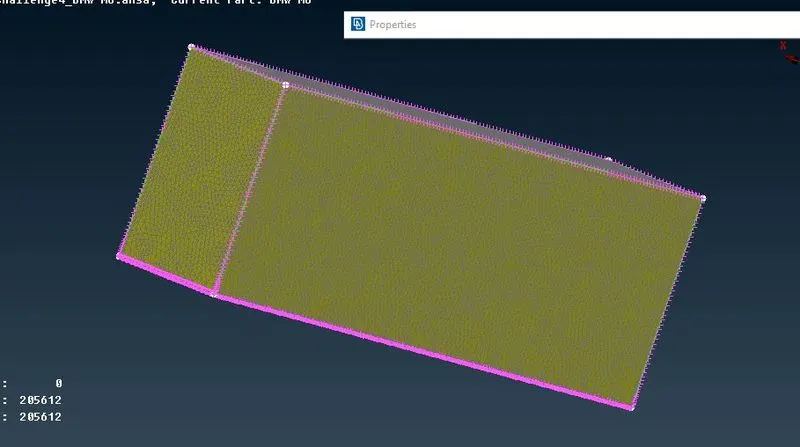
Fig 4 (b) Wind tunnel after meshing
Step 5: Volumetric meshing
After finishing the surface mesh, will perform volumetric mesh; v.mesh---> define
Initially define the parameters ; whichever no need, delete the surface; out of all the surface we select only one surface for volumetric meshing.
Due to compuatational range, the volumetric meshing can't generate in normal windows.
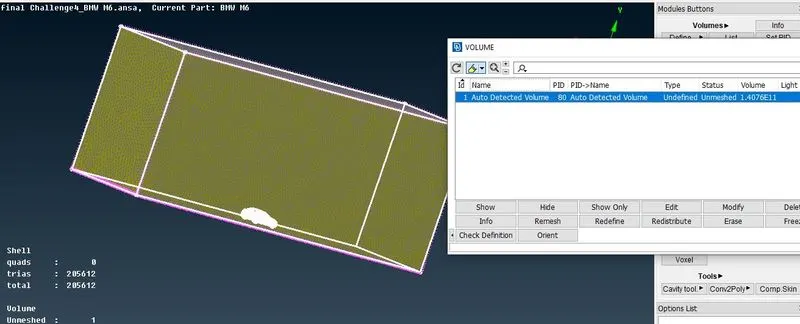
Fig 5: Final model before Volumetric meshing