Week 4 Challenge : CFD Meshing for BMW car
Aim
To perform volumetric meshing on the given model of BMW car geometry.
Objective
For the given model, check and solve all geometrical errors on half portion and Assign appropriate PIDs. Perform meshing with the given Target length and element Quality criteria.
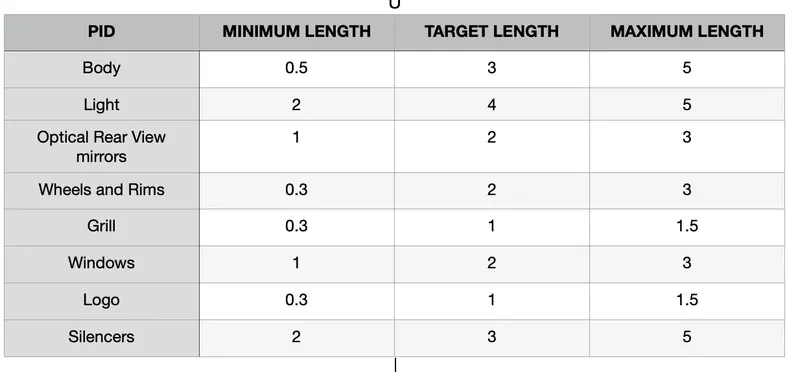
- Target lengths for the different parts of a model are as follow:
- Body - 3 mm
- Lights - 4 mm
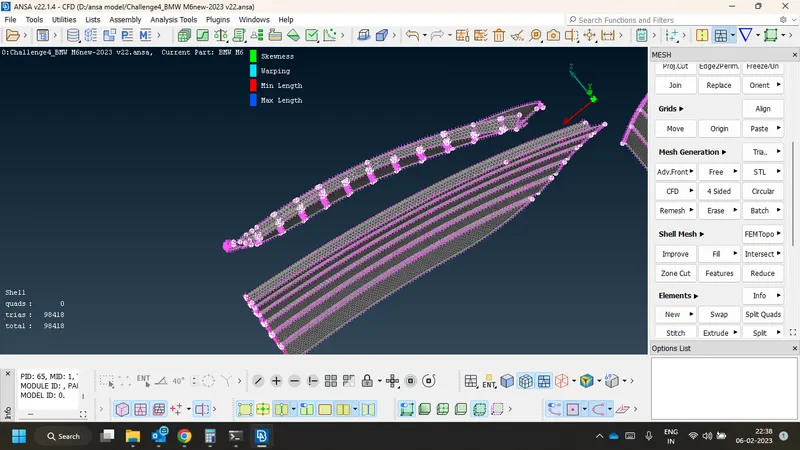
- Grills - 1 mm
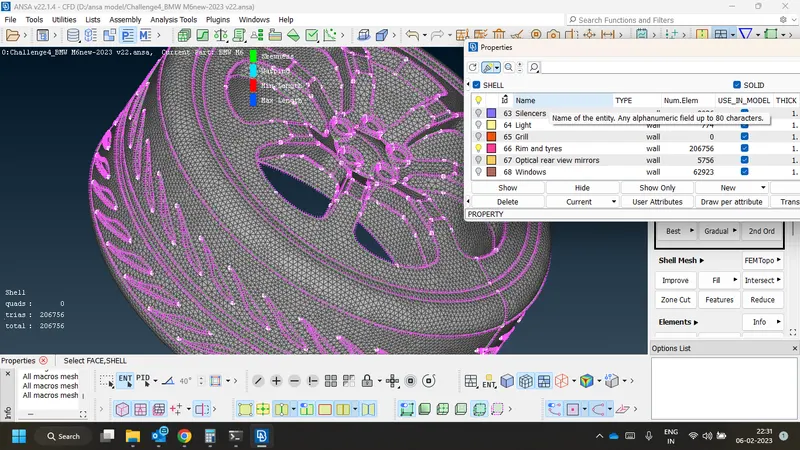
- Rims and Tyres - 2 mm
- Optical Rear view mirror - 2 mm
- Window - 2 mm
- Silencer - 3 mm
- Logo - 1 mm
Procedure
Geometric cleaning
First of all we have to clean the geometry to make it free from errors ,single coons, triple coons etc..
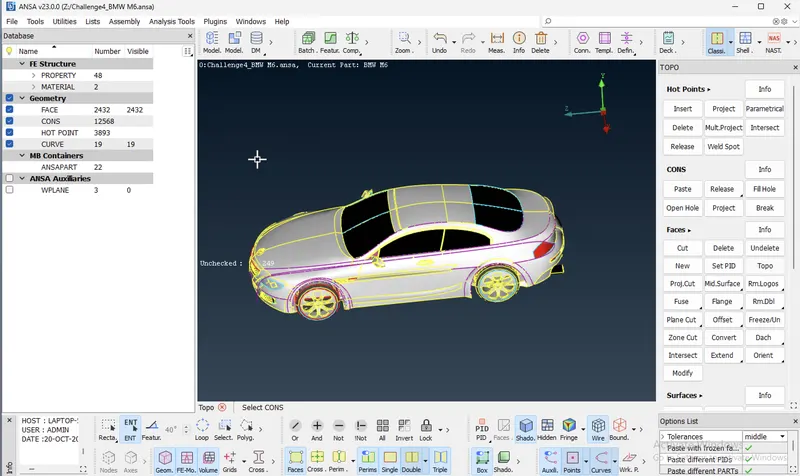
- This the model we got initially
- We performed Topo option to fix some errors
- Initialy the coon resolution is not smooth
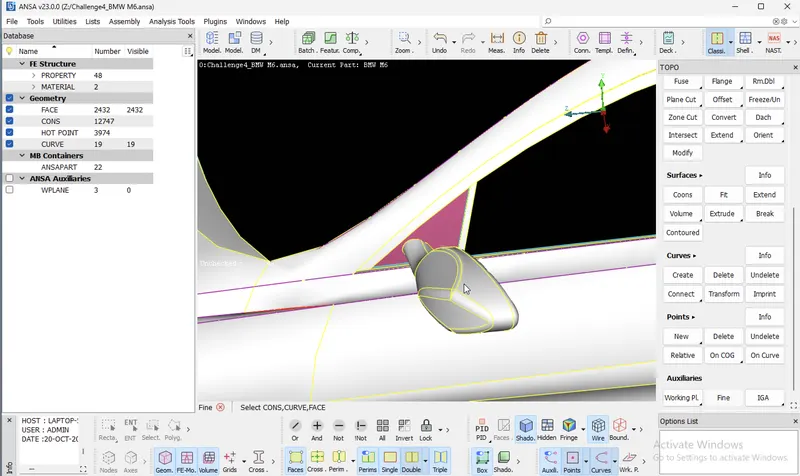
- Here we use fine option in auxilliary section to make coon resolution smooth
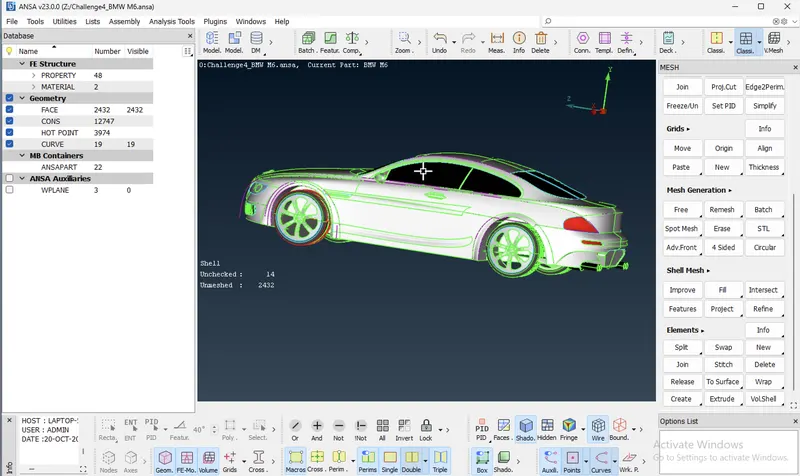
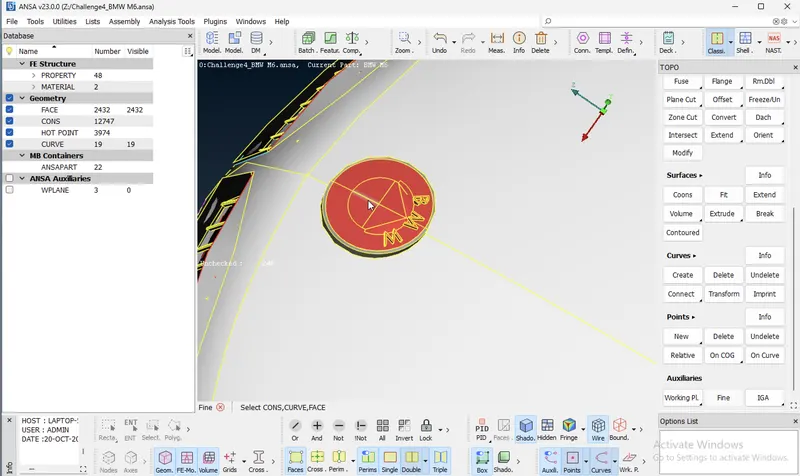
- We removed half of the model for making the process easy
- After meshing we use copy -symmetry option to get back those symmetric half portion
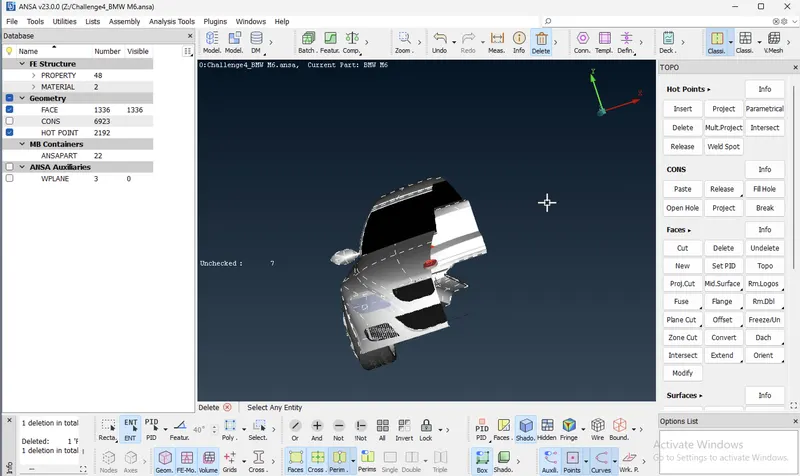
- We have to avoid chances of formation of seperate volume
- If seperate volume are there , may cause problems while volumetric meshing
- In Grill portion we have to close the surface to avoid the formation of seperate volume
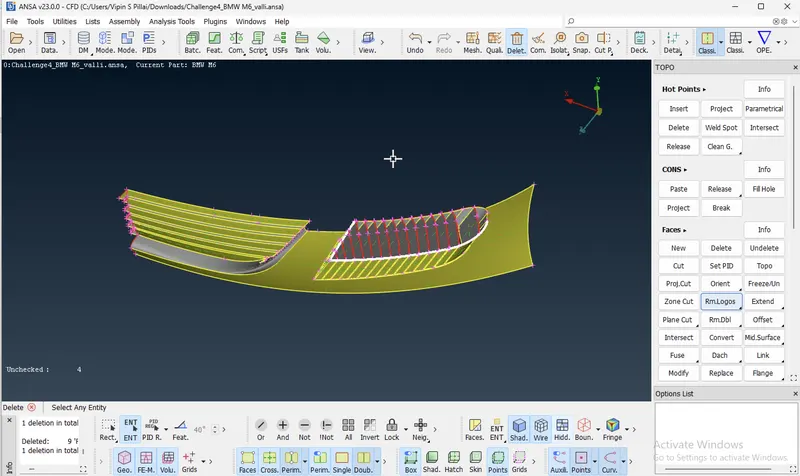
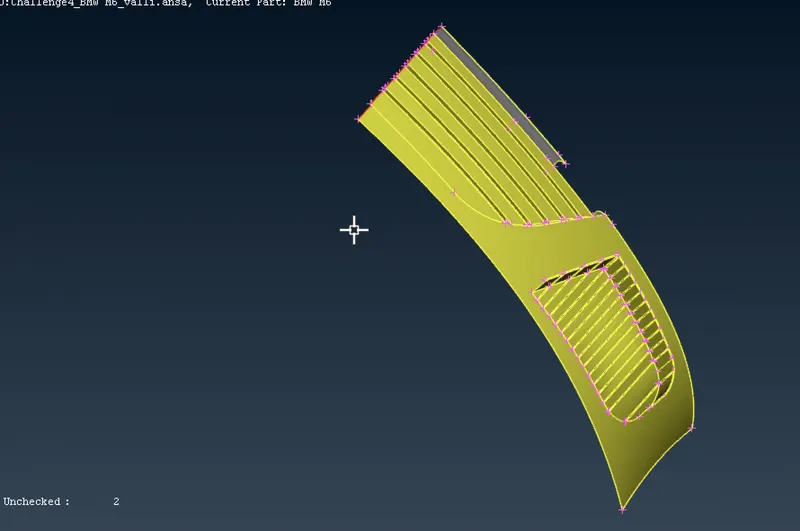
- In optical rear view mirror we must avoid the fromation of seperate volume
- We need the whole car as a single volume
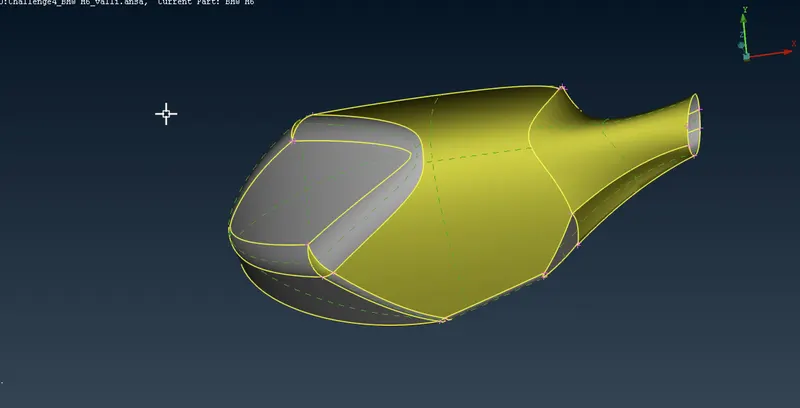
- After this we have to fix the under body part
- In under body part we have to remove some extra surfaces to celan the surface
- We use Curve option to make reference curve on the deleted surface
- We utilize this curve as a coon to create new surfaces
We assigned PIDs for different body parts
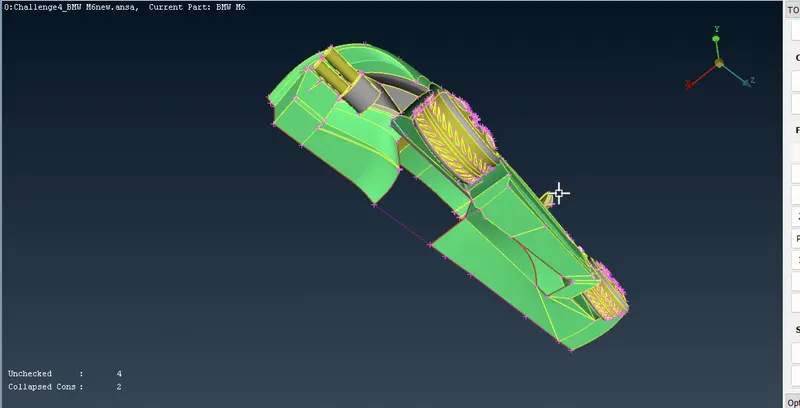
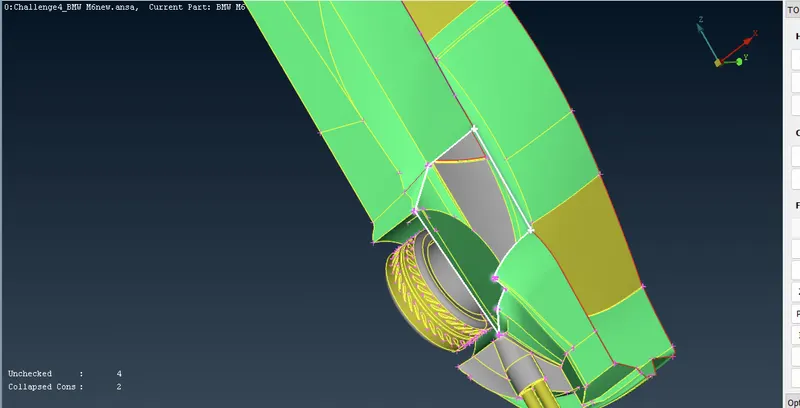
- Before meshing we have to uncut some coons
- We have to remove some coons which are very close to each other
- If there is coons which are at a distance smaller than our target length,may cause off elements while meshing
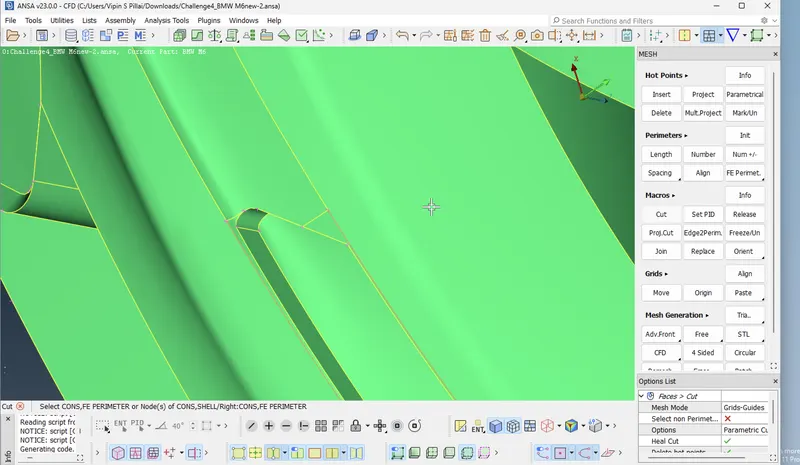
- Here we make two new cut to uncut or remove the one of the close coons
- Coon which is to delete is selected in such a way that in absence of that coon there is noc ahne in geometry
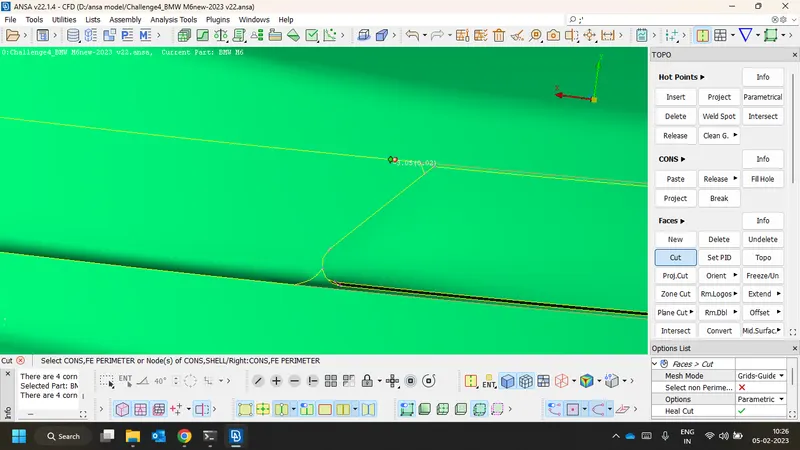
- We measured some parts to check whether it is smaller or not than target length
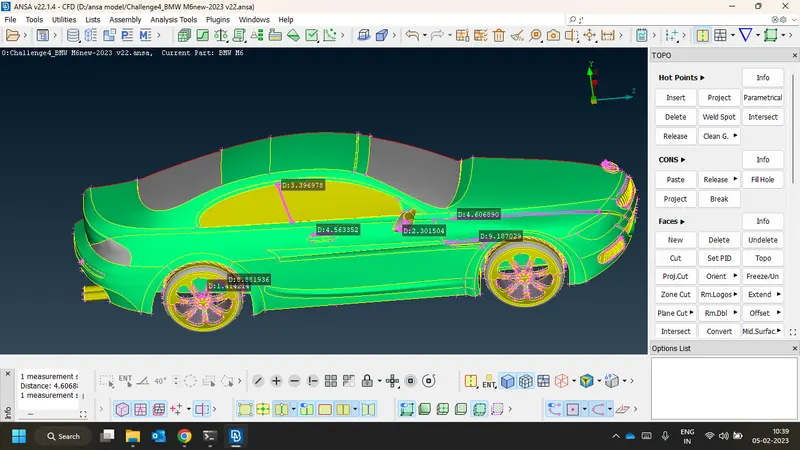
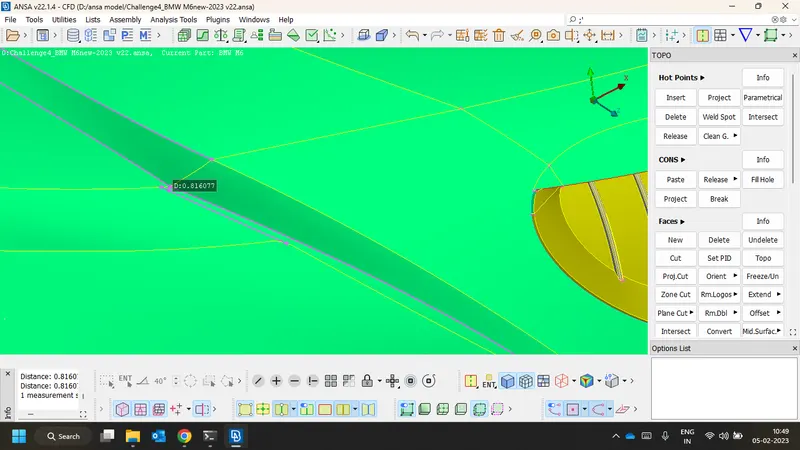
- Here also we have to close the surface to avoid formation seperate volume
- For that fist we projected bigger coon to the small parts of grill
- We projected front surface of all small surface grill
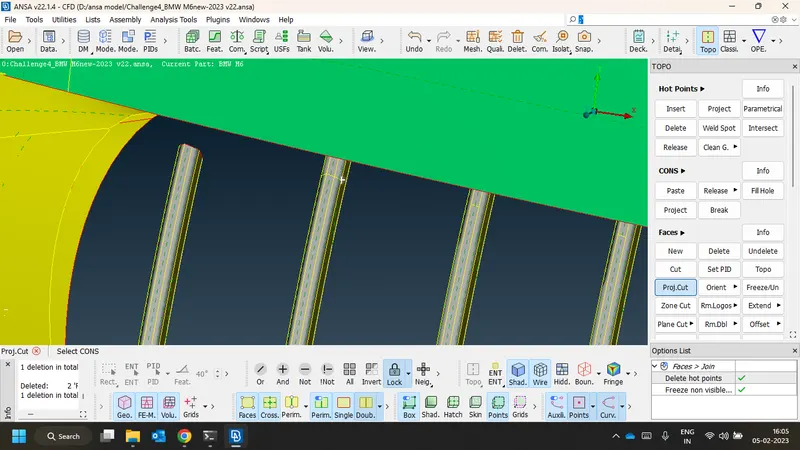
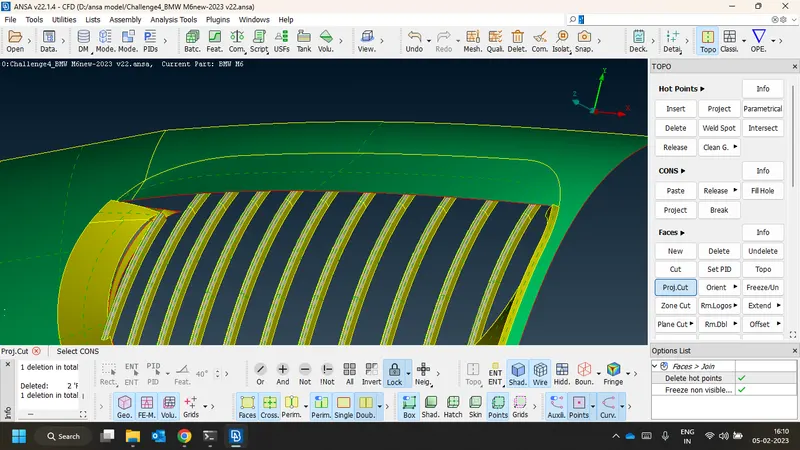
- Then we use project cut option to make the cut around the whole small surface
- Then we deleted those small portion
- Here we projected hot point to the above coon for creating new surface
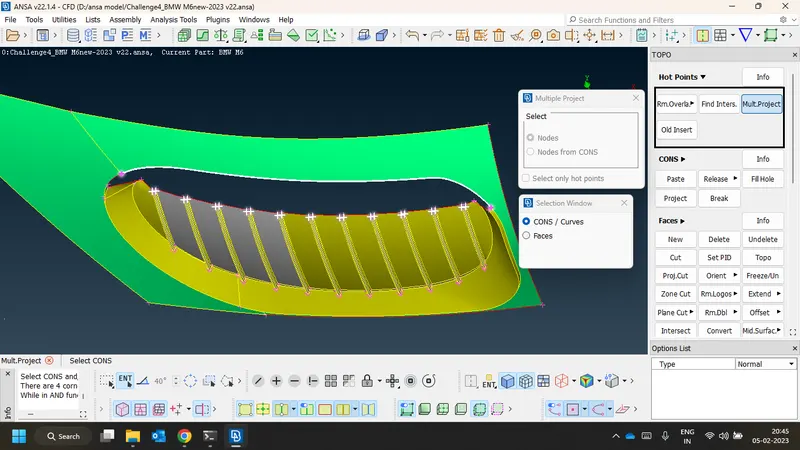
- Then we created small new surfaces and closed the quantity
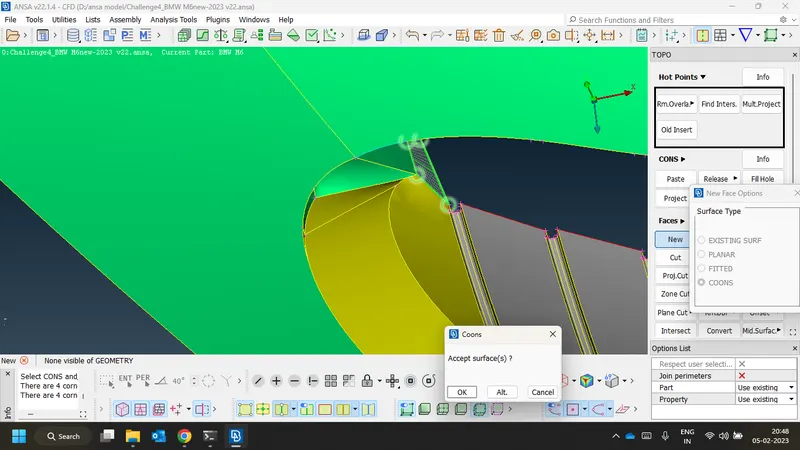
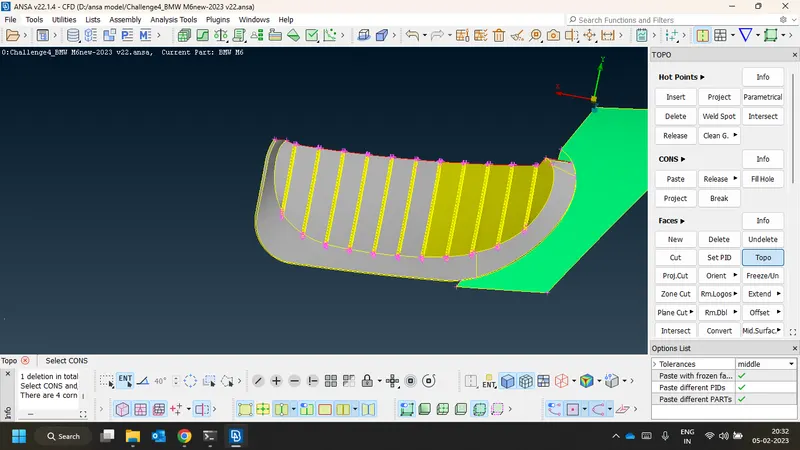
- Thus we ended with geometric clean
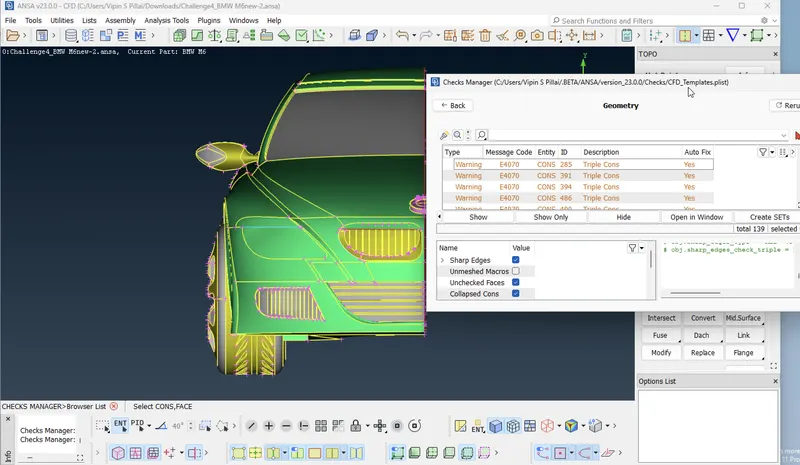
- We performed geometric test
- our model is now free from error
- There are som warinings and are avoidable
Surface meshing
Next we started surface meshing
- We used spot mesh for mesh generation
- We set quality criteria for minimum length, maximum length and skewness
- Skewness is the measure for equalateral triangularity of mesh
- We checked our model for small surafces ,close coons etc.. and avoided chances of creation of off elements while meshing
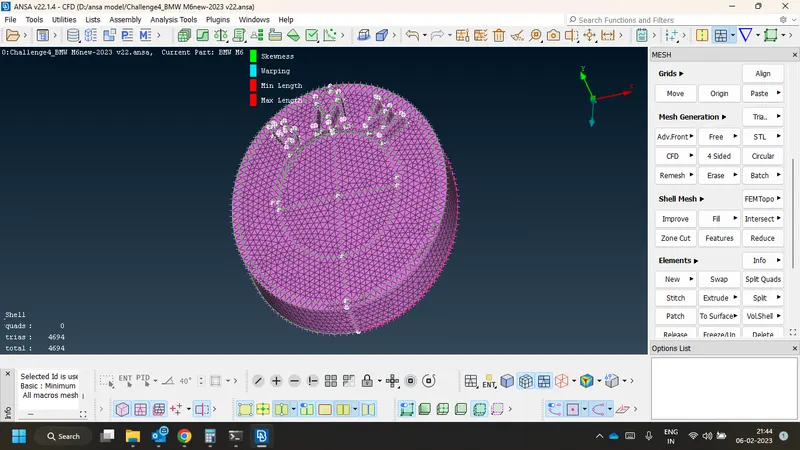
- Here we have off elements due to skewness
- skewness is measure of mesh element's equlateral triangularity
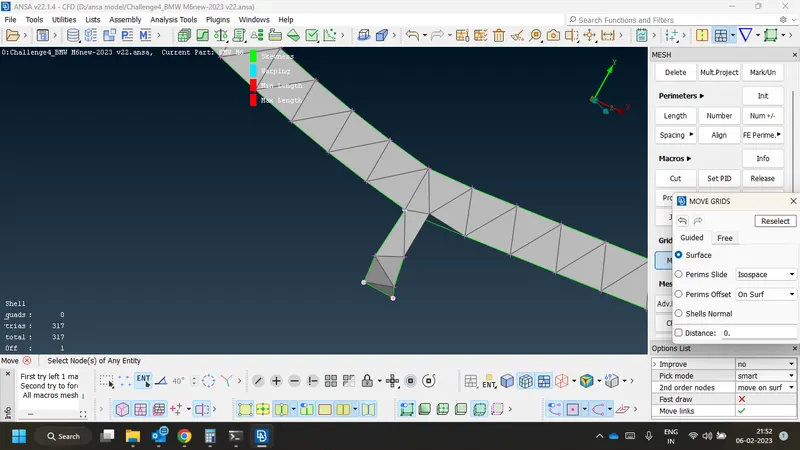
- Here we fixed the off elements mnaually by using move tool
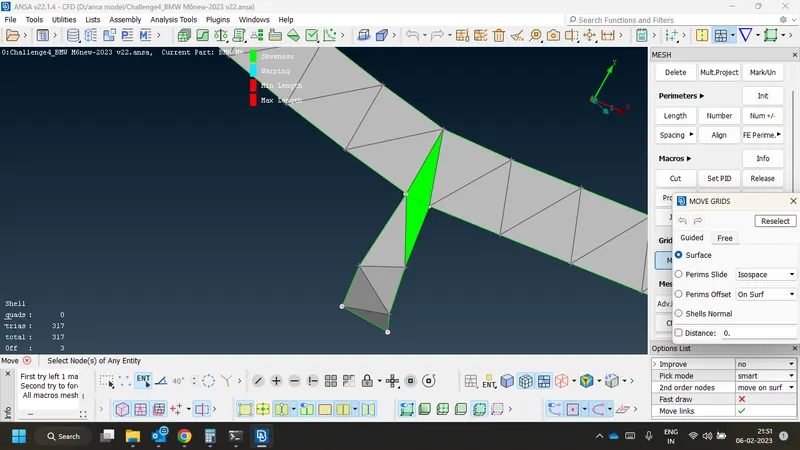
- Move toolallows us to move the coons to fix the off elements
Rear view mirrors
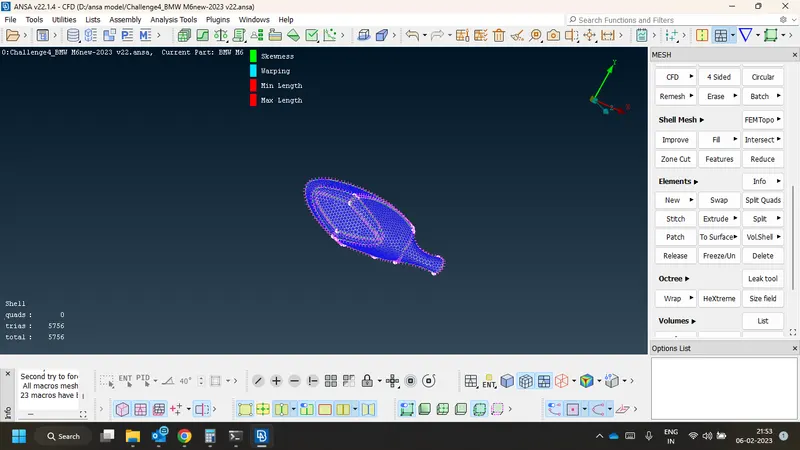
- Then we meshed rear view mirrors
- After meshing we freezed that particular PID
- Freezing make the perimeter free from disturbance from srrounding perimeter while further meshing
Silencer
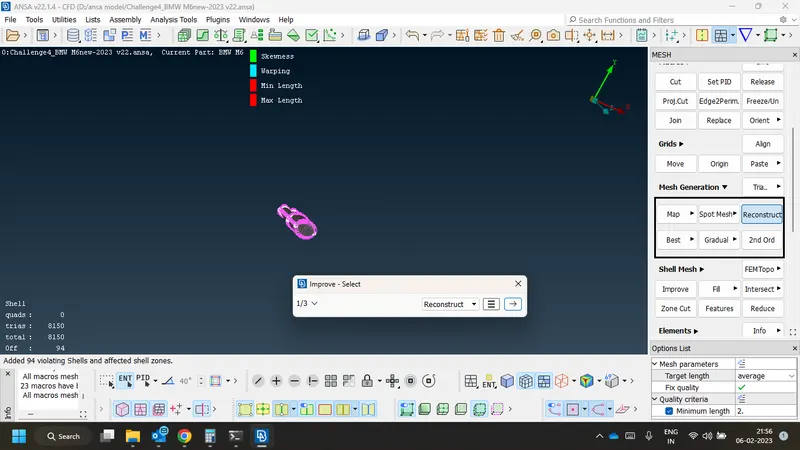
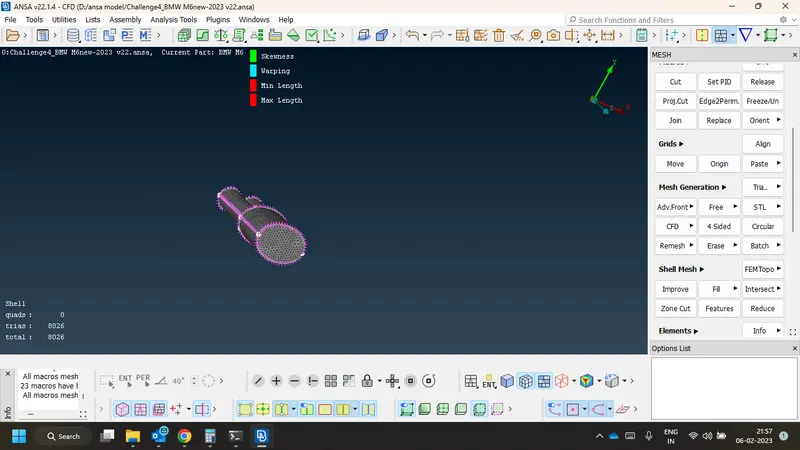
- Here we used automatic methods to fix off elements
- We used automatic methods like
- Reconstruct
- Fix quality
- Reshape
- Smooth
LIGHT
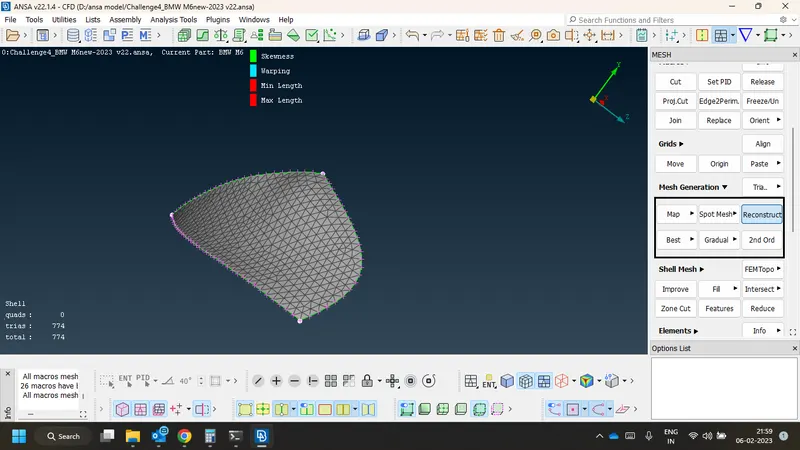
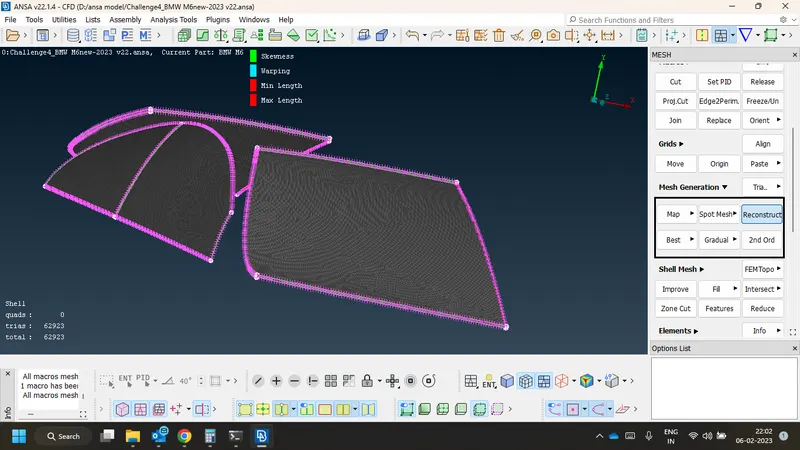
WINDOWS
RIM and Tyres
GRILLS
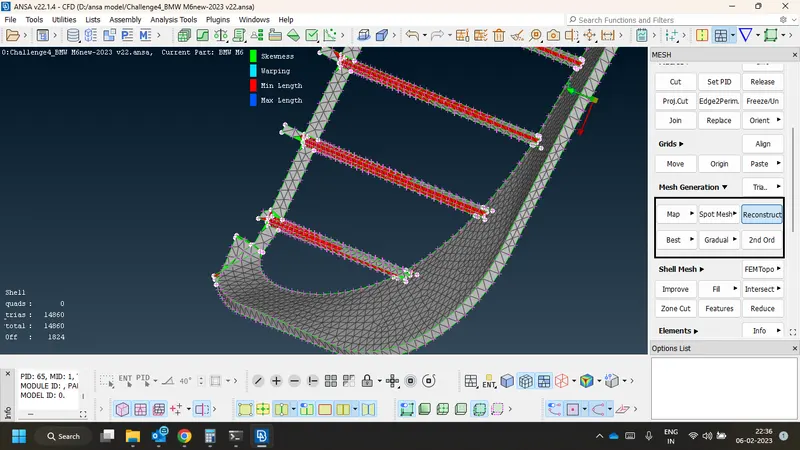
- Here also we make use of automatic methods to fix off elements due to maximum length
BODY
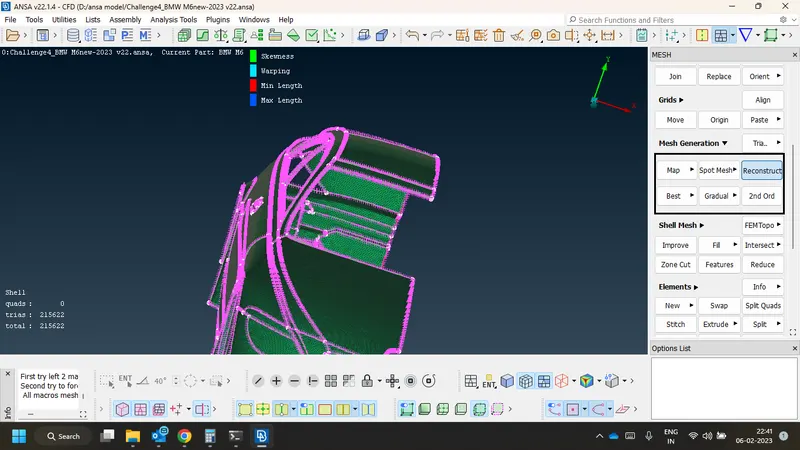
Fully meshed off elements free half portion
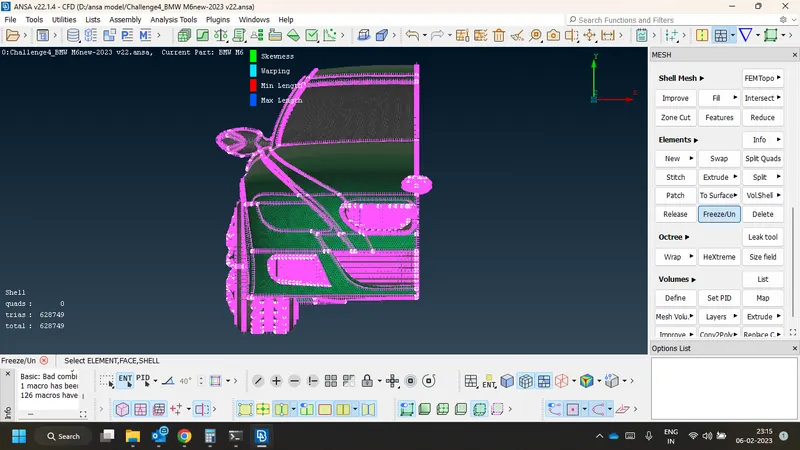
- Innorder to add the symmetric half we use copy option
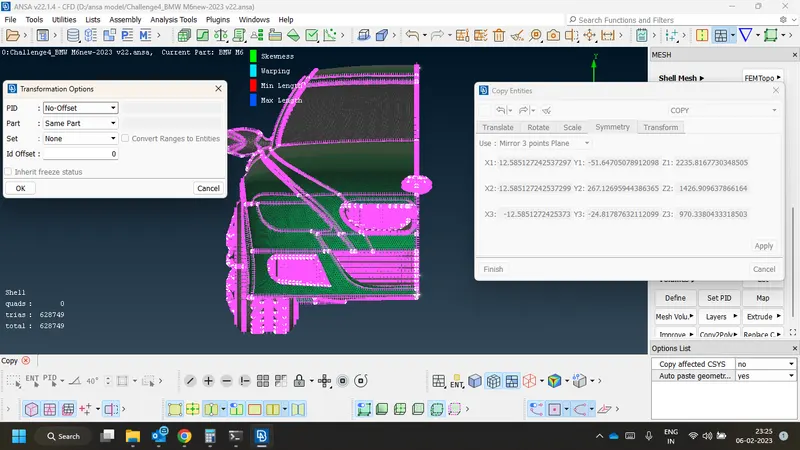
- We used mirror 3 points plane option to copy the half
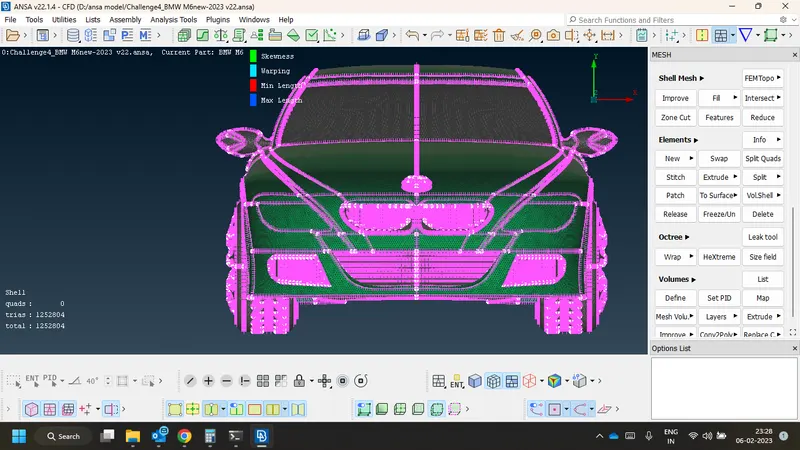
- We added the half to existing half
- We perform topo first and search for any single coons
- We fixed the single ccons by means of paste option
Thus we completed surface meshing on the model
Wind tunnel creation
After model meshing we have to create a wind tunnel for CFD simulation
Wind Tunnel Creation
After clearing off elements we have to make wind tunnel
Steps
- First of all we have to create some points around the model
- Wind tunnel dimensions is such that front face of the tunnel is 4x distance from front of the model ,where x is the length of the model
- Rear face of wind tunnel is 6x distance away from back side of model
- Height of the tunnel is 3x + ground clearence of the model
- we used relative option from points to make points to build tunnel
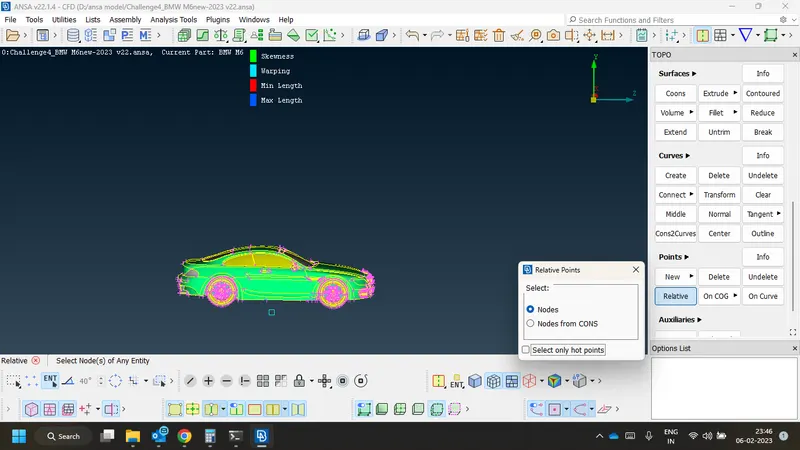
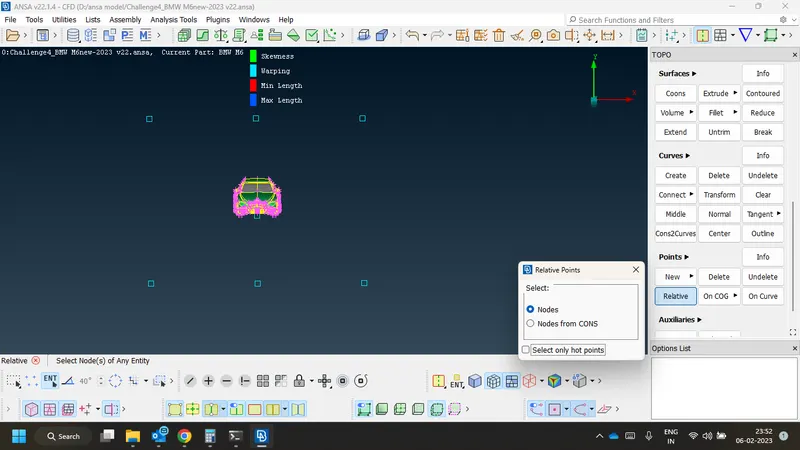
- After point creation we used curve joint the points by lines
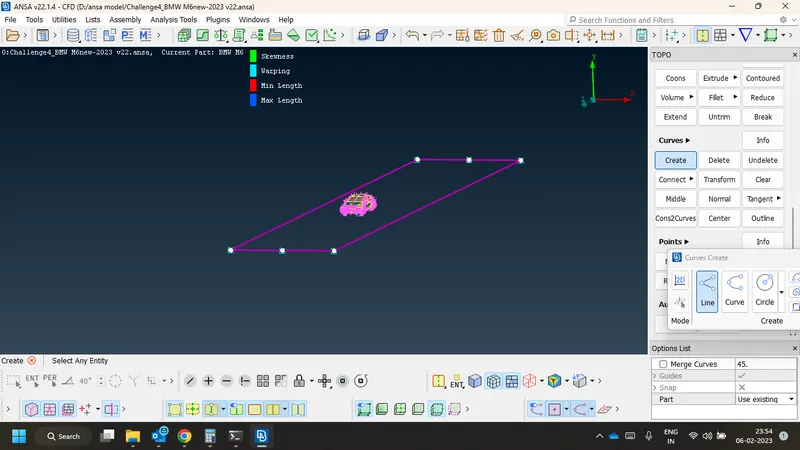
- Then we created surafce from the lines using face- new option
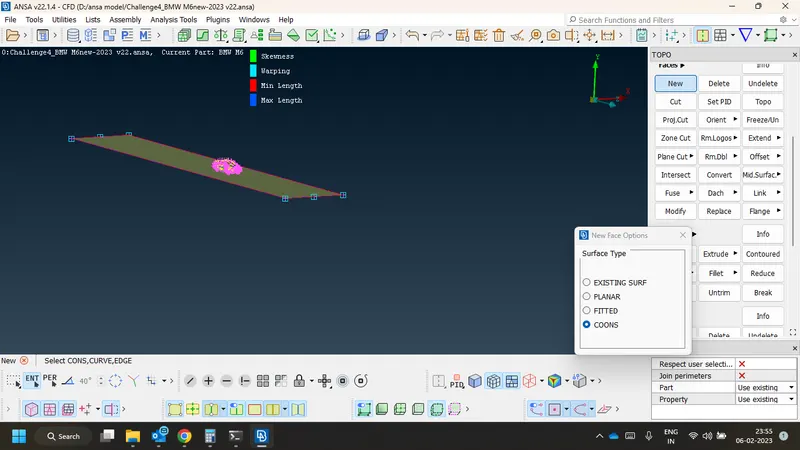
- Then we offset option to make similar surafce on the top
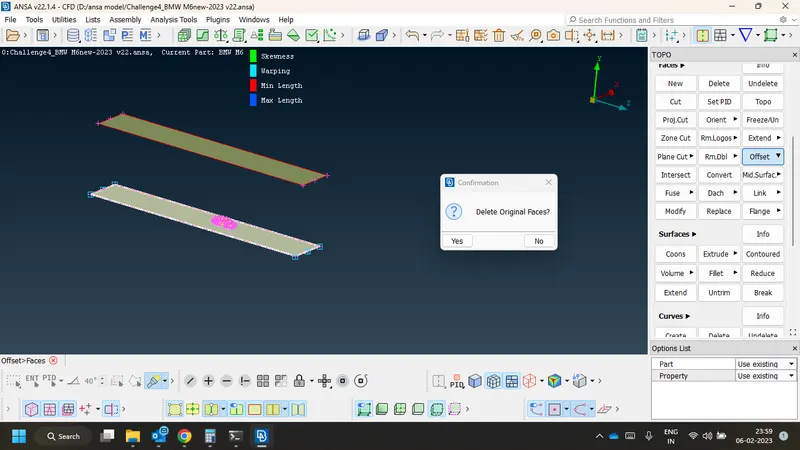
- We created remaining surafces using new option and joinded the surafce form wind tunnel
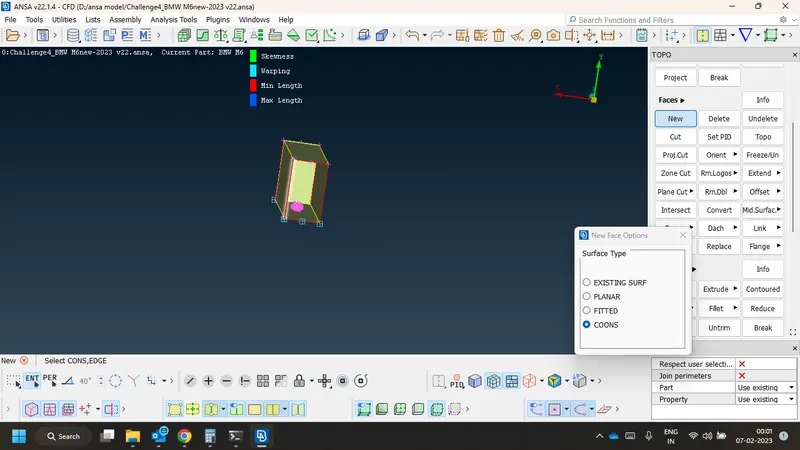
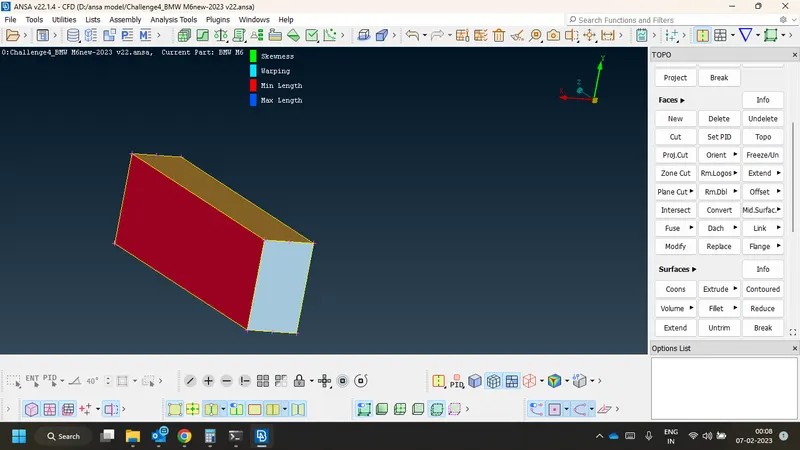
- Then we assigned PIDs for different surafces of wind tunnel
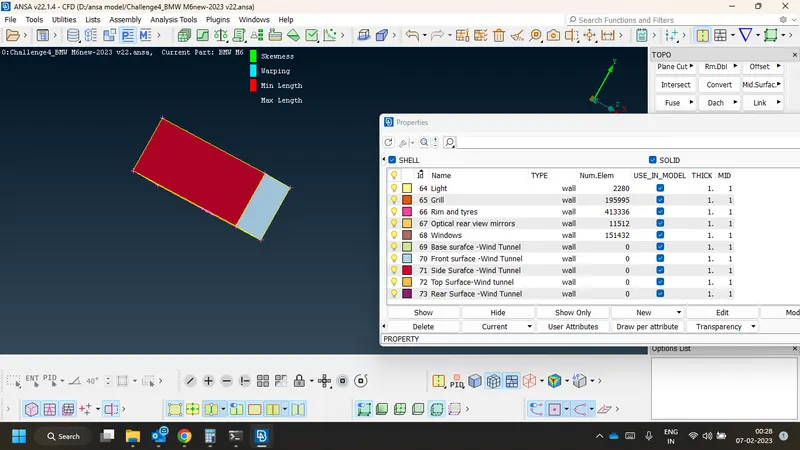
Surface meshing on wind tunnel
- Then we performed suraface meshing on wind tunnel
- Mesh length for top face is 100 and for base face is 20
- For vertical front and rear faces we adopted biased meshing or varibale meshing with start of 20 and end 100 with a factor of 1.2
- We used Spacing option to perform the variable meshing on vertical surafce(rear surface and front surafce)
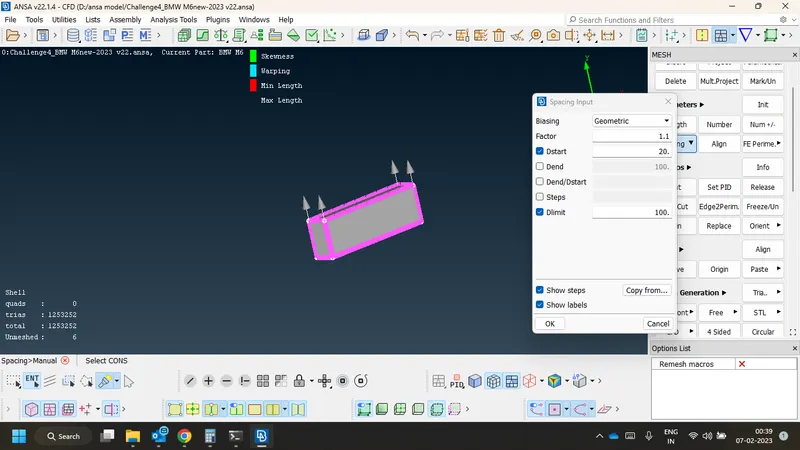
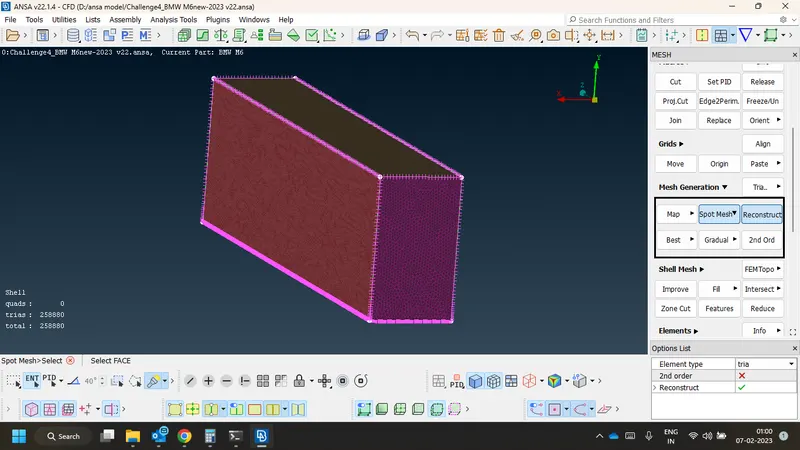
- Thus we completed suraface meshing of the tunnel
Observations
- Off elements are created mainly due to sharp edges so must take care off sharp edges
- We must fix our minimum length, target length and maximum length according to the surafce nature
- We got off elements mainly due to skewness and are fixed by using manual and automatic methods
- Since we setted the length for meshing in a good manner we faced less amount off elements due to maximum and minimum length
Conclusion
- Performed surafce meshing on the bmw model
- Created wind tunnel
- And performed surface meshing on it
- Results are satisfactory
- Understands ANSA more and got new knowledges on meshing
- Understands how fix mesh length
- Undertsands how to fix off elements
- Learns basics of volimetric meshing
link of the model given below
https://drive.google.com/file/d/16G3QjNjawgCZvzflyJCwTTMf04CN5AIK/view?usp=share_link