Week 4 Challenge : CFD Meshing for BMW car
Introduction-
In the challenge we worked on BMW M6 model, the aim of the challenge is to make our model ready for mesh by doing topo cleanup and grouping into different Pid and finally making a wind tunnel for the model.
Geometry cleanup
The surface resolution of the model is not aesthetic, so we can go with the fine command in auxiliaries
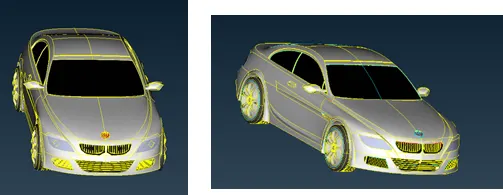
Before After
As the model is symmetric so we deleted one halves and worked on the other part.
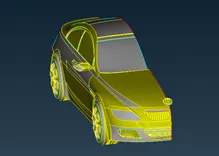
After cutting the model, we do topo cleanup the aim is to make model into a single volume. We go locally and see the single cons and try to make it into double cons using paste, cut, topo and release command. We will also delete the unnecessary and complex surfaces; we can use cons2 curve to have the curve of the surface which helps to create a new surface.
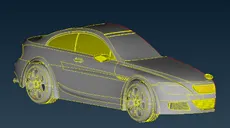
After doing topo cleanup
Now we will group into different PIDs (logo, windows, rear view mirror, body, wheels and rims, lights, grills and silencer)
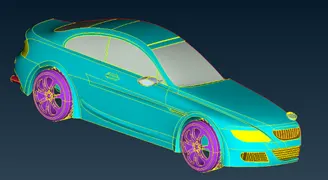
Now we will check for the minimum distance between cons into different PIDs and delete the unnecessary cons so that our distance will meet the minimum target length of meshing.
Geometry Check
Go for the geometry check for no penetrate and single cons and allowable triple cons.
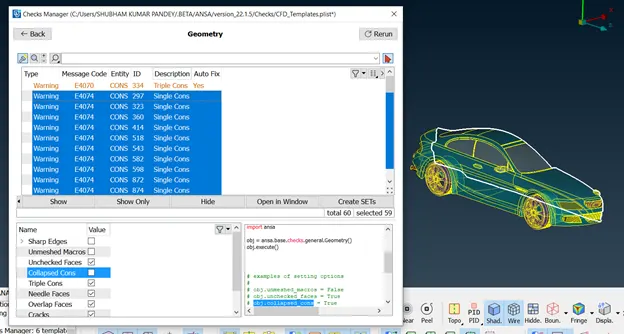
Allowable single and triple cons
Surface Meshing
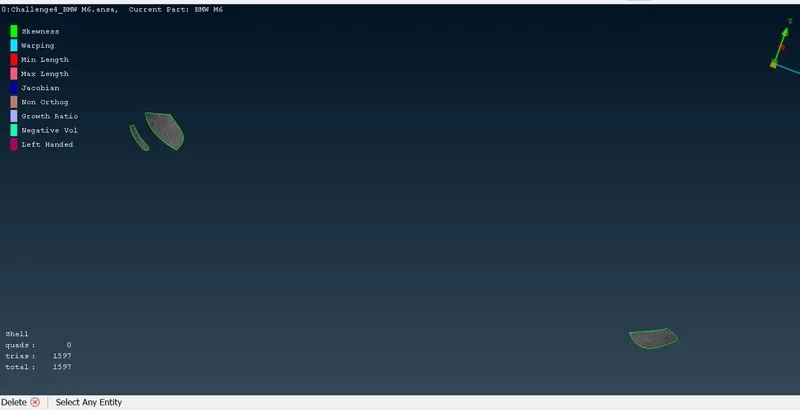
After checking the geometry of model, In mesh parameter, do the mesh for different PIDs, 1stly gave quality criteria and then mesh parameter for different PIDs, check the off elemnts and try to make it zero by using reconstruct, move and paste command.
Off Elements
Grills and Logo target length 1mm
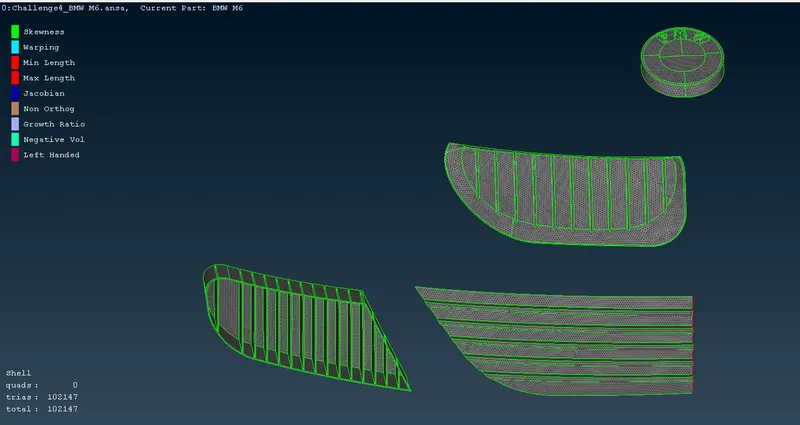
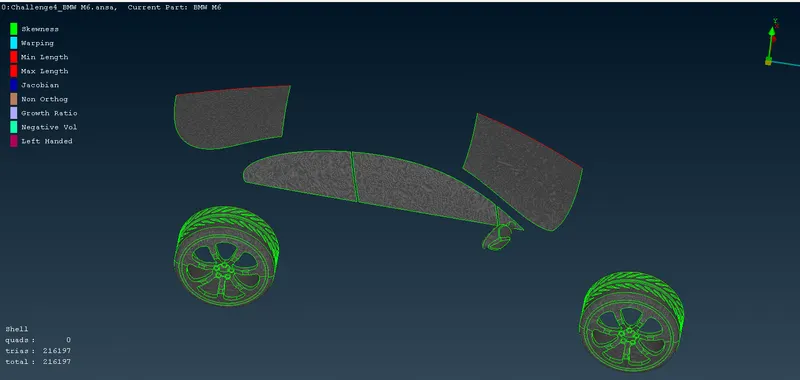
Windows, Tyres and rims and Rear view mirror
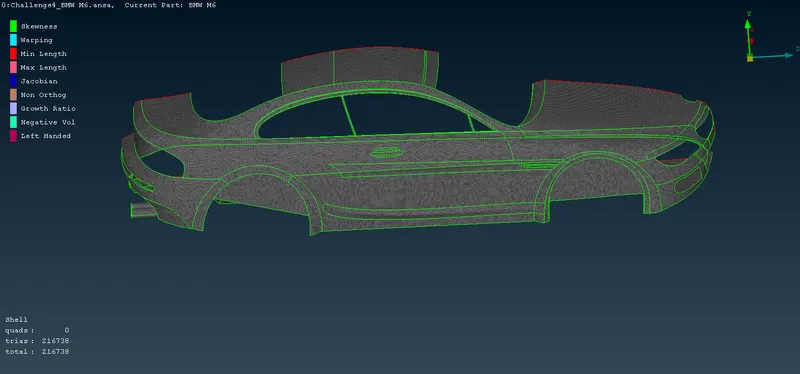
Body and Silencer
Lights
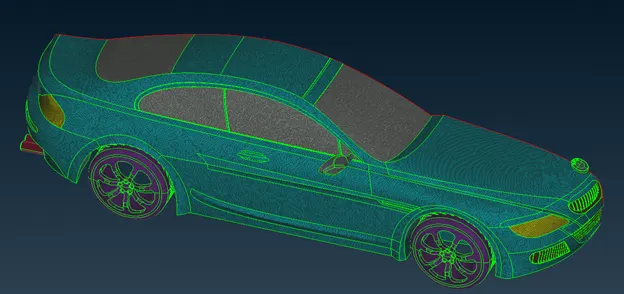
After meshing by giving different target length for different PIDs.
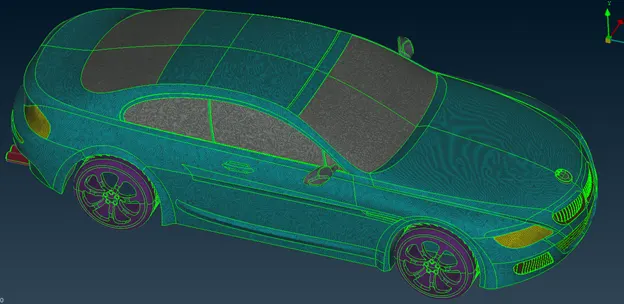
Now using symmetry command in transform we make a compete model.
Now we create wind tunnel
The front face is 4 times the length of model
Rear face is 6times
Top face 3 times
Bottom face at a small distance from lower face of model
Side faces 0.5 times length
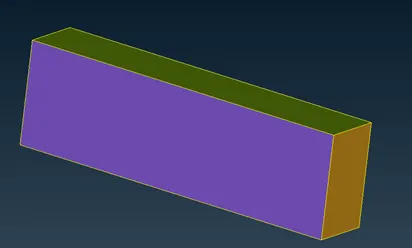
Now we mill mesh the wind tunnel by giving target length of 20 for bottom face 100 for top face and for side front and back face we give varying target length by selecting spacing command.
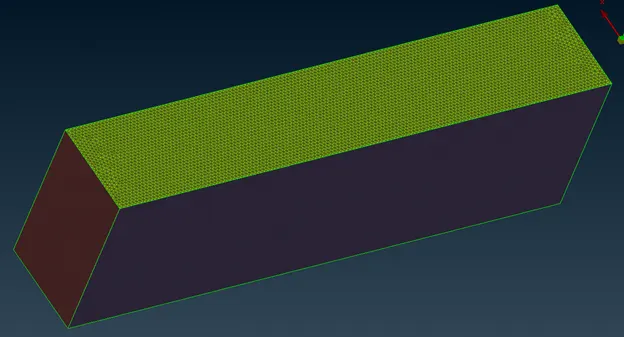
After meshing wind tunnel.
Conclusion-
After completing this challenge, I understand how precisely we can do topo cleanup as per our minimum target length and we can do meshing precisely by eliminating off for better result and finally creating wind tunnel to check how my model behave.