Week 4 Challenge : CFD Meshing for BMW car
Week 4 Challenge : CFD Meshing for BMW car
Objective:
- Do topo cleanup for BMW car
- Do 2D meshing, check quality criterias
- Use hidden mode to check failed meshes on quality criteria
- Use reconstruct option to view and clear failed meshes
- Do 3D Meshing for car
- Create a wind tunnel , either in 2D or 3D mesh depending on capacity of your system.
Given problem:
For the given model, check and solve all geometrical errors on half portion and Assign appropriate PIDs. Perform meshing with the given Target length and element Quality criteria. After meshing the half model, Do symmetry to the other side.
- Target lengths for the different parts of a model are as follow:
- Body - 3 mm
- Lights - 4 mm
- Grills - 1 mm
- Rims and Tyres - 2 mm
- Optical Rear view mirror - 2 mm
- Window - 2 mm
- Silencer - 3 mm
- Logo - 1 mm
Steps:
1.Topo clean
2.Decrease length perimeter so as to increase resolution.
3. As the geometry is symmetry except the logo so half the geometry except the logo.
4. clean up geometrical error, penetration errors
5.Then create surface mesh.
6. create a wind tunnel so as to show the fluid flow over the car model.
7. create surface mesh on wind tunnel and then volumetric mesh.
Method:
Geometry:
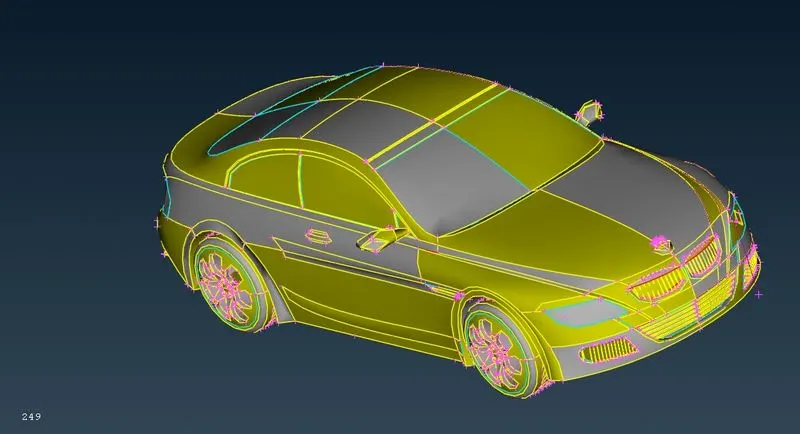
1. We are hiting topo so as any unjoied face become double cons and then decrease the perimeter length from 30mm to 1mm to increse the resolution so as to make unround faces round ,proper shaping the car wheels etc.
2.As the geometry is symmetry except the logo so first delete one symmetry portion of the car except the logo.
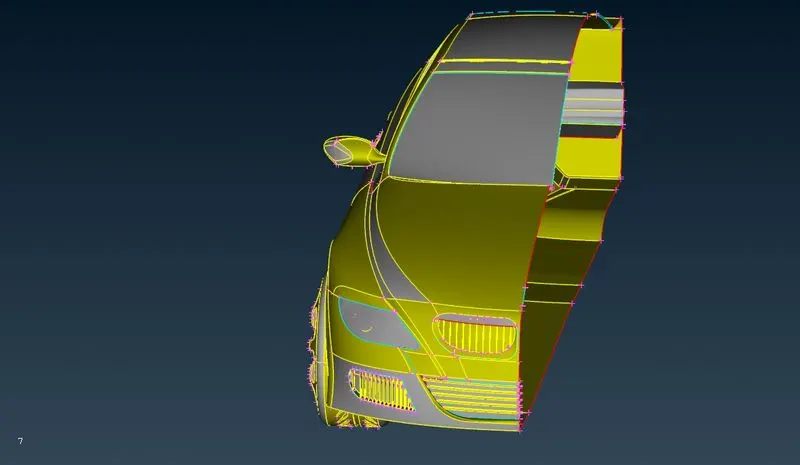
3. First we will clear all errors in the grills then in the lights portion then in the floor and body portion.
4. grills: To clear all geometrical and penetration errors we will separate the grills one by one by not option and then lock it and treat it.
We will keep treatment in the inside portion as it is fluid flow over the body so some sort of change in inside portion will not affect our project .
Grill 1:
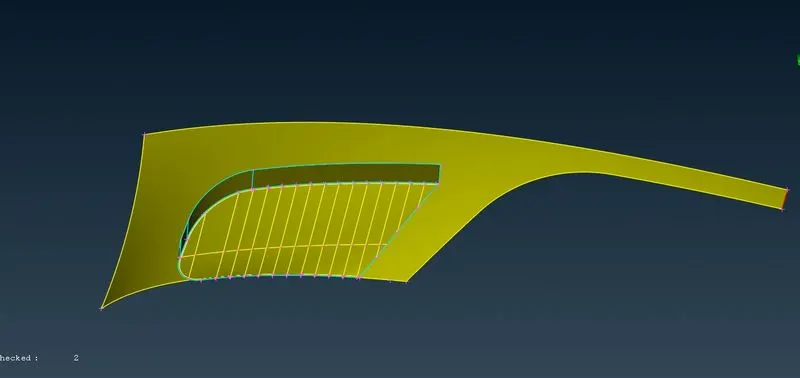
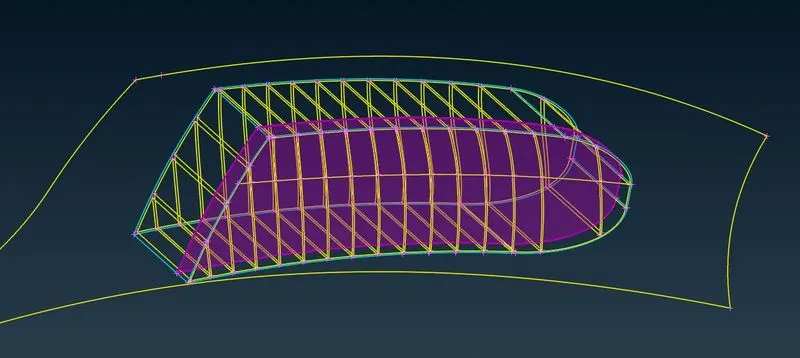
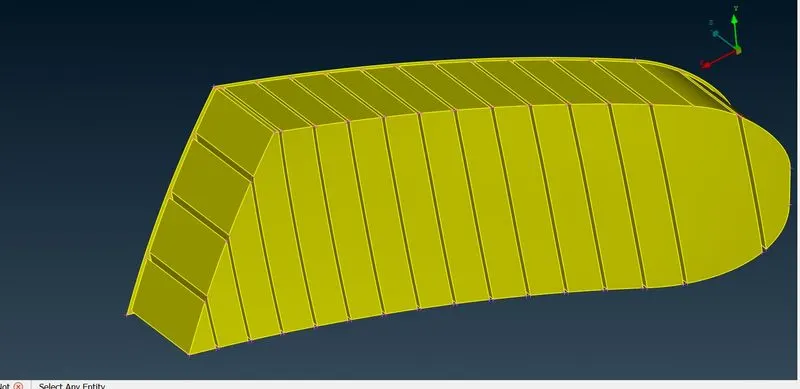
We are seeing inside surface of the grill.First we will delete all extra surfaces to delete the triple cons.Then we will create an another surface 0.2 mm from the inside surface and delete all other things before the created surface , we are doing this so as to make the grills one volume . To do this we are creating hot points 0.2mm from the back as seen and then join them by cut option and then intersect the face with the grills pid and delete other surfaces behind this.
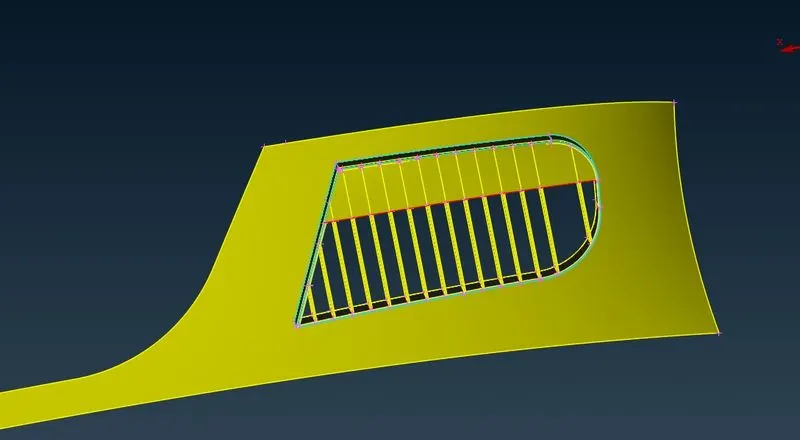
Here no surface is in between then we will create one surface and intersect the surface with grill pid and delete all other surfaces behind it.
Grill 2:
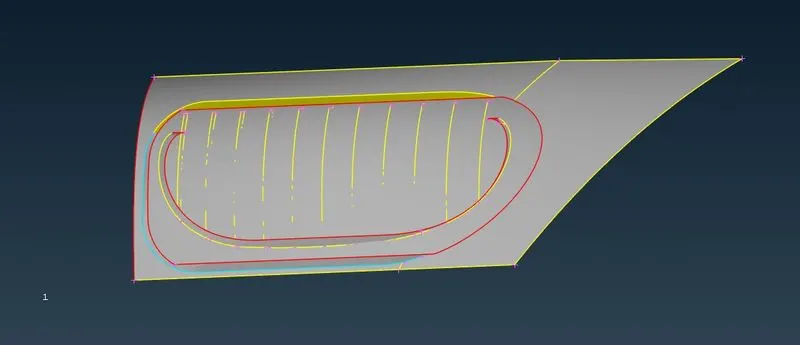
We are watching the grill from inside. We will delete all extra surfaces
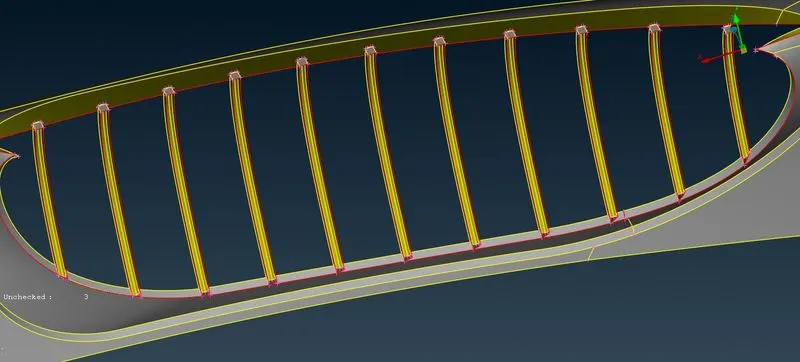
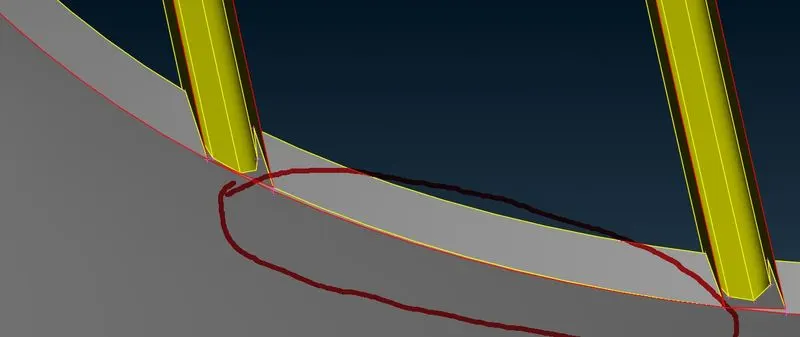
Now we will create surface one by one, before that we will make a cut on the roots of the surface like above and delete the surface to make the grills aligned .
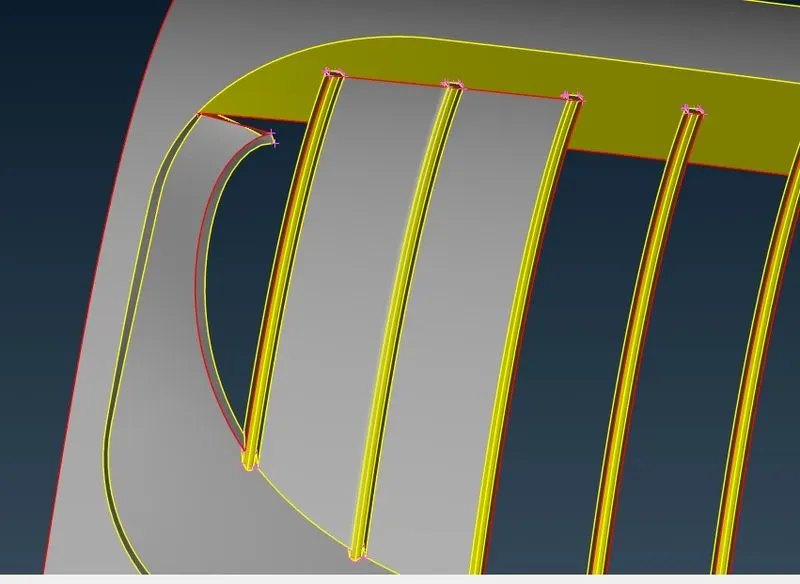
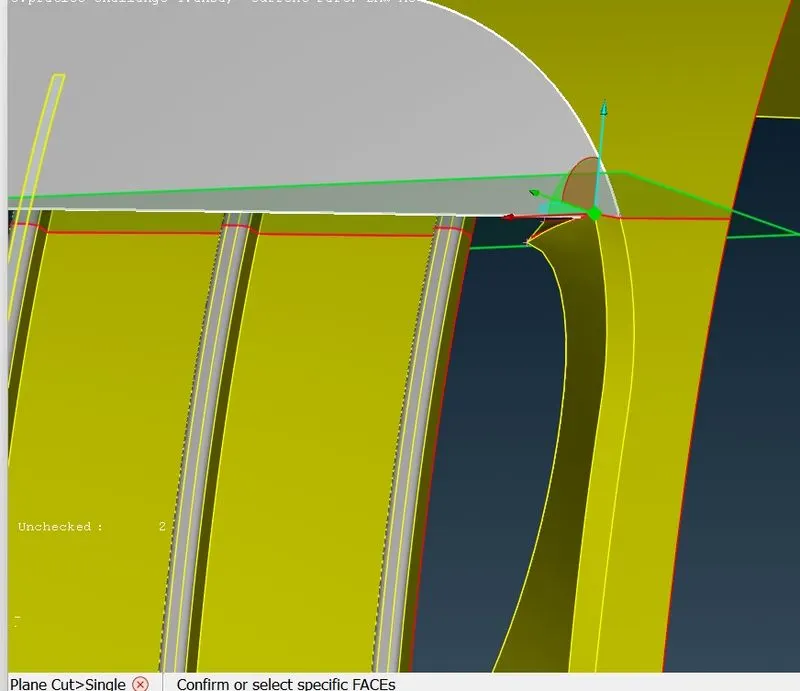
Now we will cut the upper portion of the plane by plane cut from outside then join other planes.
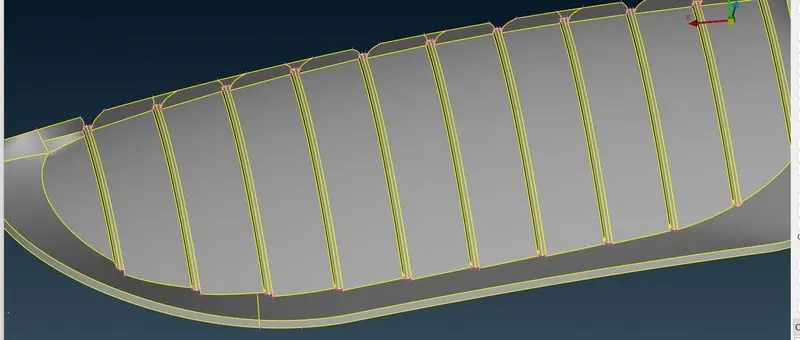
Grills 3:
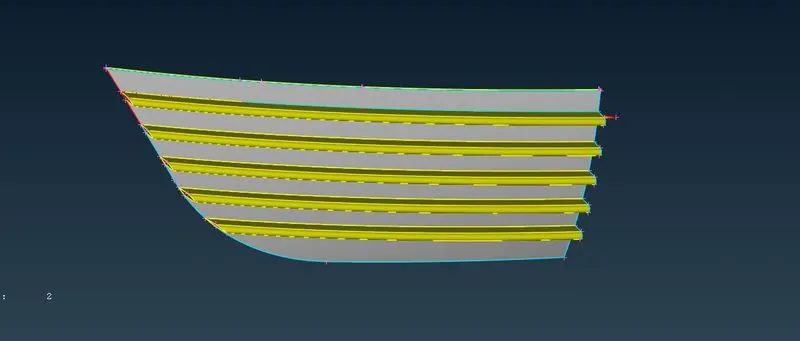
Now we will delete extra surfaces on the grills and create new surfaces so that we can make it one volume.
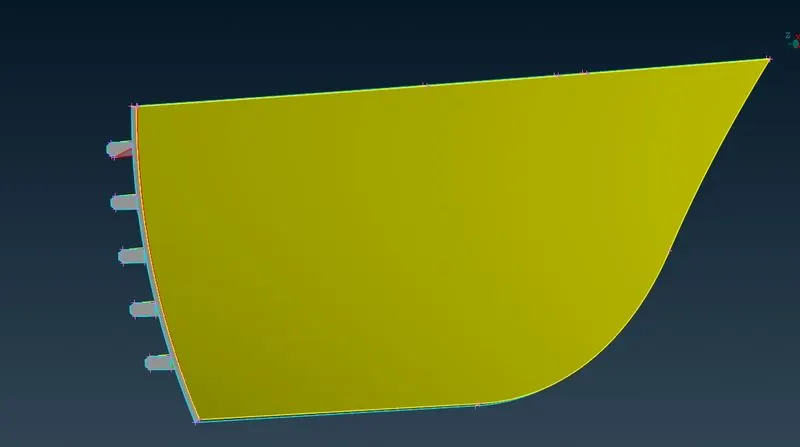
This is inside surface and after deleting the extra surfaces.
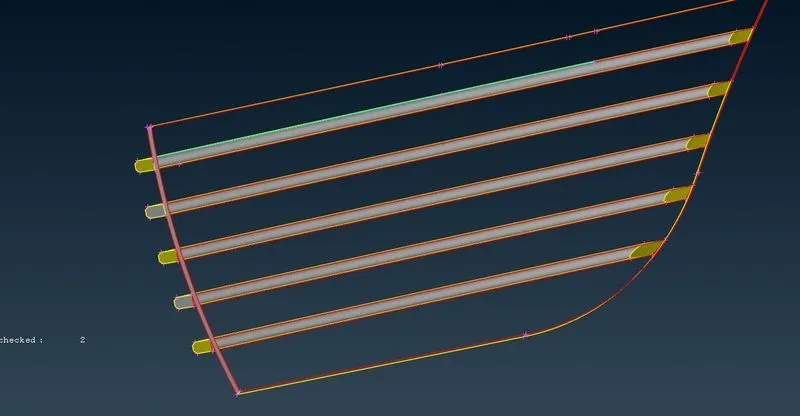
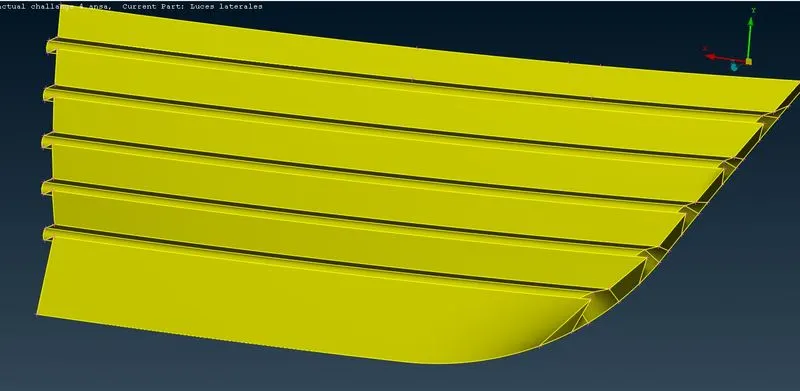
We will delete also all small surfaces so that when volumetric meshing we will not have more skewness. Then we will create surfaces to make it in one volume.
Front Light:
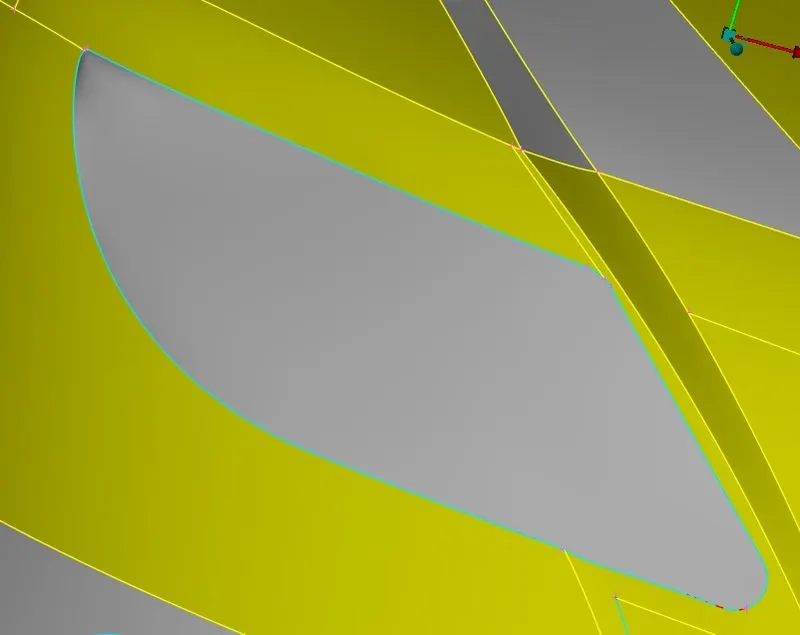
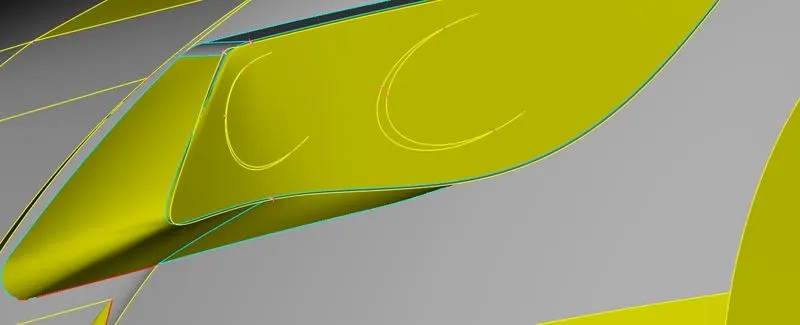
We will delete all the surfaces inside and create new surface.
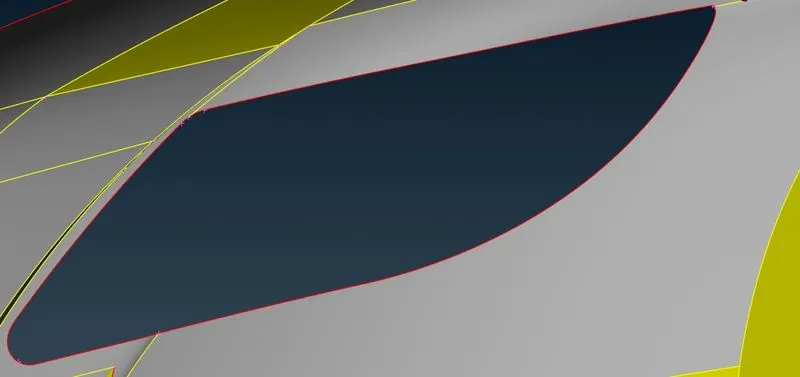
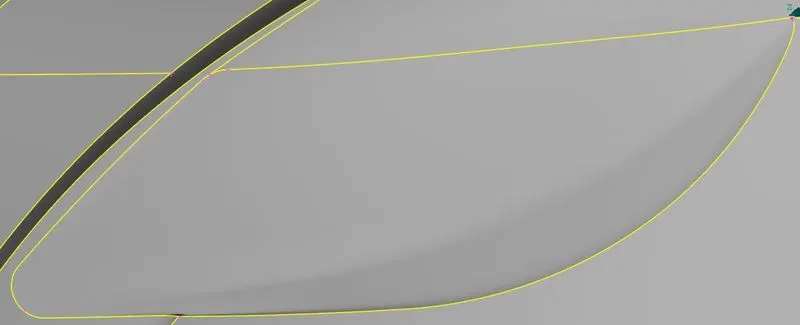
We will do same for the back light too.
Body portion:
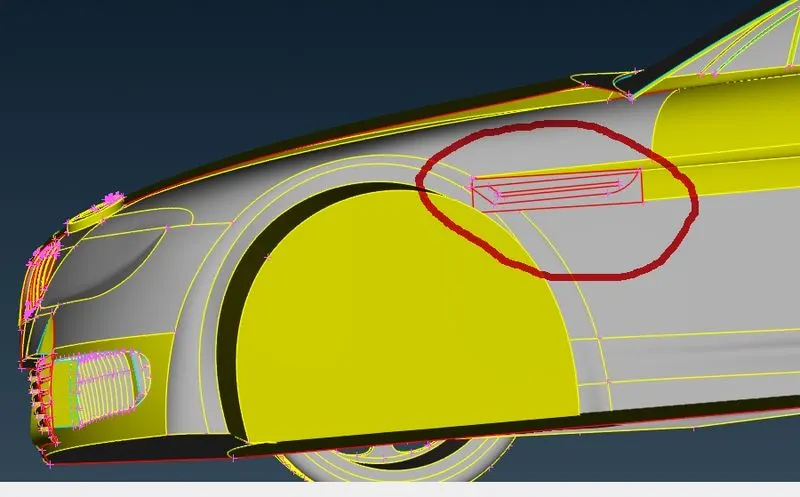
We will delete the inside surface of the portion.Then delete the two surfaces .
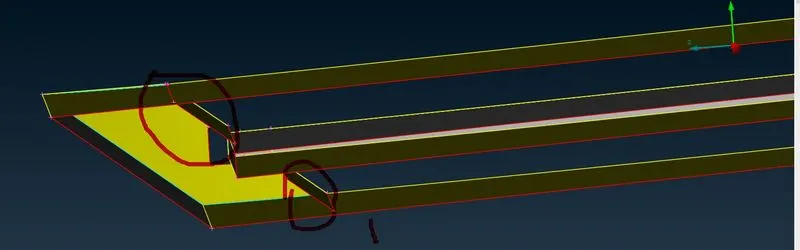
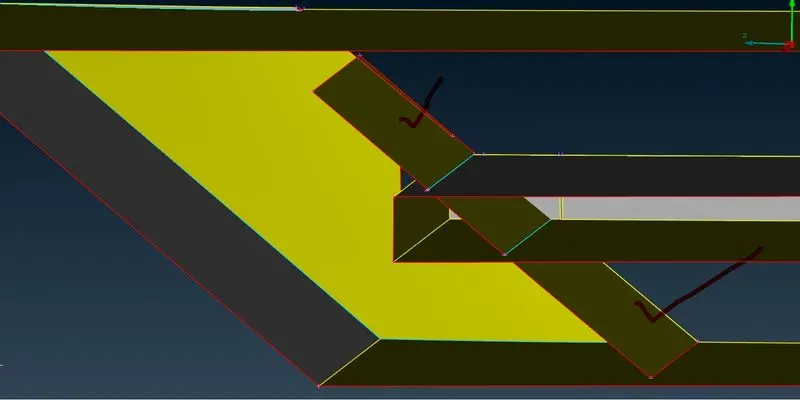
We have already extended the two inclined suface by face - extend - Target.
We have intersected the highlited surfaces above so as to delete the two surfaces and then keep the middle surface.
Now we will see the surface from outside and delete all the unwanted surfaces.
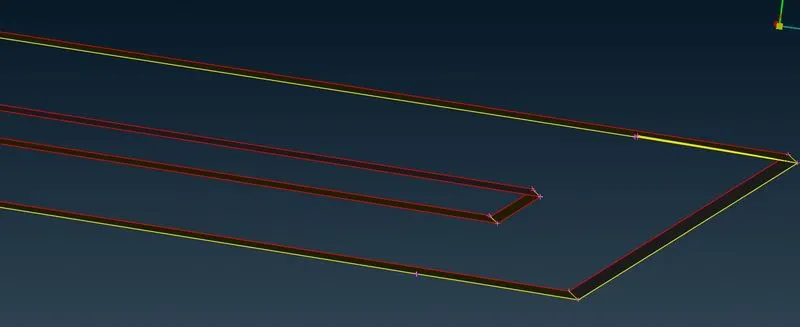
Now we will create faces from inside and then see the outside portion.
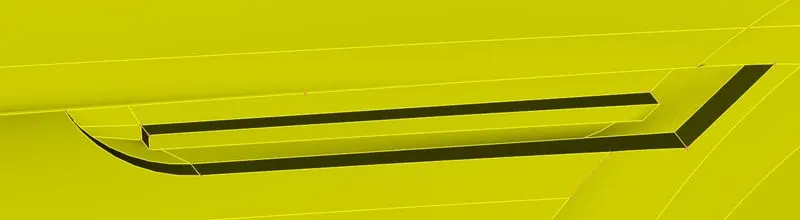
Floor:
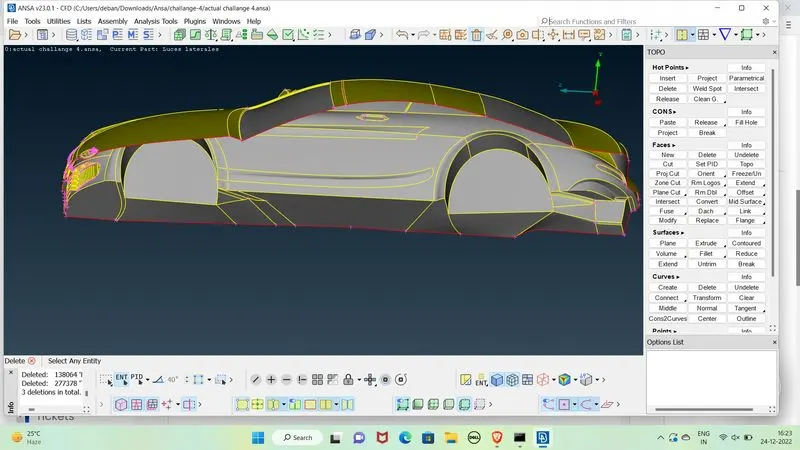
We will delete all the floor portion except near the curved surfaces and surface near the silencer because it will be hard to create surface near curved portions once deleted.
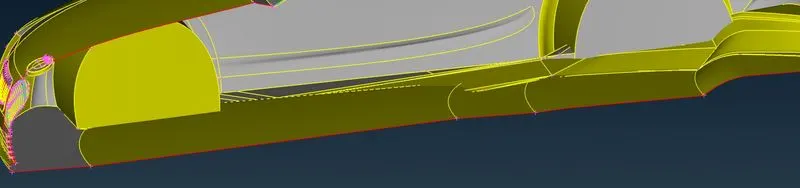

We have kept above two surfaces as these are near the curved surfaces.
Also we have deleted all other surfaces in the floor porition that intersect the wheel.
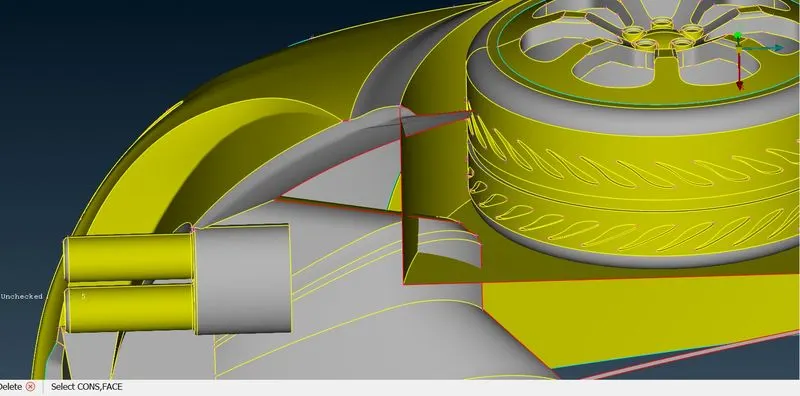
We will intersect the two surfaces nearer the wheel then delete them and create a triangular surface in the vacant triangular portion.
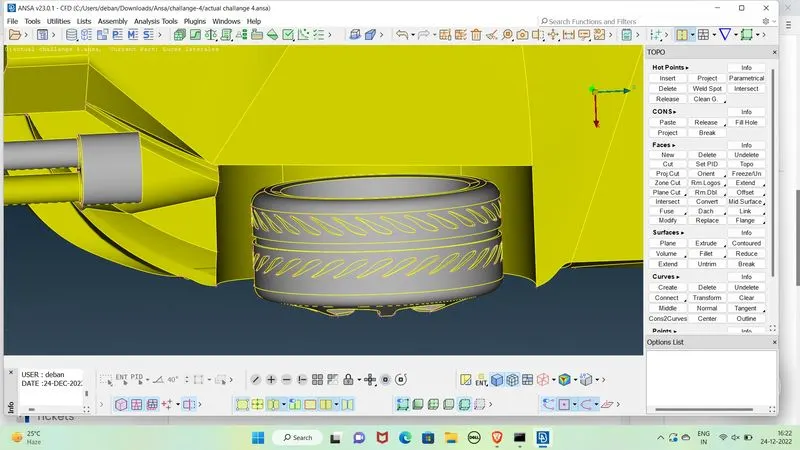
Wheels:
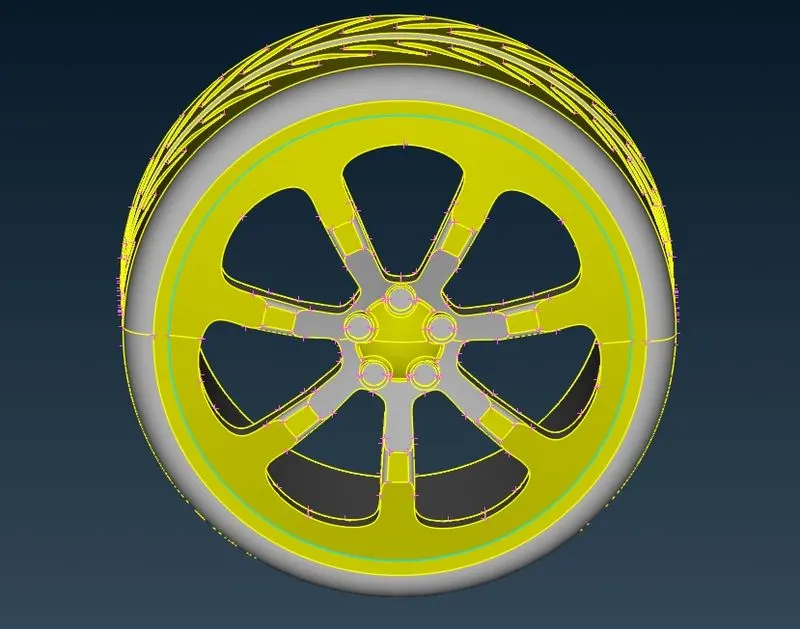
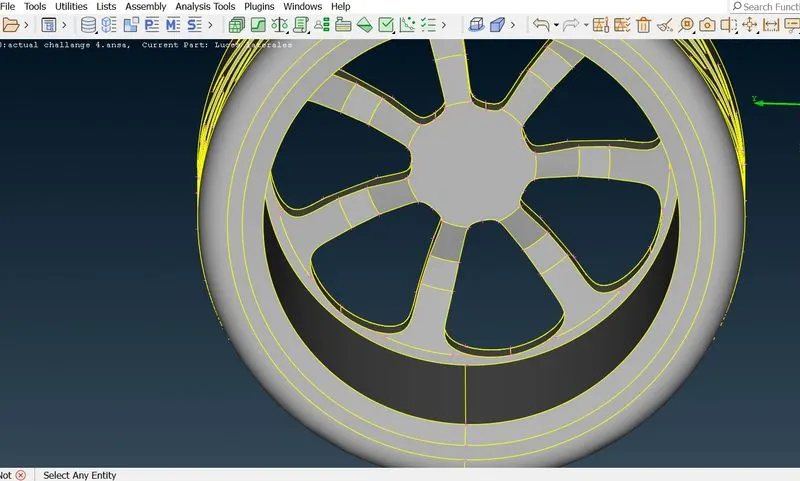
Deleting all other extra inside surfaces in the wheel.
Logo:
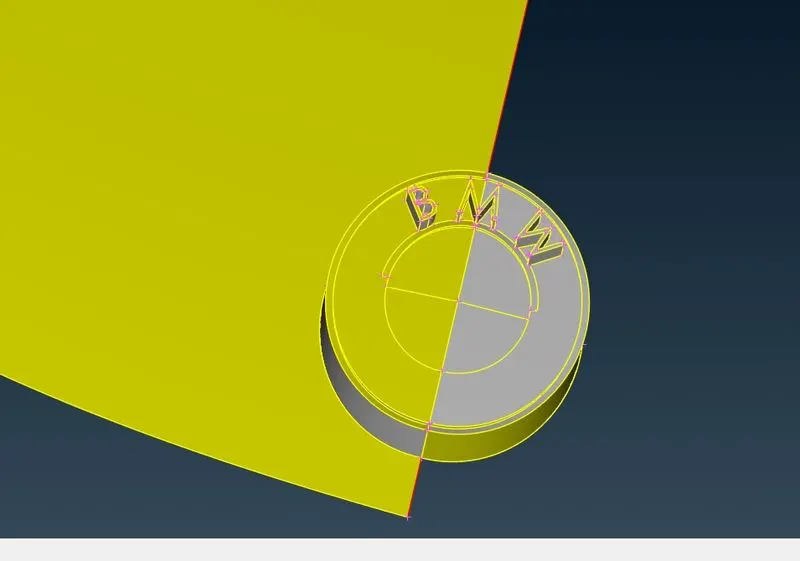
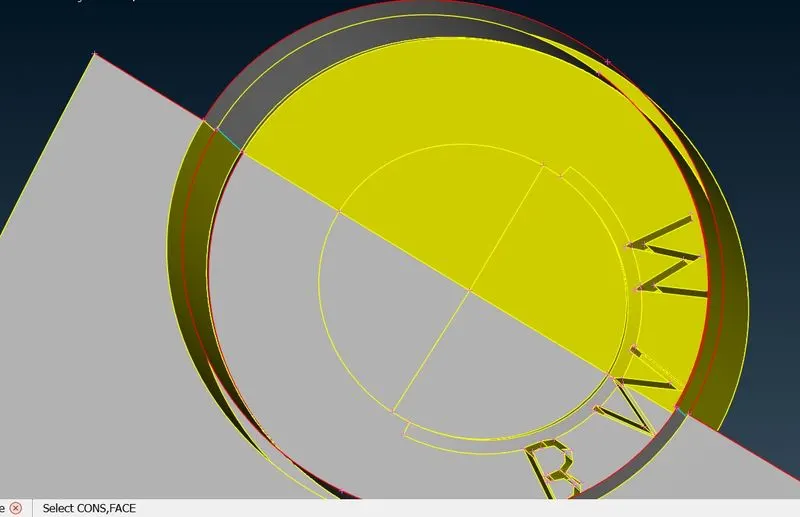
We have deleted some inside surfaces
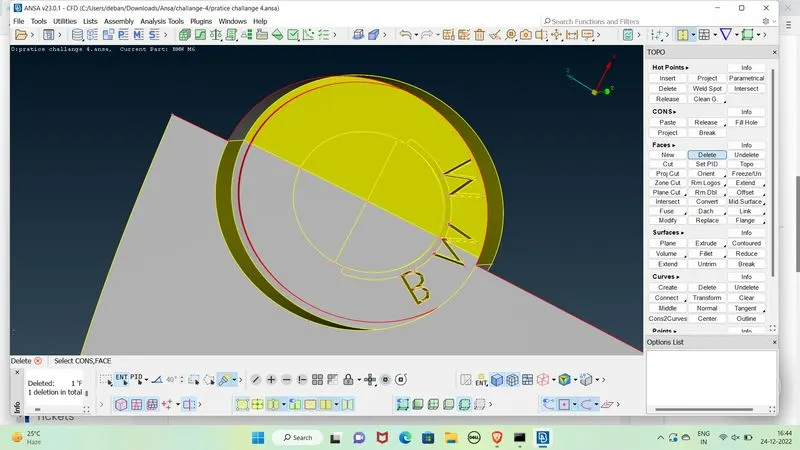
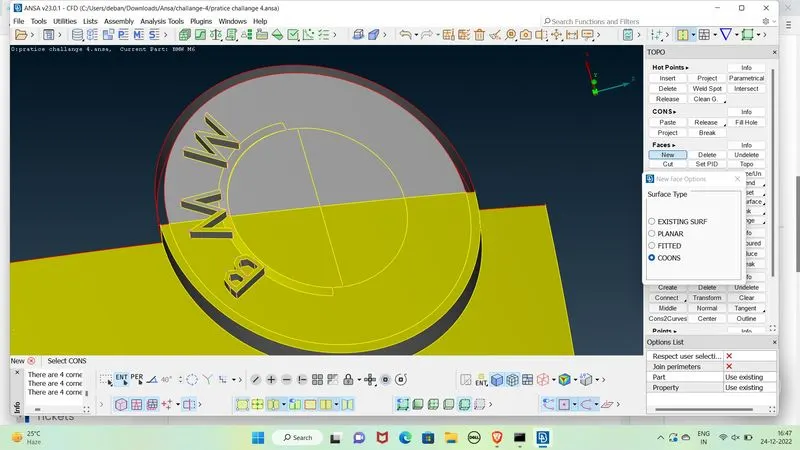
Like this after deleting the surfaces we will create the new surface and complete the logo.
Windows and Mirrors:
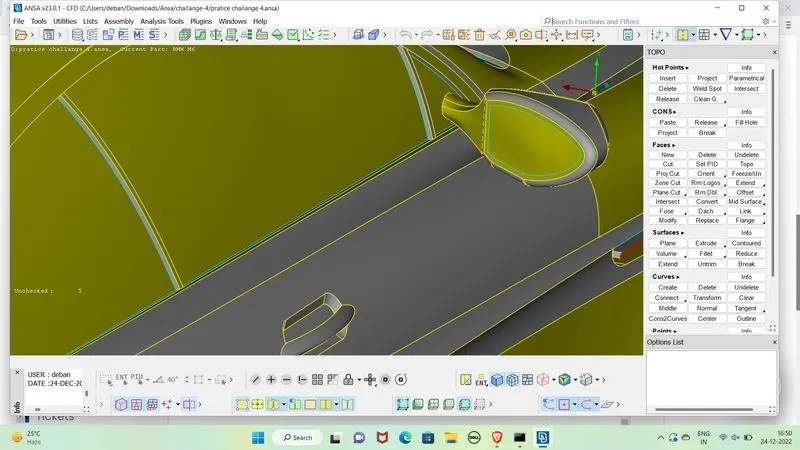
We will delete the portions of the windows from inside to erase the triple cons , then delete the extra surface on the mirror and make the mirror one volume with the car from inside.
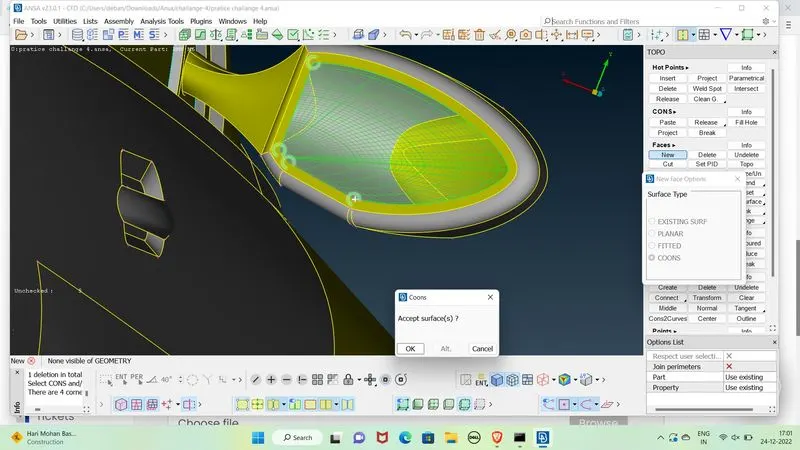
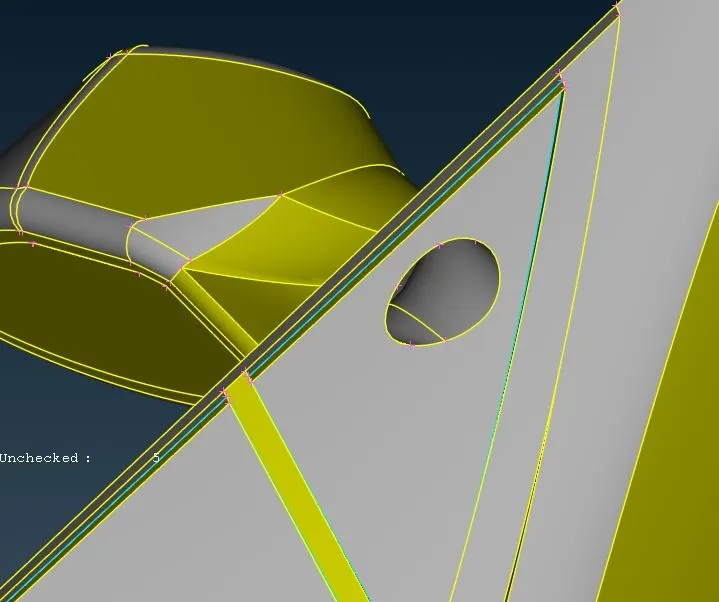
We have projected the inside con of the mirror on the inside surface of the car body and delete that surface so as to make it a single volume with the car body.
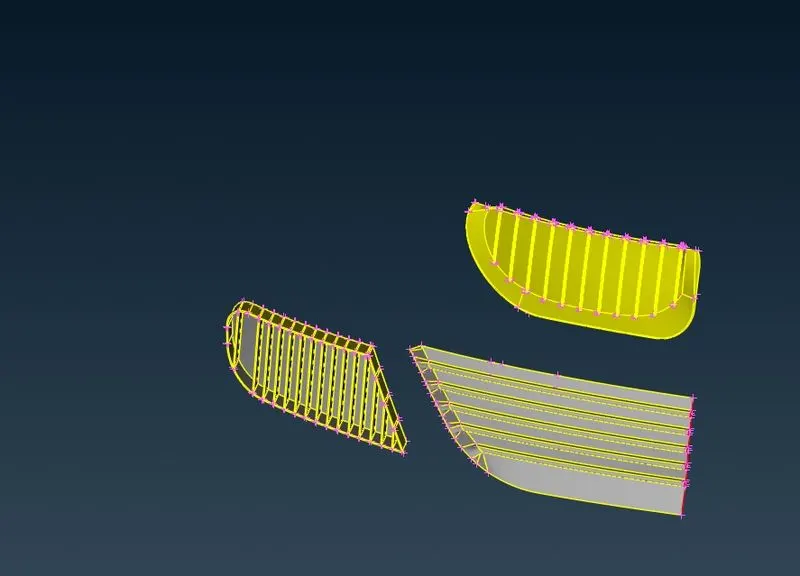
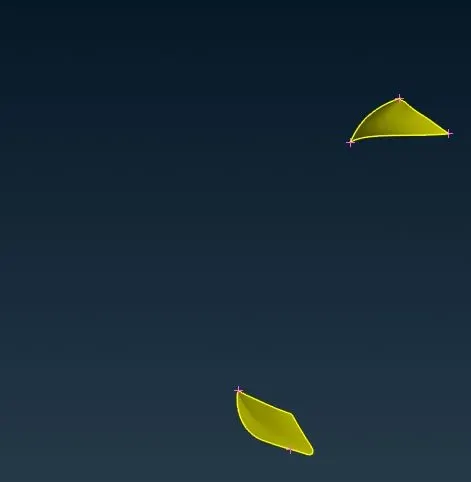
5. Now we are going to create surface mesh, before that assign pid for each portion.
Grills:
Lights:
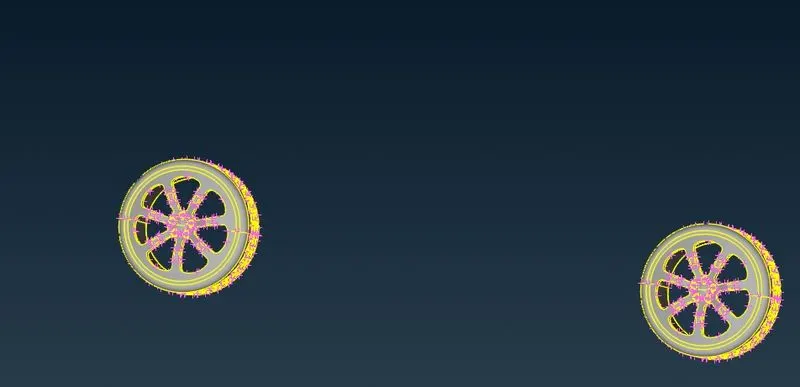
Rims and Tyres:
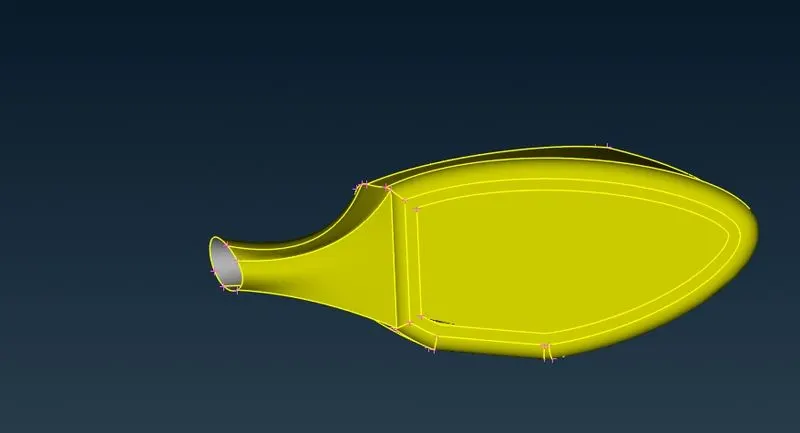
Mirror:
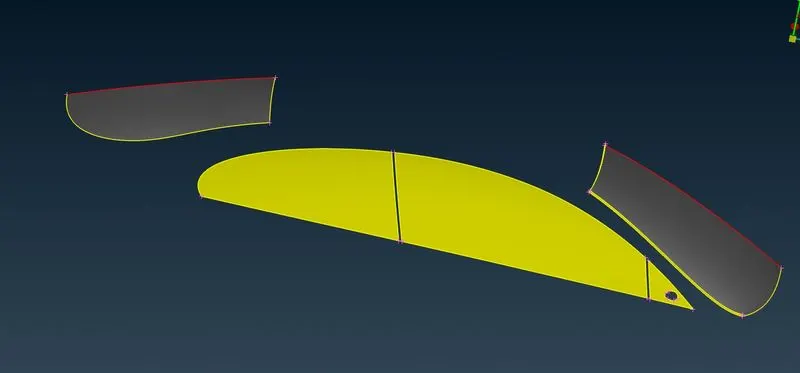
Windows:
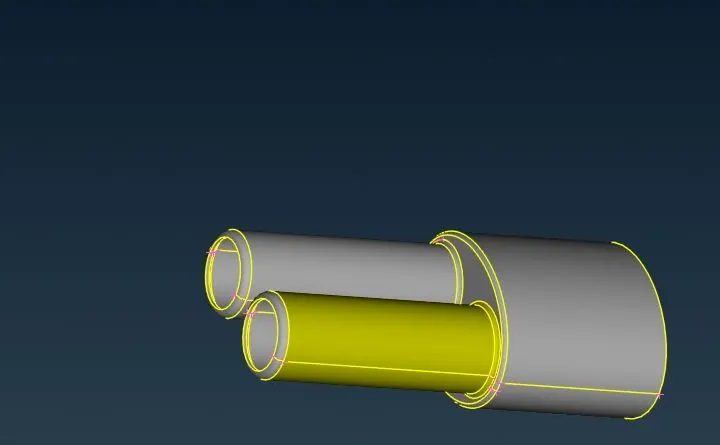
Silencer:
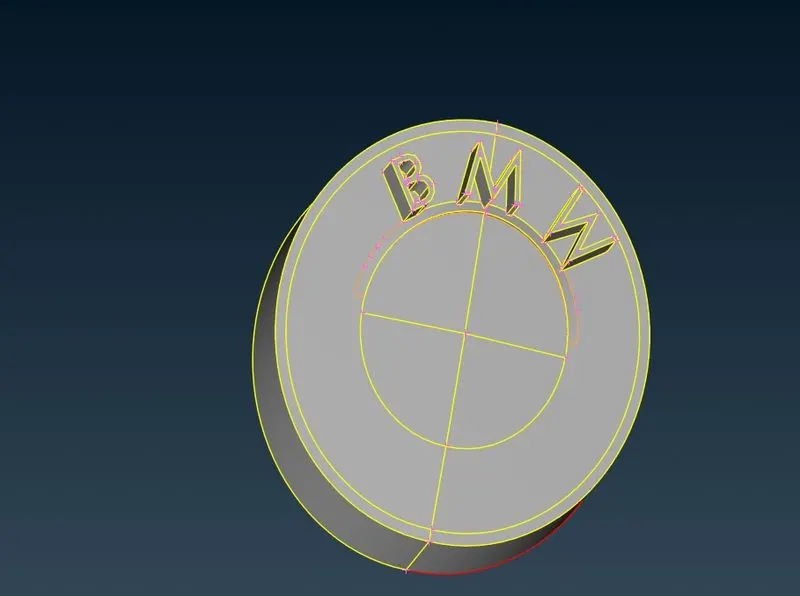
Logo:
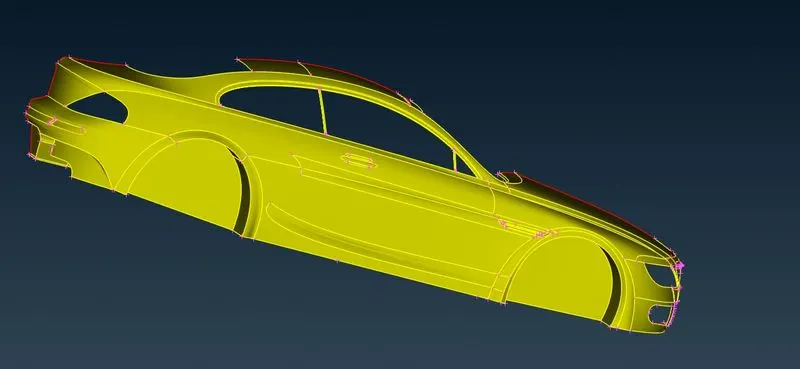
Body:
- Target lengths for the different parts of a model are as follow:
- Body - 3 mm
- Lights - 4 mm
- Grills - 1 mm
- Rims and Tyres - 2 mm
- Optical Rear view mirror - 2 mm
- Window - 2 mm
- Silencer - 3 mm
- Logo - 1 mm
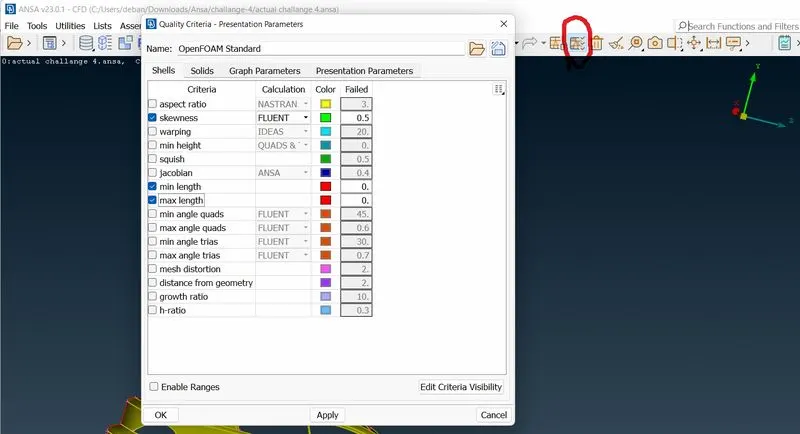
Here before surface meshing we will switch on the quality ctiterion of Squewness , max and min length.
Grill and logo mesh:
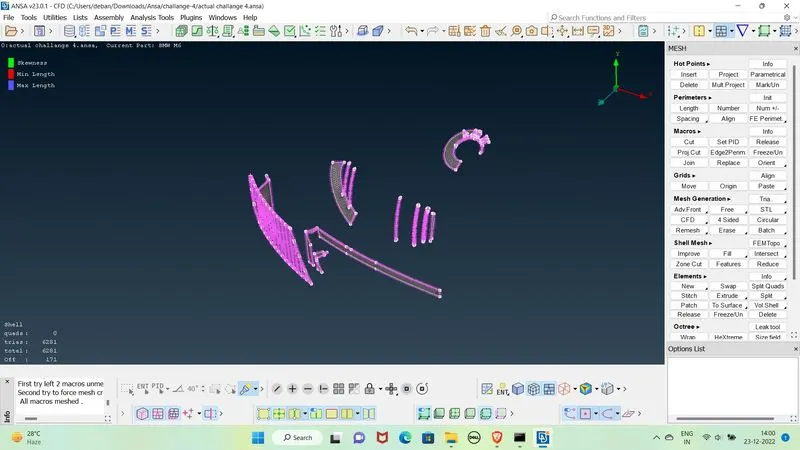
We have got some off elements in the meshing , so right click on it then we will reshape and then reconstruct then off elements gone.
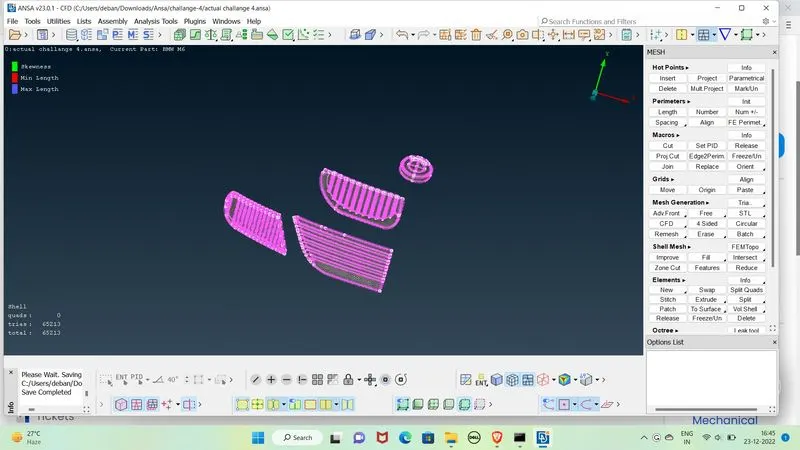
Body and silencer:
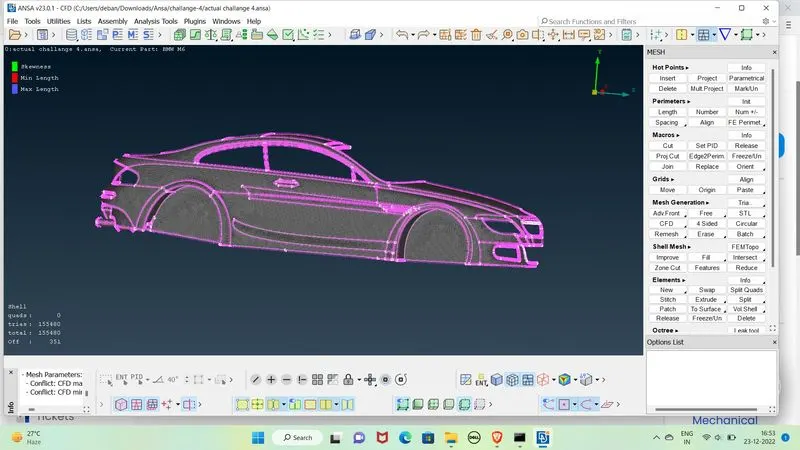
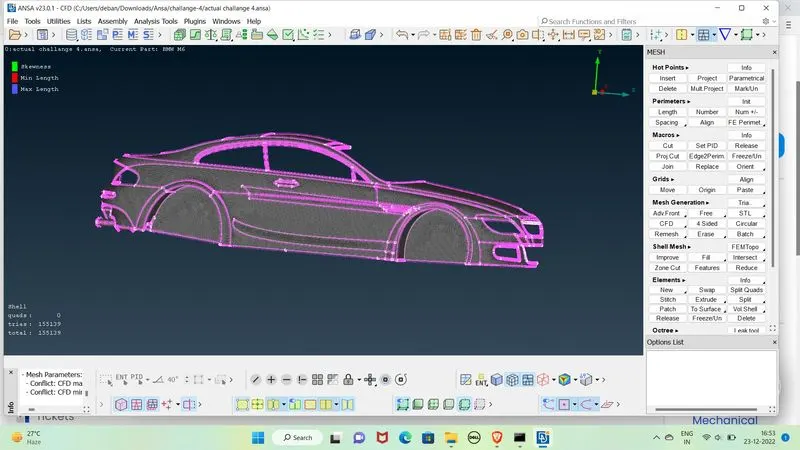
After reconstruct and reshape by right clicking on off elements.
Rims , Windows and Mirrors:
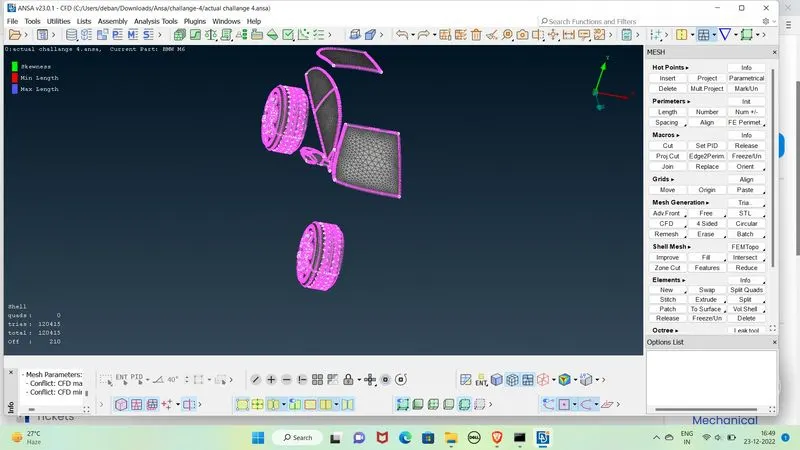
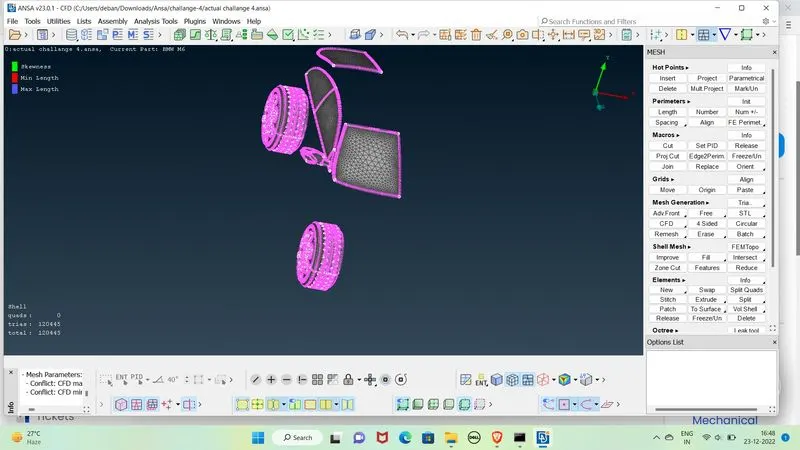
We will freeze each portion after meshing.
Half surface:
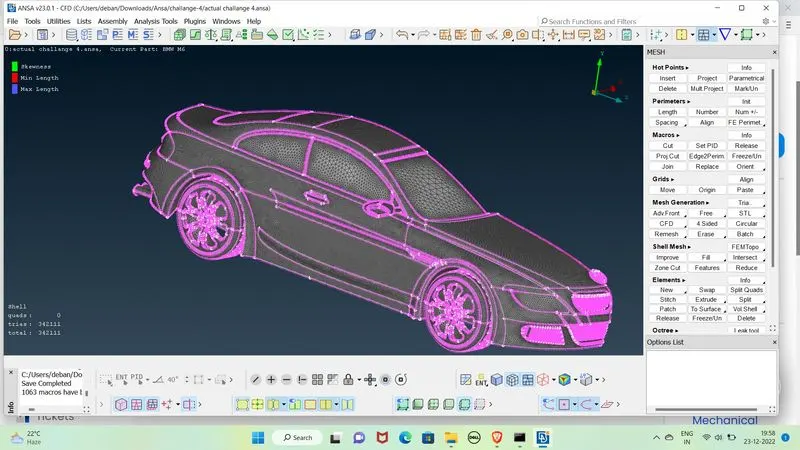
After Mirroring:
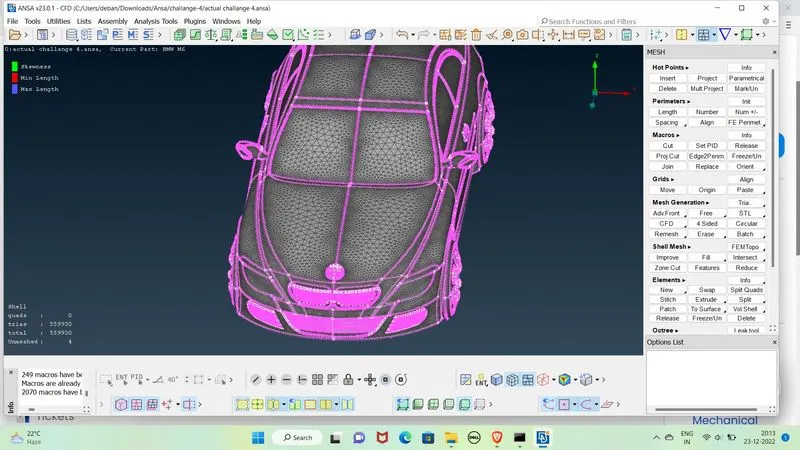
Now we will go for volumetric meshing
- Enable cons
- select relative points option from point tool and select a point in middle of car from bottom side
Create points like below pic then by curves option create surface and then create surface .
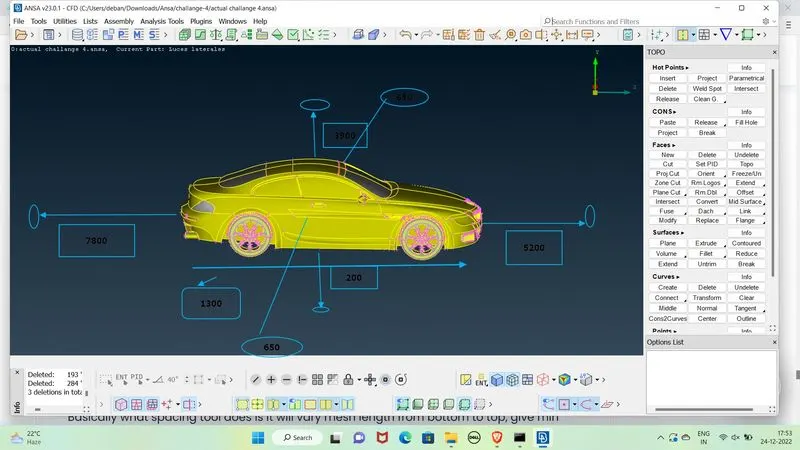
Name the surface as bottom surface then copy it to the top portion as top surface.
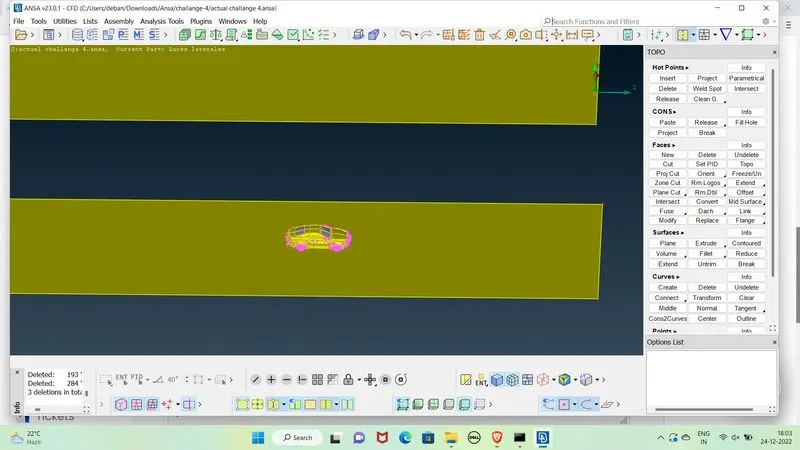
Then create the side surfaces.
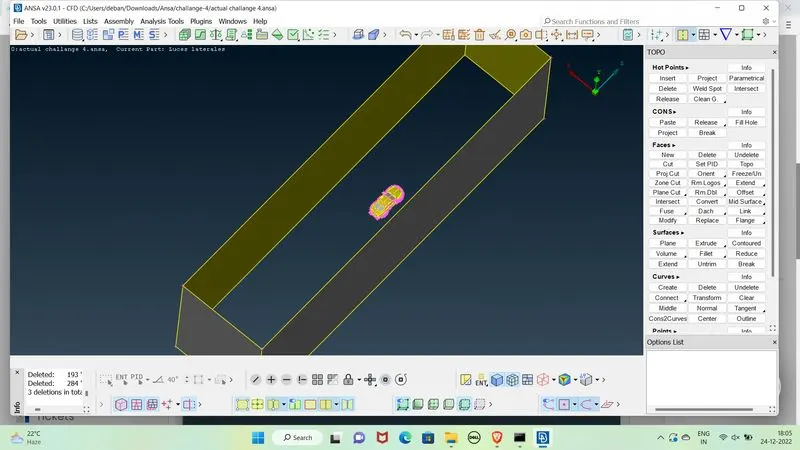
After finishing the box we create 20mm surface mesh on bottom , 100mm surface mesh on Top and gradual inceasing 20 to 100 mm mesh on sides.
Bottom surface:
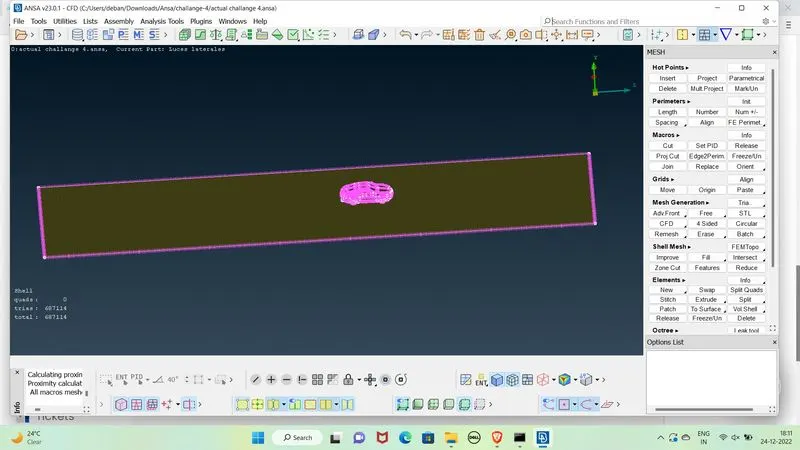
Top:
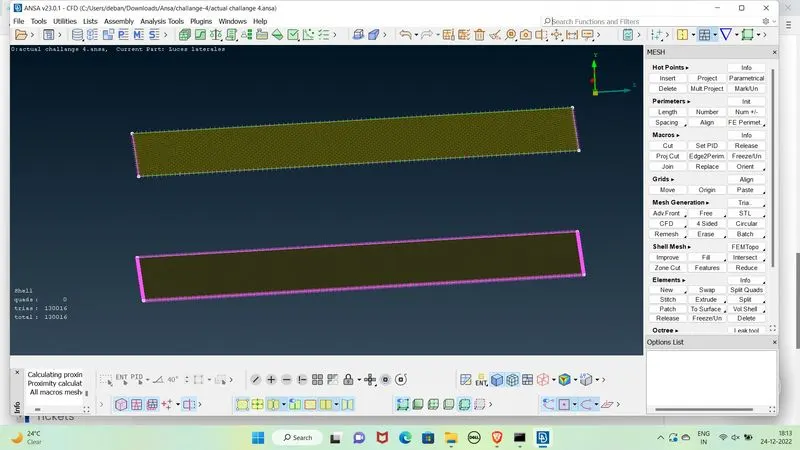
Side surfaces:
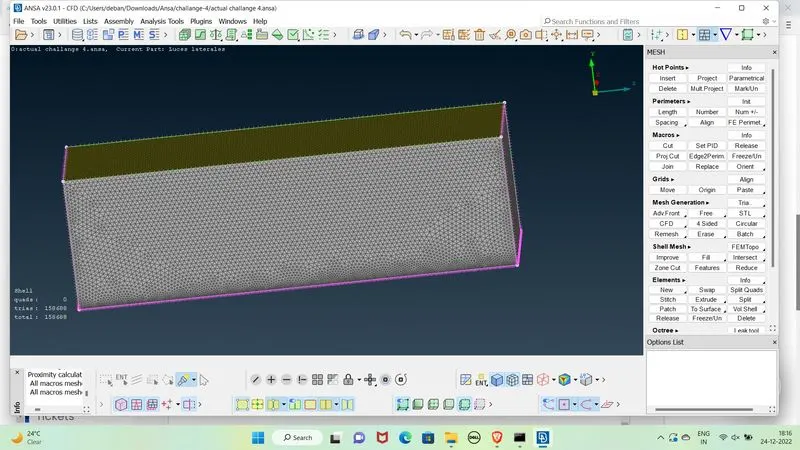
Now we will go for vmesh creation-
- Choose define option available in volumes tool and select wholedb(whole database) and click on ok.
- Volumes created for 3D meshing will appear in a dialogue box
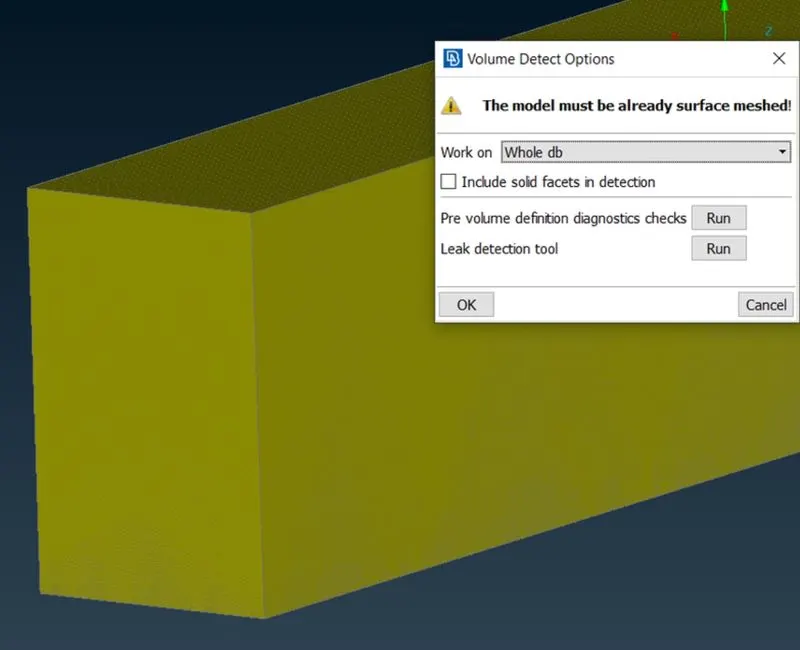
- From dialogue Box select first volumes this is the volume of tunnel and this is what we require.
- All oher volumes are car volumes which is not required so delete them.
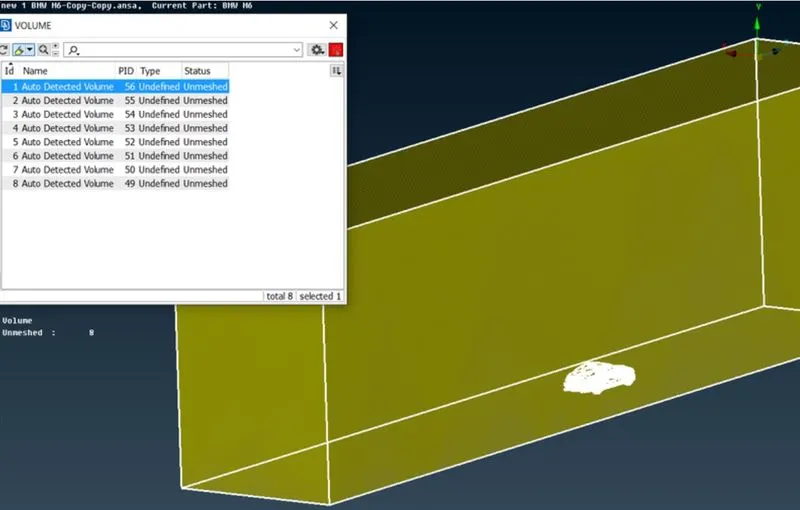
We can do volumetric meshing by right clicking on unmeshed and then tap on mesh.