Week 4- Challenge
Objective:
Create 1D elements on this model using DOF.
Procedure:
Step 1: Need to open the component in Hypermesh
Step 2: After that, make a confirmation that Geometry Color Mode is in Topology Format.
Step 3: Then we need to create a midsurface for the component. Mid-surface will be effective if the part shape is symmetrical.
Select Mid-surface option from Geometry. Then we need to make sure whether the selection is in solid mode.
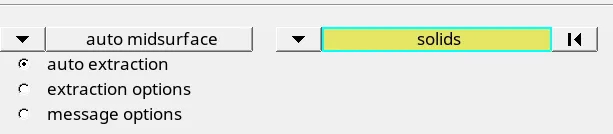
Step 4: After this, select the solid surface of the component and click Extract, in-order to create Mid-surface. Then delete the Solid model from the component tree. Now only the mid surface of the bracket alone available.
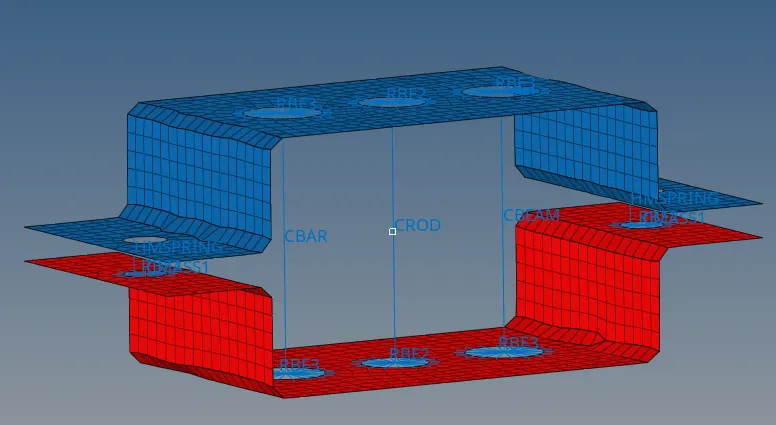
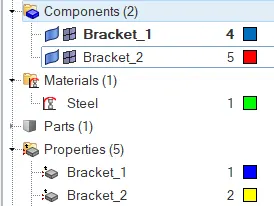
Step 5: Create a material name in the Specfication tree as Steel and also create a property for the two brackets with a required thickness. In that, select the material as steel to assign the material we created to the brackets.
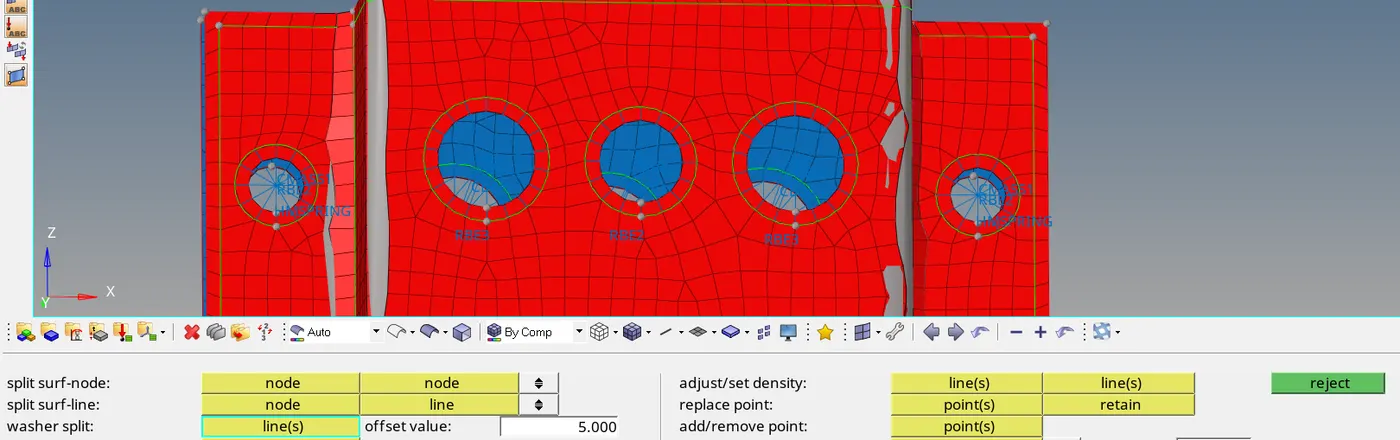
Step 6: Create a washer to the holes inorder to avoid the ruptures while meshing.Select Quick Edit, Click Wahser split and select the hole edges with an offset value of 5 as shown below
Step 7: Now we need to mesh the bracket by select the Automesh from 2D option by providing the element size of 8 and mesh type as Mixed.
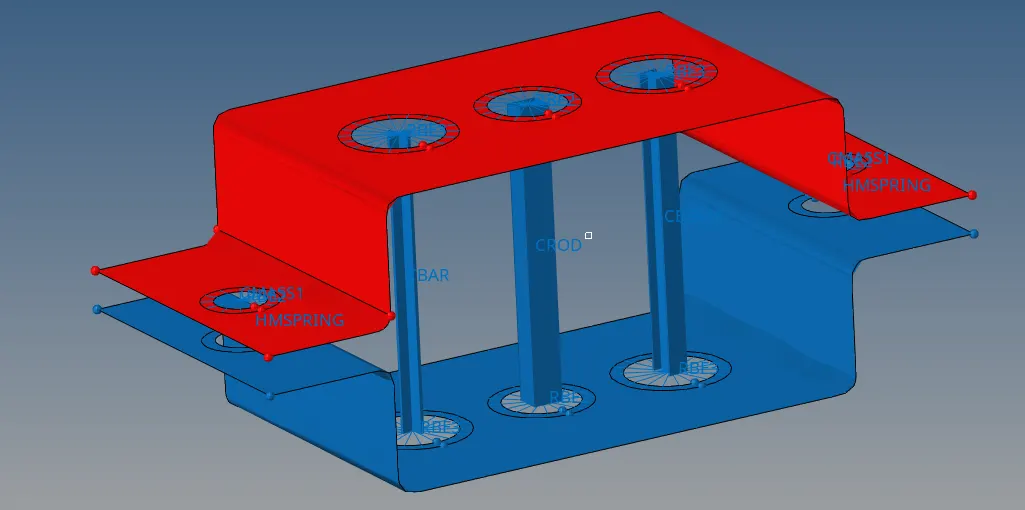
Step 8: Now we need to create 1D elements based on the input data, by creating RBE link and DOF.
RBE 3 and Rigid linkscreated by selecting the nodes on washer split area of the Hole as per the input objective.
Step 9: Select Hyperbeam from 1D, then click standard section. In that, select Hyperbeam and Solid Circle to create Rod Element. Now feed all the input data. Same way create rectangle for Beam element and Bar element.
Step 10: Select bar and then click the two nodes of the holes to create a bar element with a respective input data. Method Folows for Beam and Rod element. Finally create Spring with a mass of 10 by giving RBE2 link
Step 11: Need to change the card image to Rod, Bar & Beam element from the property of specification tree with a cross-section respectively. And update that in the respective option
Step 12: Finally all the 1D elements are created based on the above steps.
Conclusion:
The 1D elements are created on the bracket as per the input data