Week - 4 - 2D meshing for Plastic components
AIM:
For the given model check the geometrical errors,extract mid surface and mesh the component under given quality criteria using ANSA software.
PROCEDURE:
1.First import the cad model of the given bottle cap to ANSA software.
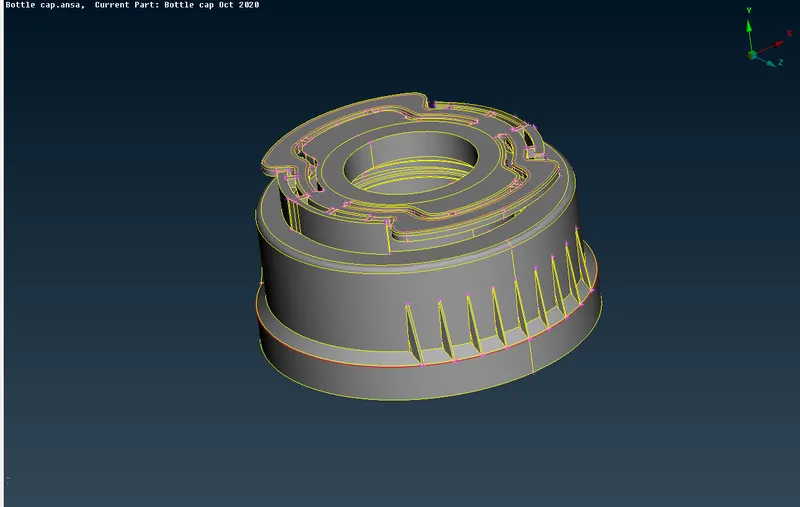
2.Delete the unnecessary parts in the model browser and properties dialog box.First check for any irregularities on the surface of the given component . Here, there are no observed errors in the given component so we can proceed for geometrical checkup.
3.To perform geometry check go to Topo>>Checks>>Geometry. Checks manager opens and the test is executed.Few errors are present in the geometry.
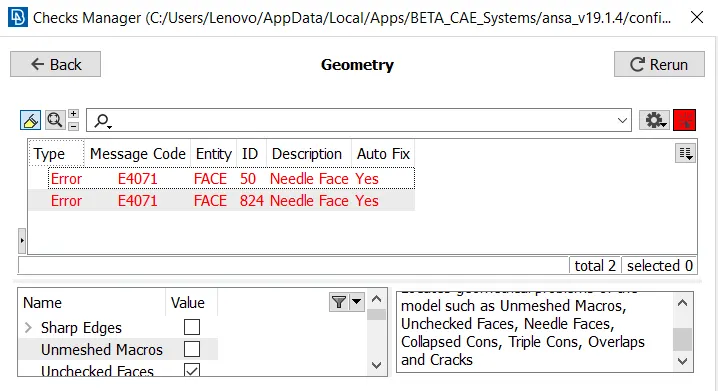
4.These errors are corrected by ANSA itself .Right click on the errors and click fix option.Now all the geometrical errors are fixed and we can proceed for mid surface extraction.
5.Before midsurface extracion , the perimeter and macro lengths are set for extracting midsurfaces with less errors.
6.Here auto mid extraction is not advised as it has many complex and intricate surfaces.So manual mid extraction is done for surfaces using offset option. Mostly offset option and Faces>>Middle are used for normal surfaces and for complex surfaces with varying thickness curve>>middle option is used and new surface is extracted which acts as the midsurface for the component.
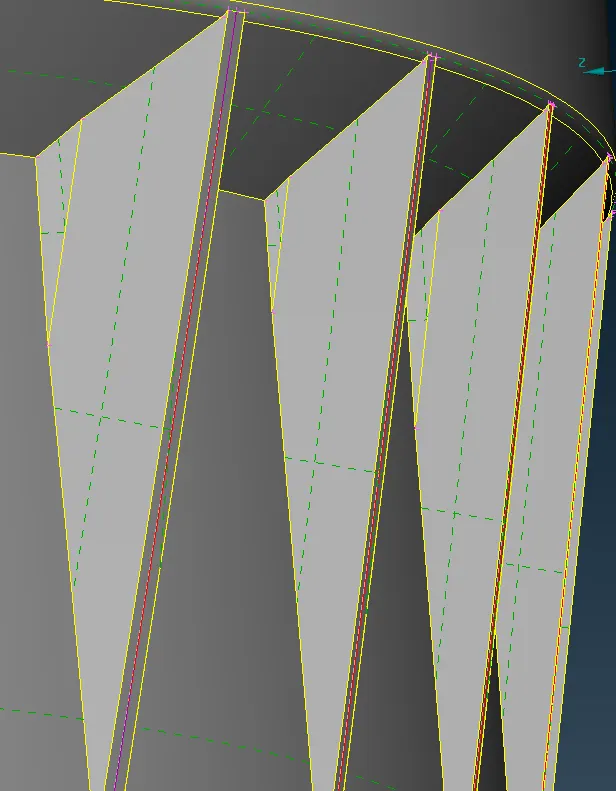
7.Lets take this surface.This is a complex one with varying thickness so first we have to create curves for making a surface.
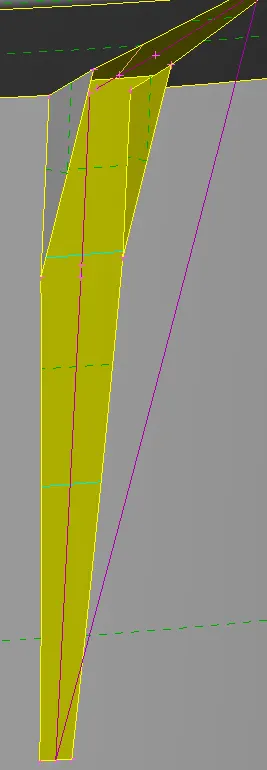
8.These are the curves extracted for the surface now click Topo>>Faces>>New>>Coons. Now select these and curves and click ok.Now the mid surface for the rib is extracted and the surface is extended to base mid surface of which the parent surface is attached.
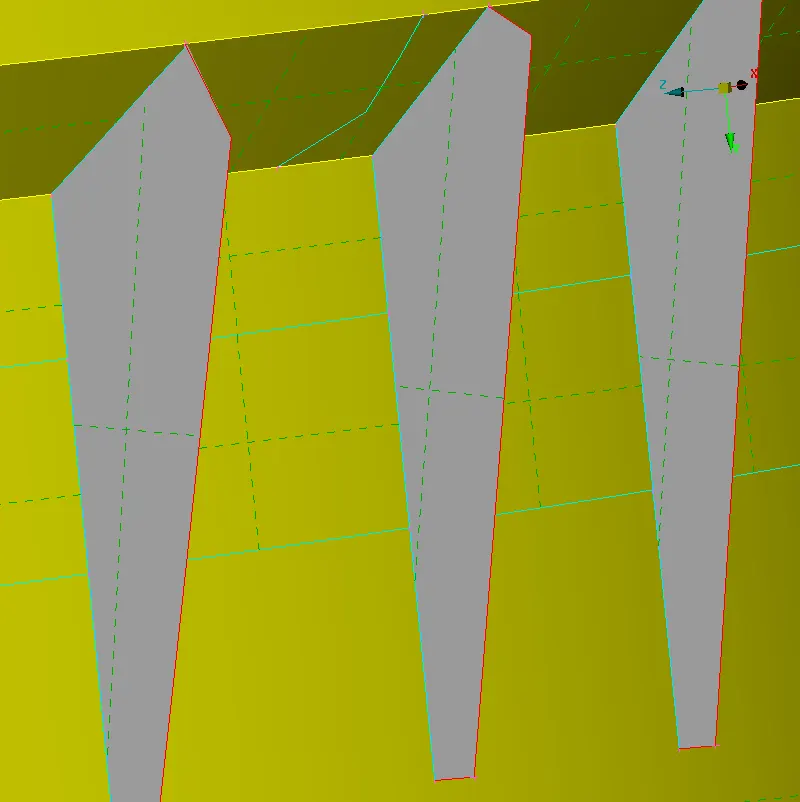
9. Similarly mid surfaces are extracted for the teeth , inside ribs and other complex surfaces.Now stitch the surfaces properly as per geometry and perform topo wherever necessary.
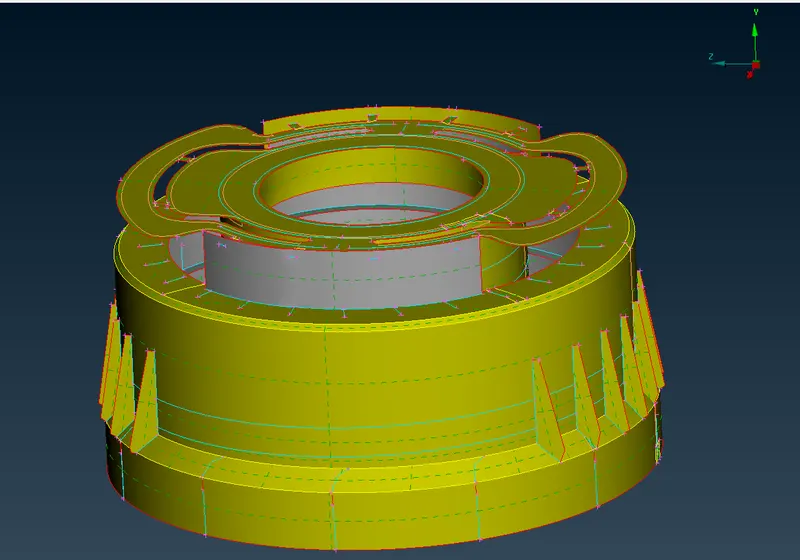
FINAL MID SURFACE
10.Now we can proceed for meshing.Before meshing we have to set the quality and mesh parameters.
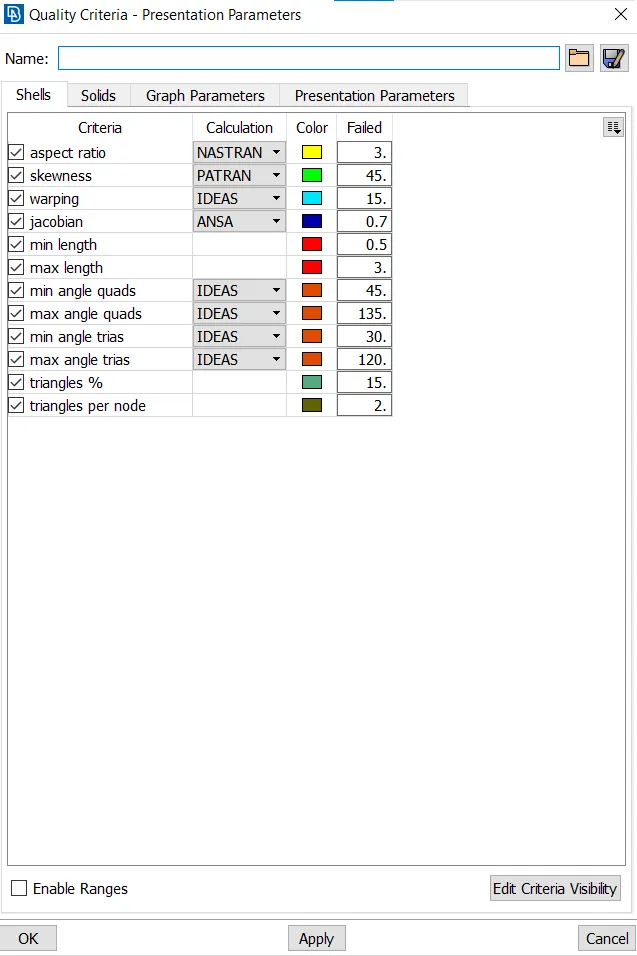
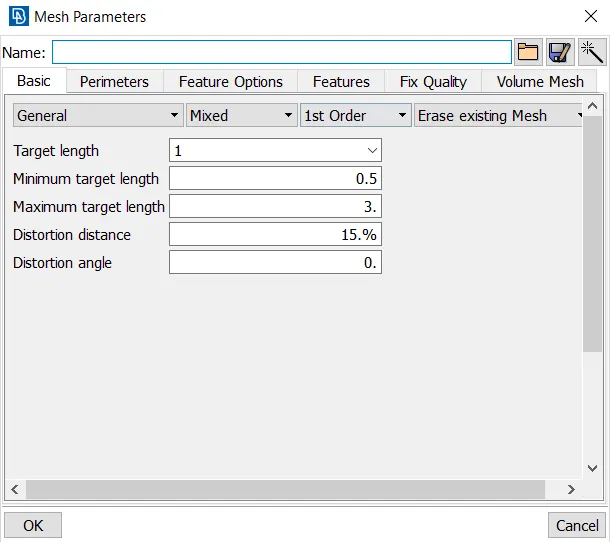
11.Now after checking geometry again we can start meshing from smaller components. Switch to topo module and set the perimeter and macro lengths as the target element size and switch to hidden mode to see elemental failures.
12.Start meshing using best mesh command under Mesh module>>Mesh generation>>Best mesh and select the area ,now macros will be formed . We have to correct the mesh flow using reconstruct,smooth and reshape options for better quality flow.
13.Near the fillet region the elements will fail for minimum length which cannot be corrected .So we have to proceed further accepting them.
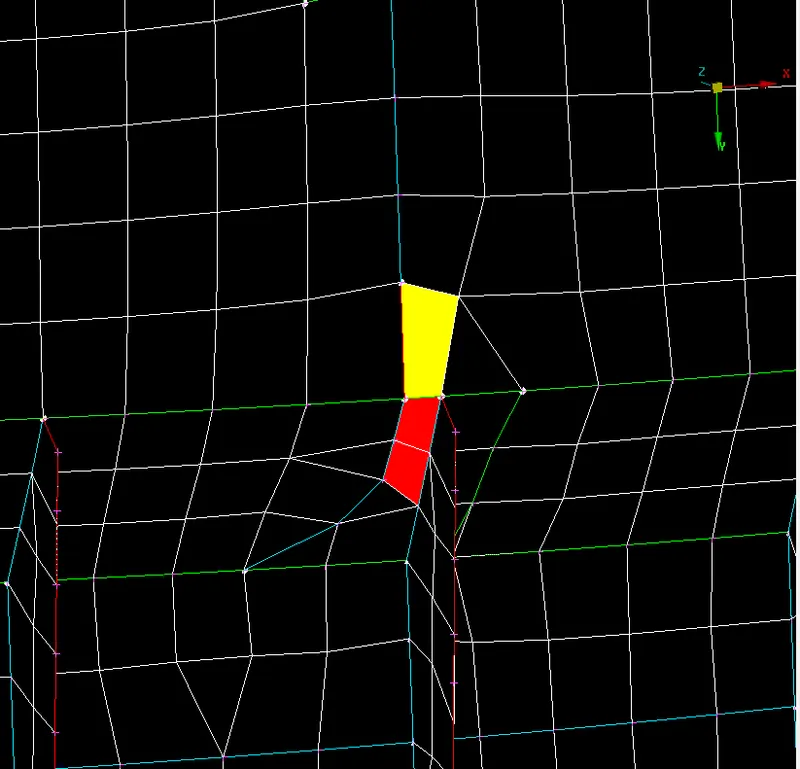
14. Similarly near the teeth also some element failures will occur which we have to accept.So complete the meshing for all the parts and assign thickness to all different PID's .
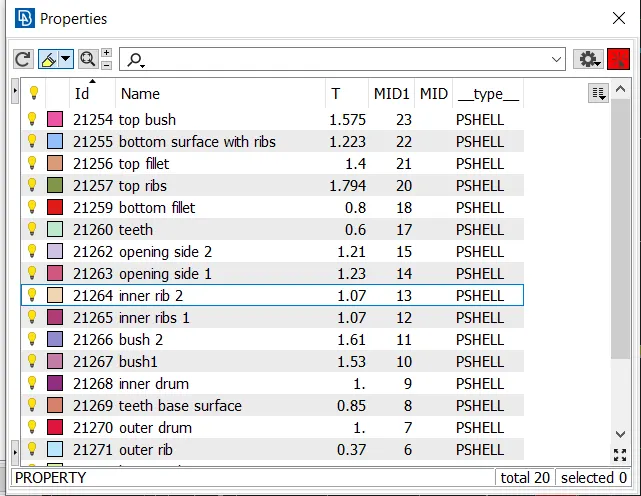
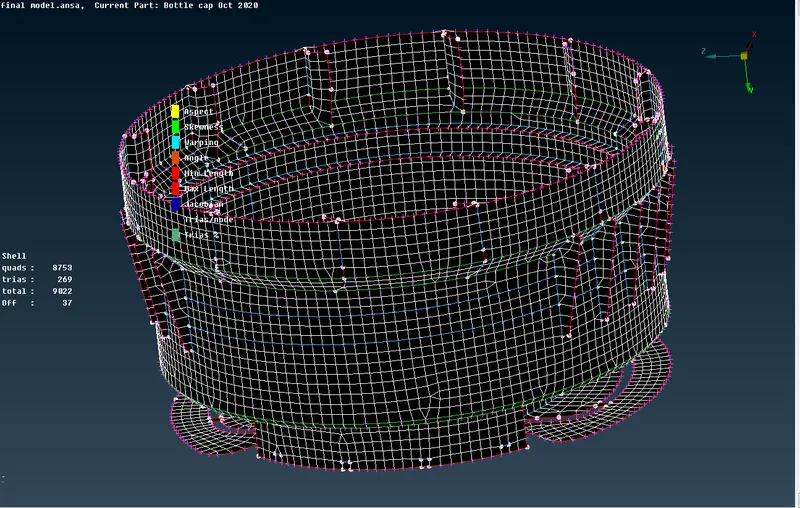
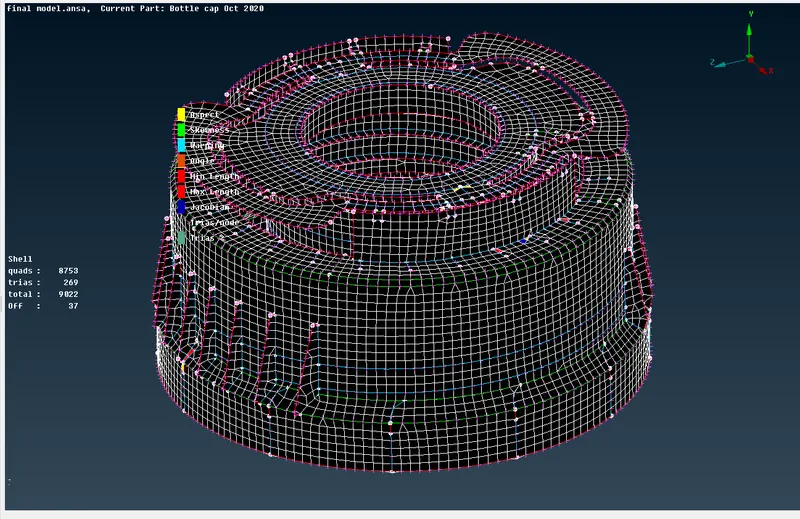
FINAL MESHED COMPONENT
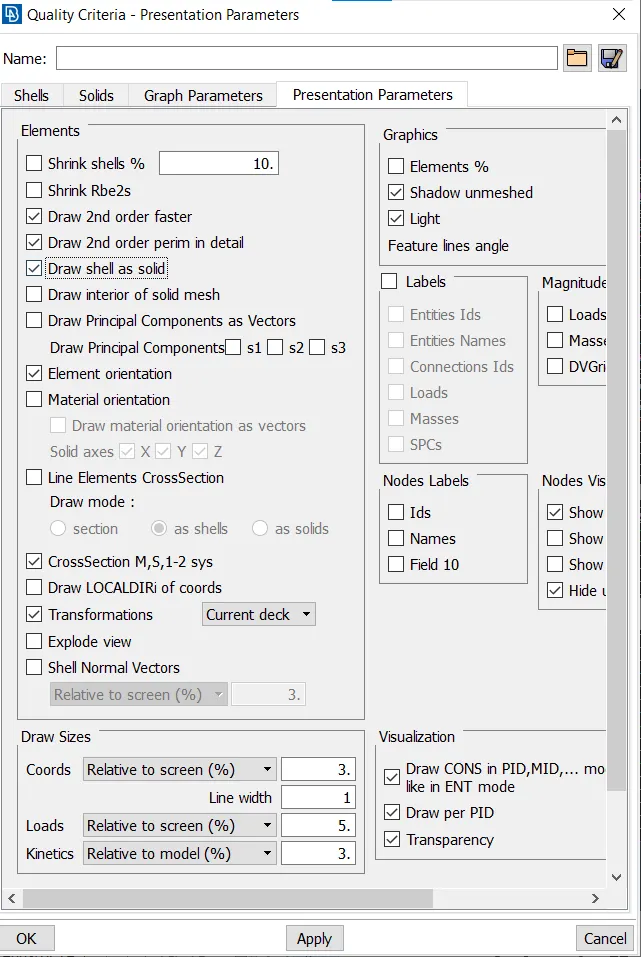
15.Now we have to enable Draw shell as solid checkbox in presentation parameters to visualise the shell thickness.
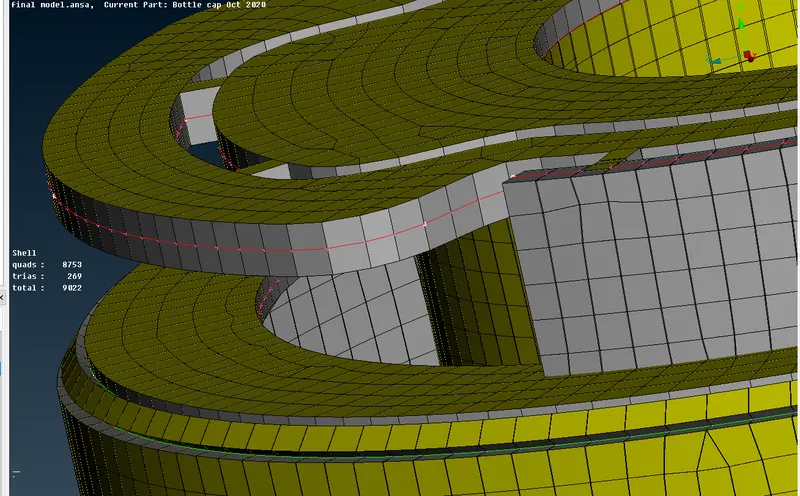
16.Here we can see that the thickness is applied .
RESULT:
Hence the geometry of the given bottle cap component is cleaned ,midsurface is extracted and meshing is done accrding to given quality criteria with less elemental failures.
LEARNING OUTCOMES:
1. Got to know about working with plastic components.
2.Extracting midsurfaces for complex surfaces.
3.Improving mesh quality.