Week 4-1D Element Creation Challenge
Objective:
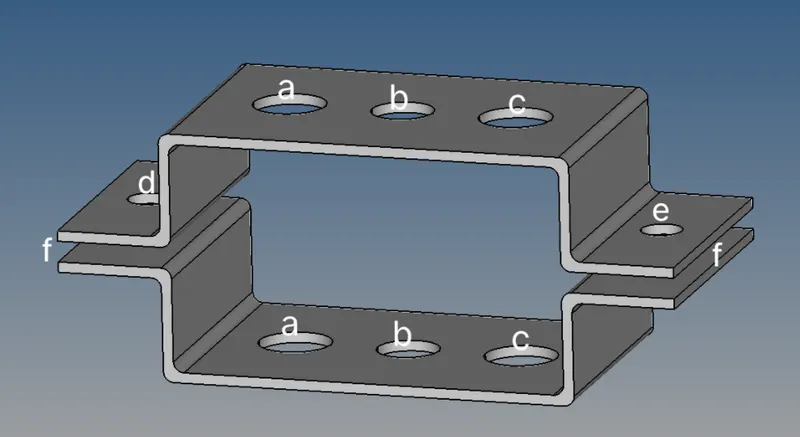
Mesh the given component with the size of 5 units. Create 1D elements on the following component with given cross-section and DOF.
a. Rod element: Translational DOF should be constrained with RBE2 link.
Cross- section: BOX dimention a = 12mm
dimention b= 10mm
Thickness t= 0.75mm
b. Beam element: All DOF should be constrained with RBE3 link
Cross-section:I section- dimention a=8mm
Dimention b= 10mm
Dimention c=8.5 mm
Thickness t1= 0.75mm
Thickness t2= 0.6mm
Thickness t3= 0.6mm
c. Bar element: Constrain only x and y DOFs with RBE3 link
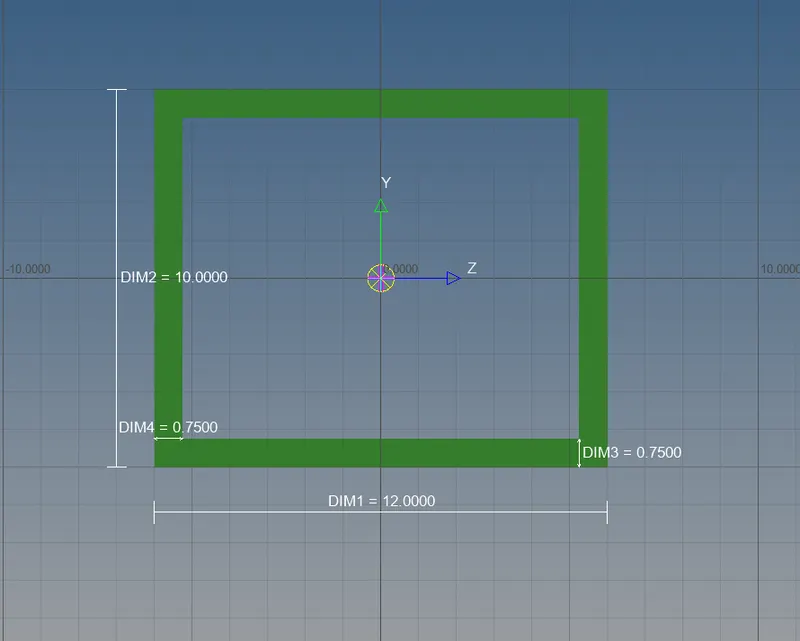
Cross-section: X section- Dimention DIM1= 5mm
Thickness DIM2= 1.2mm
Dimention DIM3= 10mm
Thickness DIM4= 1.5mm
d.& e. Apply the mass of magnitude 10 with the RBE2 link
f. Join the two components with spring elements.
PROCEDURE:
Step 1: Formation of mid surface:- Use the auto mid surface option which can be seen in 2D panel. Extract the midsurface for the given model of the bracket. Then the properties is asssigned to the particular mid surfaces.
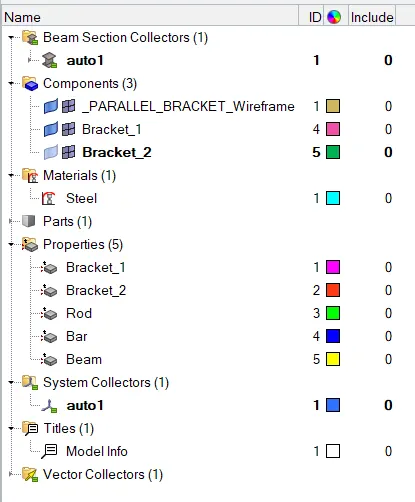
Step 2: Assigning properties and material- Create a material. Here we are created a material and assigned the MAT1 which is the card image for steel and a suitable color for it. After assigning material, the property is created and value of thickness and element type is added. And also the created material is assigned to the property and then that property is assigned to the component itself.
Step 3: Adding washer split- The washer split is added to the component holes. The option for the washer split can be found in Geometry pannel>Quick edit > Washer split. Click on the line and select the line for which you have to perform the washer split and enter the offset value, and then click on the middle mouse button (or tab).
Step 4: Performing the 2D meshing in the midsurface- After making washer split on the midsurface we have to perform the meshing. This can be done by clicking 2D element > Automesh. Choose the types of element and add the target element length for meshing and click on mesh. Here for washer split and corner fillet region we used the quad elements and for the remaining region we used mixed. The meshed bracket is given below.

Step 6- Creating 1D element- Here we used five 1D elements in this projects, these are
- PBAR
- PROD
- PBEAM
- RBE2
- RBE3
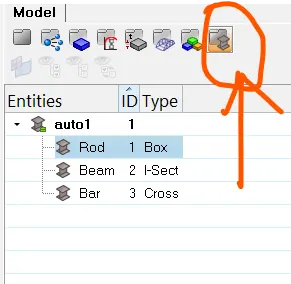
As per the given details we made the above following 1D element and used the HYPERBEAM to create its cross-section.
Hyperbeam
From the given data rod element, beam element, bar element is created as below.
The given cross section details for rod element(box), beam element(I-section) and bar element (Xsection) which is given are inputed into the hyperbeam parameters.
a.Rod element (Thin walled Box)
- To create this section go to 1D panel > Hyperbeam > create > standard section> Hypermesh> Thin walled box. The hyperbeam view will open.
- Enter the dimention in the bottom left corner for the thin walled box as given in the challenge itself.
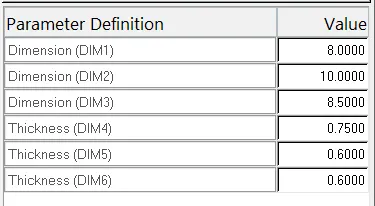
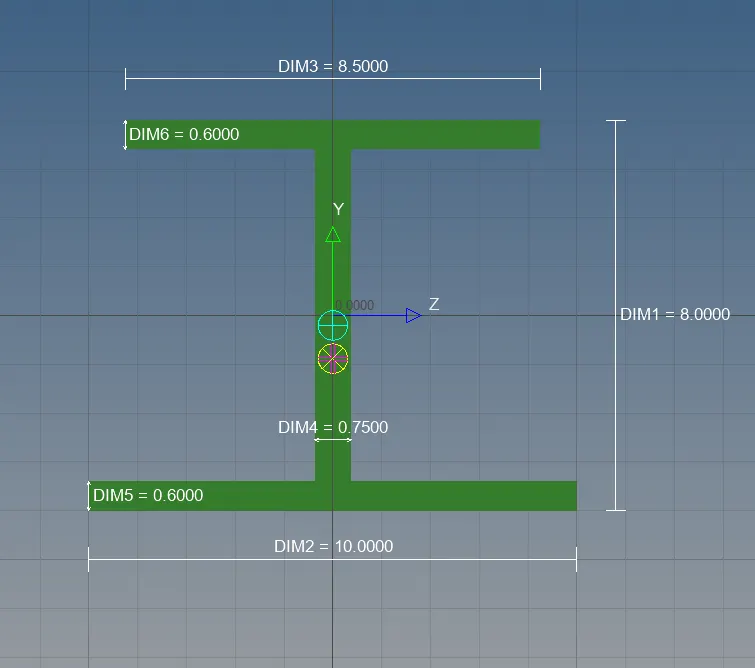
b. Beam element(I section)
- To create this cross section go to 1D panel > Hyperbeam > create > standard selection> hypermesh > standard I section. This can also be done by going to hyperbeam view and take the mouse pointer on the left side of the hyperbeam window (tab area) and click on right mouse button, click on Create> standard selection> hypermesh> standard I section.
- Enter the dimention given in the question to the parameters for I section. The shape wil be created based on the entered dimentions.
c. Bar element (Xsection)
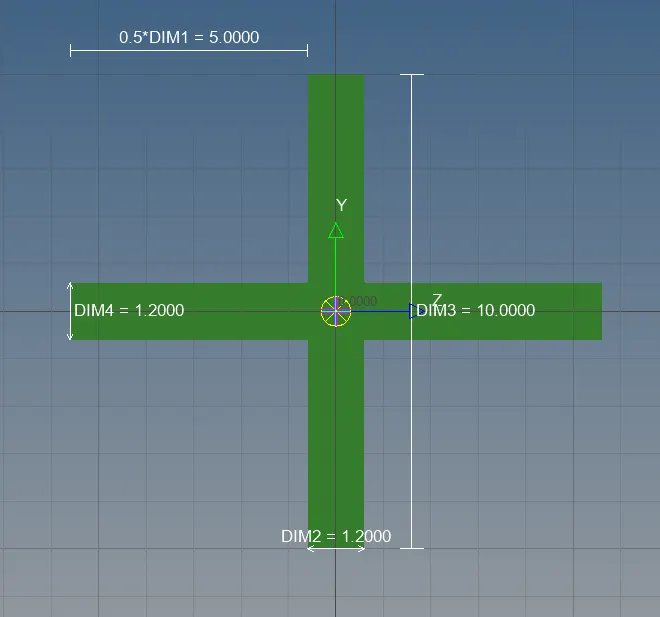
- To create Xsection go to 1D > Hyperbeam > create> standard section> optistruct > cross. This can be done by goning to hyperbeam view and take the mouse pointer on the left side of the hyperbeam window (tab area) and click on right mouse button, click on create> standard selection> optistruct> cross.
- Enter the dimention given in the question to the parameters for Xsection. The shape will be created based on the entered dimentions.
Hence, the cross section for bar, rod, beam has been created as per the given data. Now these cross section has to be assigned to particualr property.
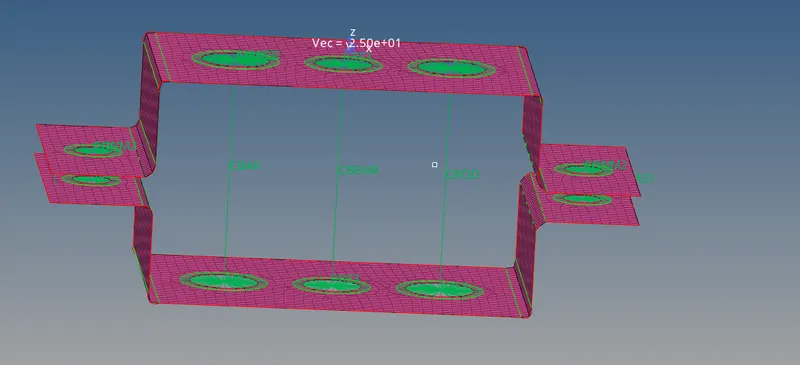
Step 7. Assigning the property to each cross section.
a. For ROD element
- Create the RBE2 cluster element by clicking on the 1D> RBE2 on the select the element by path for hole (a) by constraining the translational as per input data.
- Create CROD element by connnecting the two hole nodes(a).
- Assign this element to the Thin walled cross section as given in the question.
b. For BEAM element
- Create the RBE3 cluster element by clicking on the 1D>RBE3 and the select the element by path for hole(b) by constraining all Dofs as per input data.
- Create CBEAM element by connecting the hole (b).
- Assign this element to the I cross section as per the question.
c. For BAR element
- Create the RBE3 cluster by clicking on the 1D> RBE3 and the select the element by path for hole (c) by constraining only X & Y as per input data given in the question.
- Create CBEAM element by connecting the hole.
- Assigning this element to the I cross section as per the question.
d. & e. Applying the mass of magnitude 10 with the RBE2 link
- Create RBE2 cluster on the two holes at point (d&e) as given in the question.
- Apply the mass of magnituide 10 with assigning the CMASS element by connecting the four holes.
f. Joining the two component with spring element
- Here at last the spring element is created(f). To create the spring element go to 1D> spring and select two nodes where you want to add the spring element. Here we added this element on the four corner of the component.
The image for the final model is displayed below.
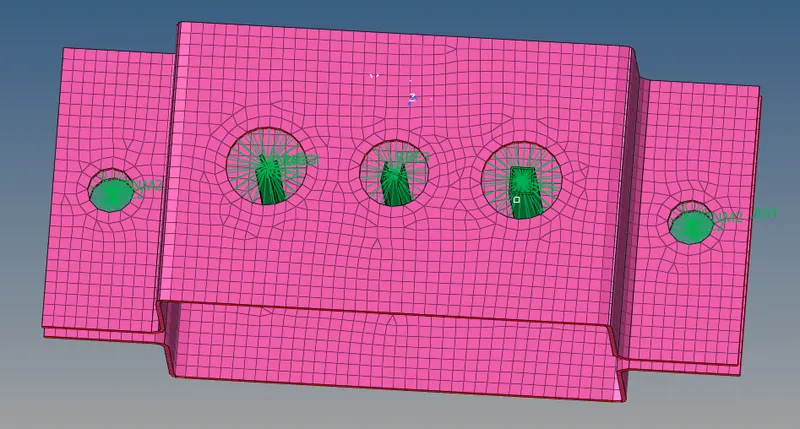
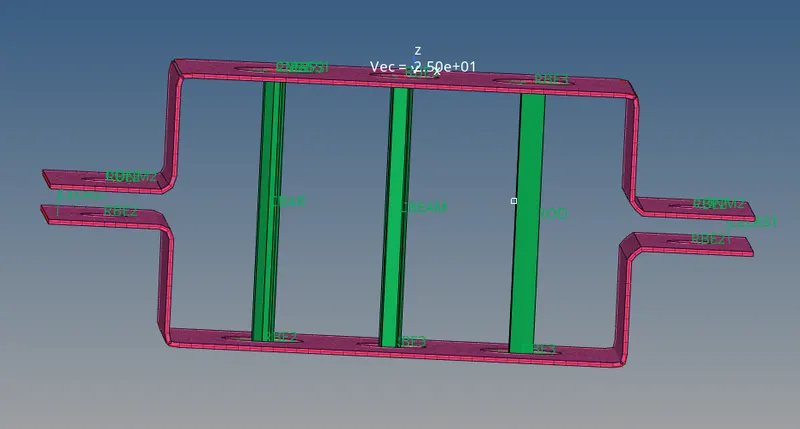
Conclusion:- Here we understood how to allot the 1D element to rod, bar and beam, function of hyperbeam and how to use it.
Google drive link:-https://drive.google.com/file/d/1HOuj5-fqebW_BxYX3FS8Tbum8fKzxWza/view?usp=sharing