Week 3 Challenge : CFD meshing on Turbocharger
Skill-Lync Challenge 3
Post Graduate Program in Computational Fluid Dynamics
Aim - For the given model, check for geometrical errors to make appropriate volumes. Create and assign PIDs as shown in the video. Perform surface mesh with the given target lengths as per PIDs.
- Blade stage-1 = 1 mm
- Blade stage-2 = 1 mm
- Impeller = 2 mm
- Shaft rotor = 1 mm
- Turbo casing = 5 mm
- Compressor casing = 5 mm
- Inlet casing cover = 5 mm
Perform Volumetric mesh for the required volumes as shown in the videos.
Write a detailed report on your surface meshing & Volume meshing process.
Tools Used – ANSA v.23.0.0
Procedure –
1) Open the turbocharger model on which mesh is to be created on ANSA software.
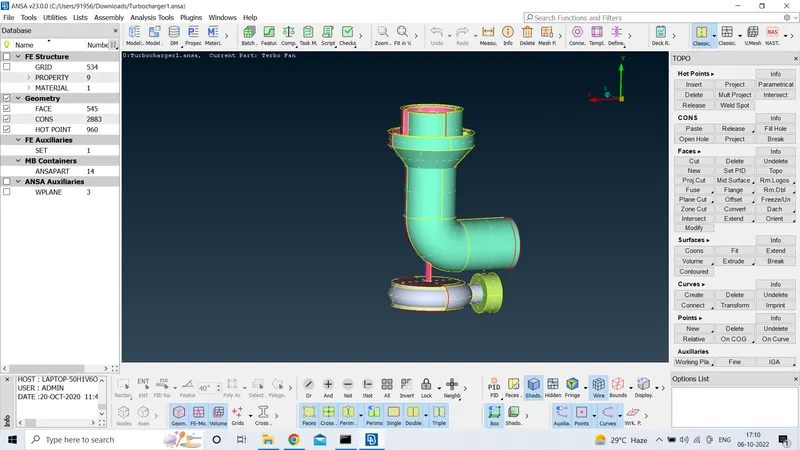
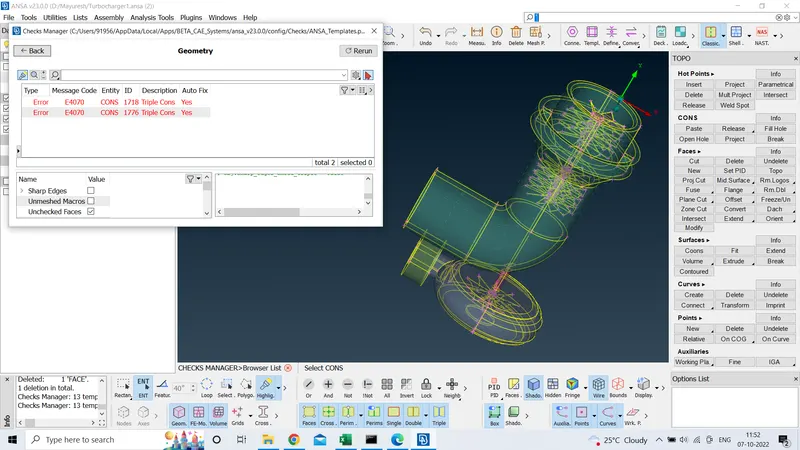
2) Run the geometrical checks to identify any errors in the model like single cons, surface cracks, duplicate surfaces, etc.
3) Now after identifying the errors, rectify them using the topology tools.
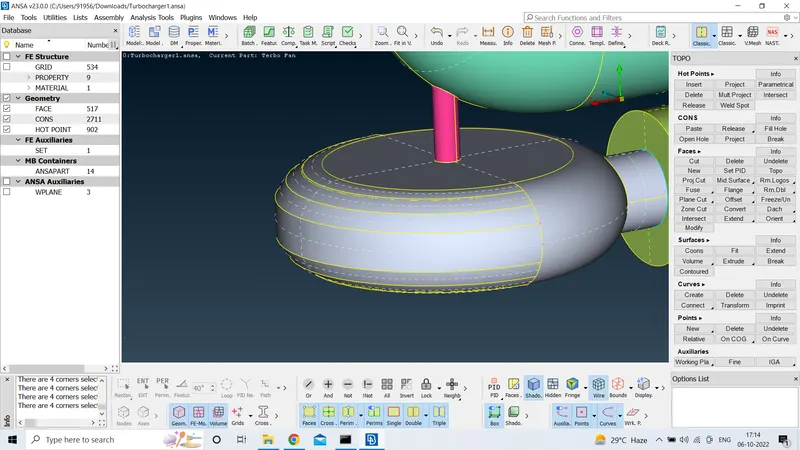
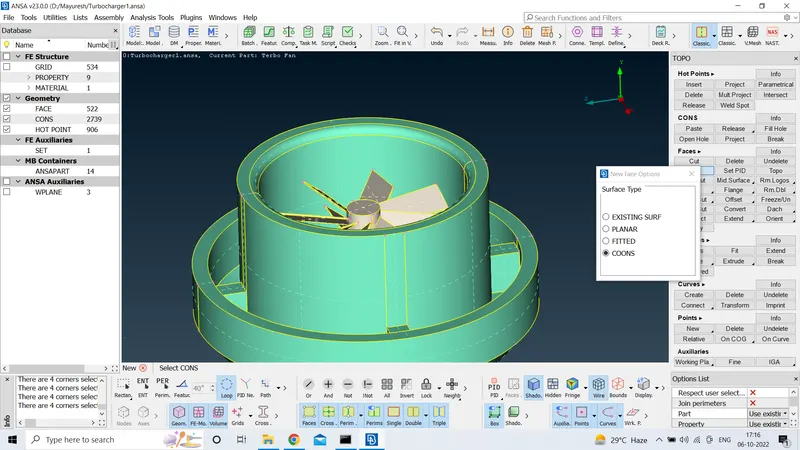
4) This model contains one intersected face, which can be corrected using the intersect tool. Use the intersect tool and select both the faces that are intersecting. Now delete the extra faces.
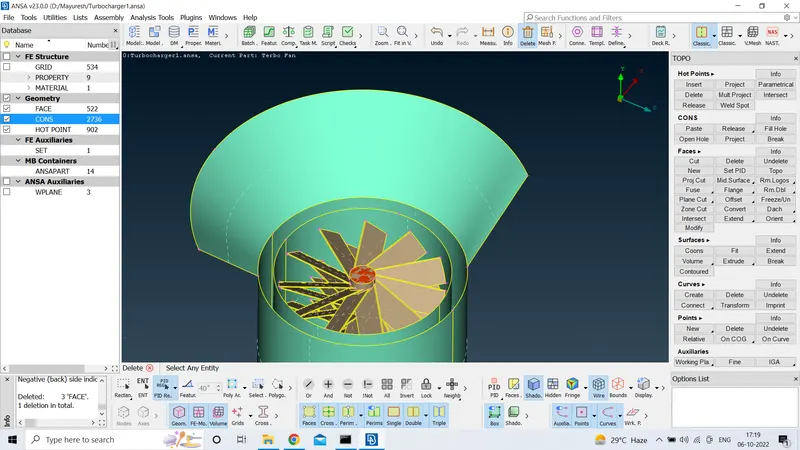
5) After solving all the geometrical errors, run the geometrical checklist and check for any remaining errors. If no error is present, then close all the open areas of the model as the CFD works on closed volumes.
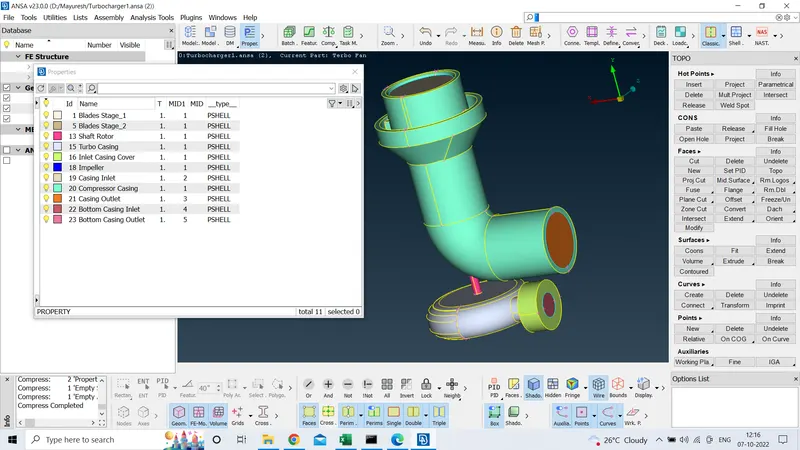
6) After closing all the volumes, start assigning the PIDs to different parts of the model.
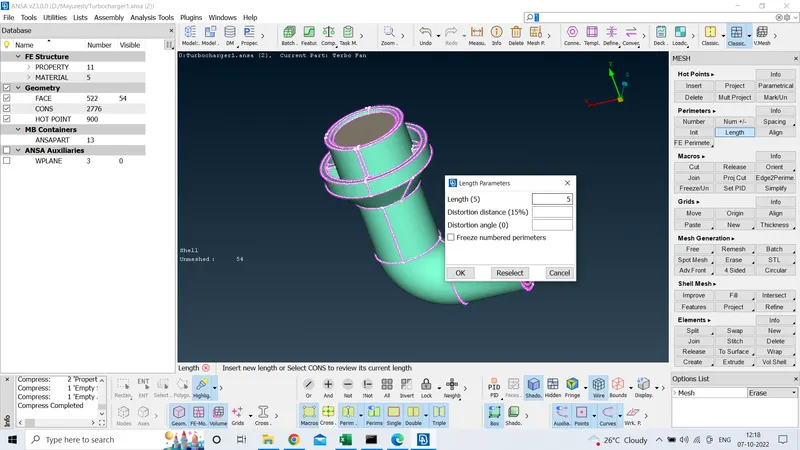
7) We can now start with surface meshing as soon as the PIDs are assigned. Since all the different parts of the model are to be meshed with different target lengths, we will start meshing the same target length parts together. First we will mesh 5mm target length parts. So assign the length of macros and perimeters as 5 and also set the quality and mesh parameters accordingly. Now select the spot mesh option and mesh the parts.
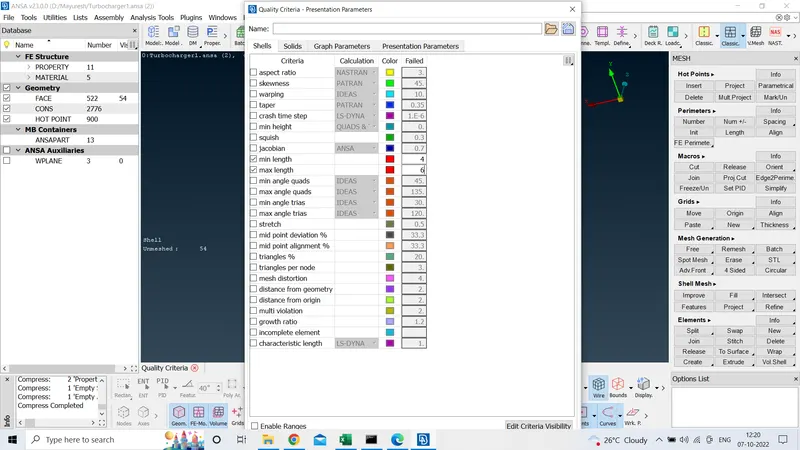
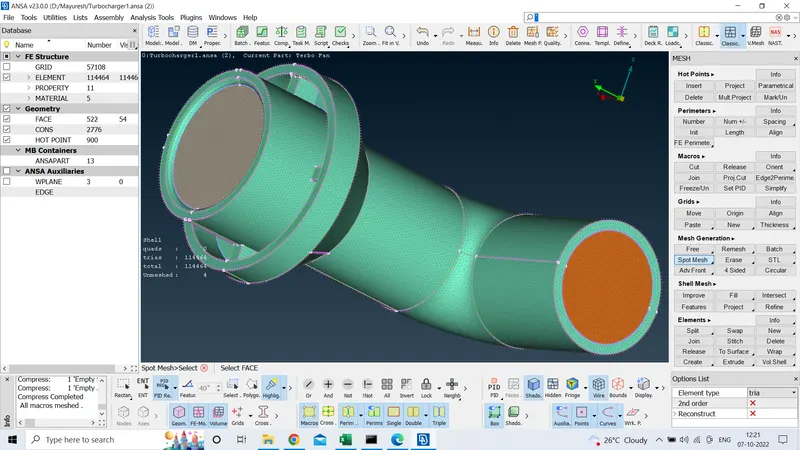
8) Similarly mesh all the parts of the model and also change the length, quality and mesh parameters according to the target length.
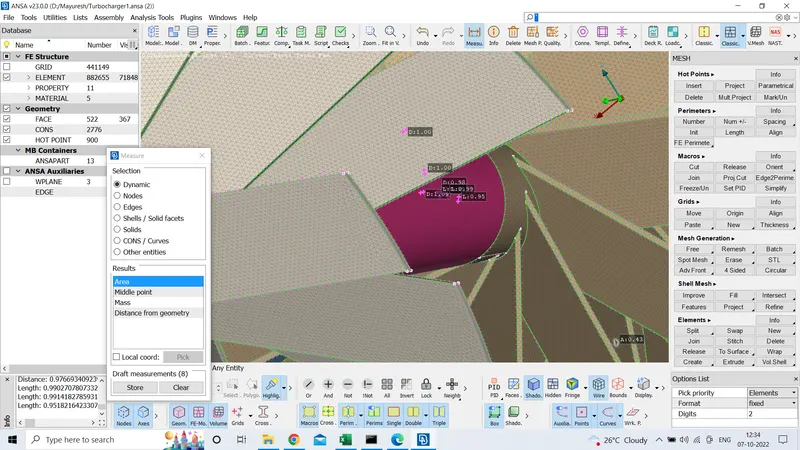
9) Now after surface meshing all the parts, we can observe that in some areas where meshes of two different target lengths are meeting, the mesh has been deleted automatically. In order to correct this we have to mesh those parts again but we do not have to change the length of the macro. If the length is present in the form of range as the new mesh will vary from this range.
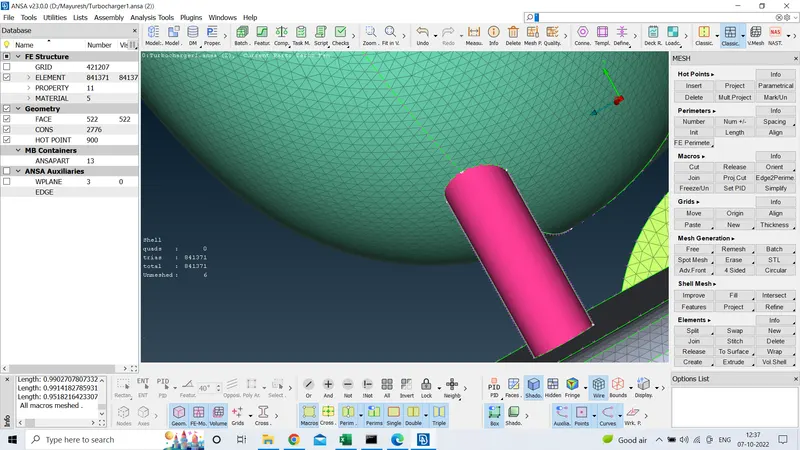
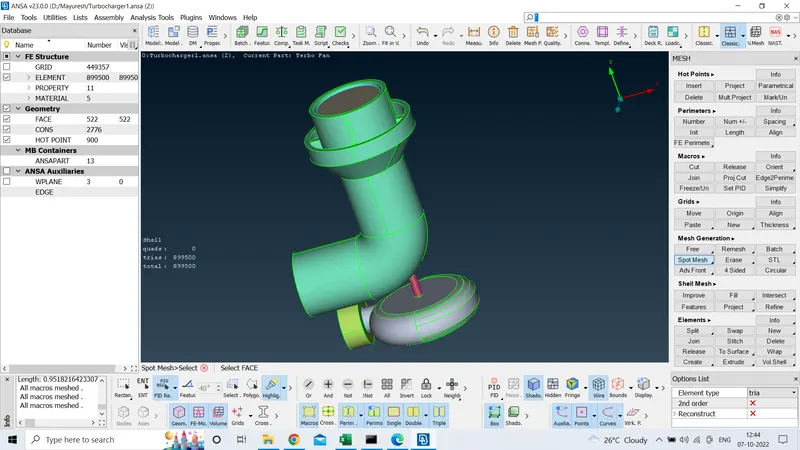
10) After all the errors are rectified the shell menu will tell if there are any parts left to be meshed or not. If all the parts have meshed we can now move on to the volumetric meshing part. In the volumetric meshing tab, click on define whole database. This command will automatically detect all the volumes present in the model and will show them on the screen.
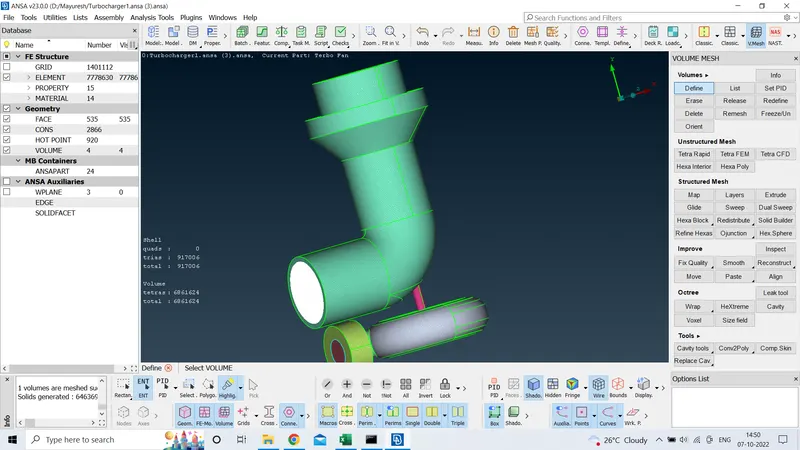
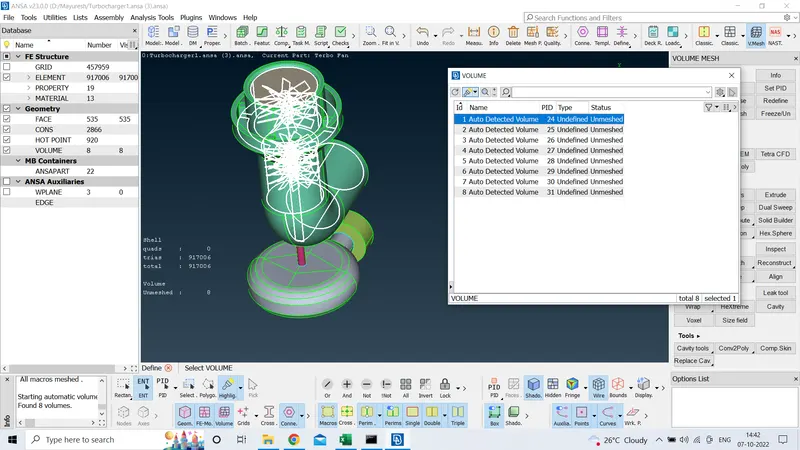
11) After auto detecting all the volumes, keep the volumes through which the fluid will flow and delete the unnecessary volumes which comprise the thickness of the parts of the model. Now set the element type as "Tetra CFD" and mesh the volumes one by one. This process may take time if the volumes are very big. The volumetric meshing is now over and we can see the mesh by viewing the cut section of the model.
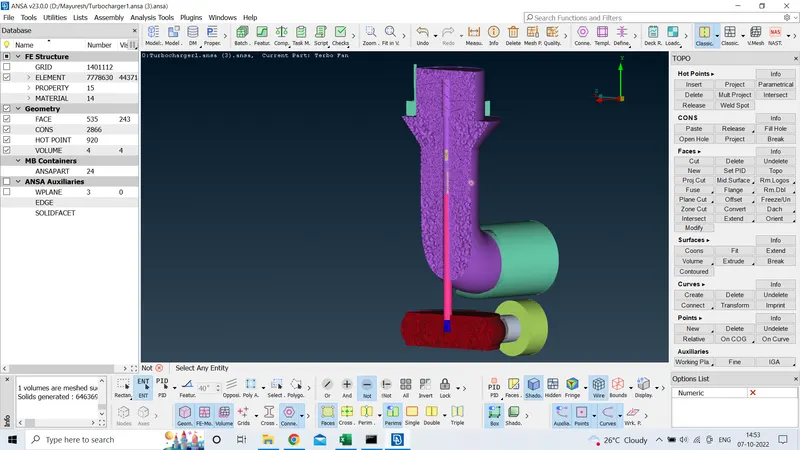
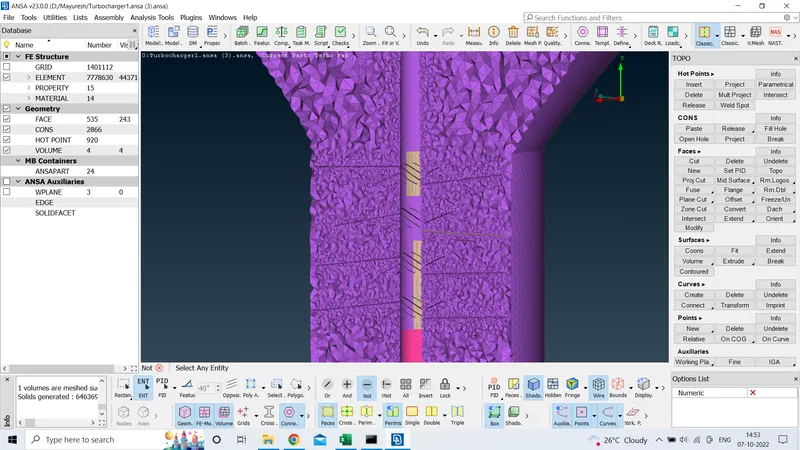
12) The desired mesh has been obtained.
Learning outcomes - The third week’s videos taught me the use of some new topology tools like intersect, release and topo. I learned how to mesh different parts of a model with different target lengths. I also learned how to create a volumetric mesh.
Result – Successfully created a surface and volumetric mesh on a turbocharger model using the ANSA v.23.0.0 software.
Conclusion – In order to create a volumetric mesh, surface mesh has to be created. Creating surface mesh on different parts of a model can be tricky when applying different target lengths. After creating a volumetric mesh and viewing the model as cut section we can see that the element size varies inside the volume because of the varying target lengths of the parts of the model.
Created by -: Mayuresh Agrawal