Week 2 Challenge : Surface meshing on a Pressure valve
Skill-Lync Challenge 2
Post Graduate Program in Computational Fluid Dynamics
Aim - For the given model, check for the geometrical errors and perform Topology clean-up accordingly. Set three different target lengths as three different cases and mesh the model.
- Target length = 1mm, 3 mm and 5 mm (i.e. 3 cases)
- Element type = Tria
Apply any one target length from the above at a time for the entire model as One case. Submit 3 different models for 3 cases.
Write a detailed report on your meshing process and also mention which case is giving good results along with the reason.
Tools Used – ANSA v.23.0.0
Procedure –
- Open the model on which mesh is to be created on ANSA software.
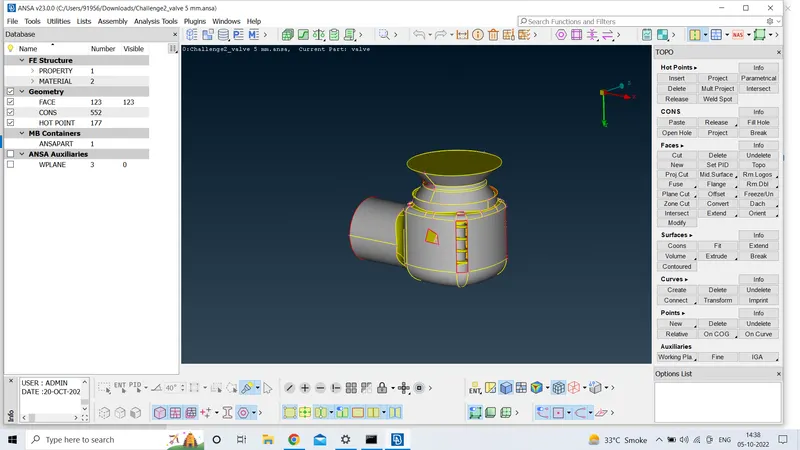
- After opening the model, we can clearly see that the model contains single cons and there are missing surfaces. So first, we will run some geometry checks to identify the single cons.
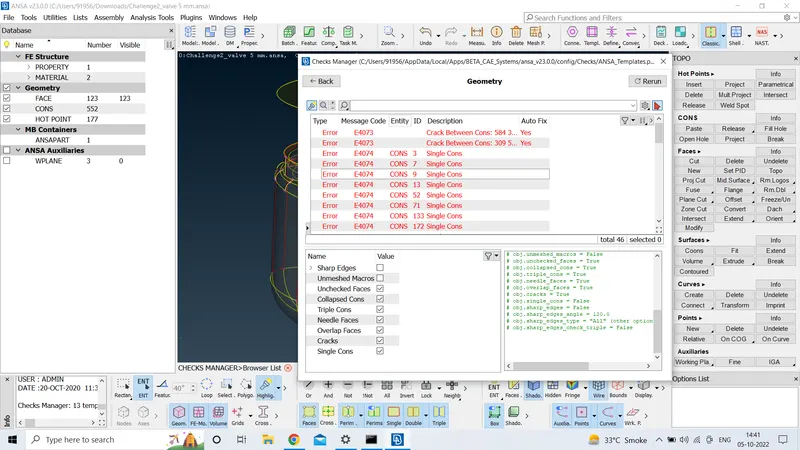
- After completing geometry checks, we can see there are a lot of single cons and surface cracks present in the model. So, geometry cleanup is required.
- First the surface cracks that are present in the model are filled by using either the “fill hole option” or the “new surface option”.
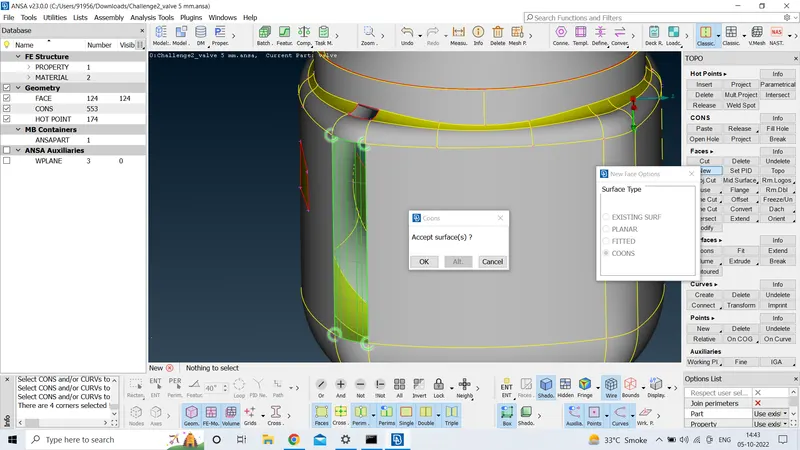
- After filling all the surface cracks, re-run the geometry checks list and check for any remaining single con or cracks. If there are no errors present, we can continue ahead.
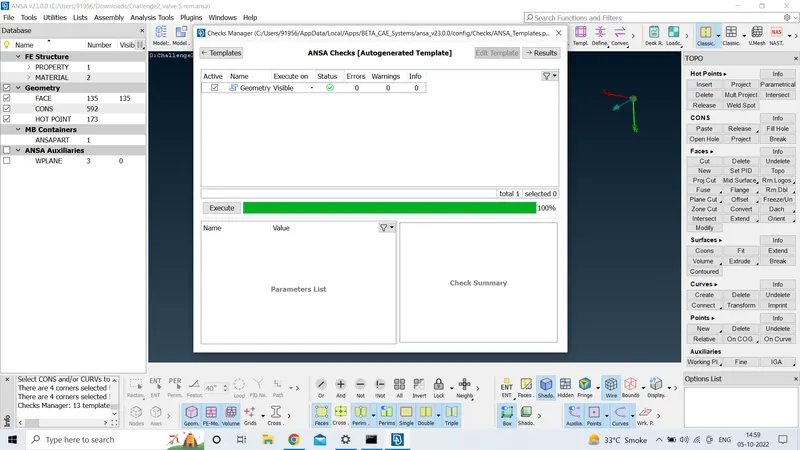
- Now, we can start with the meshing but first we will check the model if there are any double cons present that are too close to each other. If they are smaller than the mesh element, we have to remove them as the mesh element won’t fit there.
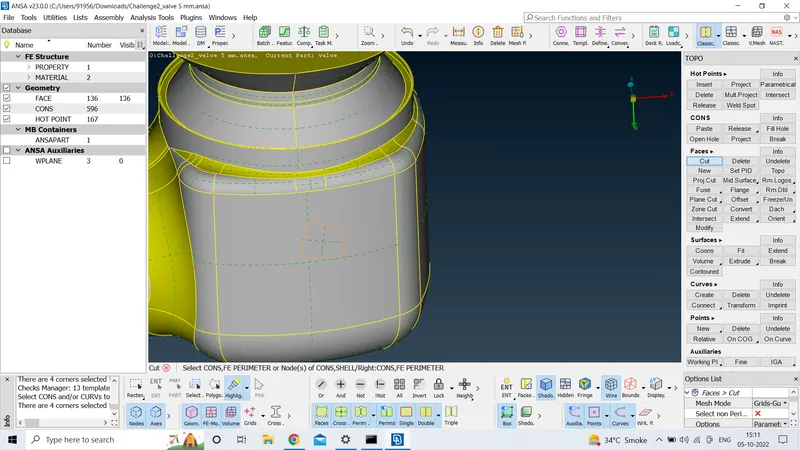
- Now before beginning with the meshing we will apply properties to different parts of the model.
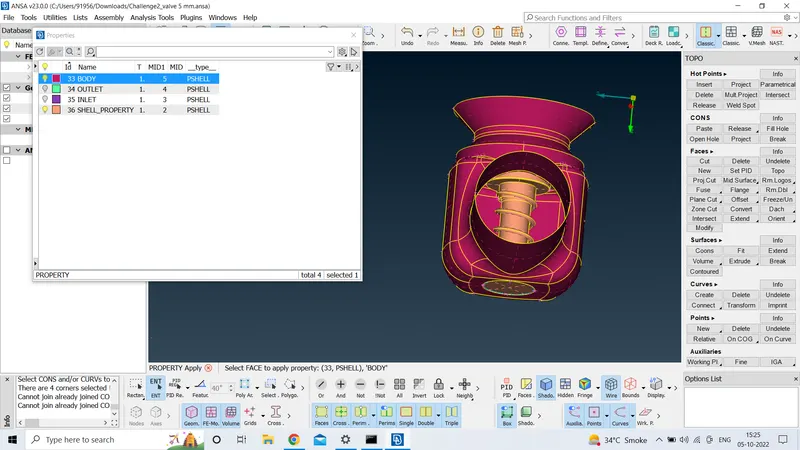
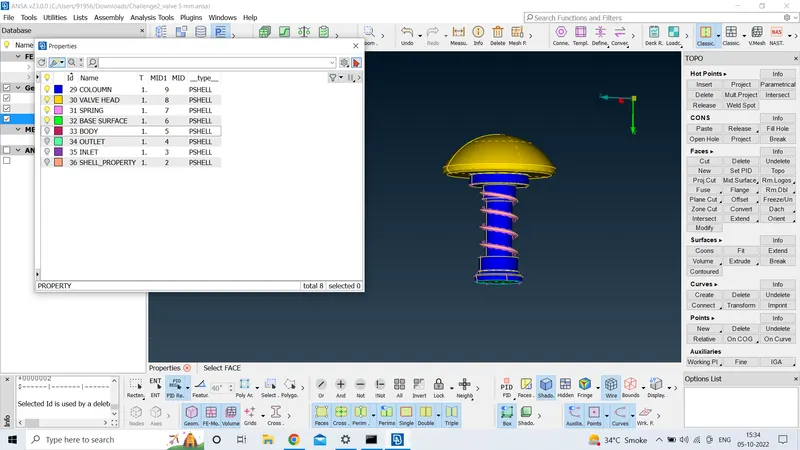
- Now, we can begin with the meshing. As the meshing has to be done for three different parameters. Set the first parameter in the mesh parameters and the quality criteria. Accordingly set the length and macros parameters. Set the target length and the element type as tria.
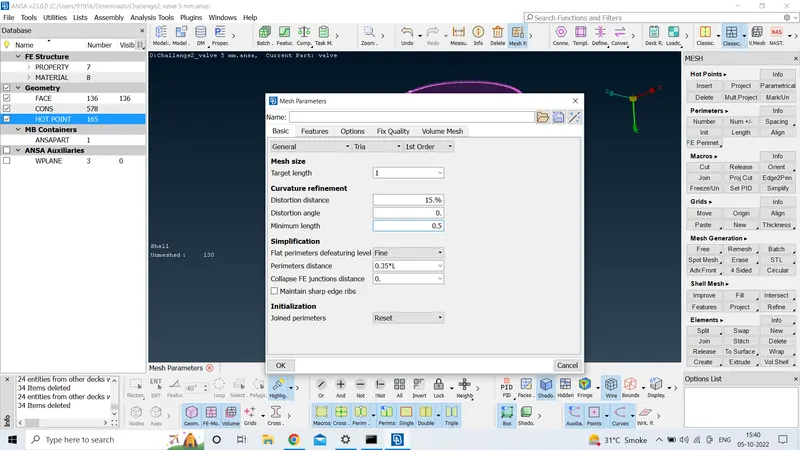
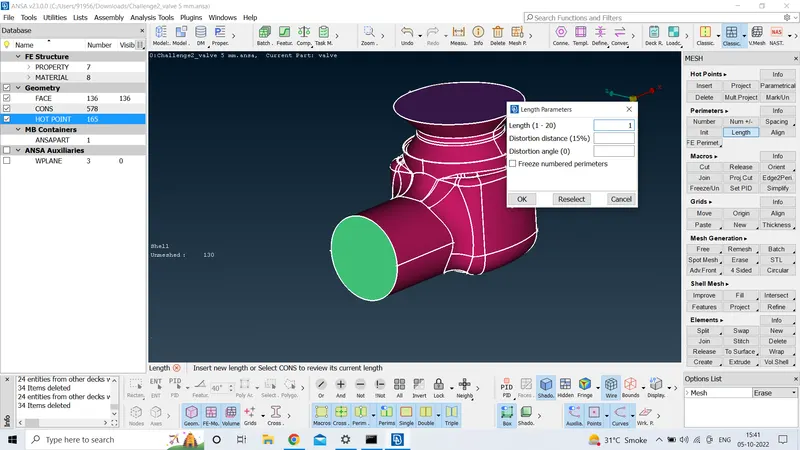
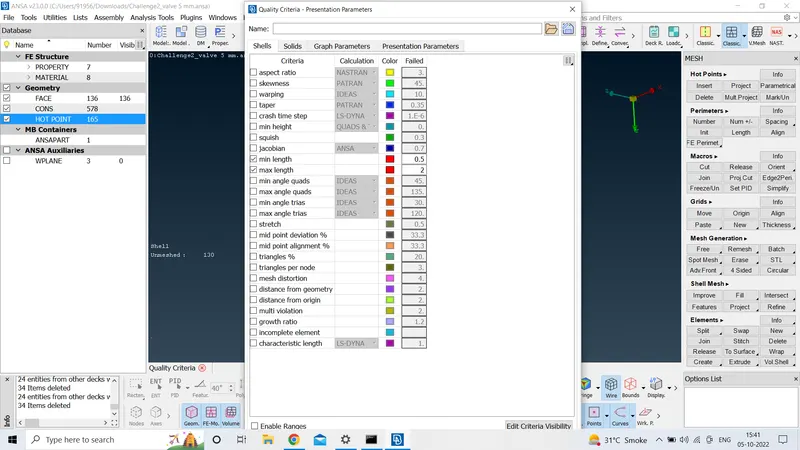
- Then using any mesh option like spot mesh, free mesh, best mesh, etc create the mesh on all different parts of the model.
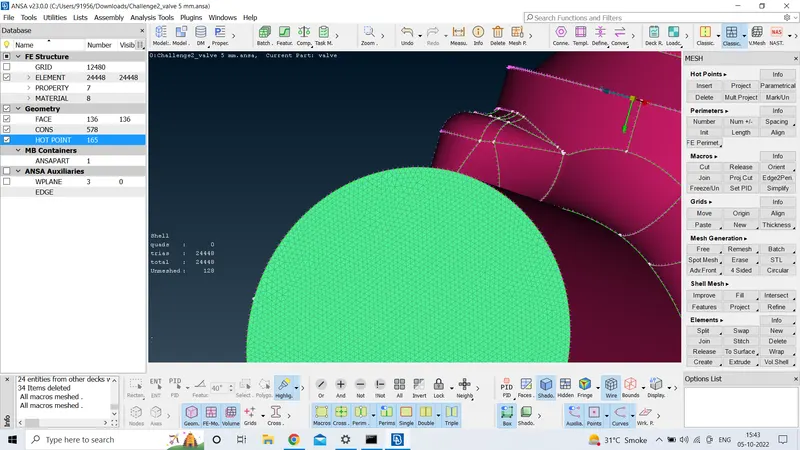
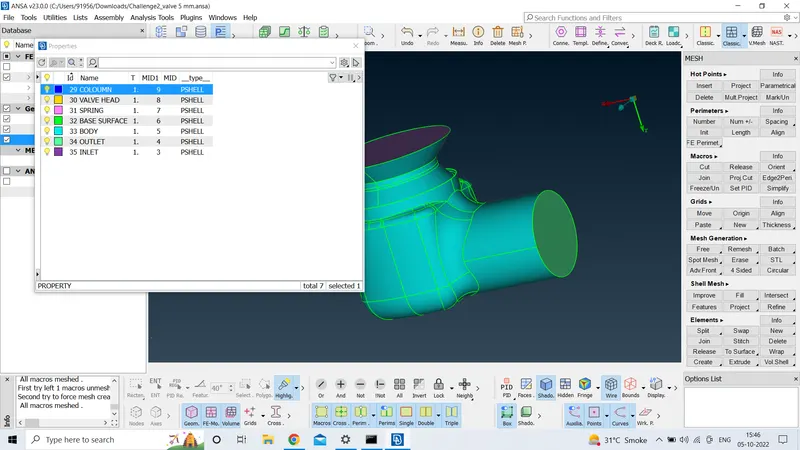
- The desired mesh is now obtained. Carry out the same steps in order to mesh the same model with different parameters.
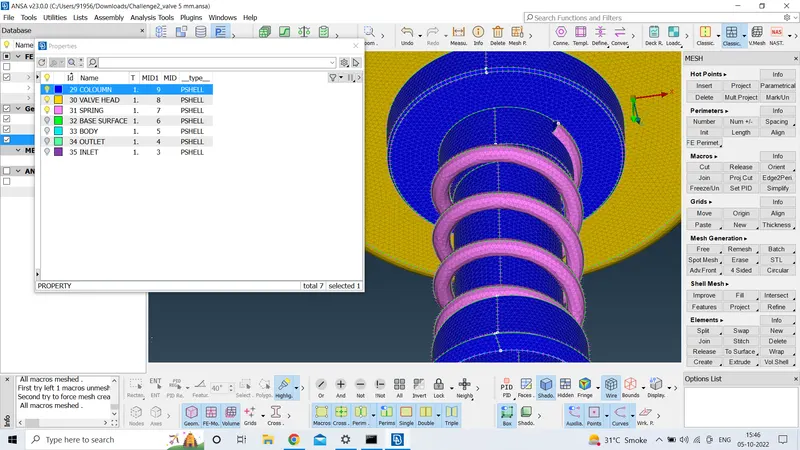
(1mm)
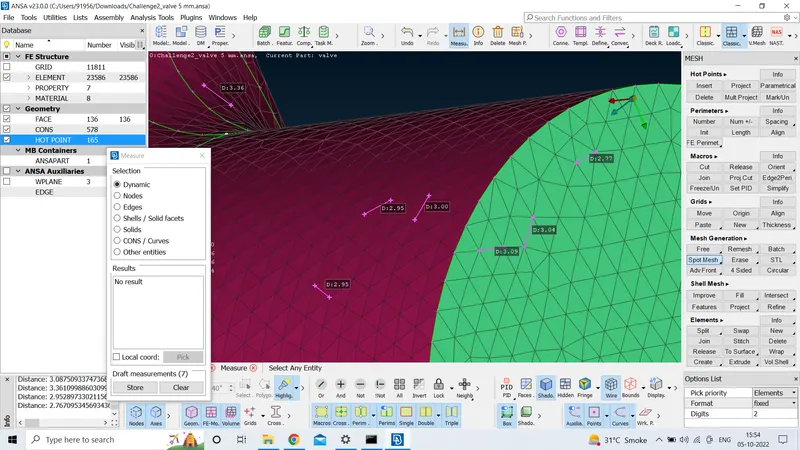
(3mm)
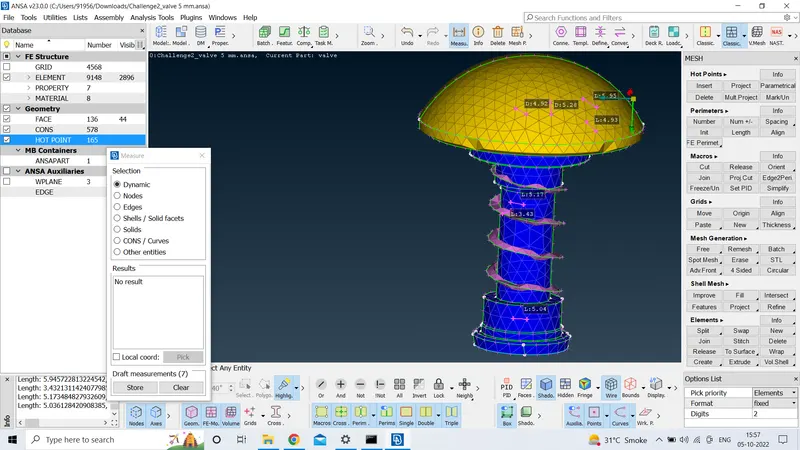
(5mm)
Learning outcomes - The second week’s videos taught me how to fill the surface cracks of a model using the fill hole or new face feature, how to run geometry checks, how to assign properties to materials, use of PID region, meshing different parts of a single model for more than one parameters.
Result – Successfully created a tria mesh on a pressure valve model for three different target lengths using the ANSA v.23.0.0 software
Conclusion – The mesh generated in all three models varies in target length. By doing so we can see that the mesh created in the 1 mm target length is much finer than the 3mm or 5mm length. The finer mesh allows us the capture the true geometry of the model. When all three models are kept side by side and compared, we can see that the geometry captured by the 1mm mesh is much more accurate while the geometry captured by the 5mm mesh is not that accurate as some circular parts appear to be square. Hence, we can conclude that the finer the mesh size the more accurate a geometry will be captured.
Created by-: Mayuresh Agrawal